The Blood of Dawnwalker – All Swordmastery Teacher Locations Guide
If there is one thing I quickly learned while playing The Blood of Dawnwalker, it is that simply having a good sword is nowhere near enough. The game can be surprisingly unforgiving once you start running into stronger soldiers, vampires, elite enemies, and bosses that punish even the smallest mistake.
That is where Swordmastery Teachers become incredibly important.
These NPCs are scattered across the world, and each one offers a selection of Manuals that unlock powerful combat abilities and passive bonuses. Some are focused on defense and blocking, while others are much more aggressive, offering techniques designed around combos, momentum, bleeding damage, or raw sword damage.
The annoying part? You can’t just walk up to these teachers and buy everything immediately.
Each Swordmastery Teacher has their own unlock condition. Some require main-story progression, others are tied to side quests, and at least one of them will happily try to beat the sword out of your hands before agreeing to teach you anything.
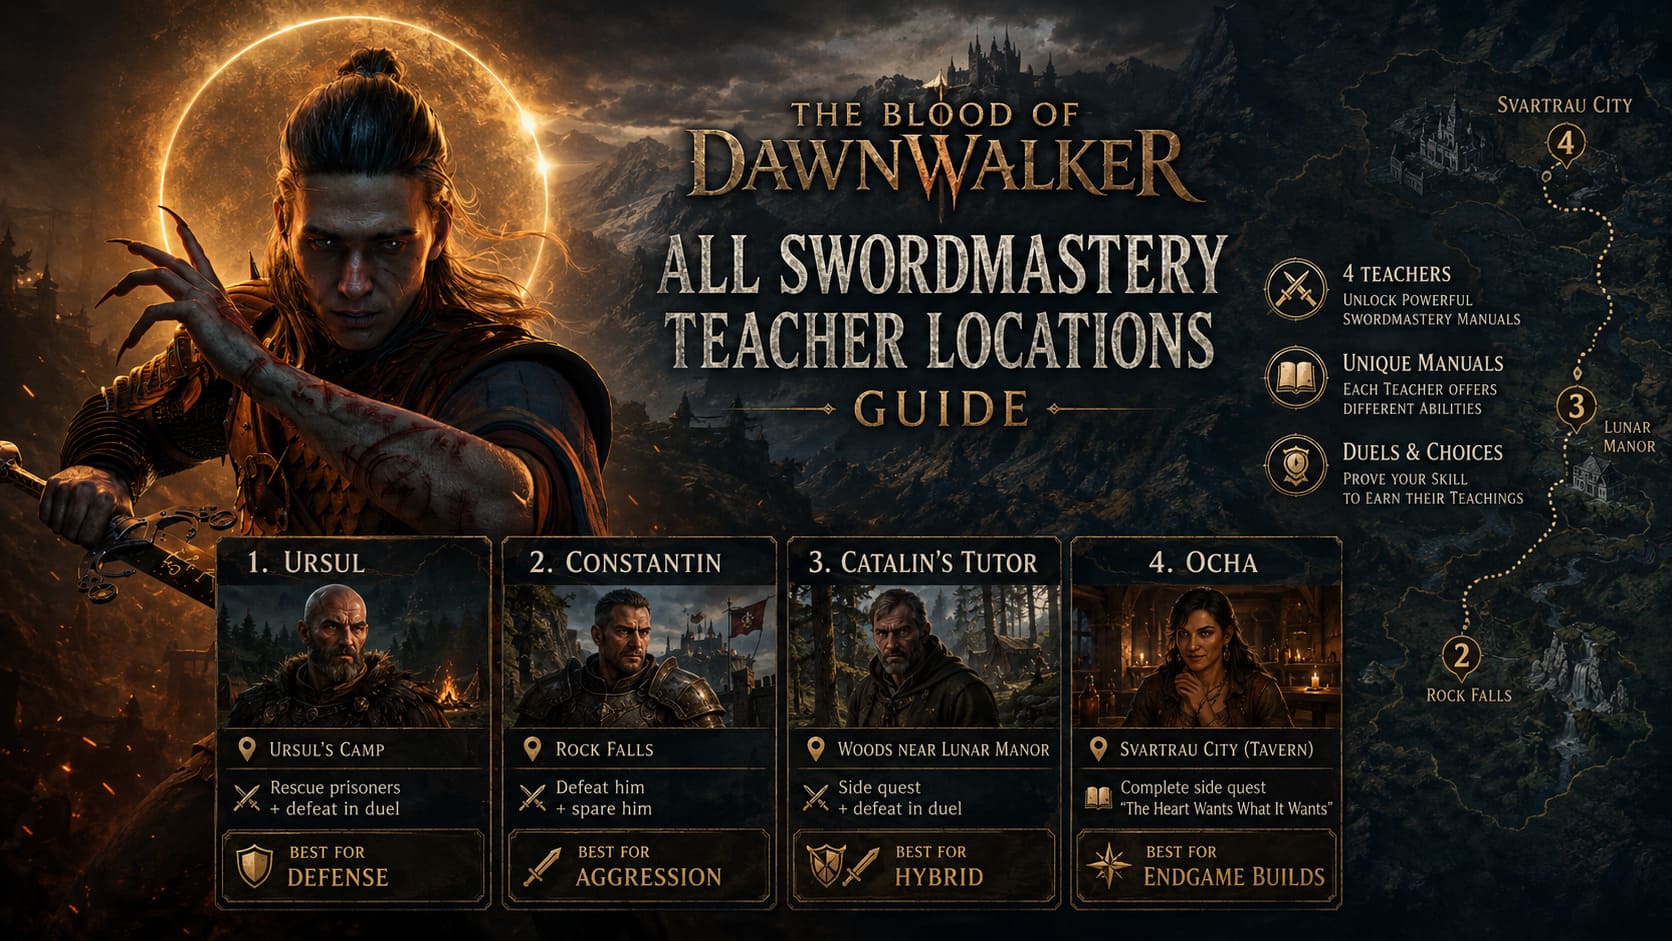
I’ve put together this guide to make finding all four Swordmastery Teachers much easier. There are four of them in total: Ursul, Constantin, Catalin’s Tutor, and Ocha. Here’s where to find them, what you need to do, and which Manuals are worth grabbing.
Why You Should Find Every Swordmastery Teacher
Swordmastery is one of those systems that becomes noticeably more valuable as the game progresses.
Early on, you can get away with basic attacks, dodging, and blocking. Later, however, enemies become much better at punishing predictable combat. Having access to things like Perfect Riposte, Walking Fortress, Counterattack, Growing Momentum, and Master Fencer can completely change how a fight feels.
There is another reason I recommend visiting all four teachers: their inventories aren’t identical.
Some Manuals can be purchased from multiple teachers, but others are much harder to find. Ocha, in particular, has an enormous inventory and carries several Manuals that are otherwise difficult or impossible to obtain.
So if you’re trying to build the strongest possible Swordmastery setup, don’t stop after finding the first trainer.
Swordmastery Teacher #1 – Ursul
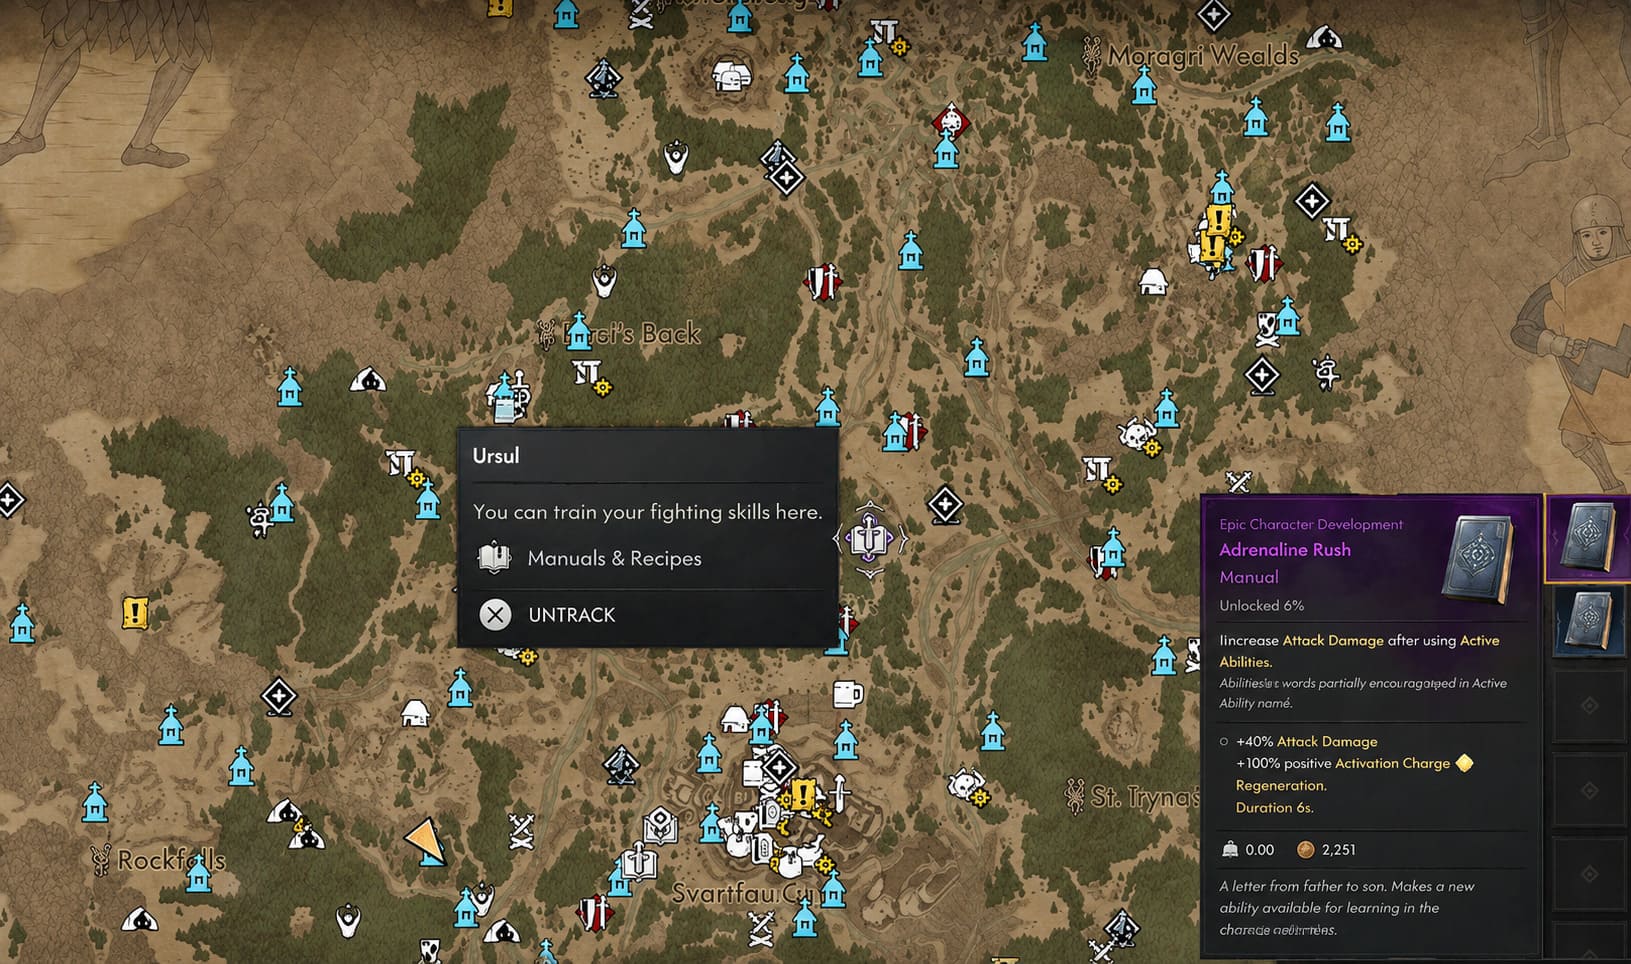
Where to Find Ursul
Ursul is probably the first Swordmastery Teacher most players will encounter.
You won’t find him standing around waiting for customers at the beginning of the game, though. His introduction is tied to the main story quest “Ambrus’s Prisoners: Lucky Crossing.”
During this section, you’ll come across a group of guards escorting prisoners. Naturally, the conversation tends to go badly.
Take out the hostile guards and free the prisoners. Once the area is secure, speak with them. One of the prisoners will reveal that he is actually Ursul, an experienced swordsman.
He won’t immediately become your trainer.
Instead, Ursul directs you toward his camp. Travel there and talk to him again. You’ll have the opportunity to challenge him to a duel.
And yes, he means it.
How to Unlock Ursul
The process is straightforward:
- Progress to Ambrus’s Prisoners: Lucky Crossing.
- Defeat the guards holding the prisoners.
- Speak with the liberated captives.
- Discover Ursul’s identity.
- Travel to his camp.
- Accept his duel.
- Defeat Ursul.
Once you win, he acknowledges your ability and becomes a permanent Swordmastery Teacher.
I actually like this unlock method because it makes sense within the game’s world. You’re not simply paying a random NPC to teach you advanced sword techniques. You have to prove that you can handle yourself first.
Ursul’s Inventory
| Manual / Item | Type |
|---|---|
| Adrenaline Rush | Manual |
| Walking Fortress x3 | Manual |
| Perfect Riposte | Manual |
| Perfect Block | Manual |
| Omniblock | Manual |
| Stinging Blade | Manual |
| Precision | Manual |
| Counterattack | Manual |
| Hex Master’s Amulet | Accessory |
| Sunlight’s Boon | Accessory |
Ursul is easily the teacher I’d recommend to players who prefer a defensive Swordmastery build.
Walking Fortress, Perfect Block, Perfect Riposte, and Counterattack all work extremely well together. If you enjoy waiting for an enemy to make the first move and then punishing them for it, his inventory is fantastic.
Swordmastery Teacher #2 – Constantin
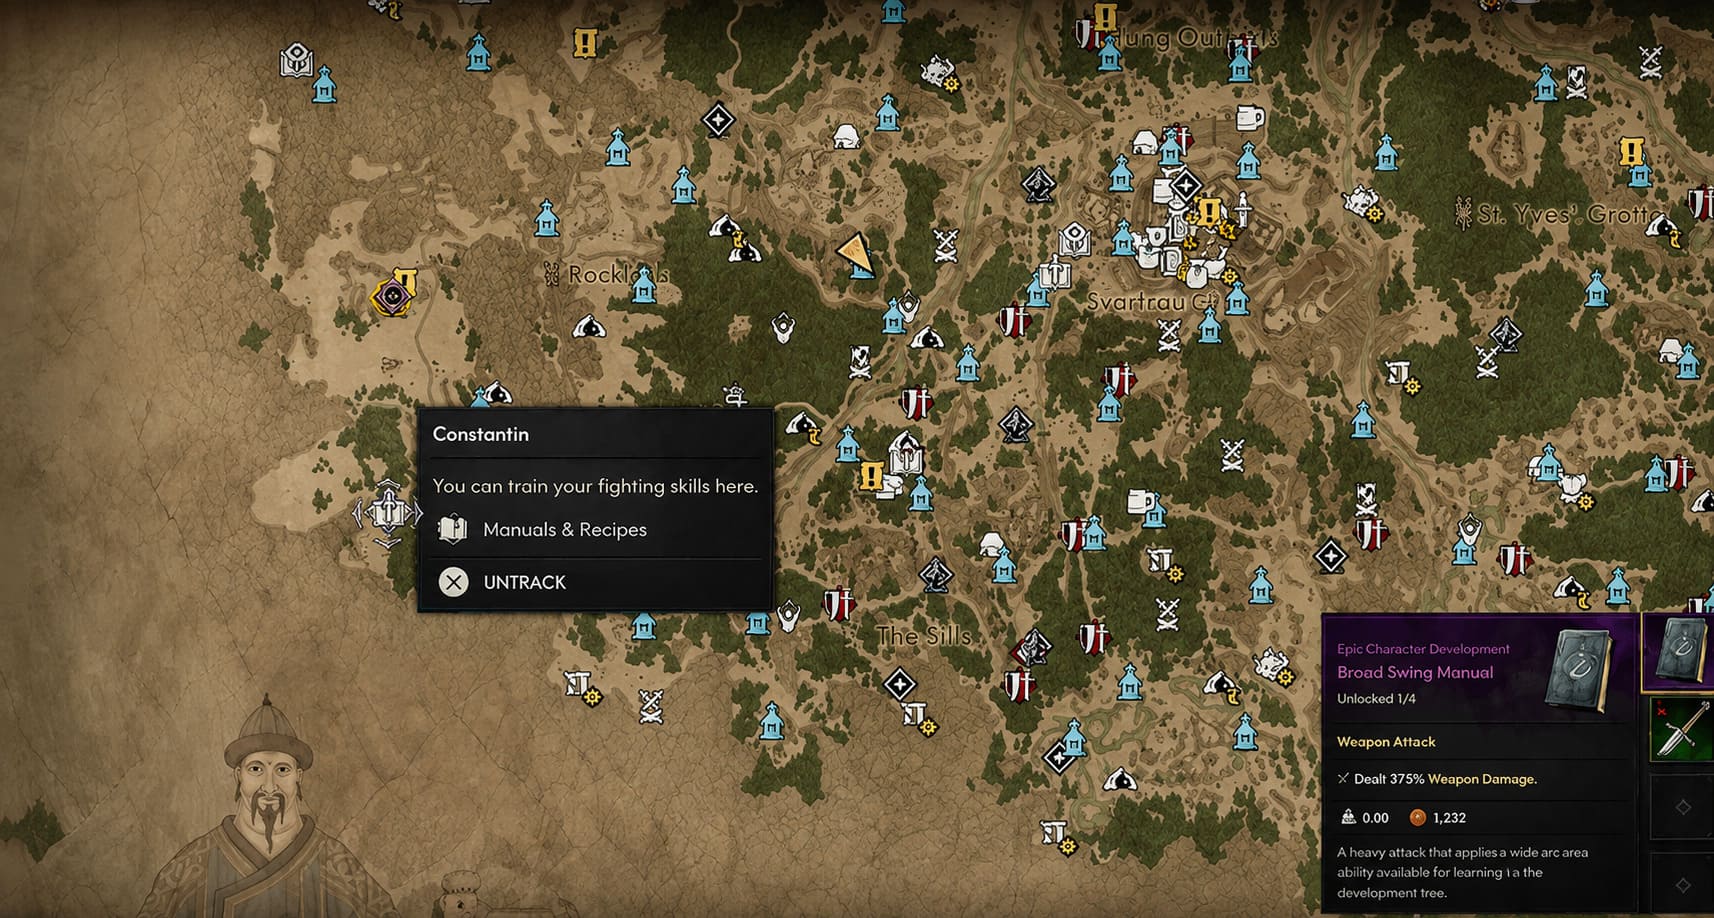
Constantin Location
Constantin is found in the Rock Falls region, in the far south-western part of the area.
Unlike Ursul, you’re not going to meet Constantin by rescuing him.
He’s running a fortified Soldier Camp, and you’ll have to fight your way inside.
This is one of those encounters where I strongly recommend clearing the surrounding enemies before focusing entirely on the boss. Getting surrounded while trying to learn Constantin’s attack patterns is a very easy way to turn a manageable fight into a disaster.
How to Unlock Constantin
First, attack the Soldier Camp and eliminate the hostile soldiers.
Then comes the main event: Constantin himself.
His fighting style revolves around broad sword swings and heavy attacks. His large sweeping strikes can catch you if you become too aggressive, while his heavier vertical attacks are especially dangerous when you’re standing directly in front of him.
Defeat him and you’ll get an important choice.
Do not kill him.
Constantin offers to teach you his swordsmanship, but only if you spare him. Choose the dialogue option that allows him to live and accept his offer.
If you execute him, you lose access to his Swordmastery inventory for that playthrough.
Once spared, Constantin remains at the camp and becomes your trainer.
Constantin’s Inventory
- Broad Swing Manual
- Swiftness Manual
- Adrenaline Rush Manual
- Restless Blade Manual
- Growing Momentum Manual
- Sharp Eye Manual
- Knightly Longsword
- Plain Battlesword
Constantin is the teacher I’d prioritize if you’re building around aggressive melee combat.
Growing Momentum is particularly interesting for players who like maintaining pressure instead of constantly backing away. The longer you keep your attacks going successfully, the more valuable that kind of effect becomes.
And if you’re looking for a solid physical sword, the Knightly Longsword is definitely worth checking out.
Swordmastery Teacher #3 – Catalin’s Tutor
Catalin’s Tutor is probably the easiest teacher to miss because his unlock is connected to a specific side quest.
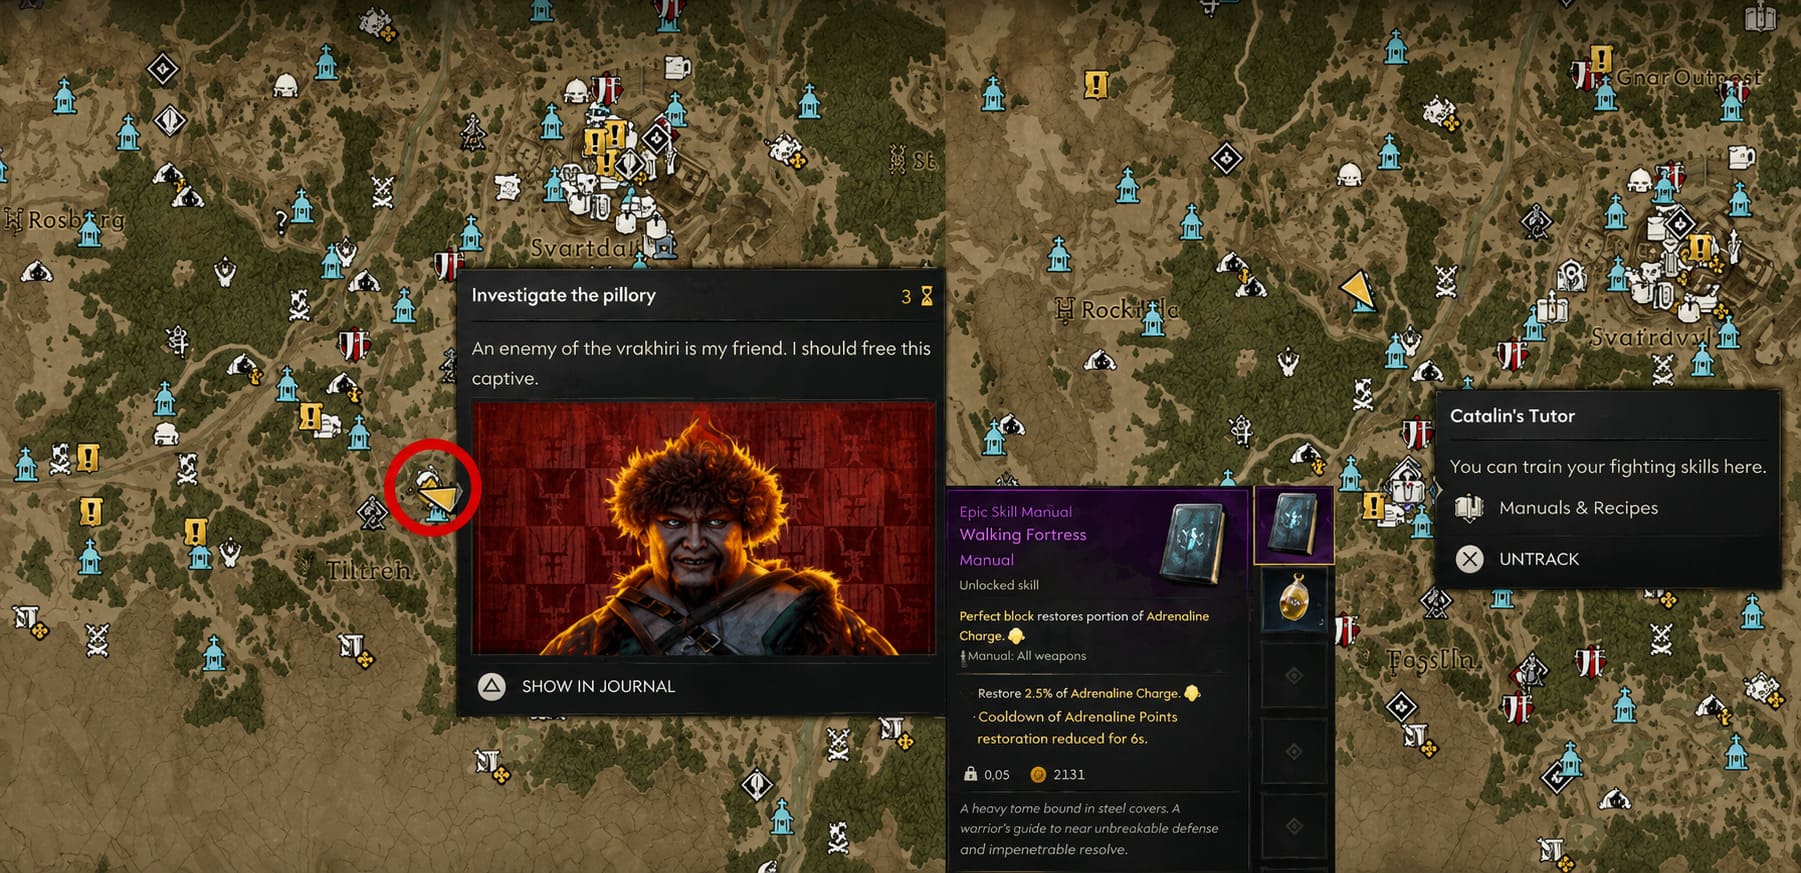
Where to Start
Your first stop is Lunar Manor.
As you approach the manor, look for a man trapped inside a pillory. There will also be hostile enemies in the area.
This encounter is associated with the “Bakir’s Pillories: Old Hand” objective.
Clear out the enemies and then speak with the imprisoned man.
Here’s the important part: when the dialogue option appears, choose:
“I’m not letting anyone hurt this man.”
That choice starts the next stage of the quest.
You’ll receive the sub-quest “Bakir’s Pillories: Catalin’s Tutor.”
At this point, make sure you actually track the quest in your journal. The game will then give you a waypoint leading into the woods north-west of Lunar Manor.
How to Unlock Catalin’s Tutor
Travel to the marked campsite and speak with him.
Just like Ursul, Catalin’s Tutor isn’t going to hand over his secrets for free. Ask him to teach you and you’ll be challenged to a duel.
Win the fight and he’ll become a Swordmastery Teacher.
The sequence is therefore:
- Find the pillory near Lunar Manor.
- Defeat the enemies.
- Choose “I’m not letting anyone hurt this man.”
- Accept Bakir’s Pillories: Catalin’s Tutor.
- Track the quest.
- Travel to the woodland campsite.
- Challenge and defeat the tutor.
Catalin’s Tutor Inventory
| Item | Type |
|---|---|
| Walking Fortress | Manual |
| Artery Strike x2 | Manual |
| Broad Swing | Manual |
| Growing Momentum | Manual |
| Renewed Focus | Manual |
| Ring of the Stalwart Warrior | Accessory |
| Swordman’s Amulet | Accessory |
His inventory feels like a nice middle ground between defense and offense.
The two Artery Strike Manuals are especially useful if you’re putting together a build that relies on sustained damage rather than simply trying to delete enemies with a single combo.
Swordmastery Teacher #4 – Ocha
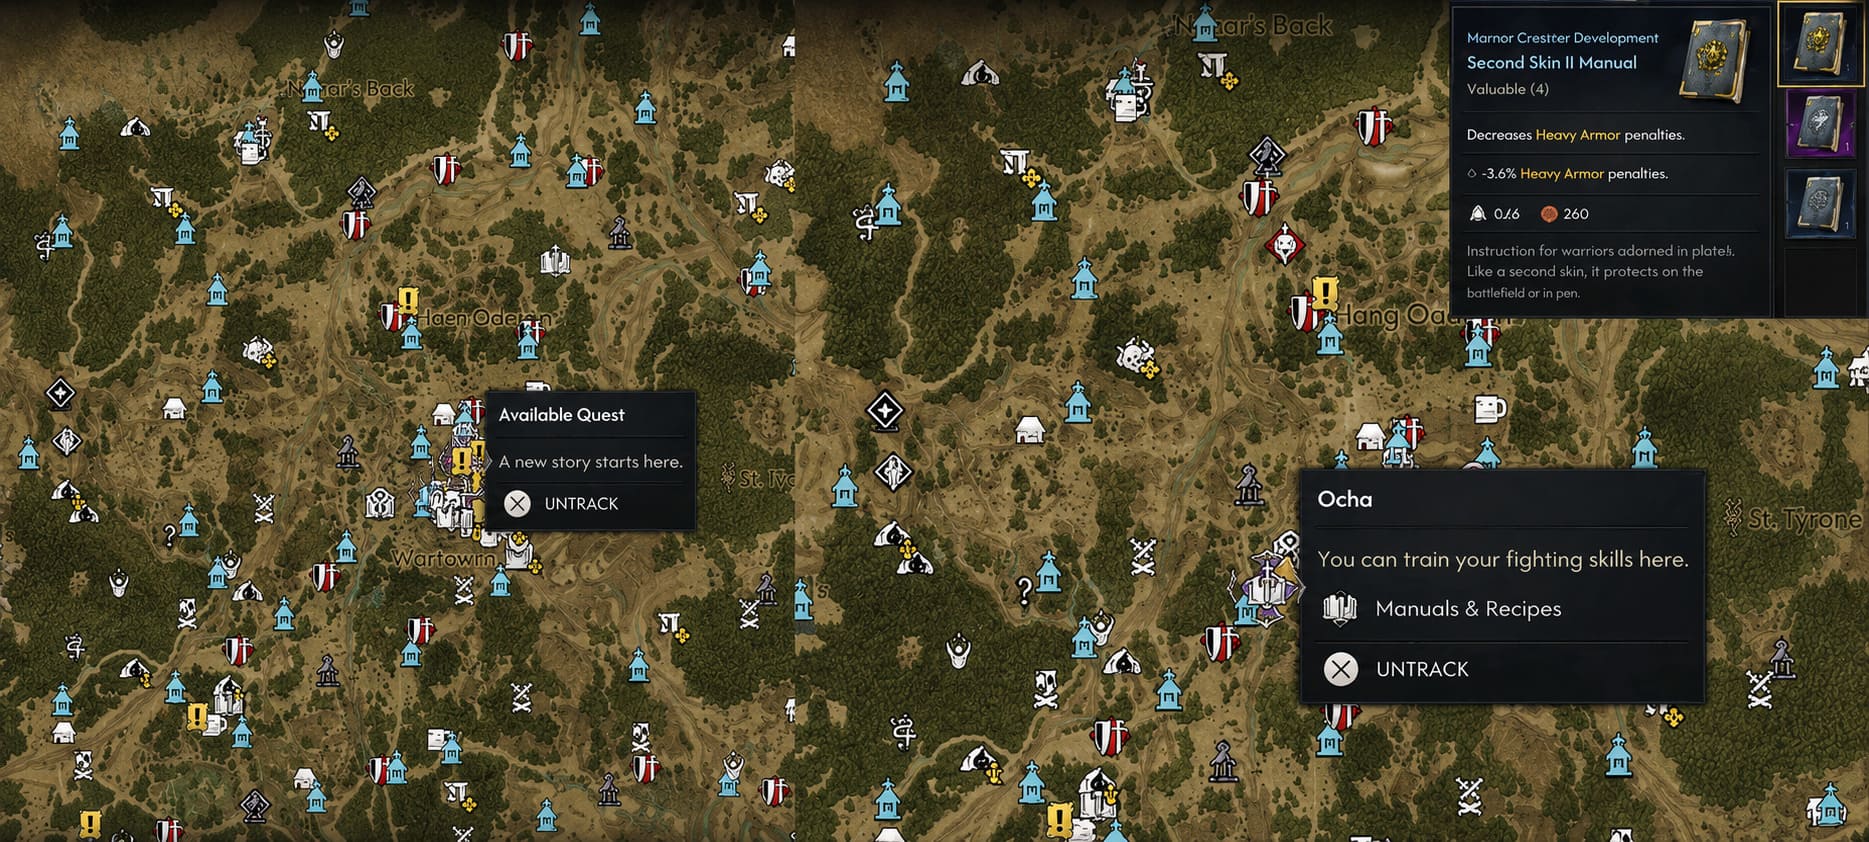
Ocha is the final Swordmastery Teacher and, in my opinion, the one you should make a point of finding before the endgame.
Why?
Her inventory is huge.
And some of the Manuals she sells are among the most interesting Swordmastery upgrades available.
Ocha’s Location
Travel to Svartrau City and head toward the central tavern.
Inside, look for Ocha sitting by herself at a table.
Speak with her to begin the side quest “The Heart Wants What It Wants.”
Unlike the previous teachers, this isn’t a simple “find NPC, win duel” situation.
How to Unlock Ocha
After starting the quest, you’ll need to wait until night.
Once darkness falls, travel to Andrei’s secret hideout.
There’s a little trick here that the game doesn’t make especially obvious. The normal entrances on the ground level are locked.
So don’t waste time looking for another door.
Go upward and enter through the open balcony.
Explore the hideout, complete the objectives, and leave the area.
Once you’ve completed the required part of the quest, return to the meeting location and speak with Ocha again.
After that, she becomes a permanent Swordmastery Teacher.
Ocha’s Full Inventory
- Second Skin II
- Stinging Blade
- Swiftness
- Walking Fortress x2
- Adrenaline Rush
- Charge
- Artery Strike
- Broad Swing
- Dirty Trick
- Fate’s Favour x2
- Perfect Block
- Restless
- Renewed Focus
- Master Fencer
- Counterattack
- Bloodsucker’s Amulet
- Survivor’s Ring
This is easily the biggest Swordmastery inventory in the game.
And Master Fencer is the big prize.
If you’re serious about creating a high-end Swordmastery build, I’d make Ocha one of your priorities once she’s available.
All Swordmastery Teachers at a Glance
| Teacher | Region / Location | Unlock Method | Best For |
|---|---|---|---|
| Ursul | Ursul’s Camp | Rescue prisoners + duel | Defense |
| Constantin | Rock Falls | Defeat him + spare him | Aggression |
| Catalin’s Tutor | Woods near Lunar Manor | Side quest + duel | Hybrid |
| Ocha | Svartrau City | Complete her side quest | Endgame Builds |
Which Swordmastery Teacher Should You Visit First?
If you’re simply trying to collect every Manual, the answer is obvious: visit all four.
But if you’re wondering which ones matter most for your build, I’d prioritize them differently.
Best for Defensive Builds: Ursul
Ursul’s collection of Walking Fortress, Perfect Block, Perfect Riposte, and Counterattack makes him fantastic for players who enjoy parrying and defensive combat.
Best for Aggressive Builds: Constantin
If you want to stay in an enemy’s face and keep swinging, Constantin’s Growing Momentum, Swiftness, and Restless Blade are much more attractive.
Best for Bleed-Oriented Builds: Catalin’s Tutor
The two Artery Strike Manuals make this teacher particularly interesting for players who want to lean into damage-over-time effects.
Best Overall Inventory: Ocha
Ocha wins this category comfortably.
Her selection covers almost everything, from defensive skills to mobility, utility, resource management, and powerful endgame options. Master Fencer alone makes her worth tracking down.
Blood of Dawnwalker Legendary Rings Guide: Ring of Focus, Astrologer’s, Night & Quick Strikes Stats
A Few Tips Before Hunting the Teachers
The map in The Blood of Dawnwalker is big enough that running between distant objectives can become tedious, especially when you’re trying to collect several trainers in one session.
There are a couple of movement options that can make this much less painful.
The Shapeshift Vampirism ability is extremely useful for moving around the world quickly. If you’ve invested into Witchcraft instead, Mercurial Fervor can also significantly improve your traversal speed.
I’d also recommend keeping an eye out for the white speech-bubble-style icons on your map. These can indicate NPCs connected to merchant or teacher interactions.
Most importantly, pay attention to dialogue choices.
Constantin is the obvious example. If you kill him instead of accepting his offer, you lose his shop. Catalin’s Tutor also requires a particular dialogue choice earlier in the quest chain.
So don’t rush through conversations just because you’ve already cleared the enemies in an area.
Final Thoughts
Finding all four Swordmastery Teachers is one of those side objectives that doesn’t feel particularly important during the first few hours of The Blood of Dawnwalker, but becomes much more valuable once combat starts getting serious.
What I like about the system is that the teachers don’t just function as glorified shops. Each one has a little story attached to them, and in several cases you actually have to prove yourself before they agree to teach you.
Ursul tests you in a duel after being rescued. Constantin demands that you defeat him and then make the decision to spare his life. Catalin’s Tutor is hidden behind a quest chain, while Ocha requires a nighttime operation before she opens up her full inventory.
And honestly, that’s much more memorable than simply buying abilities from a generic vendor.
If you’re building around sword combat, I’d recommend tracking down all four before settling on your final loadout. Walking Fortress, Perfect Block, Counterattack, Growing Momentum, Artery Strike, and Master Fencer can give you a huge amount of flexibility depending on how you like to fight.
The biggest thing to remember is that some of these teachers are easy to miss permanently if you make the wrong choice. Constantin is the most obvious example, so think twice before finishing him off.
Once you’ve collected the best Manuals from all four trainers, Swordmastery stops feeling like a basic melee skill tree and starts becoming a proper combat system. And considering how brutal some of the later encounters can become, that’s a pretty good investment.