How to Fix Stalker 2 Cost of Hope Black Screen After Cutscene Error
There are few things more annoying in a game like STALKER 2: Cost of Hope than surviving a brutal firefight, finishing a long dialogue sequence, and then getting rewarded with… a completely black screen. The audio keeps going, the Zone is apparently still alive somewhere behind the darkness, and sometimes you can even hear footsteps or UI sounds. But the picture is gone, and there is no obvious way to get control back. I have run into plenty of strange PC issues across modern Unreal Engine games, and this particular kind of crash is especially frustrating because it often happens at exactly the moment when the game is supposed to hand control back to you.
The good news is that a black screen after a cutscene does not necessarily mean your save is ruined or that you need to reinstall the entire game. In many cases, the problem is connected to the way STALKER 2 transitions from a cinematic sequence back into real-time gameplay. Upscaling, Frame Generation, shader compilation, graphics drivers, corrupted files, mods, and even a problematic save can all play a part. There is no single magic fix, so the best approach is to work through the solutions from the easiest ones first.
How to Fix STALKER 2 Cost of Hope Low Video Memory Error on PC
Why Does STALKER 2 Go Black After a Cutscene?
The important detail is that this problem is often not a traditional game crash. If you can still hear environmental audio, dialogue, footsteps, gunfire, or menu sounds, the game may actually still be running in the background. What has failed is the visual side of the transition.
When a cutscene ends, the engine has to restore the playable camera, load or activate environmental assets, update lighting, process effects, and return control to the player. STALKER 2 is already a demanding game, so these transitions can put considerable pressure on the CPU, GPU, VRAM, and shader pipeline at the same time.
From my experience with demanding PC releases, these are the situations where seemingly harmless settings such as Frame Generation can suddenly become relevant. A game can run perfectly for an hour and then fail during one specific transition because that moment stresses a completely different part of the rendering pipeline.
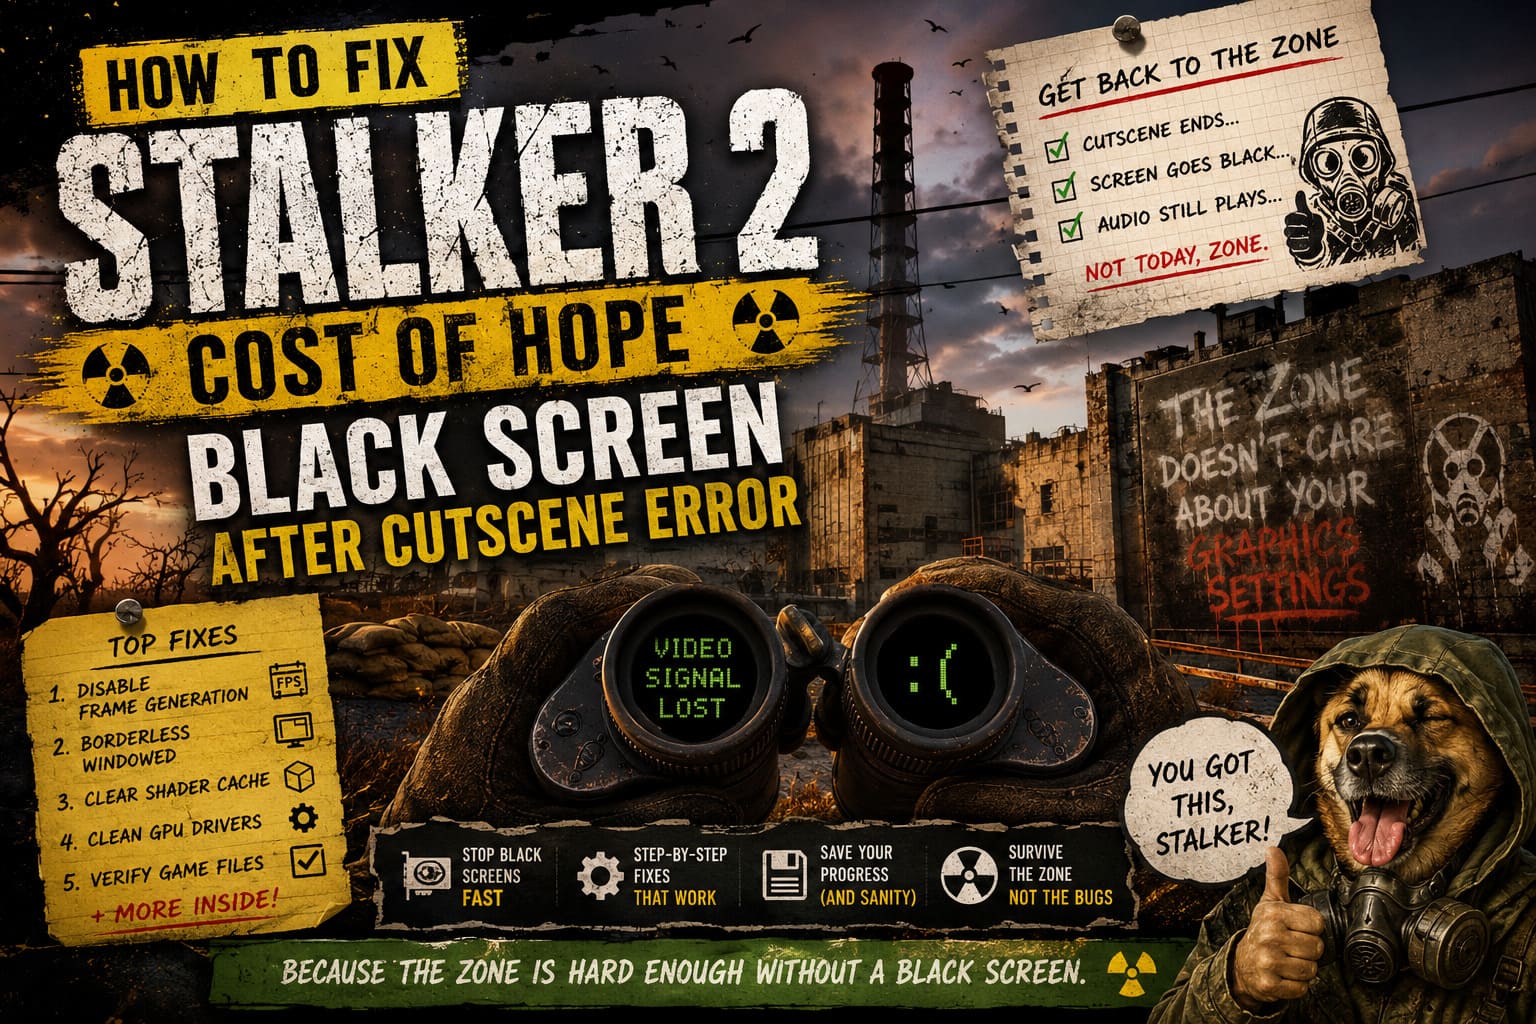
1. Disable Frame Generation First
If you are using an NVIDIA or AMD GPU with Frame Generation enabled, this is the first setting I would change. Frame Generation is useful for increasing perceived smoothness, but it also adds another layer between the game’s native frame rendering and what appears on your monitor.
That extra processing can occasionally create problems during aggressive scene transitions. Cutscenes are particularly interesting because the game is constantly switching camera behavior and rendering priorities.
Open the graphics settings in STALKER 2 and temporarily disable Frame Generation. Then replay the section where the black screen normally occurs.
If the problem disappears, you have probably found the culprit. You can leave Frame Generation disabled while playing that section or experiment with enabling it again after updating your graphics driver and game.
Try DLSS or FSR Quality Mode
If disabling Frame Generation does not help, the next thing I would test is your upscaling mode.
Depending on your graphics card, you may be using:
- NVIDIA DLSS
- AMD FSR
- Another available upscaling option
Avoid jumping straight to the most aggressive Performance preset while troubleshooting. Switch to Quality temporarily and test the troublesome cutscene again.
The goal here is not to find the prettiest setting. It is to establish whether the rendering pipeline is stable when the game changes from cinematic mode to gameplay.
2. Switch From Fullscreen to Borderless Windowed
This is one of those fixes that sounds almost too simple, but it is worth trying.
If you are playing in exclusive fullscreen mode, switch to Borderless Windowed. Windows handles the display differently in this mode, and in some situations it can prevent the screen from temporarily losing its rendering output when the game performs a major transition.
I would not permanently recommend one display mode for everyone. Performance and input behavior can vary between systems. But when you are staring at a black screen after a cutscene, changing the display mode is a quick test that costs almost nothing.
Restart the game after changing the setting and replay the affected sequence rather than simply assuming the change worked.
3. Clear the STALKER 2 Shader Cache
Shader cache problems are another strong candidate, especially if the black screen started after a graphics driver update or a game patch.
Modern games rely heavily on shaders for lighting, materials, particles, shadows, and other visual effects. STALKER 2 has an especially complicated visual environment, with dynamic lighting, atmospheric effects, vegetation, weather, and a huge amount of environmental detail.
If old shader data conflicts with a newer game or driver configuration, the game may behave strangely when it suddenly needs to load another collection of shaders.
Before deleting anything, make sure the game is completely closed. Then locate the game’s relevant local shader/cache data in your Windows user folders and remove the appropriate shader cache rather than randomly deleting configuration files.
Afterward, launch the game and give it time to rebuild the cache. Do not immediately start loading a save while the game is still performing its initial shader preparation.
The first launch may take longer than usual. That is normal.
4. Perform a Clean GPU Driver Installation
A graphics driver update does not always leave a PC in a perfectly clean state. Occasionally, remnants from an older driver version can cause bizarre rendering behavior, particularly after major driver changes.
If the black screen continues across multiple saves and cutscenes, I would consider doing a clean driver installation.
First, download the current driver for your graphics card directly from the manufacturer’s official website. NVIDIA, AMD, and Intel all provide their own driver packages.
For a genuinely clean installation, many experienced PC players use Display Driver Uninstaller (DDU) to remove existing graphics drivers before installing the new package. This is more involved than simply pressing the update button, so it should be treated as a troubleshooting step rather than the first thing you do.
A clean driver installation is particularly worth considering if the issue appeared immediately after updating your GPU driver.
5. Verify STALKER 2 Game Files
Sometimes the explanation is much less complicated: one or more game files are damaged or incomplete.
Steam makes checking this fairly painless. Open your Steam Library, find STALKER 2, open its Properties, go to the installed files section, and select the option to verify the integrity of the game files.
Steam will compare your installation with the files it expects and download replacements when necessary.
For players using the Xbox App or PC Game Pass, look for the game’s management options and use Verify and Repair if the option is available for your installation.
This is one of my favorite troubleshooting steps because it is relatively safe and can solve problems that otherwise look like complicated engine failures.
| Problem | First Fix To Try | Difficulty |
|---|---|---|
| Black screen after every cutscene | Disable Frame Generation | Easy |
| Black screen began after driver update | Clean GPU driver installation | Medium |
| Game freezes visually but audio continues | Switch to Borderless Windowed | Easy |
| Problem started after a patch | Verify game files | Easy |
| Same cutscene always causes the issue | Load an older save | Easy |
| Modded installation behaves strangely | Remove mods and configs | Medium |
6. Remove Mods and Custom Configuration Changes
Mods are great until they are not.
If you have modified STALKER 2, temporarily remove every mod and return the installation to a vanilla state. This includes gameplay modifications, visual tweaks, custom FOV settings, camera changes, post-processing adjustments, and manually edited configuration files.
A modification does not have to look related to cutscenes to cause a problem with them. The engine may use the same camera, rendering, or gameplay systems during the transition from a cinematic to normal gameplay.
If the game works correctly without your modifications, add them back one at a time. That takes longer, but it is much better than reinstalling everything and then immediately putting the same problematic files back.
7. Try Running the Game With Administrator Permissions
This is not the first fix I would recommend, but it can be useful when Windows permissions are interfering with the game’s ability to access files or directories.
Right-click the game’s executable and test launching it with administrator privileges. If you normally launch through Steam or another platform, remember that changing the executable behavior can affect how the launcher interacts with the game.
I would treat this as a troubleshooting experiment rather than a guaranteed solution. If it makes no difference, move on rather than leaving unnecessary elevated permissions enabled without a reason.
8. The Black Screen Happens at Exactly the Same Cutscene
This is where things get more interesting.
If you can play for hours without problems but the same exact cutscene produces a black screen every time, I would start suspecting the save state or a quest scripting issue rather than your GPU.
An autosave can occasionally put you right back into the problematic state. You load the game, watch the cutscene, get the black screen, reload, and… get the black screen again. It feels like the game is completely broken because you are effectively trapped in the same sequence.
The solution is to load an older manual or autosave created before the problematic quest or cinematic.
Replay the section from that earlier point. It may sound primitive compared with tweaking graphics settings, but forcing the game to rebuild the quest state can make a surprising difference.
I would also avoid immediately saving over every available slot. Keep at least one older backup save until you are certain the problem has been resolved.
9. Lower Graphics Settings Temporarily
If none of the previous fixes work, reduce the game’s most demanding graphics settings and test the cutscene again.
You do not need to turn everything down permanently. The idea is to reduce the GPU and VRAM load during the transition and see whether the problem changes.
Try lowering:
- Texture quality
- Global illumination
- Shadow quality
- Hair or foliage quality
- Effects quality
- View distance
If the black screen disappears after reducing the settings, you have useful information. Your system may be hitting a memory or rendering bottleneck during the transition even though average gameplay appears stable.
From there, you can raise individual settings again until you find the setting that pushes the system over the edge.
10. Restart the Game After Major Graphics Changes
One mistake I see frequently in PC troubleshooting is changing five settings at once and immediately testing the game.
That makes it impossible to know what actually fixed the issue.
Change one or two related settings, restart STALKER 2, and test the exact same scenario. If the issue remains, move to the next step.
It is slower, but much more reliable. PC troubleshooting is often less about finding a secret setting and more about eliminating variables.
Final Thoughts
The STALKER 2 Cost of Hope black screen after cutscene error is frustrating because it can look like a complete game crash while the rest of the simulation continues underneath the missing image. In my experience with demanding PC games, rendering problems like this are best approached methodically rather than immediately reinstalling the entire game.
Start with Frame Generation and upscaling, then test Borderless Windowed mode. After that, look at shader cache issues, GPU drivers, corrupted game files, mods, and finally the possibility of a damaged or unlucky save state.
The most important clue is consistency. If every cutscene eventually causes the problem, investigate your graphics stack and installation. If only one specific cinematic breaks every single time, an earlier save is much more suspicious.
And if you finally get back into the Zone after fighting through one of these technical problems, take a manual save. Seriously. The Exclusion Zone is already trying hard enough to kill you without your own save file joining the enemy faction.