Mortal Shell 2 Parry and Harden Mechanics Explained: Complete Combat Overhaul Guide
If there is one thing I immediately noticed about Mortal Shell 2, it is that Cold Symmetry clearly did not want to make a bigger version of the first game and call it a day. The sequel takes the basic combat philosophy of the original and pulls several important pieces apart. The result is a system that feels more deliberate, more customizable, and, honestly, a little more intimidating when you first start playing.
The biggest change is not a new weapon or a flashy boss. It is the way defense works.
The original Mortal Shell built much of its identity around Hardening and the Tarnished Seal. You had a fairly straightforward defensive toolkit, and once you understood how those mechanics interacted, the combat started to feel surprisingly fluid. Mortal Shell 2 changes that philosophy completely.
There is no longer one universal defensive solution that covers everything. Instead, different Seals define how you defend yourself. Want to block? There is a Seal for that. Want to live dangerously and parry everything? There is another. Want the iconic stone body back? You have to build around it.
And because the sequel also removes the traditional stamina bar, learning these systems becomes the real key to surviving.
No Stamina Bar? That Changes the Entire Game
The first few fights can feel strange because your brain is still expecting the usual Soulslike rules.
You sprint. You attack. You dodge. You attack again.
There is no green stamina bar telling you when to stop.
At first, this sounds like a huge advantage. It is. But Cold Symmetry needed another way to punish careless play, and that is where the Posture Meter comes in.
Instead of constantly managing stamina, you have to manage your exposure to enemy attacks. Dodging and parrying don’t simply drain a resource anymore. Blocking repeatedly, especially against heavy attacks, can push your posture toward its breaking point.
Once that meter fills, you’re staggered.
And that’s when things get ugly.
The important difference is that this system rewards timing rather than endurance management. You aren’t asking yourself, “Do I have enough stamina for one more dodge?” You’re asking, “Can I take this hit, should I guard it, or do I need to avoid it entirely?”
That makes enemy animation knowledge much more valuable.
The Seal System Is the Heart of the New Combat
This is easily my favorite part of the combat overhaul.
Your defensive style is no longer automatically available at all times. Instead, you equip different Seals that effectively determine what kind of fighter you are.
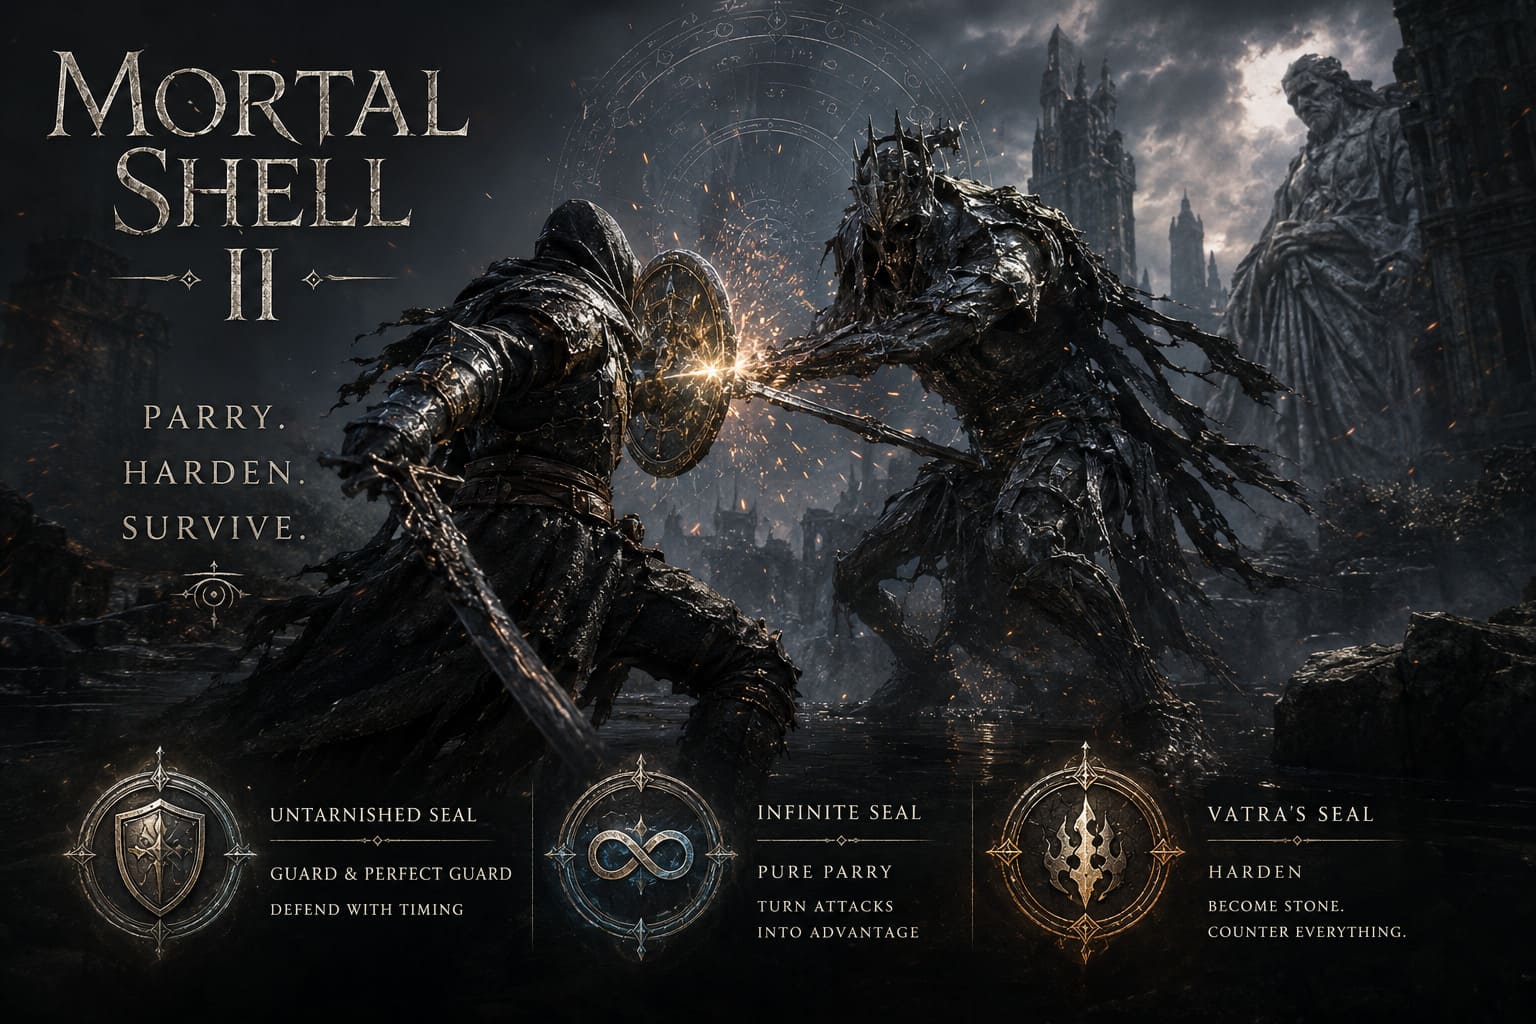
The three most important defensive options are the Untarnished Seal, Infinite Seal, and Vatra’s Seal.
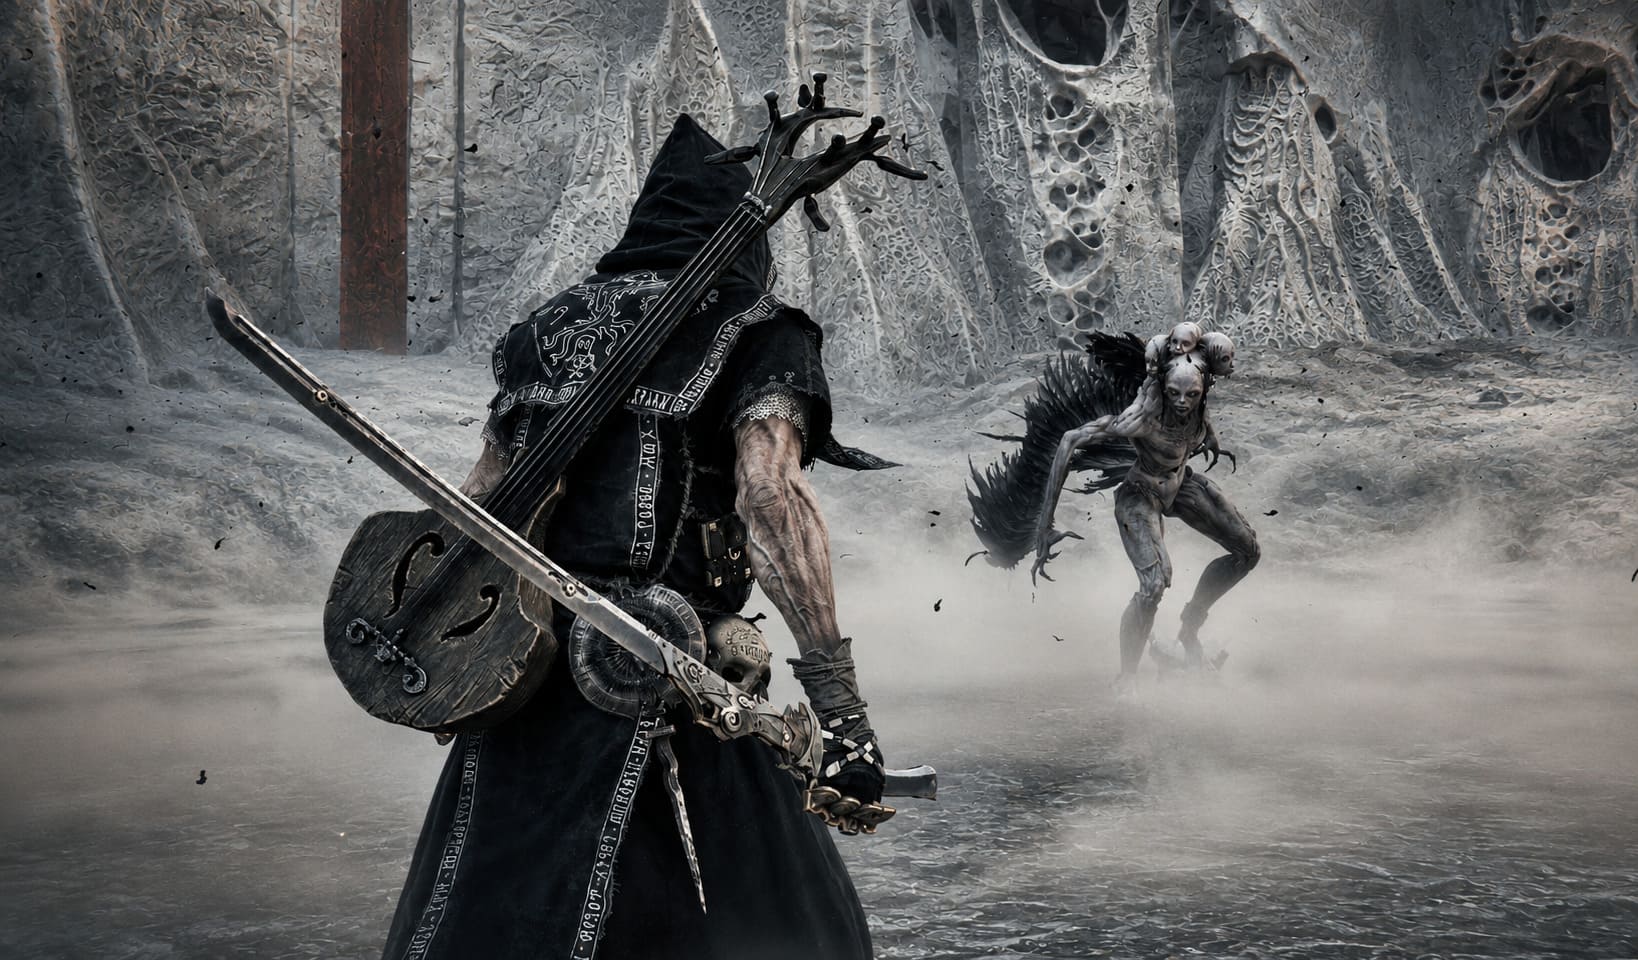
| Seal | Main Function | Best For | Risk |
|---|---|---|---|
| Untarnished Seal | Guard & Perfect Guard | Defensive players | Posture buildup |
| Infinite Seal | Pure Parry | Aggressive players | Extremely strict timing |
| Vatra’s Seal | Harden | Counter-attacking | Cooldown management |
This creates something that feels almost like a build system without being a traditional stat-based build. Changing your Seal can completely change how you approach the same boss.
And I really like that idea.
Untarnished Seal: The Reliable Guard
The Untarnished Seal is probably the easiest place to start if you’re still learning the combat system.
It gives you access to a standard guard, allowing you to absorb normal attacks instead of immediately dodging everything. The catch is that blocking is not free. Every poorly timed hit pushes your Posture Meter closer to breaking.
The real trick is the Perfect Guard.
If you activate your guard just before an attack connects, you can completely avoid the usual posture penalty and punish the enemy’s own posture instead. That makes the mechanic much more than a simple defensive button.
There is one detail that took me a while to appreciate: the guard has a small startup window.
You cannot simply wait until the last possible frame and expect the game to save you every time. You need to anticipate the attack.
That makes enemy attack animations incredibly important. Watch the shoulder movement. Watch the weapon trajectory. Learn when an enemy actually commits to the swing.
Once you stop reacting purely to the weapon and start reading the entire animation, Perfect Guards become much more consistent.
Infinite Seal: For Players Who Like Living Dangerously
Then there is the Infinite Seal, which is where things get serious.
This Seal removes your conventional block completely. Press the defensive button and you’re attempting a dedicated parry instead.
There is no safety net.
When it works, though, it feels fantastic.
A successful parry interrupts the enemy’s momentum and causes a huge amount of Break damage to their posture. Against aggressive enemies, a skilled player can turn their attacks into opportunities to dismantle the enemy’s defense.
Eventually, a depleted enemy posture meter puts them into an execution state, opening the door for a brutal Riposte.
This is probably the Seal I would recommend to experienced Soulslike players who enjoy learning boss moves instead of simply avoiding them.
But don’t equip it expecting an easy ride.
The timing is strict, and missing repeatedly will teach you a very painful lesson.
Vatra’s Seal Brings Harden Back
For longtime fans, this is probably the most reassuring part of the sequel.
Harden is back.
The difference is that it is no longer simply a universal mechanic sitting alongside everything else. Vatra’s Seal turns Hardening into its own dedicated defensive option.
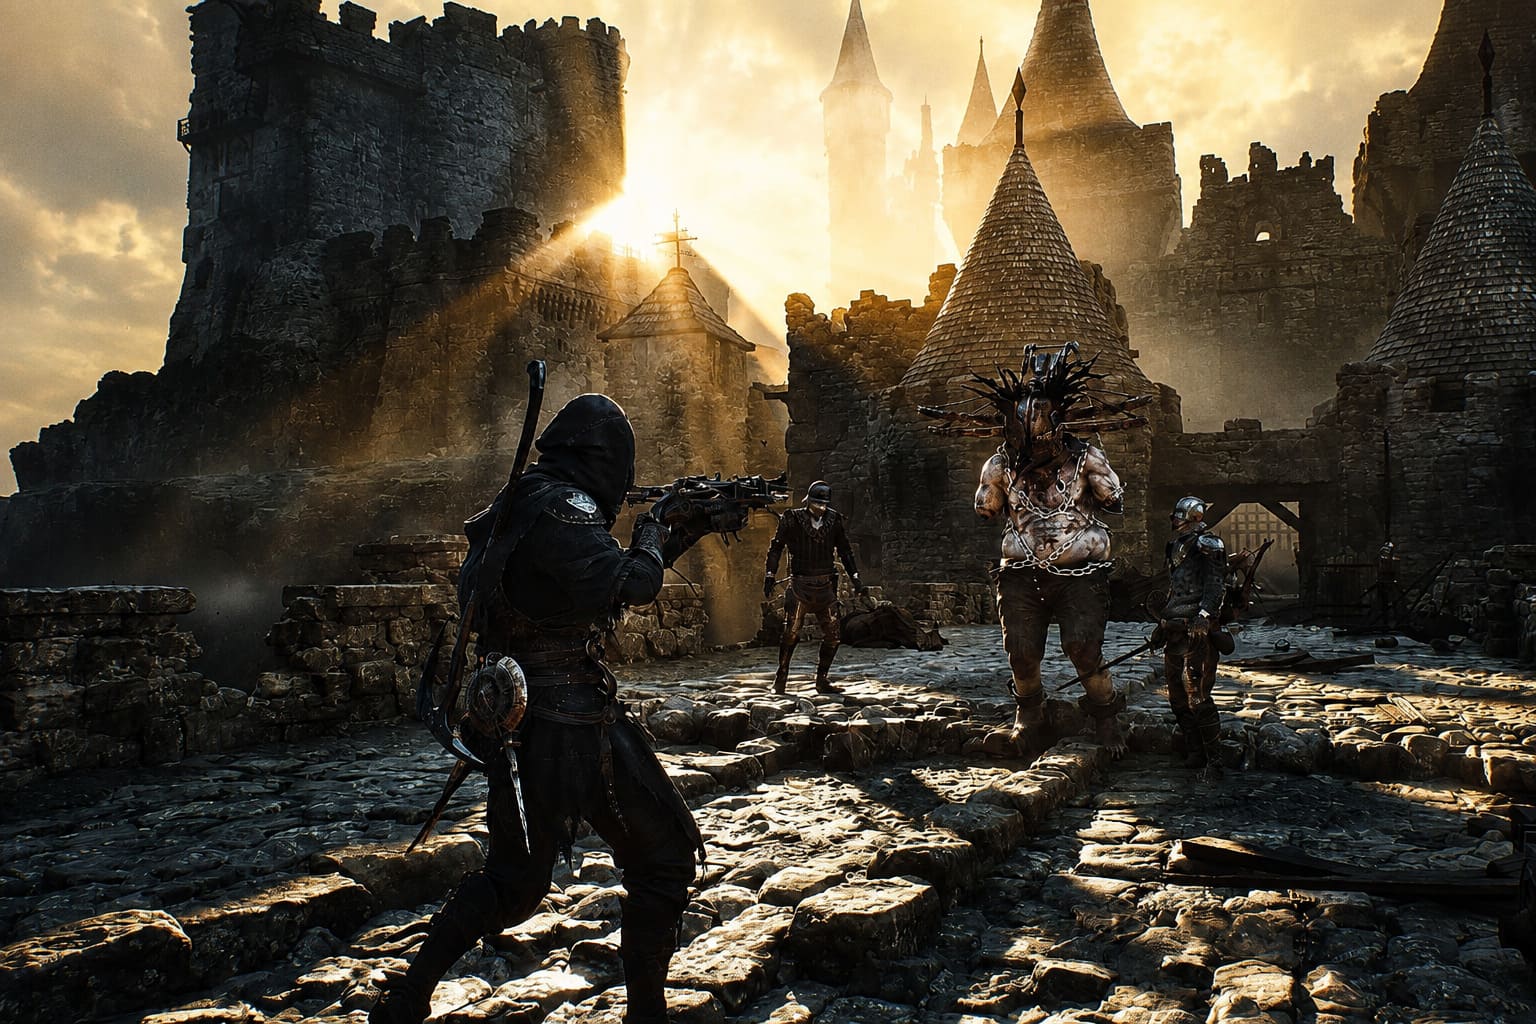
Once equipped, activating the Seal turns the Harbinger into stone, completely negating incoming physical damage while the Harden state is active.
And there is a huge amount of freedom in when you can use it.
You can Harden during movement, during an attack, or even while transitioning through another action. That flexibility makes it incredibly useful when you misread an enemy’s timing or suddenly realize a boss is about to unleash something nasty.
But Harden is not unlimited.
A separate gray resource bar controls its availability. After the Harden state is broken, you have to wait for that resource to regenerate.
So even though there is no stamina system, resource management has not disappeared from Mortal Shell 2. It has simply moved somewhere more interesting.
Perfect Harden Is Where Things Get Interesting
This is one of those mechanics that separates basic Harden usage from genuinely good play.
If you activate Vatra’s Seal at almost the exact moment an enemy attack is about to connect, you can perform a Perfect Harden.
The reward is substantial.
Instead of merely surviving the attack, you can instantly restore the Harden resource and deal Break damage to the enemy.
That means a player with excellent timing can potentially maintain Harden through sequences that would normally force them to disengage.
Against bosses with rapid multi-hit combos, this becomes especially powerful.
Personally, I think this is a much better solution than simply making Harden a permanent defensive button. The game gives you a powerful tool, but the best version of that tool still demands precision.
Learn Which Attacks You Cannot Defend Against
One of the easiest mistakes to make is assuming that every attack can be parried or guarded.
They can’t.
Certain boss grabs, command throws, and magical attacks are designed to bypass traditional defensive options. Fortunately, the game gives you an important visual and audio warning.
The Seal attached to your character can flash red and produce a distinct ringing sound when an incoming attack is mechanically unparryable.
When that happens, don’t stubbornly press the parry button.
Move.
A dodge is usually the answer, while Vatra’s Harden can provide another option when the attack is physically compatible with the stone form.
This also makes positioning much more important than it initially appears.
For grabs in particular, dodging directly backward can be surprisingly dangerous because you’re moving along the same line as the attack. Dodging forward and slightly sideways can often get you past the active hitbox instead.
That is the kind of small combat lesson that will save you repeatedly once bosses start throwing unpredictable attacks at you.
The Best Defense Is Still Reading the Enemy
No matter which Seal you choose, the fundamental skill remains the same: learn the enemy’s animations.
Most attacks can be broken mentally into three stages:
- Wind-up — the enemy commits to the attack.
- Active phase — the actual hit occurs.
- Recovery — the enemy is vulnerable afterward.
Your job is not necessarily to react during the active phase.
Ideally, you recognize the wind-up and already know what your response should be.
This is especially important with the Infinite Seal. Parrying isn’t about having superhuman reflexes. It is about recognizing patterns early enough that the timing becomes predictable.
Once you understand an enemy’s rhythm, attacks that initially seemed impossibly fast start feeling almost obvious.
Seals Can Also Change the Difficulty
One of the more interesting ideas in Mortal Shell 2 is that the game doesn’t need a traditional Easy, Normal, or Hard menu to change the experience.
The Slayer Seal can make the game more forgiving by rewarding successful Ripostes with significant health and Resolve recovery. That can be extremely useful for players who want to focus on exploring the world without constantly being punished by every failed encounter.
There is, however, a major downside: using it disables system achievements for that playthrough.
At the opposite end is the Gloombound Flame.
This is essentially an invitation to make your adventure nastier.
Activating it creates a permanent night cycle and increases enemy aggression while changing their attack patterns and tightening defensive timing windows. In return, you can pursue better rewards and rarer upgrade materials.
That is a much more interesting difficulty modifier than simply giving enemies more health.
Mortal Shell 2 Weapon Guide: How to Get Shotgun Early and Tarstones Upgrade Guide
My Favorite Approach to Mortal Shell 2 Combat
If I were starting a fresh playthrough, I would spend the early hours experimenting with all three defensive Seals instead of immediately committing to one.
The Untarnished Seal is excellent for learning enemy patterns because it gives you a little breathing room.
The Infinite Seal is where I’d go once I felt confident with parry timing.
And Vatra’s Seal would be my choice whenever I wanted a more flexible, aggressive combat rhythm where I could stay close to an enemy and punish attacks with Perfect Harden.
The important thing is not to treat these Seals as simple upgrades.
They aren’t.
They are different combat philosophies.
Mortal Shell 2 Xbox Game Pass 2026: How to Unlock the Obsidian Skin Set
Final Thoughts
Mortal Shell 2 takes a mechanic that worked extremely well in the original and asks a simple question: what happens if defensive abilities become build choices instead of universal tools?
The answer is a combat system that feels considerably more deliberate.
The removal of stamina gives you freedom, but the Posture Meter prevents that freedom from becoming mindless button-mashing. The Untarnished Seal rewards calculated guarding. The Infinite Seal turns parrying into a high-risk skill test. Vatra’s Seal brings Harden back while giving experienced players an additional layer through Perfect Harden.
And that’s what makes the combat interesting.
You are not simply learning how to dodge.
You are learning which defensive language you want to speak.
Spend some time around the early areas near Marrow Keep. Practice against weaker enemies. Don’t rush through every encounter. Learn which attacks can be parried, which ones need to be dodged, and when a Perfect Harden can completely turn the momentum of a fight.
Once those pieces start clicking, the combat becomes much more than another Soulslike system.
It becomes a rhythm.
And when you finally read a boss’s attack, Perfect Harden through the hit, break its posture, and finish with a Riposte, you get exactly the kind of satisfying feedback that makes this genre so hard to put down.