WARDOGS Artillery Guide: How to Master Mortars and Artillery Trucks
There is something deeply satisfying about playing artillery in a tactical shooter. You are nowhere near the action, you may not fire a single rifle round all match, and yet one well-placed barrage can completely wreck an enemy push. That is exactly why artillery in WARDOGS caught my attention: it feels less like a reward for getting a kill streak and more like an actual battlefield job that depends on communication, positioning, and knowing what you are doing.
Developed by BULKHEAD and published by Team17, WARDOGS puts a lot of emphasis on large-scale combined-arms warfare. With huge 100-player battles, destructible environments, vehicles, infantry, logistics, and a cash-driven economy, the game gives artillery a surprisingly important strategic role. Mortars can support an FOB relatively cheaply, while the massive self-propelled artillery truck turns one coordinated crew into a serious threat across a huge portion of the map.
The important thing to understand is that artillery in WARDOGS is not an automatic ability. There is no button that magically drops explosives on an enemy position. You have to aim, calculate, communicate, manage ammunition, and sometimes relocate before the enemy figures out where you are. Once you get comfortable with that process, indirect fire becomes one of the most rewarding ways to influence a match.
Best Controller for WARDOGS (2026): Top Gamepads for Bulkhead’s Tactical FPS
The Two Main Artillery Options in WARDOGS
Before worrying about firing solutions and coordinates, it helps to understand what you are actually operating. WARDOGS gives players two fundamentally different approaches to indirect fire: the relatively accessible stationary mortar and the expensive, mobile artillery truck.
| System | Main Role | Mobility | Cost | Best Use |
|---|---|---|---|---|
| FOB Mortar | Infantry support | Stationary | Team resources | Defense and local fire support |
| Artillery Truck | Heavy indirect fire | Mobile | High cash investment | Long-range strategic bombardment |
The difference is enormous. A mortar is something your squad can build and use as part of a defensive position, while the artillery truck is a major strategic asset that requires serious investment. I actually like having both options because they encourage completely different styles of play.
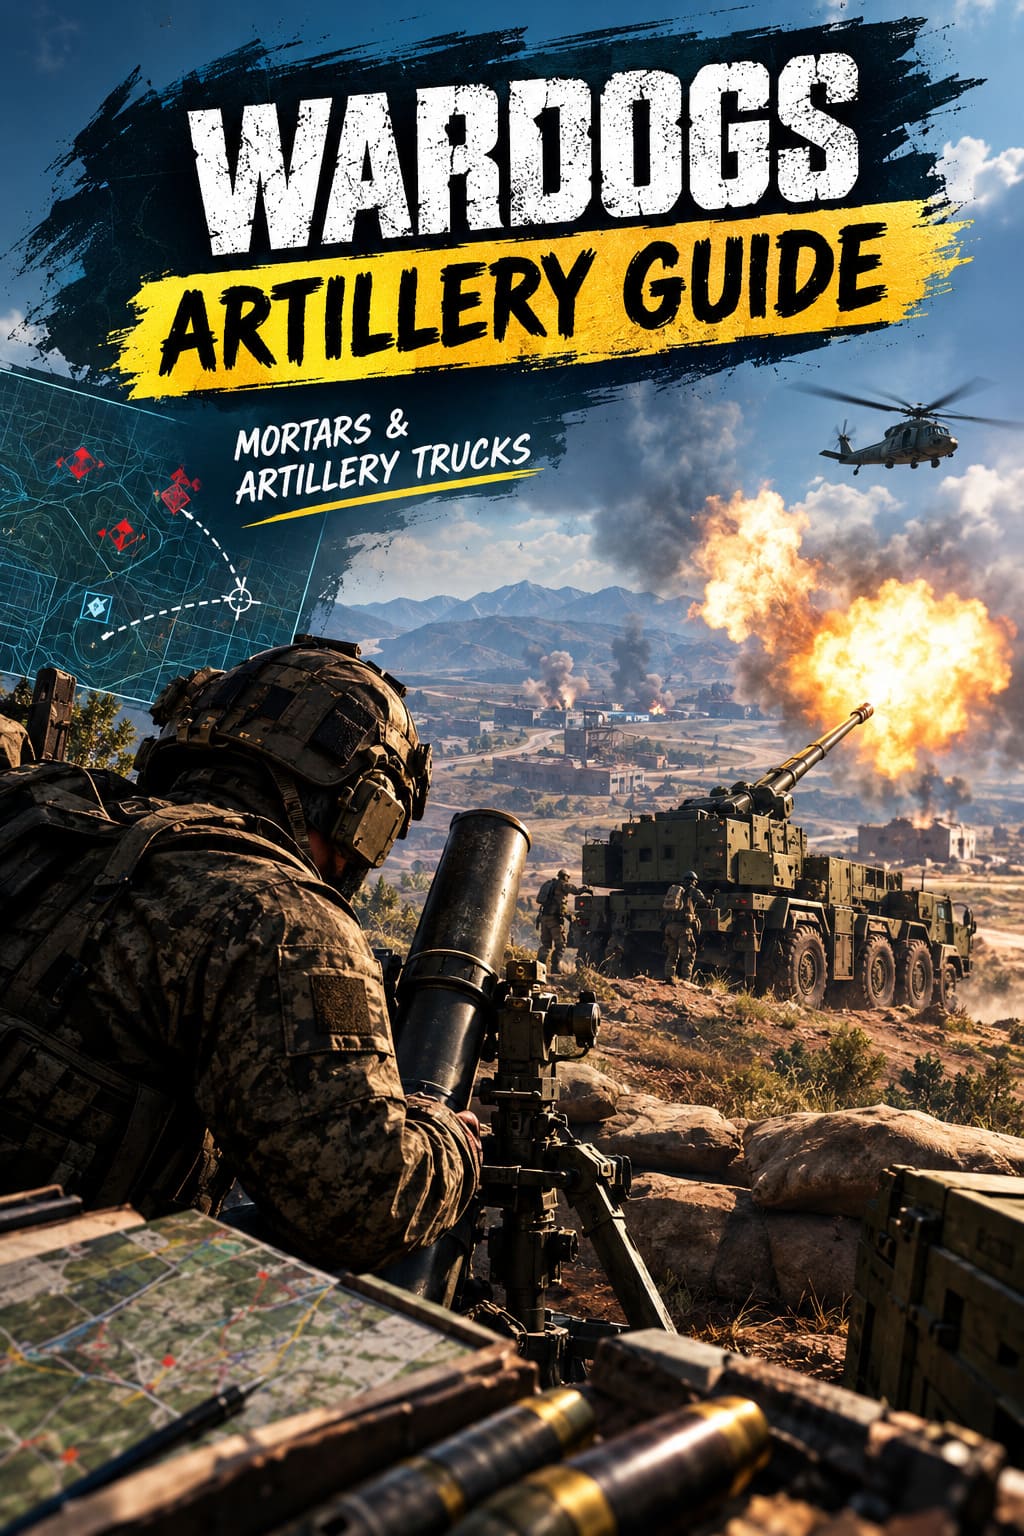
Stationary Mortars
FOB mortars are the practical option. They are relatively easy to integrate into a team’s infrastructure and are particularly useful when your squad needs to control a particular sector. A good mortar position can punish enemies approaching a capture zone, break up an organized attack, or keep pressure on an enemy position without exposing infantry to unnecessary gunfire.
The biggest limitation is obvious: once the mortar is built, it is not going anywhere. That makes placement extremely important. A mortar sitting in an exposed FOB can become an easy target, while one hidden behind terrain can continue supporting the team for a much longer time.
The Artillery Truck
The self-propelled artillery truck is a completely different beast. It combines long-range firepower with mobility, allowing the crew to change firing positions and attack targets from unexpected directions. That mobility is arguably its biggest advantage because staying in one place after firing repeatedly is practically asking the enemy to find you.
It is also a much bigger commitment. You need to unlock it, pay to deploy it, purchase ammunition, and find players willing to operate the different crew positions. In other words, the artillery truck is not something I would treat as a casual vehicle spawn. If the team has the money and the right crew, though, it can have a ridiculous impact on the battlefield.
How to Build and Use a Mortar
Mortars are tied to Forward Operating Bases, so your first job is getting the logistics chain working. The team needs to establish an FOB and bring the necessary supplies there, typically through logistics vehicles or transport helicopters. Once the required resources are available through the FOB infrastructure, players can use the construction system to deploy the mortar.
There is one beginner mistake worth emphasizing: check the mortar’s muzzle clearance before firing. If you build the weapon directly behind a wall, barricade, sandbag, or other obstruction, the shell can hit the structure immediately after leaving the tube. The result is exactly as bad as it sounds—you can kill yourself and damage your own defensive position.
That is not a particularly glamorous way to begin an artillery career.
Understanding the Mortar Interface
Once you enter the mortar, the game gives you the information needed to work out your firing solution. The compass at the top provides the horizontal bearing, while the distance or elevation interface allows you to adjust the trajectory. After firing, the shell camera is extremely useful because it lets you see where the round actually lands.
I strongly recommend using that camera rather than blindly changing settings after every shot. Treat each round as information. If your shell lands short, you know you need to increase the required range; if it goes long, reduce it. Small corrections are much more reliable than randomly moving the dial.
Two Ways to Aim a Mortar
There are essentially two approaches to targeting. One is much easier for beginners because it uses information provided by teammates, while the other requires you to work with the tactical map and develop a better understanding of the battlefield.
Use a Spotted Target
The easiest method is having someone on the frontline identify the target. Recon players equipped with appropriate spotting equipment can mark enemy positions, giving the mortar operator a much clearer reference.
Once you have a usable marker, the process becomes fairly straightforward. Point the mortar toward the target’s bearing, adjust the range according to the displayed distance, and fire. Your first shell might not be absolutely perfect, but it should put you close enough to begin making corrections.
This is where communication becomes more important than mechanical skill. A mortar crew that receives accurate target information from teammates is dramatically more useful than a player sitting alone and guessing at random coordinates.
Blind-Firing From the Map
The more interesting method is blind fire. Sometimes the enemy is behind a ridge, inside a structure, or positioned somewhere your team simply cannot see. You may still know where they are, however, because someone has reported their grid position.
Open the tactical map and identify your own location first. Then identify the suspected enemy position. From there, you need to work out two important pieces of information: bearing and distance.
Your first shot should be treated as a test round. Watch the impact through the shell camera, compare it with the intended target location, and make a controlled adjustment. With practice, this process becomes surprisingly fast.
Unlocking the WARDOGS Artillery Truck
The artillery truck is deliberately positioned as a late-game investment. According to the supplied game details, players need to reach War Dog Level 55 before purchasing the vehicle from the appropriate vendor. The permanent unlock costs $400,000, while each deployment costs another $8,000.
That price alone tells you how seriously the game expects you to treat the vehicle. Burning through artillery deployments without achieving anything useful is a painful way to spend your resources.
Once deployed, the truck appears around the main headquarters area. From there, the crew needs to decide where to take it before opening fire. I would strongly resist the temptation to park right next to the frontline just because the range allows it. Distance and concealment are your friends.
The Three Crew Positions
The artillery truck works best with a proper crew because each position has a specific responsibility.
The Driver
The driver handles movement and positioning. This sounds simple until you realize how vulnerable a huge artillery vehicle can be. The driver should think about terrain, escape routes, enemy helicopters, anti-tank weapons, and possible relocation positions before the first shell is even fired.
The Gunner
The gunner is responsible for the actual howitzer. Their world is mostly numbers, bearing, elevation, ammunition, and impact points. A good gunner should be comfortable making adjustments quickly rather than panicking after a near miss.
The Support Gunner
The support gunner operates the mounted M249 and protects the vehicle against infantry threats. This position is easy to underestimate, but it can be the difference between successfully completing a bombardment and watching an enemy squad sneak up and destroy the truck.
For me, the ideal artillery crew is one where everyone communicates constantly. The gunner should not have to worry about whether somebody is approaching the vehicle from behind, and the driver should know when another firing position is needed.
Don’t Ignore the Reload Mechanic
The artillery truck also adds a reload minigame, which prevents the weapon from simply becoming a fire-and-forget machine. After firing, the gunner needs to interact with the reload sequence and hit the timing zone correctly.
Getting the timing right helps maintain a better rate of fire, while mistakes can slow the entire process down. It may seem like a small mechanic, but during an active bombardment, those extra seconds matter.
A missed reload is especially frustrating when you have just received an urgent target call from the frontline. Artillery rewards players who stay calm under pressure, and that applies to the reload system as much as the aiming process.
Ammunition Management Matters
The artillery truck does not give you unlimited shells. Before leaving headquarters, the crew should make sure the vehicle has enough ammunition for the planned operation. The supplied information indicates that the vehicle’s supply/customization interface can be accessed with the B key when operating in an authorized supply area.
This is another reason not to waste shells on random infantry. Every round has an economic cost, and the strongest artillery operators are not necessarily the ones who fire the most. They are the ones who consistently make each shot count.
I would rather fire five useful shells at an enemy FOB than twenty rounds at scattered players who can simply move away from the impact area.
Understanding Coordinates and Ballistics
Once you start firing without direct visual spotting, the game becomes much more interesting. You need to understand the map’s grid system and translate your position and the target’s position into a practical firing solution.
The basic process is straightforward in theory:
- Find your artillery position on the tactical map.
- Identify the enemy position or target grid.
- Work out the approximate distance.
- Determine the required bearing or azimuth.
- Set the artillery accordingly.
- Fire a test round.
- Watch the impact and make corrections.
The difficult part is doing this quickly while the battlefield is changing around you. Enemy positions move, objectives change hands, and your own vehicle may need to relocate before you have time to make ten perfect calculations.
Community Calculators Can Save Time
This is where external community tools can be extremely useful. WARDOGS players have created tactical maps and artillery calculators designed to convert map positions into useful firing information.
For experienced crews, these tools can dramatically reduce the amount of guesswork involved. Instead of spending several minutes doing manual geometry, you can use your current position and target location to determine the approximate bearing and range much faster.
Still, I would not rely on a calculator as a substitute for understanding the weapon. You should know what the numbers mean before trusting them. Terrain, movement, positioning, and your ability to observe impacts remain important even when the initial firing solution is accurate.
What Should You Actually Shoot?
This is probably the most important strategic question.
A common mistake with artillery is becoming obsessed with killing individual players. That can feel great when the kill feed starts moving, but it is often a terrible use of ammunition.
The best targets are usually concentrated or strategically important:
- Enemy FOBs can disrupt spawning, logistics, and reinforcement routes.
- Capture-zone approaches can make it difficult for enemy squads to reach an objective.
- Parked or predictable vehicles offer large targets and can punish careless positioning.
- Enemy staging areas are particularly valuable when several players are preparing an assault.
Think about artillery as a tool for changing the battlefield rather than simply farming kills. If your bombardment forces an entire enemy squad to abandon its position, you may have accomplished more than killing three players.
Counter-Battery Fire and Relocation
The moment you start firing repeatedly, you are advertising your presence. Artillery explosions, sound, and projectile trajectories give the enemy clues about where you are operating.
That means shoot-and-stay is a bad habit.
With the artillery truck, fire a short series of rounds and then consider moving. The exact relocation distance will depend on the terrain and situation, but moving a few hundred meters can make it considerably harder for the enemy to return fire accurately.
Mortars have a different problem because they are stationary. If your FOB becomes a known artillery target, you cannot simply drive away. This makes concealment, defensive construction, and good FOB placement especially important.
Helicopters Are a Serious Threat
If I had to name one threat that artillery crews should constantly worry about, it would be enemy helicopters. A large artillery vehicle is not exactly difficult to notice from the air, and once an attack helicopter identifies your position, things can go downhill very quickly.
The support gunner can help against infantry, but you should not expect a machine gun to solve every anti-air problem. Your team needs broader protection, including appropriate air-defense assets and enough situational awareness to know when enemy aircraft are approaching.
The driver should always have an escape plan. Never position the truck somewhere where a helicopter attack leaves you trapped between terrain and enemy forces.
Communication Makes Good Artillery Great
You can be an excellent gunner and still be almost useless if nobody tells you what to shoot.
WARDOGS works best when artillery crews communicate with frontline players through VoIP. A squad can provide the initial target, confirm whether the enemy is still there, report the impact, and tell the artillery crew when it is time to shift fire.
This creates a proper feedback loop:
Spot → Fire → Observe → Adjust → Reassess → Relocate.
That cycle is what turns artillery from a gimmick into genuine battlefield support.
The Biggest Mistakes New Artillery Players Make
There are a few habits I would actively try to avoid when learning the system.
First, don’t waste ammunition just because you have ammunition. Second, don’t remain in one firing position for too long with a mobile artillery vehicle. Third, don’t ignore your crew—artillery is far more effective when the driver, gunner, and support gunner actually communicate.
Finally, don’t get discouraged by imperfect first shots. Indirect fire is a skill, and your early rounds are going to land short, long, left, or right. The important thing is learning from every impact and gradually developing an instinct for the weapon.
Final Thoughts: Artillery Is About Control, Not Just Destruction
After playing different types of shooters, I have always found artillery systems most interesting when they require actual player input. WARDOGS takes that idea seriously. You are not pressing an ability button and waiting for explosions; you are operating a weapon system that depends on positioning, calculations, communication, logistics, and timing.
Mortars are the accessible way into that playstyle, especially for squads defending an FOB or supporting an objective. The artillery truck is the much bigger commitment, but when three competent players work together and start landing accurate rounds across the map, it can completely change the flow of a battle.
My biggest advice is simple: learn to shoot accurately, but learn when not to shoot even faster. Save ammunition for meaningful targets, communicate with the frontline, relocate before the enemy gets a firing solution on you, and treat the artillery truck like the expensive strategic asset it is.
Once you stop thinking about artillery as a source of easy kills and start thinking of it as a battlefield-control tool, WARDOGS becomes a much more interesting game. And honestly, there are few things more satisfying than hearing a teammate call out an enemy position, dialing in the coordinates, and watching your shell land exactly where it needs to be.