Best EA FC 27 Controller Settings: Competitive PvP Sensitivity Guide
If you spend enough time playing EA SPORTS FC 27 online, you eventually realize that controller settings are not just a collection of options buried in the menus. They can genuinely change how the game feels.
A pass can leave your foot a fraction too late. A defender can switch to the wrong player. A shot that looked perfect can suddenly drift away from the target. When you’re playing casually, those things are easy to blame on the game. When you’re playing Division Rivals or Ultimate Team Champions, though, small mistakes quickly become goals.
I’ve always felt that the default controller configuration is designed to make FC 27 approachable rather than make it competitive. That’s perfectly reasonable, but if you’re serious about improving, you should spend some time building a setup that matches the way you actually play.
After testing different combinations, this is the configuration I’d use as a starting point for competitive PvP. It focuses on responsiveness, manual control and predictable player switching without turning every action into a completely manual struggle.
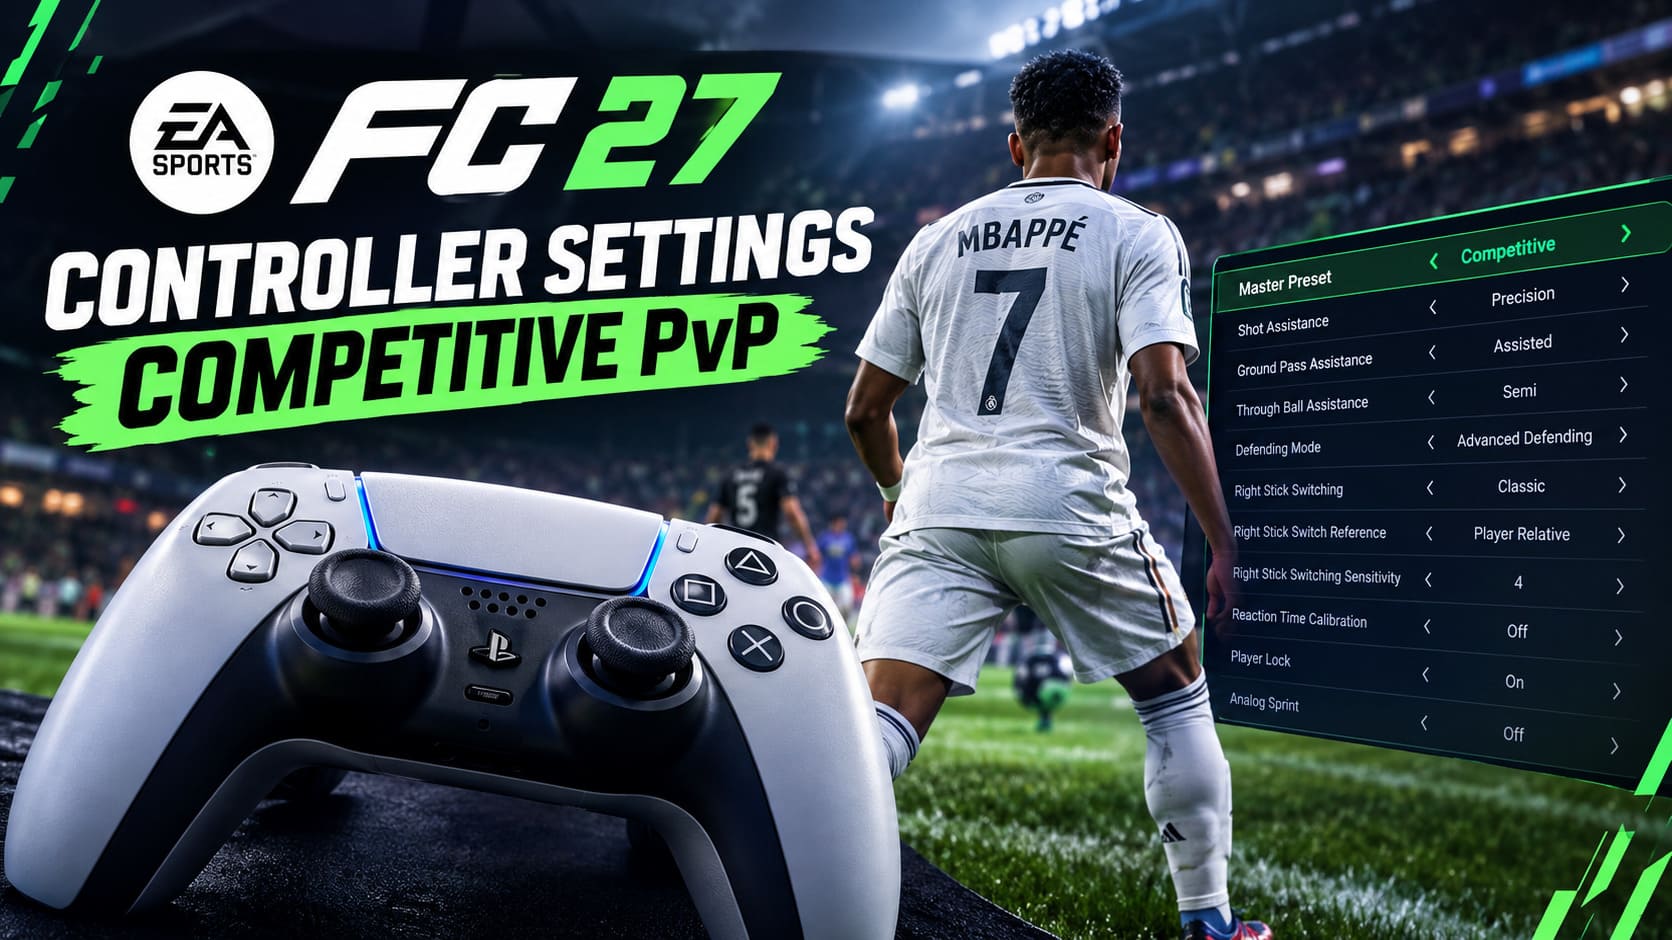
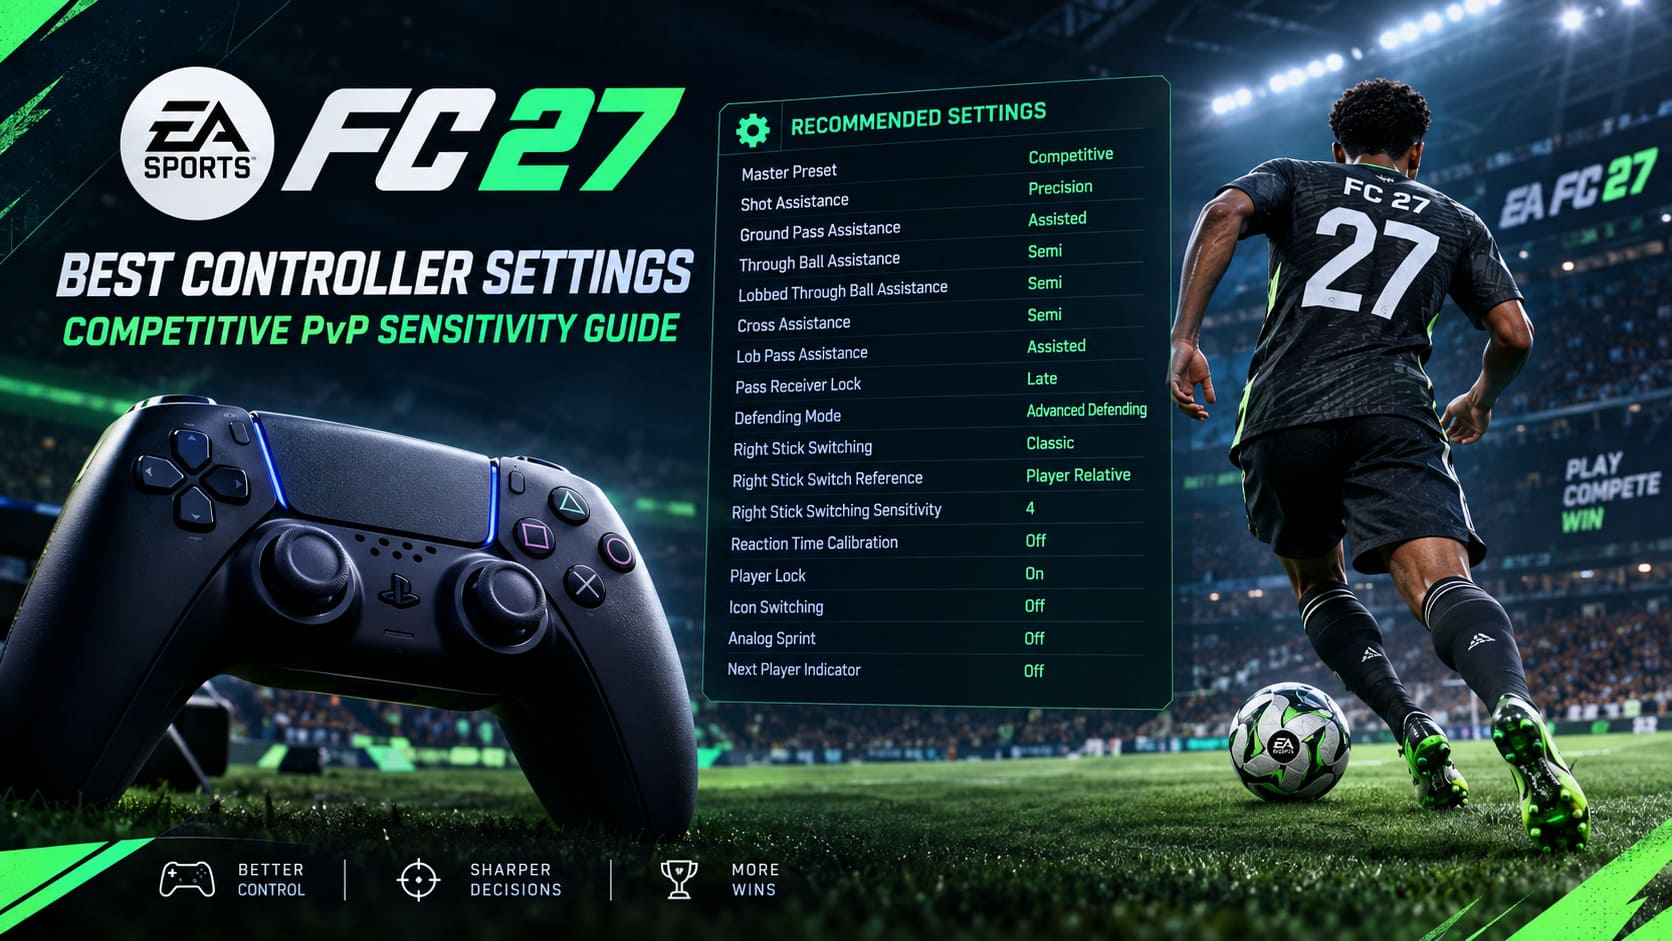
My Recommended EA FC 27 Controller Settings
Here is the setup I would start with before changing anything else:
| Setting | Recommended Value |
|---|---|
| Master Preset | Competitive |
| Shot Assistance | Precision |
| Ground Pass Assistance | Assisted |
| Through Ball Assistance | Semi |
| Lobbed Through Ball Assistance | Semi |
| Cross Assistance | Semi |
| Lob Pass Assistance | Assisted |
| Pass Receiver Lock | Late |
| Defending Mode | Advanced Defending |
| Right Stick Switching | Classic |
| Right Stick Switch Reference | Player Relative |
| Right Stick Switching Sensitivity | 4 |
| Reaction Time Calibration | Off |
| Player Lock | On |
| Icon Switching | Off |
| Analog Sprint | Off |
| Next Player Indicator | Off |
You don’t necessarily have to copy every option blindly. The important thing is understanding why these settings work together.
Start With the Competitive Preset
The first thing I’d change is the Master Preset.
Set it to Competitive.
This might sound obvious, but it’s worth doing even if you’re mainly interested in online matches. FC 27 uses competitive behavior in its online PvP modes, so configuring the same preset in your main settings means your offline practice sessions will behave more like the matches you’re actually preparing for.
That matters more than people think.
There’s not much value in spending an hour in the Practice Arena learning a particular shooting or passing behavior, only to discover that your online matches handle certain actions differently.
The Competitive Preset also removes some of the heavier forms of automation. Features such as Auto-Shooting and Assisted Headers are restricted, putting more responsibility on the player.
And honestly, that’s what I want from a competitive football game.
If I miss a chance because my aim was bad, I’d rather know it was my mistake.
Precision Shooting Takes Practice, But I Prefer It
The biggest adjustment for many players will probably be Shot Assistance: Precision.
I’ll admit that this setting isn’t immediately comfortable.
Assisted shooting is much more forgiving. You can make a slightly imperfect input and still get some help from the game. Precision takes that safety net away. Your left-stick direction becomes much more important at the exact moment you release the shot.
At first, that can feel unnecessarily harsh.
But once you start getting used to it, the additional control becomes noticeable.
Precision shooting gives you more freedom over the trajectory, particularly when you’re trying to place shots toward specific areas of the goal. Near-post attempts, across-goal finishes and situations where the goalkeeper is slightly out of position can all benefit from having more direct control.
The trade-off is simple:
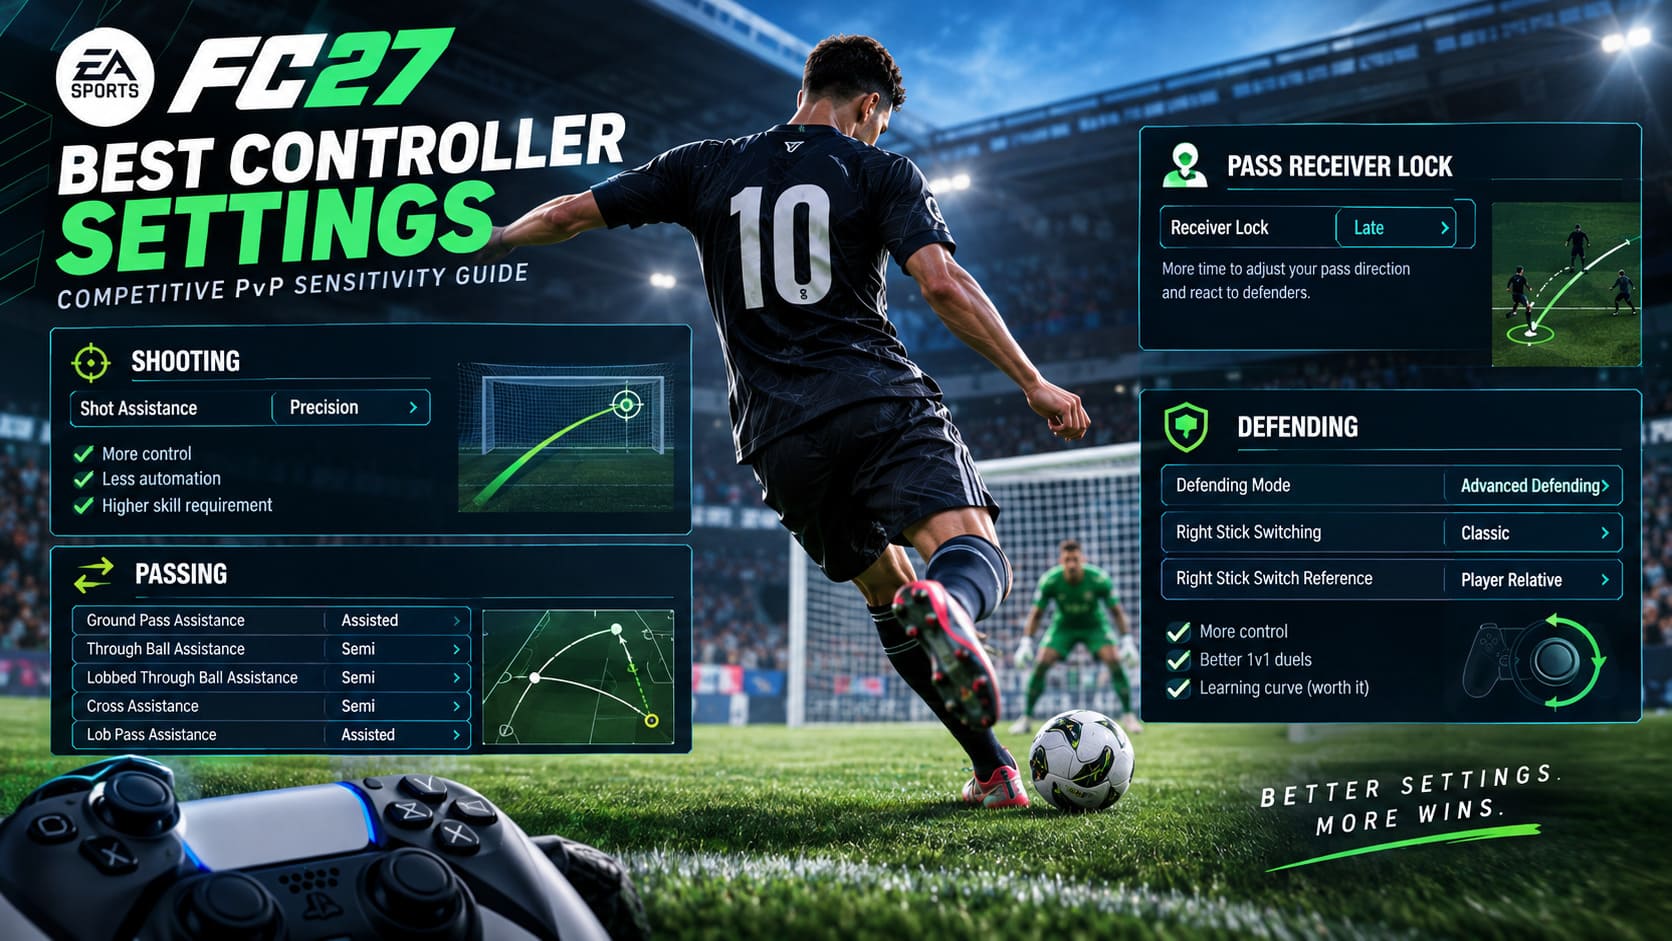
- More control
- Less automation
- Higher skill requirement
- More responsibility for your own aim
If you’re still learning basic shooting mechanics, I’d spend some time practicing before taking Precision into important Champions matches.
Keep Ground Passing Assisted
Passing is where I don’t think you need to go completely manual.
My preferred setup is:
- Ground Pass Assistance: Assisted
- Through Ball Assistance: Semi
- Lobbed Through Ball Assistance: Semi
- Cross Assistance: Semi
- Lob Pass Assistance: Assisted
There is a reason I leave regular ground passes on Assisted.
You make dozens, sometimes hundreds, of short passes during a match. Asking yourself to perfectly control every tiny directional variation isn’t necessarily going to make you better. It can simply introduce unnecessary mistakes.
For quick combinations around the edge of the box or when you’re trying to escape pressure in midfield, Assisted ground passing provides the consistency I want.
Through balls are different.
I prefer Semi because I want to have more influence over where the ball actually goes. When you’re playing against a good opponent, blindly relying on assisted through balls can become predictable.
A clever opponent will start reading those passing lanes.
With Semi assistance, you can still get some help from the game while deliberately placing the ball into space rather than simply pointing at the general direction of a teammate.
The same logic applies to lobbed through balls and crosses.
Pass Receiver Lock: Late Is My Pick
This is one of those settings that can be easy to overlook until you actually understand what it does.
I recommend Pass Receiver Lock: Late.
For me, this is one of the most useful settings in the entire configuration.
With Late receiver locking, you retain the ability to adjust your pass direction for longer during the animation. That extra moment can make a surprising difference when a defender suddenly moves into the passing lane.
Imagine you’re about to pass into the feet of your striker.
You see the center-back step forward.
With an earlier lock, the game has already committed you to that pass. With Late, you have more opportunity to react and redirect the ball.
That doesn’t sound dramatic on paper, but competitive FC is often decided by tiny windows like this.
The later the game commits you to the pass, the more information you can react to.
Advanced Defending Gives You More Control
Defending is where I’d be particularly careful with your settings.
My configuration is:
Defending Mode: Advanced Defending
Right Stick Switching: Classic
Right Stick Switch Reference: Player Relative
Advanced Defending gives you more direct control over physical defensive actions. Instead of letting the game make as many decisions for you, you have to decide when to challenge, when to contain and when to make physical contact.
There is a learning curve.
You will probably make some ugly challenges when you’re getting used to it.
But that’s part of the point.
When an opponent is trying to beat your defender, I want to be the one deciding whether I’m going for a tackle or using the physical challenge option. The more control I have over that interaction, the more confident I feel defending one-on-one.
Why I Use Player Relative Right Stick Switching
This setting deserves special attention.
Set Right Stick Switch Reference to Player Relative.
Once you get comfortable with it, manual switching becomes much more intuitive.
Instead of thinking about the absolute direction on the screen, you’re thinking about the direction relative to the defender you’re currently controlling.
That becomes extremely useful when you’re tracking runs.
Let’s say your opponent sends a striker behind your defensive line. You don’t want to wait until the pass has already been played before reacting.
A quick right-stick movement toward the appropriate defender can let you take control earlier and start tracking the run yourself.
This is one of those mechanics where a good player can look dramatically faster than someone using less precise switching simply because they’re selecting the right defender sooner.
Right Stick Switching Sensitivity: Start at 4
This is probably the setting people will experiment with the most.
I recommend starting with 4.
The useful range is fairly narrow, and I don’t think there’s a magical number that suddenly makes everyone defend like a professional.
A sensitivity of 4 gives me a good balance between deliberate switching and quick reactions.
You can experiment with 5 or 6 if you feel that your switches aren’t happening quickly enough. But I’d avoid immediately pushing the value too high.
Higher sensitivity can make your right-stick inputs feel extremely reactive. That sounds good until you accidentally switch to the wrong center-back because your thumb movement was slightly diagonal.
And that can destroy your defensive shape in a second.
For that reason, I’d rather start low and increase the value only when I have a specific reason to do so.
| Sensitivity | How It Feels |
|---|---|
| 4 | Stable and controlled |
| 5 | Faster, while remaining manageable |
| 6 | More reactive |
| 7+ | Can become overly sensitive |
My personal starting point is 4.
If you’re consistently missing switches because the game isn’t responding quickly enough, move to 5 and test it again.
Turn Reaction Time Calibration Off
Another setting I’d change immediately is Reaction Time Calibration: Off.
The idea behind this feature is understandable. It attempts to smooth certain reactions and compensate for changes in gameplay conditions.
But when I’m playing in a good connection environment, I don’t want additional smoothing if it makes the controls feel less immediate.
With Reaction Time Calibration disabled, the controller response feels more direct to me, particularly when switching defenders quickly.
Of course, your connection still matters.
No controller setting can magically eliminate server-side latency or a poor connection. If you’re playing with unstable ping, you’re going to feel that regardless of how perfectly your settings are configured.
But under normal low-ping conditions, I’d rather remove another potential layer between my input and the game.
Player Lock Is Worth Learning
I’d also keep Player Lock: On.
This is not something I expect every player to master immediately, but once you understand it, it adds another layer to attacking.
Using the appropriate stick-click combination allows you to temporarily hand control of the ball carrier to the AI while manually directing another player.
This can be extremely useful for making a run into space that the AI isn’t naturally going to make.
It does take practice, though.
Don’t turn it on and immediately expect to create perfect attacking movements. Spend some time learning how your selected player reacts to your inputs before relying on it in Champions.
Why I Turn Analog Sprint Off
I prefer Analog Sprint: Off for competitive play.
With it disabled, pressing the sprint trigger gives you a more immediate sprint response rather than requiring you to vary trigger pressure to control acceleration.
For me, that makes explosive movements easier to execute consistently.
That can be particularly useful when:
- attacking space behind a fullback;
- chasing an opponent on a counter;
- making a sudden run down the wing;
- recovering with a center-back;
- creating separation before receiving a pass.
Some players will prefer the extra control offered by Analog Sprint, and that’s perfectly reasonable. If you’re already extremely comfortable with variable trigger pressure, there is no need to change your muscle memory just because someone recommends another setting.
A Few Settings Are Really Down to Preference
Not everything needs to be treated like a competitive commandment.
I’d personally use:
- Icon Switching: Off
- Next Player Indicator: Off
- Player Lock: On
- Analog Sprint: Off
The first two are much more dependent on how you read the pitch visually.
If the Next Player Indicator helps you make faster decisions, keep it on. There’s no competitive advantage in disabling something simply because another player does.
The same applies to visual indicators in general.
Your settings should make the information on screen easier to process, not create unnecessary distractions.
EA Sports FC 27 Xbox Series S 60FPS Performance Fix: Stop Lag & Frame Drops
My Complete Competitive FC 27 Setup
If I were sitting down to build a fresh competitive profile today, I’d use this as my starting point:
| Category | Setting |
|---|---|
| Preset | Competitive |
| Shooting | Precision |
| Ground Pass | Assisted |
| Through Ball | Semi |
| Lobbed Through Ball | Semi |
| Cross | Semi |
| Lob Pass | Assisted |
| Receiver Lock | Late |
| Defending | Advanced |
| Right Stick Switching | Classic |
| Switch Reference | Player Relative |
| Switching Sensitivity | 4 |
| Reaction Time Calibration | Off |
| Player Lock | On |
| Analog Sprint | Off |
The important part is not simply copying this table.
The important part is giving yourself enough time to adapt.
If you change ten settings five minutes before a Weekend League match, everything is going to feel strange. That doesn’t mean the configuration is bad. Your muscle memory simply hasn’t caught up yet.
EA FC 27 Career Mode Wonderkids: Best Elite Prospects & Cheap Bargains to Buy Early
Practice Before Taking These Settings Into Champions
This is probably the biggest piece of advice I’d give.
Don’t test a completely new controller setup in a high-stakes match.
Go into the Practice Arena first. Take shots with Precision. Try different through balls. Practice switching between center-backs with Player Relative switching. Experiment with sensitivity 4 and 5.
Give your thumbs time to learn the new timing.
I usually find that controller settings become much more useful once you stop consciously thinking about them. You shouldn’t be entering a match thinking, “Okay, my switching sensitivity is 4 now.”
Eventually, it should just feel natural.
And that’s really the goal with EA FC 27 controller settings.
You aren’t trying to find a magic configuration that instantly turns you into an elite player. You’re trying to remove unnecessary automation, make your inputs predictable and create a control scheme that lets your decisions come through without the settings getting in the way.
For me, Competitive Preset, Precision shooting, Semi-assisted creative passing, Late Receiver Lock, Advanced Defending, Player Relative switching and sensitivity 4 provide a strong foundation.
From there, make small adjustments based on your own hands and playstyle.
Because in the end, the best controller setup isn’t the one that looks perfect on a settings spreadsheet. It’s the one that disappears while you’re playing.