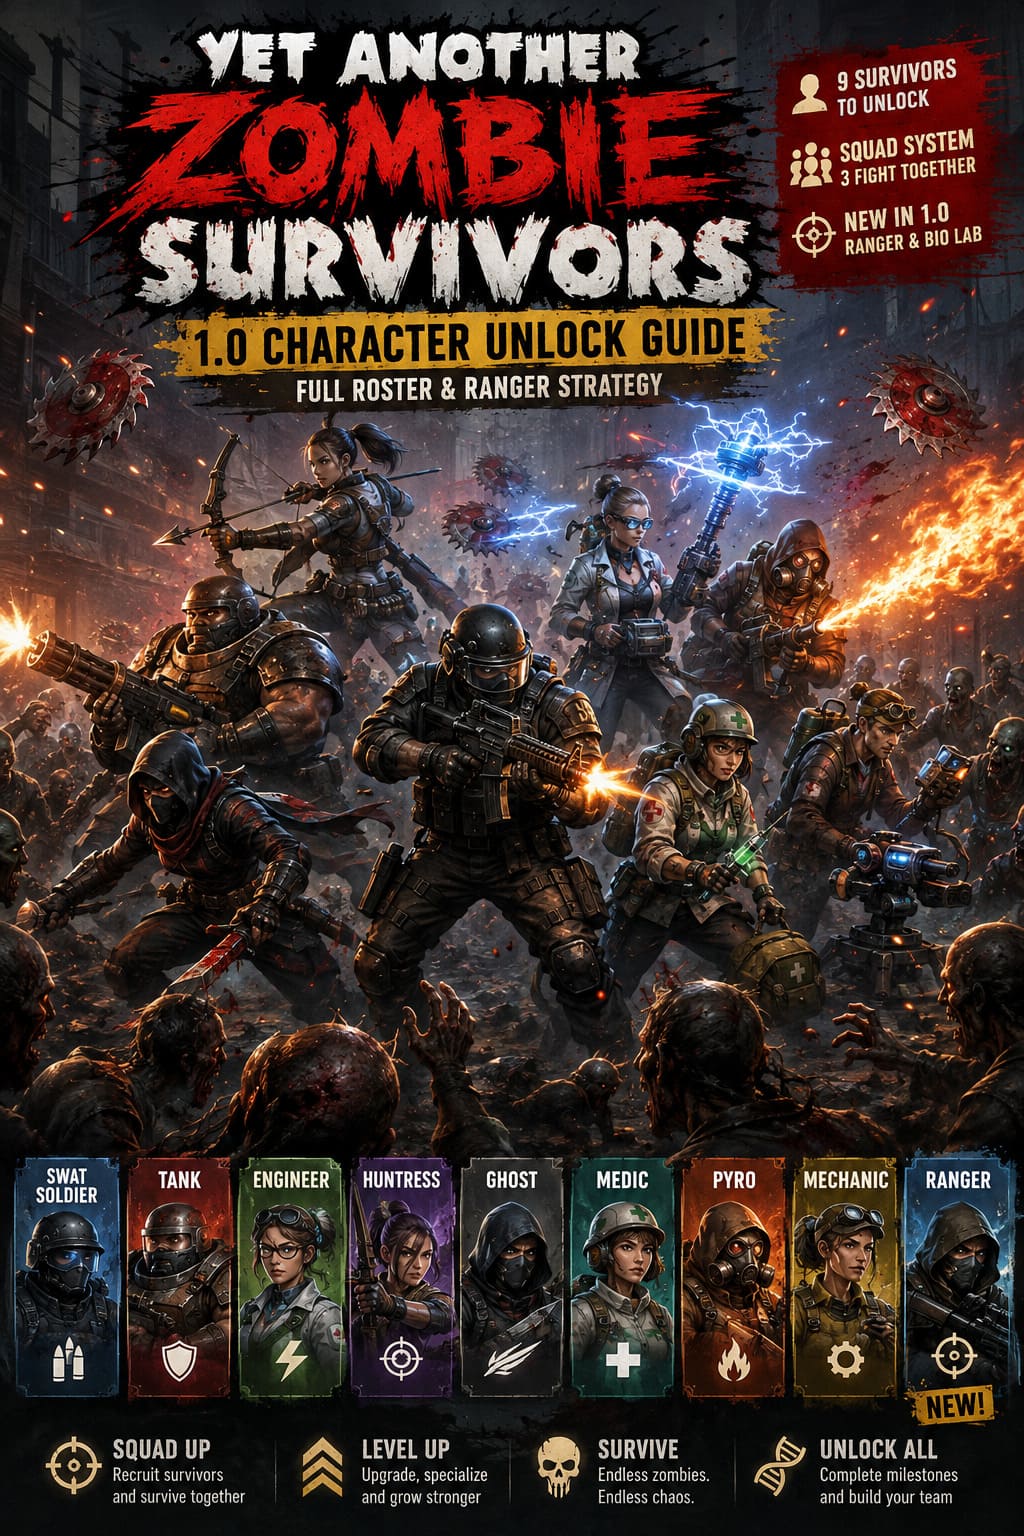
Yet Another Zombie Survivors 1.0 Character Unlock Guide: Full Roster & Ranger Strategy
If there is one thing I learned after spending a lot of time with bullet heaven games, it is that unlocking characters is only half the battle. The real fun starts when you understand why a character belongs in your squad and how their strengths interact with everyone else. Yet Another Zombie Survivors has always been particularly good at this, and the 1.0 release gives players even more reasons to experiment with different combinations.
Awesome Games Studio has pushed the game well beyond its Early Access foundation with the full release. The new Base Camp Hub, Story and Quests, Bio Lab content, expanded progression, and the arrival of the Ranger give returning players plenty to work toward. New players, meanwhile, have a surprisingly deep roster waiting behind different progression milestones.
This Yet Another Zombie Survivors character unlock guide breaks down the full 1.0 roster, explains how the survivors fit into a squad, and gives practical advice for unlocking them without turning the grind into a chore.
How the Squad System Works in Yet Another Zombie Survivors
The first thing to understand is that you are not really building a traditional party. At the beginning of a run, you choose one survivor as your Team Leader, and that decision matters because the leader provides a unique perk to the entire squad.
During a run, rescue opportunities appear through S.O.S. signals. When you reach one of these locations, you can recruit another survivor. You can eventually have three characters fighting together, which is where the game’s build system becomes much more interesting.
The other two survivors do not provide their complete leader bonuses. Instead, their Leader Perks contribute at a reduced value, while their weapons, abilities, and upgrade pools still become part of your overall build. In practice, this means you should not simply choose three characters because they are individually powerful. A good squad is usually built around complementary damage types, useful passive bonuses, and abilities that cover each other’s weaknesses.
1. SWAT Soldier — Your Starting Survivor
The SWAT Soldier is the character you begin with, so there is no complicated requirement attached to him. He is basically the game’s introduction to conventional ranged combat and remains useful even after you unlock the rest of the roster.
His assault rifle gives him reliable sustained damage, while his upgrade options naturally lean toward bullets, attack speed, reload improvements, and critical hits. His Leader Perk also makes him a comfortable choice for squads that depend heavily on conventional firearms.
Personally, I think the SWAT Soldier is underrated by players who immediately replace him after unlocking the first few characters. He is not flashy, but that consistency is valuable when you are still learning enemy patterns and figuring out which upgrades actually matter.
2. Tank — The Walking Wall
The Tank is exactly what the name suggests. He is designed to stand in the middle of chaos, absorb punishment, and keep firing while the screen becomes completely flooded with zombies.
How to Unlock the Tank
The Tank becomes available after progressing through the early Isolated City content and reaching the required early-game milestone. For new players, the easiest approach is simply to focus on surviving your initial runs rather than trying to force a specific build.
His minigun provides constant pressure, while his explosive abilities give him additional crowd control. His Leader Perk improves the squad’s defensive capabilities, making him an especially attractive leader when you are struggling with higher difficulties.
I would pick the Tank whenever I am testing a build that needs time to develop. The extra durability gives you more room to make mistakes, which is something you appreciate when elite enemies start appearing in numbers.
3. Engineer — Energy Weapons and Utility
The Engineer takes the game in a completely different direction. Instead of relying primarily on traditional ammunition, she introduces energy-based weapons, Tesla technology, lasers, and defensive tools.
How to Unlock the Engineer
The Engineer is tied to accumulating 1,000 gold coins through normal gameplay. It is a progression requirement that should happen naturally if you are regularly completing runs and collecting resources.
Her biggest advantage is versatility. Tesla coils and laser-based attacks can create excellent area denial, while her defensive technology can make difficult encounters considerably more manageable.
Her Leader Perk increases the effective collection range for experience gems and gold. That might sound less exciting than a huge damage bonus, but it can make a surprisingly large difference during longer runs because faster experience collection means faster access to important upgrades.
4. Huntress — Speed and Critical Damage
The Huntress is one of my favorite choices when I want a faster, more aggressive run. She combines mobility with ranged precision and has excellent potential once critical-hit upgrades begin stacking.
How to Unlock the Huntress
Her unlock is connected to progression milestones and successfully completing a full-length run on Isolated City. Reaching the end of a standard 20-minute run is also a useful test of whether your overall build is strong enough for later content.
The Huntress uses a bow, and her weapon can develop into powerful multishot and elemental variations. Her Eagle Eye ability further improves her critical potential, making her particularly effective against enemies with large health pools.
If you enjoy constantly moving instead of standing behind a wall of defensive abilities, she is an excellent choice.
5. Ghost — Speed, Blades, and Close-Range Chaos
The Ghost completely changes the rhythm of combat. While some survivors are happiest shooting from a safe distance, Ghost wants to get close and turn the surrounding zombie crowd into a blender.
How to Unlock Ghost
Ghost is associated with a cumulative kill requirement involving physical, bullet-focused weapons. The exact progress is accumulated across your runs, so you do not need to complete the entire requirement in one session.
His strengths revolve around attack speed, mobility, dodge potential, and critical damage. His sword dash is particularly useful when a zombie wave closes around you and there appears to be no obvious escape route.
The important thing with Ghost is learning not to panic. His mobility gives you options, but reckless movement can still get you surrounded. Once you become comfortable with his attack range, however, he can be ridiculously entertaining.
6. Medic — Keeping the Squad Alive
The Medic fills a role that becomes increasingly valuable as the difficulty rises. Instead of trying to kill everything faster than it can reach you, she gives the squad additional tools for surviving prolonged fights.
How to Unlock the Medic
The Medic becomes available after experiencing your first complete defeat. This progression event also ties into the game’s broader meta-progression systems, making failure an important part of the overall progression rather than simply a wasted run.
Her syringe weapon and healing-focused abilities allow her to support the entire squad. Later balance improvements have also made her starting weapon more useful, giving her better damage and ammunition capacity.
I would not necessarily recommend her as the first character for learning the game, but she becomes much more attractive when enemy scaling starts getting serious. In endurance-focused gameplay, having reliable healing can be worth far more than another small damage increase.
7. Pyro — Burn Everything
The Pyro is the answer for players who believe every zombie problem can be solved with enough fire. He specializes in area damage and is particularly effective against huge groups of weaker enemies.
How to Unlock Pyro
His progression is connected to cumulative fire damage and destructive environmental interactions. Burning through large numbers of enemies with fire-based attacks and map hazards gradually moves you toward the required milestone.
The flamethrower is naturally excellent against tightly packed groups, while Molotov-style abilities add even more area control. Pyro is especially useful as a secondary squad member because he can clear large crowds while another survivor concentrates on elite targets.
There is something wonderfully brainless about watching a massive zombie wave disappear under a wall of flames. Sometimes that is exactly what a bullet heaven game should feel like.
8. Mechanic — Cooldowns and Automated Destruction
The Mechanic is one of the more specialized survivors. Her gameplay revolves around abilities, automated tools, and frequent activation rather than simply holding down one weapon and watching enemies disappear.
How to Unlock the Mechanic
The Mechanic is tied to a large number of ability activations accumulated across your gameplay. Because the requirement is based on repeated ability use, she is naturally easier to unlock once you already understand how cooldown-heavy builds work.
Her abilities can be triggered frequently, allowing you to build around cooldown reduction and ability-focused upgrades. That makes her particularly interesting for players who want something different from the standard weapon-damage setup.
If you are specifically farming progress toward this unlock, focus on builds that reduce cooldowns and use active abilities as often as possible. There is no reason to make the process harder than it needs to be.
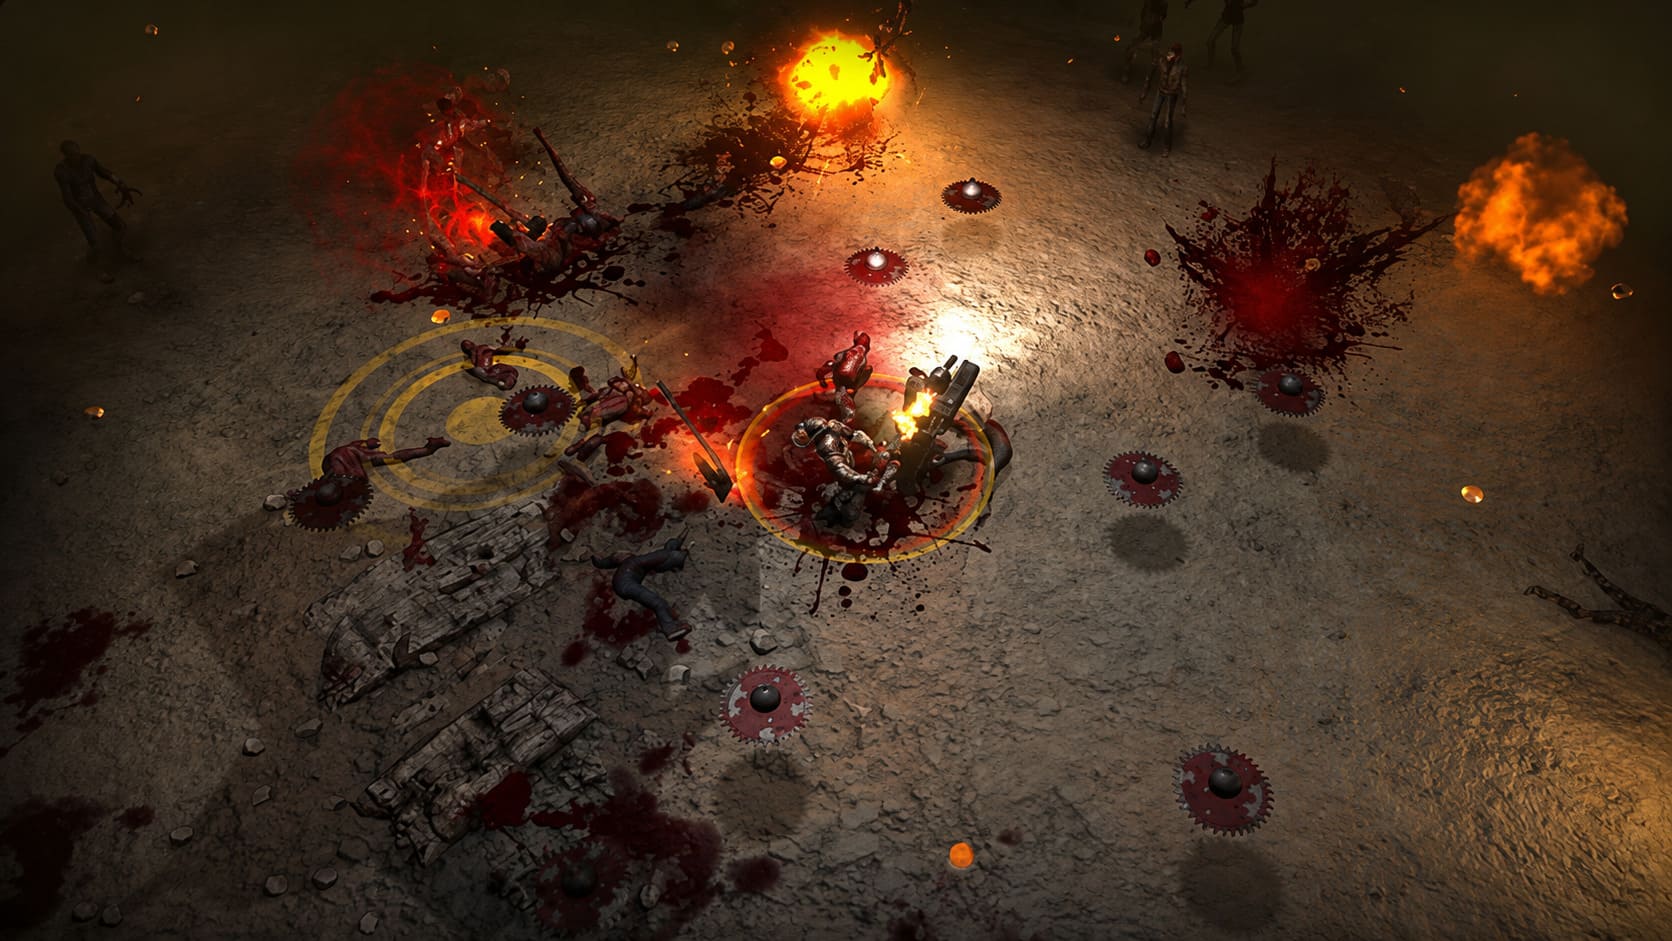
9. Ranger — The New 1.0 Survivor
The Ranger is the character that immediately grabbed my attention in the 1.0 release. Rather than feeling like another minor variation on an existing class, Ranger is designed around precision, scouting, and tactical ranged combat.
How to Unlock Ranger
Ranger is connected to the new 1.0 content, particularly the Bio Lab and the progression introduced through the Base Camp Hub. Completing the relevant introductory quests and progressing through the new content is the key to getting access to this survivor.
The Ranger works especially well with squads that already favor long-range and precision-based damage. He can bridge the gap between traditional firearm builds and more specialized tactical setups, giving experienced players another reason to revisit older characters.
For returning players, Ranger is also a good excuse to experiment. I would not immediately copy an established meta build with him. His strengths are much more interesting when you start combining his abilities with characters that amplify ranged damage, critical hits, or mobility.
Yet Another Zombie Survivors 1.0 Character Overview
| Survivor | Main Strength | Best Use |
|---|---|---|
| SWAT Soldier | Reliable bullet damage | Balanced starter builds |
| Tank | Durability and heavy firepower | High-difficulty survival |
| Engineer | Energy weapons and utility | Flexible mixed squads |
| Huntress | Critical hits and mobility | Precision damage |
| Ghost | Melee speed and mobility | Aggressive close-range builds |
| Medic | Healing and sustain | Endurance runs |
| Pyro | Massive area damage | Clearing zombie hordes |
| Mechanic | Ability and cooldown builds | Utility-focused squads |
| Ranger | Precision and tactical ranged damage | Advanced ranged builds |
The Best Way to Unlock Characters Faster
The biggest mistake I see in progression-heavy roguelites is treating every unlock as a separate grind. In Yet Another Zombie Survivors, you can make much better progress by letting multiple objectives overlap.
First, take advantage of meta-progression. Training Points and permanent upgrades are not just minor bonuses. Increasing your health, damage, cooldown reduction, and other universal statistics makes future runs easier and indirectly accelerates almost every character-related requirement.
Second, pay attention to your item pool. The 1.0 version gives you additional control over unwanted items through item banishment. If you are chasing a particular weapon or ability combination, removing upgrades that have nothing to do with your planned build can significantly improve your odds of seeing something useful.
Finally, do not spend all your time farming the easiest map once you have a comfortable squad. Later maps can provide better rewards, including bonuses to resources such as Cash and Specialization points. Once your build is reliable enough, moving into tougher content is usually a much better use of your time.
Which Character Should You Use as Team Leader?
There is no single best leader for every situation. SWAT Soldier is a safe choice for straightforward ranged builds, while Tank makes difficult runs more forgiving through improved survivability.
If you are trying to level quickly, Engineer can be extremely useful because her collection-focused perk helps you gather experience and resources. For critical-heavy ranged setups, Huntress is a natural fit, while Ghost is better suited to players who want speed and aggressive movement.
My advice is simple: stop thinking about the roster as a tier list and start thinking about it as a toolbox. The best leader is the one whose passive actually improves the strategy you are building.
Final Thoughts on the 1.0 Roster
The full release makes Yet Another Zombie Survivors much more interesting than it was when the game was still finding its identity in Early Access. The expanded progression systems give you more reasons to keep playing, while the different survivors ensure that a run with Ghost feels dramatically different from one built around Tank, Medic, or Ranger.
The Ranger is the obvious headline addition, but I think the bigger success is how the entire roster works together. Once you start combining leader perks, weapon pools, active abilities, and meta-progression, the game stops being just another zombie survival shooter and becomes a surprisingly deep build-crafting roguelite.
If you are starting YAZS for the first time, do not worry about unlocking everyone immediately. Learn one survivor, build up your permanent upgrades, experiment with squad combinations, and let the unlocks come naturally. Before long, you will have a full roster and enough experience to know which three survivors you actually want beside you when the screen turns into an ocean of zombies.