Valheim Siege Weapons Repair Guide: How to Fix Catapults and Battering Rams (2026)
The Ashlands changed the way I think about late-game combat in Valheim. Before this biome, most major obstacles could eventually be solved with better gear, enough patience, or a very large hammer. Then Ashlands arrived and basically said: Nope. Bring siege equipment.
That shift is one of my favorite parts of the biome. The Charred Fortresses don’t feel like another collection of buildings waiting to be raided. They actually feel fortified. Their massive gates and grausten defenses can turn what should be a quick expedition into a miserable battle where you’re surrounded by Charred enemies, dodging projectiles, watching your health disappear, and wondering why you thought bringing a giant wooden machine into a volcanic wasteland was a good idea.
The answer, of course, is because the Battering Ram and Catapult are ridiculously useful.
The problem is that these machines don’t exactly enjoy being dragged through lava-filled hell while enemies constantly attack them. If you’re heading into an Ashlands fortress in 2026, understanding how siege weapon repair works in Valheim can save you a huge amount of time and resources.
And yes, I’ve learned the hard way that repairing the machine before it has one hit left is generally a better strategy.
Why Siege Weapons Matter in the Ashlands
The Ashlands is built around pressure. You’re rarely fighting in a comfortable environment, and Charred fortifications are designed to make direct assaults painful.

The Battering Ram is your close-range solution. It is primarily used to smash through fortress gates and heavily protected structures, delivering enormous damage with each successful ram.
The Catapult, meanwhile, gives you something I personally value even more: distance. You can bombard targets from outside the fortress and potentially eliminate dangerous defenses before committing your character and equipment to the courtyard.
That distinction matters.
If you simply charge a Battering Ram straight toward a fortress while every enemy inside is still alive, you’re basically asking the game to destroy your expensive equipment. A better approach is to use the Catapult to reduce the threat first, then bring the ram forward once the battlefield is somewhat under control.
Ashlands Siege Equipment at a Glance
| Siege Weapon | Main Purpose | Key Materials | Durability | Best Use |
|---|---|---|---|---|
| Battering Ram | Breaching gates and walls | Ashwood, Flametal, Surtling Cores | High | Close-range fortress assault |
| Catapult | Long-range bombardment | Ashwood, Flametal, Charred Cogwheel | 3000 HP | Destroying defenses and enemy positions |
The machines are expensive enough that I wouldn’t treat them as disposable. Repairing them during an assault is part of the strategy, not an optional convenience.
How to Repair a Catapult or Battering Ram in Valheim
Here’s the good news: you don’t need to throw more Ashwood or Flametal at a damaged siege engine every time it takes a beating.
The Catapult and Battering Ram can be repaired with the Hammer, provided you have a functioning Workbench within range.
This is one of those Valheim mechanics that sounds obvious after you know it, but isn’t necessarily obvious the first time you find yourself standing beside a half-destroyed siege engine in the middle of Ashlands.

1. Put Down a Workbench
The first thing you need is a normal Workbench close enough to cover the siege machine with its building radius.
Bring some regular Wood with you and place the Workbench somewhere reasonably protected. You don’t need to build a miniature house around it just to make repairs possible.
That said, I strongly recommend protecting it anyway.
There’s a huge difference between “the game technically allows me to repair this outside” and “my Workbench survives long enough for me to actually repair the machine.”
A small earth wall, grausten barrier, or other piece of cover can make the repair point considerably safer.
2. Equip Your Hammer
Once the Workbench is active, equip your regular Hammer.
Open the building interface and switch the Hammer to its Repair function. You aren’t crafting a replacement siege engine here; you’re restoring the durability of the existing one.
This is important because repairs don’t require you to spend another batch of Ashwood, Flametal, or other construction materials.
3. Repair the Machine
Move your cursor over the damaged Catapult or Battering Ram.
The machine’s durability should become visible when you’re targeting it. With the Hammer in repair mode, left-click the siege engine.
Each successful repair restores durability.
Keep clicking until the machine is back at full health.
That’s it.
No special Black Forge recipe. No expensive repair material. No complicated Ashlands crafting station.
The Hammer is your battlefield repair tool.
The Biggest Mistake: Waiting Until the Machine Is Almost Dead
This is probably my biggest piece of advice for anyone learning Ashlands siege warfare.
Don’t wait until your Catapult or Battering Ram is practically falling apart before repairing it.
It sounds efficient because you’re technically getting more use from every durability point. In reality, you’re creating a much more dangerous situation for yourself.
When a siege engine is critically damaged, you may need to repair it while enemies are attacking from multiple directions. If the Workbench gets destroyed or you get knocked away at the wrong moment, your repair window disappears.
I prefer a much simpler rule:
If the siege engine has taken serious damage and the area is temporarily safe, repair it.
The few seconds spent maintaining it are usually much cheaper than rebuilding the entire machine after a disastrous assault.
Battering Ram vs. Catapult: Which One Should You Protect First?
Both machines are useful, but they serve completely different roles.
The Battering Ram is the one that has to get close. That automatically makes it more vulnerable.
The Catapult can operate from a safer position, making it easier to keep alive if you choose your firing location carefully.
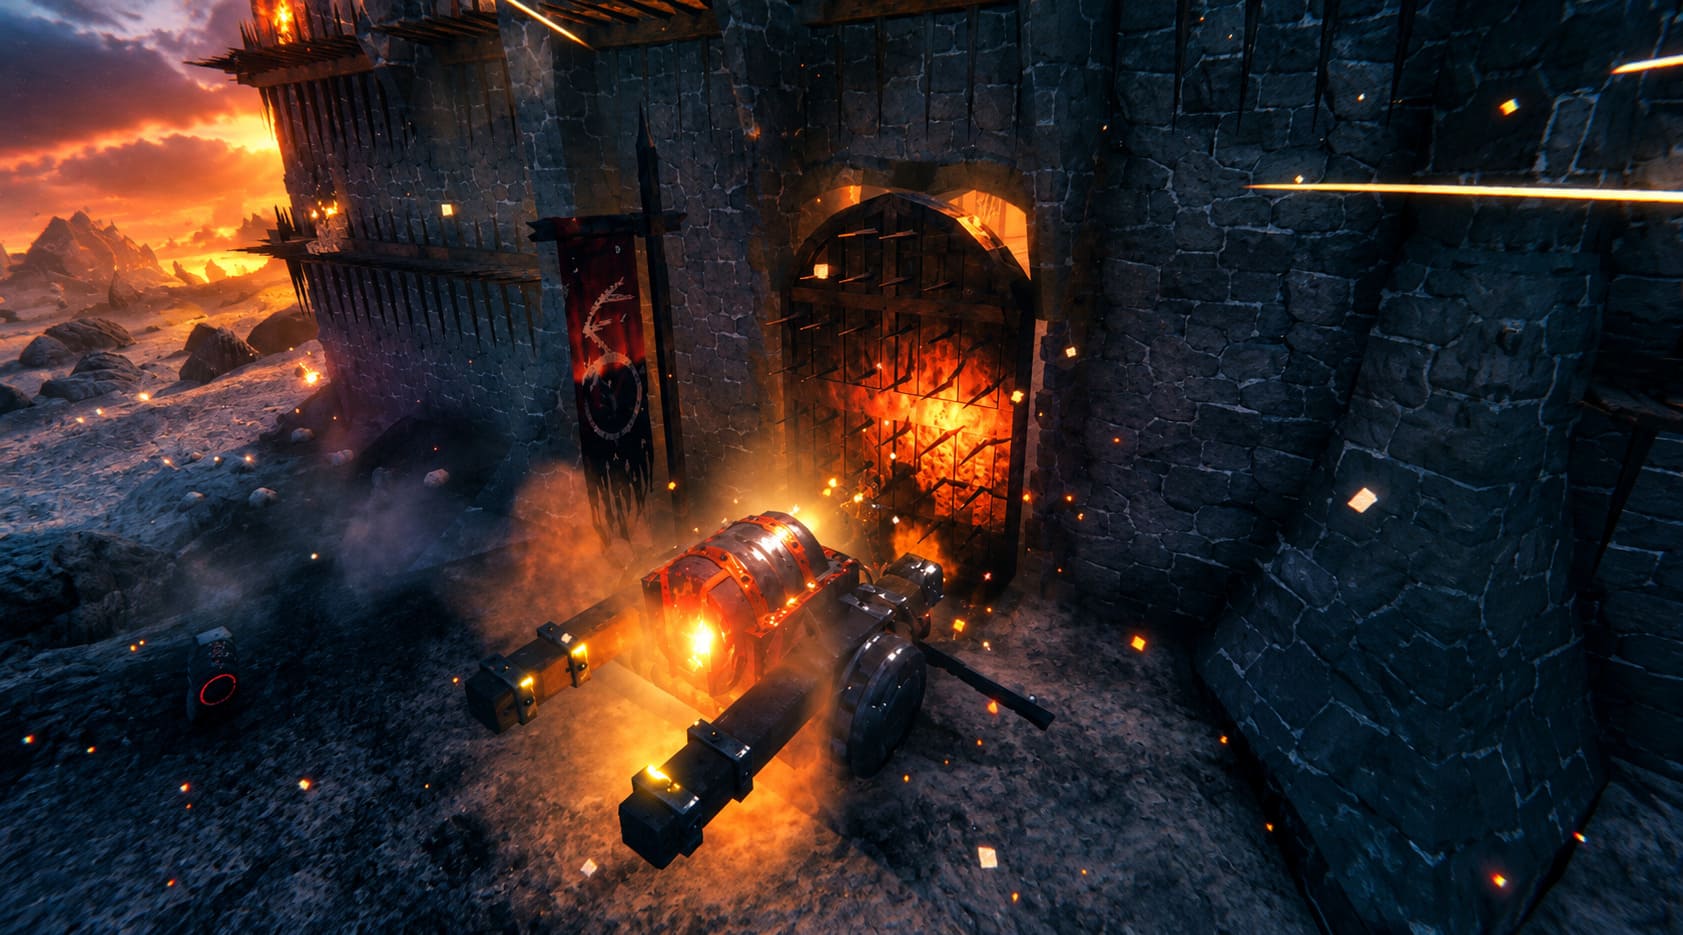
Here’s how I approach them:
- Catapult: Keep it at a safe distance and use it to eliminate dangerous targets before advancing.
- Battering Ram: Keep it behind you until the fortress approach is relatively clear.
- Workbench: Protect it as if it were part of the siege equipment.
- Repair early: Don’t gamble on squeezing out one more attack from a damaged machine.
If you’re playing with friends, this becomes even more effective. One player can concentrate on operating the siege engine while another watches for enemies and keeps the repair area secure.
Protect Your Workbench, Not Just Your Siege Engine
This sounds almost stupidly simple, but it’s one of those things that makes a huge difference.
A Workbench sitting in the open is incredibly easy to destroy during a fortress assault. Ashlands enemies don’t care that you need it for repairs.
A quick defensive position can solve this.
Use the Hoe to raise terrain around the Workbench or construct a small barrier that blocks incoming attacks. You don’t need an elaborate fortress. The goal is simply to prevent a random projectile or enemy attack from deleting your repair station while you’re trying to save a Catapult.
Personally, I would rather spend a minute making a crude defensive pocket than discover that my Workbench has been destroyed when the Battering Ram has almost no health left.
Stabilizing the Catapult
When you’re setting up a Catapult for sustained bombardment, positioning matters almost as much as ammunition.
Once you’ve found a suitable firing position, stabilize the machine rather than leaving it vulnerable to unnecessary movement. A stable firing position makes it much easier to maintain your aim and prevents the siege engine from sliding around on uneven terrain.
And Ashlands terrain is about as far from friendly as it gets.
The less time you spend fighting the physics of the machine, the more time you can spend actually fighting the fortress.
Battering Ram Survival Tips
The Battering Ram is where things become particularly dangerous.
You’re essentially driving a huge siege machine toward a heavily defended fortress while enemies attack from above and around you. It’s not exactly subtle.
My preferred approach is to avoid treating the ram like an unstoppable tank.
Instead, use it when the immediate route has been cleared and keep an escape route in mind. If things go badly, get out of the vehicle, reposition, and repair rather than stubbornly continuing forward while its durability melts away.
The important thing is to avoid becoming trapped between the ram, fortress geometry, and hostile enemies.
A siege weapon is powerful, but it isn’t immortal.
Destroy Enemy Spawners Before Committing to the Assault
This is probably the most important tactical lesson in the entire guide.
If enemies keep overwhelming your siege equipment, the problem may not be the repair system at all.
The problem may be your target priority.
The Catapult gives you the opportunity to attack dangerous targets before your Battering Ram arrives. Use that advantage.
Prioritize enemy positions, defensive structures, spawners, and other threats that can continuously produce or support defenders. Once those threats are reduced, the actual gate breach becomes much less chaotic.
I would much rather spend several Catapult shots preparing the battlefield than push the Battering Ram forward and spend the next five minutes desperately repairing it while everything in the fortress tries to kill me.
Important Catapult Warning: Don’t Treat the Basket Like a Normal Chest
There is another reason to be careful around the Catapult’s loading mechanism.
Community reports have highlighted problems involving upgraded equipment being placed into the Catapult, with some players reporting that upgraded items can return in a downgraded state.
Whether you’re experimenting with unusual ammunition or simply curious about what the machine can launch, I would strongly recommend keeping valuable upgraded gear out of the experiment.
A high-level weapon is not worth sacrificing just to discover whether the Catapult can throw it.
Stick to intended payloads whenever possible.
What Happens If You Build a Siege Weapon in the Wrong Place?
Another frustrating situation is placing a Catapult or Battering Ram somewhere terrible.
Maybe the terrain is wrong. Maybe you’ve wedged it into an awkward position. Maybe the fortress assault moved somewhere else and now you’re stuck with a massive siege engine in the middle of nowhere.
Unlike many ordinary building pieces, you shouldn’t assume that the standard Hammer deconstruction behavior will simply let you dismantle the machine and instantly recover everything.
If you need to get rid of a misplaced siege engine, be prepared to destroy it manually rather than relying on the normal building-piece removal process.
This is another reason to think about placement before committing expensive materials.
Valheim Xbox Series S Performance vs Graphics Mode: 2026 Guide
The Siege Repair Checklist I Actually Use
When I’m preparing for an Ashlands fortress assault, I keep the process simple.
- Bring enough regular Wood for a Workbench.
- Place the Workbench somewhere protected.
- Keep the Hammer accessible.
- Position the Catapult before committing the Battering Ram.
- Use ranged bombardment to reduce the fortress defenses.
- Repair the siege engines before their durability becomes critical.
- Keep valuable upgraded equipment away from experimental Catapult loading.
- Always have an escape route when operating the Battering Ram.
None of these steps are complicated, but together they make siege warfare much less frustrating.
2026 Valheim 10+ Player Server Guide: How to Fix Desync and Lag
Final Thoughts: Don’t Let Your Siege Engine Become Scrap
The Ashlands is at its best when Valheim forces you to change your approach.
You can’t simply walk up to every problem with your strongest sword and expect it to disappear. The Charred Fortresses demand preparation, positioning, resource management, and, eventually, a willingness to operate enormous medieval war machines while half the biome is trying to kill you.
That’s exactly why I enjoy the siege system.
The Battering Ram feels brutal and direct, while the Catapult rewards patience and positioning. Neither is particularly enjoyable when you’re trying to operate it with enemies swarming from every direction, but that’s also where the Ashlands starts feeling like a genuine siege rather than another boss arena.
The biggest thing to remember is that repairing Valheim siege weapons is much easier than rebuilding them. Keep a Workbench nearby, protect it, carry your Hammer, and don’t wait until your equipment is one hit away from destruction.
And if you’re about to attack a Charred Fortress, my personal recommendation is simple: use the Catapult first, clear the biggest threats, then bring in the Battering Ram.
It may take a little longer, but in Ashlands, patience is usually cheaper than replacing expensive siege equipment.
Keep the Hammer ready, watch your stamina, and don’t park your war machine next to a lava pool. Trust me on that last one.