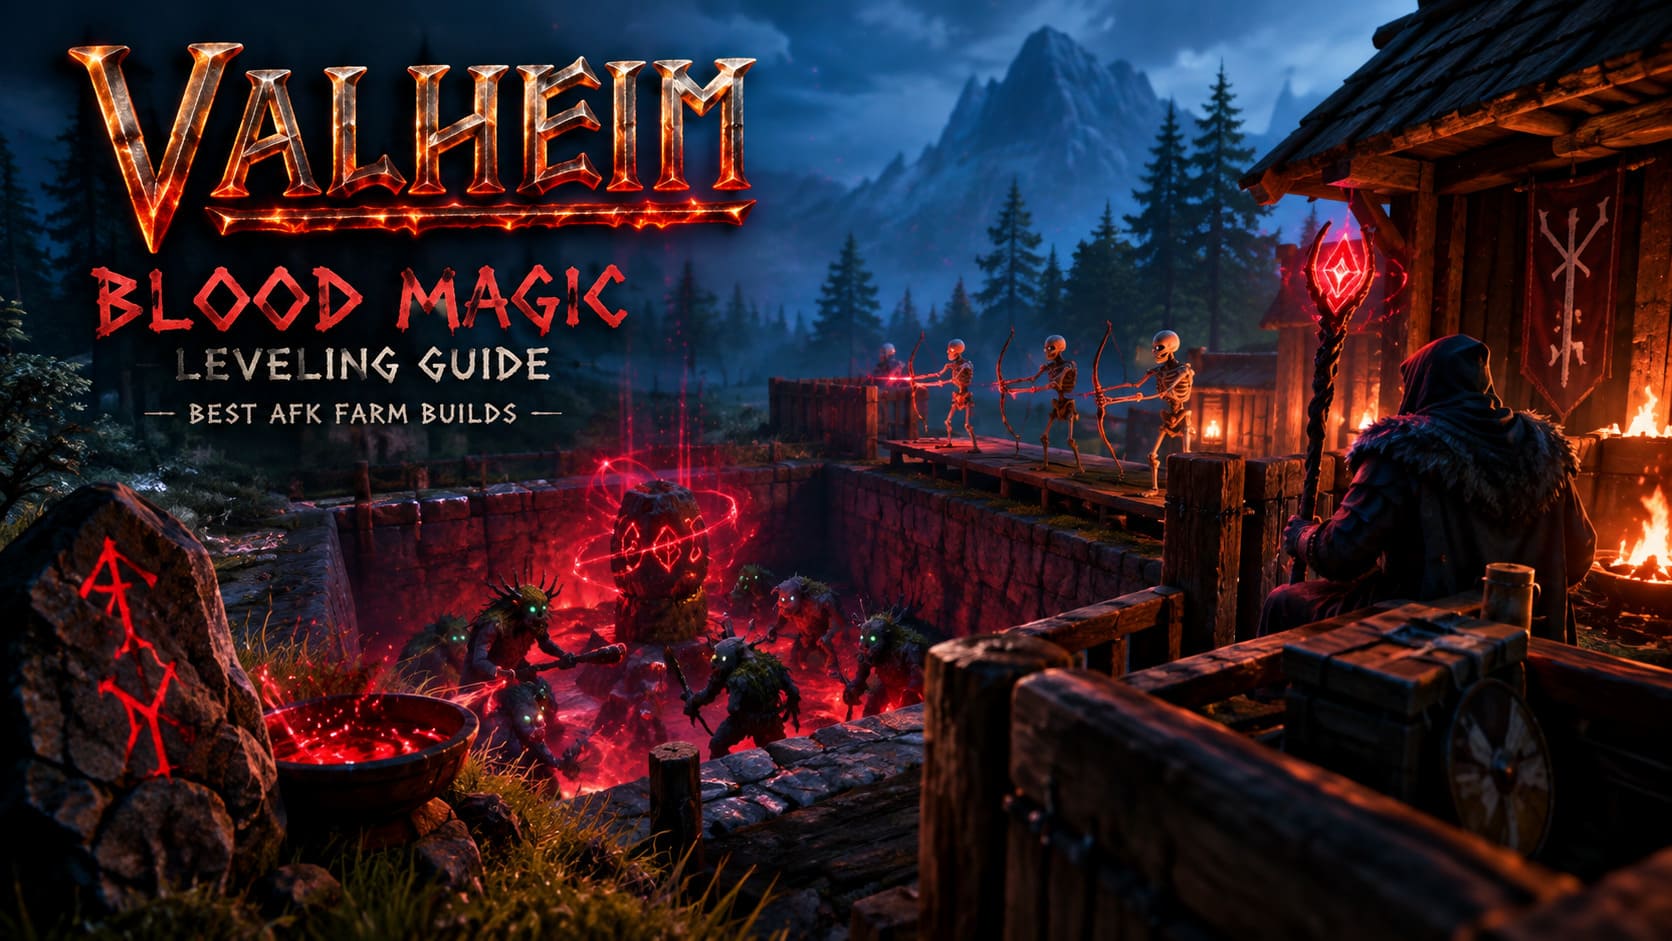
Valheim Blood Magic Leveling Guide: Best AFK Farm Builds (2026)
If there is one skill in Valheim that feels like it was designed to test a player’s patience, it is Blood Magic.
The skill looks incredibly powerful on paper. At high levels, your summoned skeletons become much more dangerous, your magical costs become easier to manage, and the Staff of Protection turns into one of the best defensive tools available to a prepared mage. The problem is getting there. Blood Magic is painfully slow compared with many conventional combat skills, and trying to level it naturally can become a surprisingly dangerous side project.
I have spent enough time watching skeletons miss targets, wander off, get themselves killed, or simply refuse to cooperate to understand why players started building dedicated Blood Magic farms in the first place. You don’t really want to “play” the skill grind. You want to automate it.
And in 2026, there are a couple of approaches worth knowing.
The classic Greydwarf spawner farm remains the safest all-round solution, while more experimental setups involving trapped enemies and tightly controlled skeleton positioning can produce much faster results. The important thing is understanding how Blood Magic XP actually works before you start digging half of the Black Forest apart.
Why Blood Magic Is Such a Pain to Level
Blood Magic rewards a very specific type of gameplay.
Your main source of experience comes from your summoned skeletons successfully hitting valid enemies. The actual amount of damage is not the important part. What matters is how often those hits register.
That completely changes how you should think about a Blood Magic farm.
You don’t need the strongest possible enemy. You don’t need an elaborate combat arena. In fact, throwing your skeleton army against powerful enemies is often counterproductive. What you really want is a target that survives long enough to keep the skeletons attacking while remaining trapped in a predictable location.
There is another important source of Blood Magic experience: the Staff of Protection. Your personal shield provides XP when the bubble on your own character is broken by incoming damage. Casting the shield on a skeleton or another player does not give you the same XP when their shield disappears.
That distinction is easy to miss, and it explains why some seemingly clever AFK setups produce disappointing results.
At Blood Magic level 100, the skill becomes dramatically more comfortable. The cost reductions, stronger skeletons and improved Staff of Protection shield make the investment worthwhile. But reaching that point manually can take an absurd amount of time.
So let’s talk about the farms.
Blood Magic XP: What Actually Matters?
Before choosing a design, keep these basic rules in mind:
| Mechanic | What You Need to Know |
|---|---|
| Skeleton Hits | Frequent successful hits are the key source of Blood Magic XP |
| Damage | Raw damage is less important than attack frequency |
| Staff of Protection | Your own shield must break from enemy damage to generate XP |
| Rested Buff | Keep Rested active for the strongest overall skill progression |
| Target | The enemy must count as a valid combat target |
| AFK Safety | Prevent enemies from escaping and reaching your character |
The Rested buff is especially important. It gives a major boost to skill experience and also makes an AFK setup much easier to maintain thanks to better regeneration. I would not bother starting a long Blood Magic session without it.
This is one of those small details that sounds trivial until you realize you have been sitting in a farm for an hour while getting less XP than you could have been earning.
Method One: The Greydwarf Spawner Farm
Let’s start with the boring option.
And honestly? Boring is good here.
The Greydwarf Nest farm has been around for ages because it works. You don’t need some bizarre piece of terrain, an incredibly specific enemy interaction, or a complicated chain of building tricks. You need a spawner, a hole and enough control over the battlefield to keep the Greydwarfs coming.
What You Need
- A discovered Greydwarf Nest in the Black Forest
- A pickaxe
- A hoe
- Dead Raiser
- Enough Eitr-focused food to maintain your summons
- Wood and stone for the structure
- A safe enclosed area for your character
The first thing I recommend is clearing the immediate area without destroying the nest. Once the surrounding enemies are gone, start digging.
Step 1: Dig the Spawner Pit
Create a trench around the Greydwarf Nest. The goal is to make the spawning enemies fall into a controlled lower area where they cannot simply wander away.
The pit should be wide enough to prevent accidental escapes and deep enough that the Greydwarfs cannot climb or jump their way back to the surface.
The clever part is what happens underneath the spawner.
The nest itself stays in place even after you remove the ground beneath it. This allows you to create a floating spawn point with enemies dropping directly into your kill zone.
It looks ridiculous the first time you build one.
It also works.
Step 2: Build the Skeleton Platform
Next, construct a platform several meters away from the edge of the pit.
This is where your skeleton archers should stand.
Melee skeletons can work, but archers are much easier to automate because they don’t need to physically enter the enemy pit. They can sit safely behind a barrier and repeatedly fire into the trapped Greydwarfs.
If your Dead Raiser gives you a melee skeleton when you’re trying to create an archer setup, remove the unwanted summon and try again.
The goal isn’t maximum skeleton variety.
You want predictable, repetitive attacks.
Step 3: Build the AFK Room
Now protect the entire operation.
Build a small enclosed room around yourself and the skeleton platform. Leave narrow openings or use suitable barriers that allow your archers to maintain line of sight while keeping wandering enemies away from them.
I strongly recommend putting the campfire somewhere protected from rain.
There is nothing more annoying than returning to your computer after several hours and discovering that your Rested buff disappeared because your campfire went out.
Keep the setup simple, sheltered and easy to inspect.
Then you can finally step away from the keyboard.
Method Two: The Trapped Blob Setup
This is where things become much more interesting.
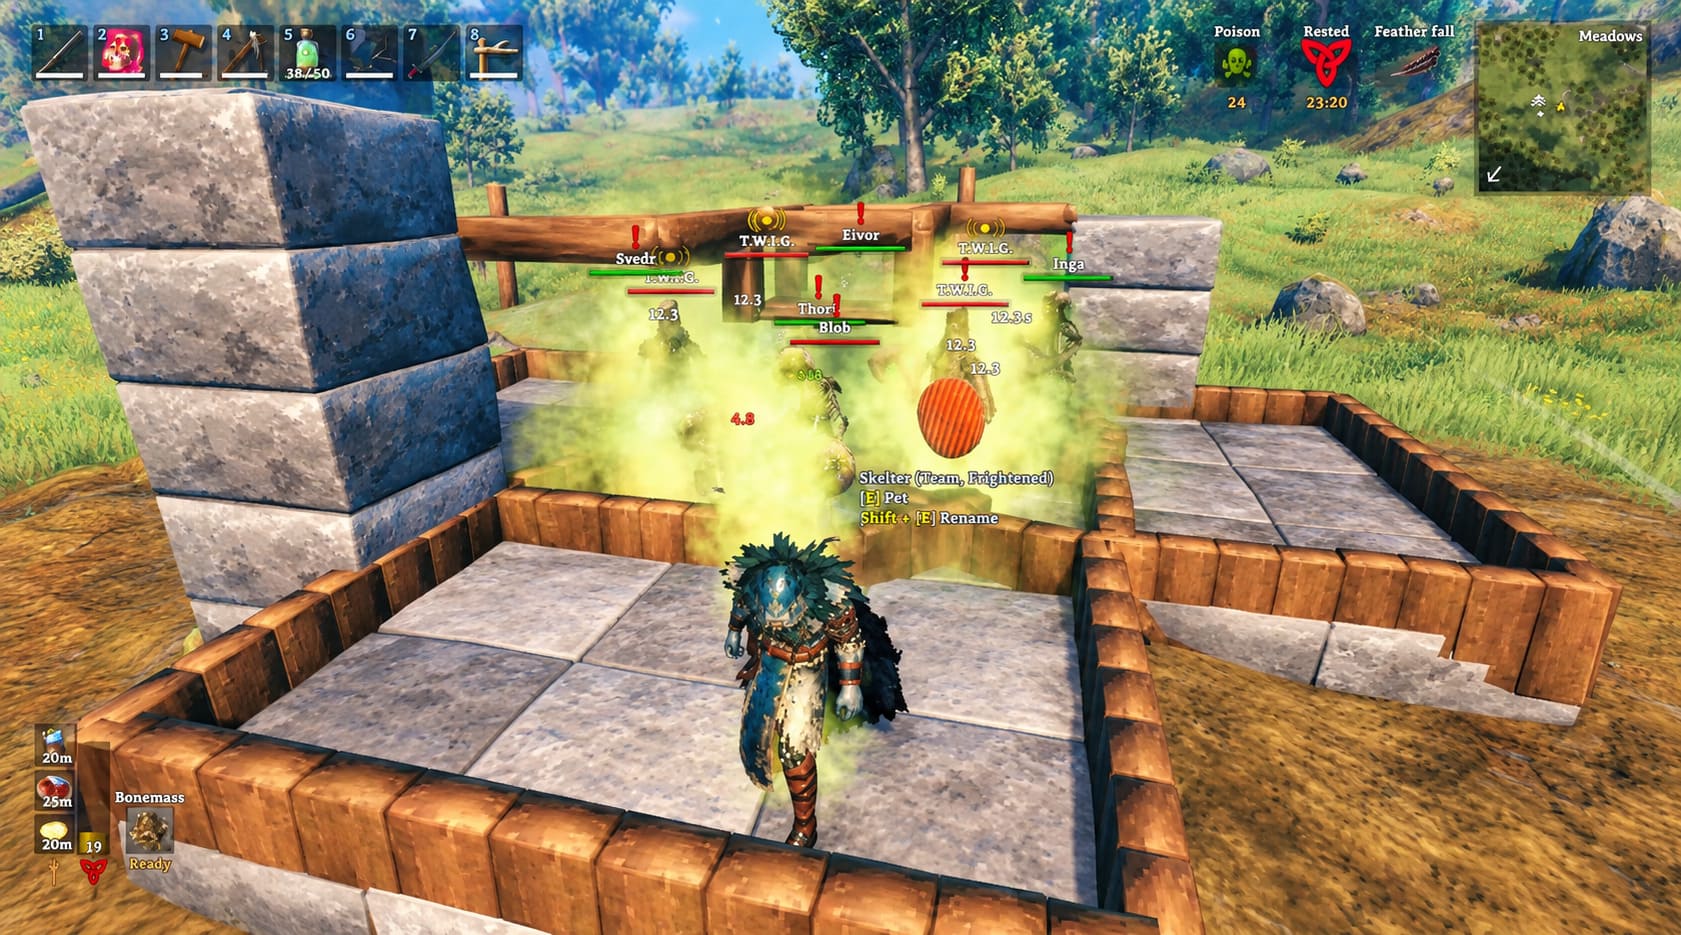
The more experimental Blood Magic farming setups focus on trapping a durable enemy and manipulating the skeletons’ targeting behavior. The idea is straightforward: keep the enemy alive, keep the skeletons attacking and prevent the entire setup from moving.
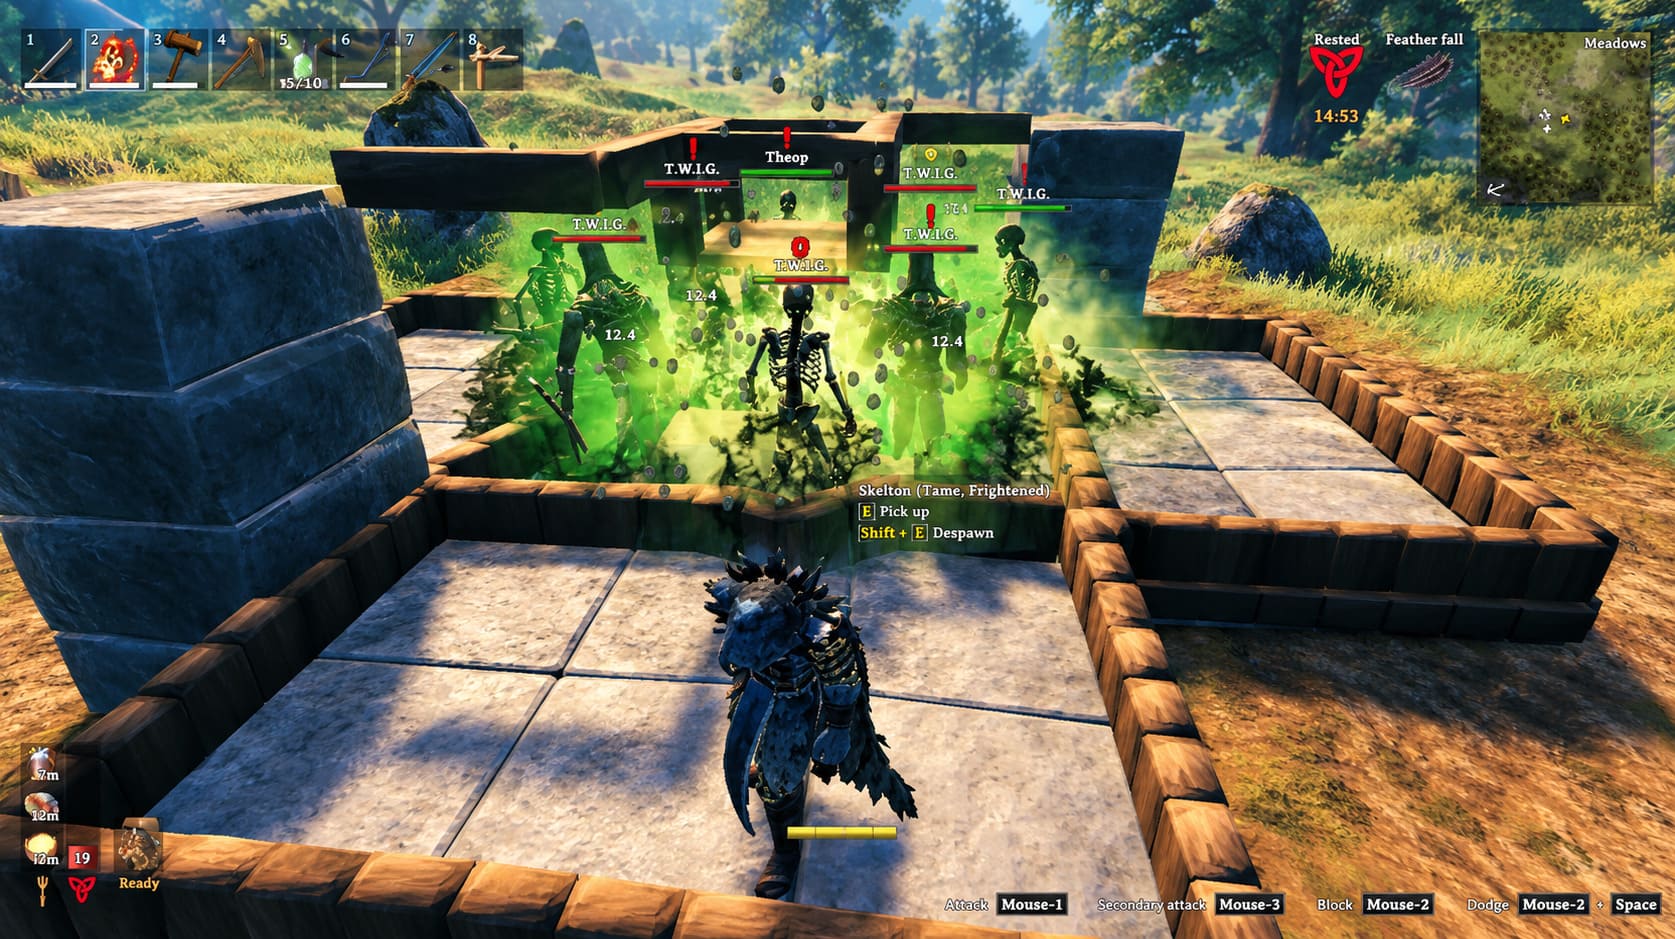
Poison Blobs from the Swamp can be useful for this type of experiment because their behavior and durability can make them suitable for a controlled enclosure.
However, I would treat this approach as a more advanced farm rather than automatically assuming it is better for every player.
Why?
Because tiny positioning differences can completely change the result.
Building the Blob Farm
Start with a compact stone enclosure. A small structure is preferable because you want the enemy’s movement to be heavily restricted.
Blobs can jump, so don’t build an open box and assume the problem is solved. Give the enclosure a secure roof and make sure there are no obvious escape routes.
Next, lure a Poison Blob into the structure.
This is the dangerous part.
During construction, bring appropriate poison protection. A Root Mask or Poison Resistance Elixir can save you from turning a simple farming project into an unnecessary corpse run.
Once the Blob is trapped, position your skeletons outside the enclosure.
The objective is to give them a reliable target while keeping their movement restricted. Small stalls made from structural pieces can help prevent the skeletons from wandering around.
The closer you get to a predictable attack cycle, the better.
The Training-Target Idea
Some players take the concept further by placing durable structures or training-style targets between the skeletons and their intended enemy.
This is where I would experiment rather than blindly copying a screenshot from somebody else’s farm.
Valheim‘s AI and collision behavior can be surprisingly sensitive. A setup that works perfectly on one piece of terrain may behave completely differently a few meters away.
The important principle remains the same:
Lock the skeletons in place, keep their target within reliable detection range and maximize the number of successful attacks.
If your skeletons repeatedly lose aggro, walk around or stop attacking, your XP rate will collapse.
Which Blood Magic Farm Should You Use?
For most players, my answer is pretty simple: start with the Greydwarf farm.
It is less exciting, but reliability matters more than theoretical maximum XP when you’re leaving the game running unattended.
| Farm | Efficiency | Complexity | AFK Safety | My Take |
|---|---|---|---|---|
| Greydwarf Spawner | High | Low | High | Best overall choice |
| Trapped Blob | Very High Potential | Medium/High | Medium | Great for experimentation |
| Natural Combat | Low | None | Low | Not recommended for grinding |
| Manual Shield Training | Moderate | Low | Low | Useful, but risky |
The trapped Blob approach can be attractive if you enjoy squeezing every possible point of efficiency out of your base. But if you’re simply trying to reach Blood Magic 100 without babysitting the game all weekend, the classic spawner design is hard to beat.
The Raid Problem Nobody Should Ignore
AFK farming sounds safe until Valheim reminds you that the world doesn’t care whether you’re paying attention.
Raids are the biggest reason I don’t recommend throwing a Blood Magic farm directly into the middle of your main settlement.
A raid can destroy structures, kill your summons and potentially leave your character exposed. That is a terrible combination when your entire objective is to accumulate skill XP without dying.
One strategy is to carefully control the number of nearby structures that count toward raid conditions. Workbenches, campfires, portals, beds and forges can all matter when determining whether your location qualifies for a raid trigger.
Keep the farm isolated and remove unnecessary infrastructure once construction is complete.
An isolated location is even better.
If you can build the farm away from your primary base, you reduce the chance that one unfortunate event turns your beautiful AFK machine into a pile of broken wood.
And personally, I prefer having the farm somewhere I don’t normally live. Losing a temporary farming shack is annoying. Losing your actual home because you wanted to grind Blood Magic overnight is just painful.
Valheim Siege Weapons Repair Guide: How to Fix Catapults and Battering Rams (2026)
Common Problems With AFK Blood Magic Farms
Skeletons Stop Attacking
Usually, the target has moved outside their effective detection range or the skeletons have managed to get themselves stuck.
Keep the enemy confined to a small area and avoid unnecessarily complicated layouts.
Stronger Enemies Kill Your Skeletons
Spawner farms can occasionally produce tougher variants.
If your skeletons are too weak, a starred enemy can turn your peaceful XP machine into a massacre.
Upgrade your magical equipment and make sure your Dead Raiser is capable of supporting the farm before leaving it unattended for a long session.
Your Rested Buff Disappears
Check the campfire.
Seriously.
A roof over the fire and enough wood stored nearby can make the difference between a useful AFK session and several hours of mediocre progress.
The Farm Works for Five Minutes and Then Breaks
This is usually a positioning or pathfinding problem.
Don’t immediately rebuild everything.
Watch the farm for several minutes and identify exactly what changes. Does the target move? Do skeletons leave their positions? Does an enemy spawn outside the pit? Does line of sight disappear?
AFK farms should be tested before you trust them overnight.
That’s probably the most important advice in this entire guide.
Valheim Xbox Series S Performance vs Graphics Mode: 2026 Guide
My Verdict: Don’t Overcomplicate Blood Magic
Blood Magic is one of those Valheim skills that becomes incredibly satisfying once you’ve invested the time, but the journey can feel like punishment.
The good news is that you don’t have to manually fight your way to level 100.
The Greydwarf Spawner Pit remains my favorite Blood Magic AFK farm because it is simple, cheap and predictable. It doesn’t require perfect AI manipulation, and once you’ve built the enclosure correctly, it can run for long periods with minimal attention.
The trapped Blob approach is more interesting for players who enjoy squeezing every possible point of efficiency out of a system. If you like experimenting with enemy AI, structural positioning and skeleton targeting, it is absolutely worth testing.
Just don’t confuse complexity with efficiency.
A farm that theoretically produces more XP but randomly breaks after twenty minutes is worse than a slightly slower setup that runs reliably for six hours.
That’s the real trick to leveling Blood Magic in Valheim in 2026: build something boring enough that you can forget about it.
Get your Rested buff. Protect the campfire. Lock down the skeletons. Keep valid enemies trapped. Remove unnecessary raid risks. Test everything before going AFK.
Then let the undead do the work.
And when you finally hit Blood Magic 100, you’ll have earned the right to stop digging holes in the Black Forest for a while.