IRON NEST Heavy Turret Simulator: How to Defeat Armored Airships Guide
Few moments in IRON NEST: Heavy Turret Simulator create as much tension as hearing intelligence report an incoming armored airship. Ground targets are dangerous enough, but these massive flying fortresses completely change the pace of the battle. They force you to think several moves ahead, balance your ammunition carefully, and trust your calculations instead of your instincts.
After spending time experimenting with different firing methods and comparing what experienced players have discovered, I’ve come to appreciate that armored airships aren’t designed to be beaten by brute force. They’re essentially giant puzzles that reward patience and punish rushed decisions.
If you’re struggling to shoot one down consistently, this guide covers the techniques that made the biggest difference for me.
Why Armored Airships Are So Dangerous
The biggest mistake new players make is treating an airship like an oversized ground vehicle.
It isn’t.
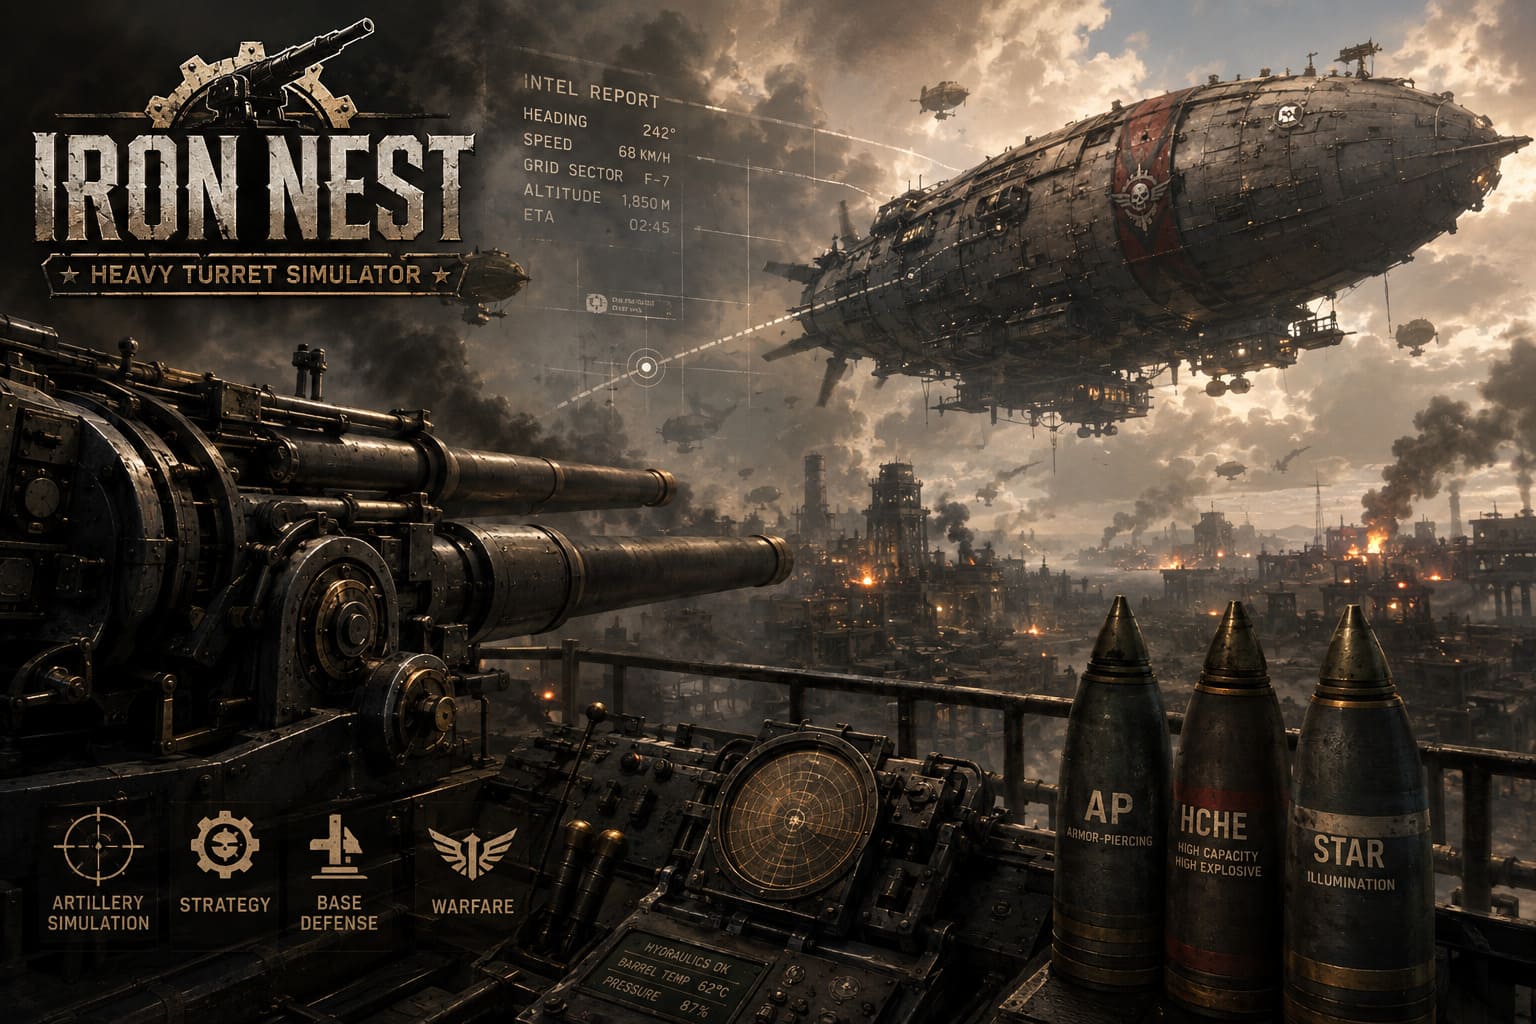
Unlike bunkers or artillery batteries, airships are constantly moving across the battlefield. Every artillery shell needs time to reach its destination, and during that travel time the target continues moving. Missing by even a small margin often means wasting valuable ammunition while giving the enemy another opportunity to strike.
These airborne war machines feature several major advantages:
- Heavy layered armor
- Large bomb payloads
- Long engagement ranges
- Strong retaliation mechanics
- Constant movement
They’re intentionally designed as late-game threats that test nearly every mechanic you’ve learned throughout a mission.
Stop Aiming Where the Airship Is
The single best piece of advice I can give is surprisingly simple: never fire at the airship’s current location.
Every artillery shell needs time to reach its destination. During that travel time, the airship keeps flying.
Instead, calculate where it will be once your shell arrives. Every engagement becomes an interception problem rather than a traditional shooting exercise.
Once I stopped chasing the target and started predicting its movement, my hit rate improved dramatically.
Read Every Teleprinter Message Carefully
The intelligence teleprinter becomes your best source of information whenever airborne enemies appear.
At first I barely paid attention to the incoming reports, but after several failed encounters I realized they contain almost everything needed for an accurate firing solution.
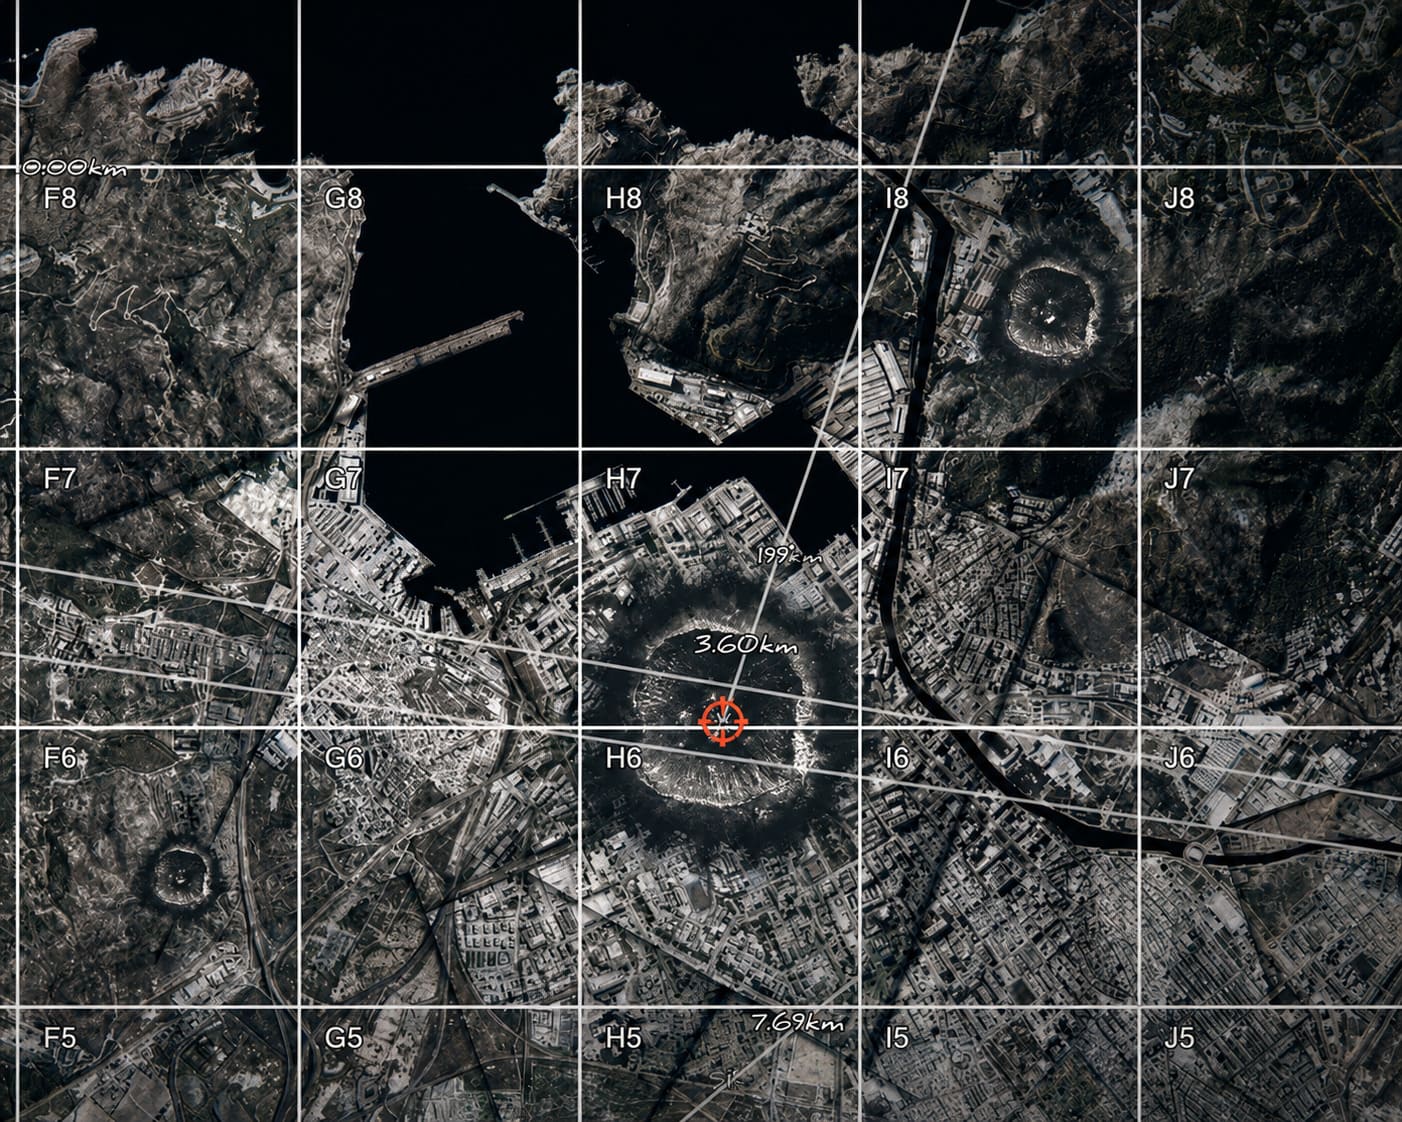
Always pay attention to the following details:
- Heading
- Estimated speed
- Current grid sector
- Direction of travel
- Updated reconnaissance reports
Each new transmission helps refine your calculations and reduces the chances of wasting expensive ammunition.
Build Your Firing Solution Before Loading the Guns
One habit that saved me countless shells was preparing every calculation before touching the loading controls.
| Step | Purpose |
|---|---|
| Identify reported grid | Locate the airship’s last known position. |
| Draw projected path | Estimate future movement. |
| Check shell flight time | Determine how long the projectile will travel. |
| Calculate interception point | Lead the target correctly. |
| Confirm elevation and bearing | Prepare the artillery for an accurate shot. |
Taking an extra twenty seconds to verify everything is far better than spending several minutes recovering from missed shots.
Star Shells Are More Valuable Than They Seem
When I first unlocked Star Shells, I assumed they were only useful in rare situations. After more missions, they became one of my favorite support tools.
Fog, smoke, darkness, and poor visibility all reduce your confidence in long-range calculations. Launching a Star Shell first illuminates the target area and gives you a much clearer picture before committing your heavy armor-piercing ammunition.
Whenever visibility isn’t perfect, I almost always begin with illumination. It’s a small investment that prevents several missed shots later.
Bring the Right Ammunition
IRON NEST quickly teaches that every shell exists for a reason. Trying to defeat every enemy with one ammunition type usually ends badly.
| Shell Type | Best Use |
|---|---|
| Armor-Piercing (AP) | Breaking through armor and damaging internal systems. |
| High Capacity High Explosive (HCHE) | Destroying exposed internal structures after armor is breached. |
| Star Shell | Illuminating the battlefield for improved targeting. |
| Chemical Shells | Situational ammunition for specialized mission strategies. |
The important part isn’t simply carrying these shells—it’s using them in the correct order.
My Favorite Two-Shot Combination
After experimenting with different firing patterns, I found the ripple fire technique far more reliable than firing both barrels simultaneously.
- Fire an Armor-Piercing (AP) shell first.
- Wait a few seconds for the turret to stabilize.
- Fire an HCHE shell along the same trajectory.
The first shell breaches the armor while the second delivers devastating damage to the exposed interior before the airship has time to react.
This firing method also reduces recoil-related aiming issues and keeps the turret more stable for follow-up attacks.
Watch Your Machinery
One of my favorite aspects of IRON NEST is that your own turret constantly demands attention. In many situations, poor mechanical management is just as dangerous as enemy fire.
Always keep an eye on:
- Hydraulic pressure
- Barrel temperature
- Reload timing
- Powder charges
- Mechanical alignment
If your hydraulics lock or your barrels overheat during an airship engagement, recovering can become extremely difficult.
I’ve learned that slow, deliberate adjustments usually outperform rushed movements that overload the hydraulic system.
Target the Weak Points Instead of the Hull
Random hits will eventually destroy an airship, but they consume too much ammunition. Focusing on critical systems is far more efficient.
Rear Engine Section
This is usually my first target. Damaging the propulsion system dramatically reduces the airship’s mobility, making every follow-up calculation much easier.
Bomb Storage Gondola
Whenever I have a clear firing angle, I prioritize this area. Internal ammunition detonations can cause catastrophic chain reactions capable of ending the encounter much faster than expected.
Upper Gas Envelope
If direct armor penetration isn’t working, repeatedly attacking the upper lifting sections gradually removes the airship’s ability to stay airborne. It may not be the fastest solution, but it remains highly reliable.
Powder Charges Matter More Than You Think
Early in my playthrough I underestimated how important powder management really is.
Using too little powder causes shells to fall short of their intended target, while excessive charges place unnecessary stress on your equipment and increase barrel wear.
Finding the proper balance for each engagement is one of the mechanics that separates experienced operators from beginners.
Small Habits That Improved My Performance
Not every improvement comes from better aim. Several simple habits consistently made my missions smoother.
- Check the teleprinter during reloads instead of waiting.
- Remove unnecessary markings from the planning table.
- Prepare specialized ammunition before expected airship encounters.
- Monitor cooling cycles instead of rushing another shot.
- Double-check every firing solution before pulling the trigger.
None of these habits feels dramatic on its own, but together they noticeably improve efficiency throughout a mission.
IRON NEST Heavy Turret Simulator PC Download, Release Date, and System Requirements (2026)
Don’t Panic After Missing
Everyone misses occasionally.
The important part is avoiding a rushed second shot. Whenever my first shell lands wide, I study the impact point, compare it with the predicted trajectory, adjust my calculations, and only then fire again.
IRON NEST consistently rewards patience and careful corrections over aggressive firing.
IRON NEST Heavy Turret Simulator Gameplay Walkthrough Part 1: Full Guide and Mission 1 Strategy
Final Thoughts
Armored airships are easily my favorite encounters in IRON NEST: Heavy Turret Simulator because they combine nearly every major gameplay system into a single challenge. You’re not simply operating enormous artillery cannons—you are constantly interpreting reconnaissance reports, predicting movement, managing complex machinery, selecting specialized ammunition, and making decisions under pressure.
What surprised me most is that these encounters became much easier once I slowed down. Spending a little more time calculating trajectories, verifying map markings, and selecting the proper shell almost always produced better results than trying to overwhelm the target with nonstop fire.
If there’s one lesson every new operator should remember, it’s this: precision always beats speed. A carefully planned interception using the correct ammunition is worth far more than several rushed shots that miss completely. Once you become comfortable reading movement patterns and timing your ripple fire correctly, even the largest armored airships stop feeling impossible and become some of the most satisfying tactical battles the game has to offer.