Pax Autocratica FPS Mode Guide: How to Command Squads and Win Sector Raids
Pax Autocratica is one of those games that looks manageable right up until it throws you into a Sector Raid and reminds you that you are apparently responsible for an entire army. On the colony-management side, you can spend hours worrying about resources, loyalty, policies, production lines, and the general happiness of your increasingly suspicious population. Then you step onto the battlefield, pick up a weapon, and suddenly all those spreadsheets become bullets, grenades, and angry Urslan soldiers.
That transition between strategy game and first-person shooter is exactly what makes Pax Autocratica so interesting. It is also where I think a lot of players initially make the wrong assumption. Your squad is not just extra firepower. If you treat your soldiers as background NPCs who will automatically figure everything out, difficult raids become unnecessarily brutal. Once I started treating squad commands as a core part of my FPS toolkit rather than an optional feature, Sector Raids became considerably more manageable.
So, after spending far too much time experimenting with squad positioning, target priorities, cover, and the occasional extremely questionable conscript sacrifice, here is my practical Pax Autocratica FPS squad guide. This is less about playing perfectly and more about understanding how to make your troops do the work you actually need them to do.
Why Squad Commands Matter More Than Your Aim
The first lesson is simple: Pax Autocratica is not a traditional FPS. You can have excellent aim and still lose a fight because your squad is standing in the wrong place, shooting the wrong enemy, or running directly through an artillery barrage.
The game essentially gives you two weapons systems. The first is the gun in your hands. The second is the group of soldiers following your orders. Good commanders use both at the same time.
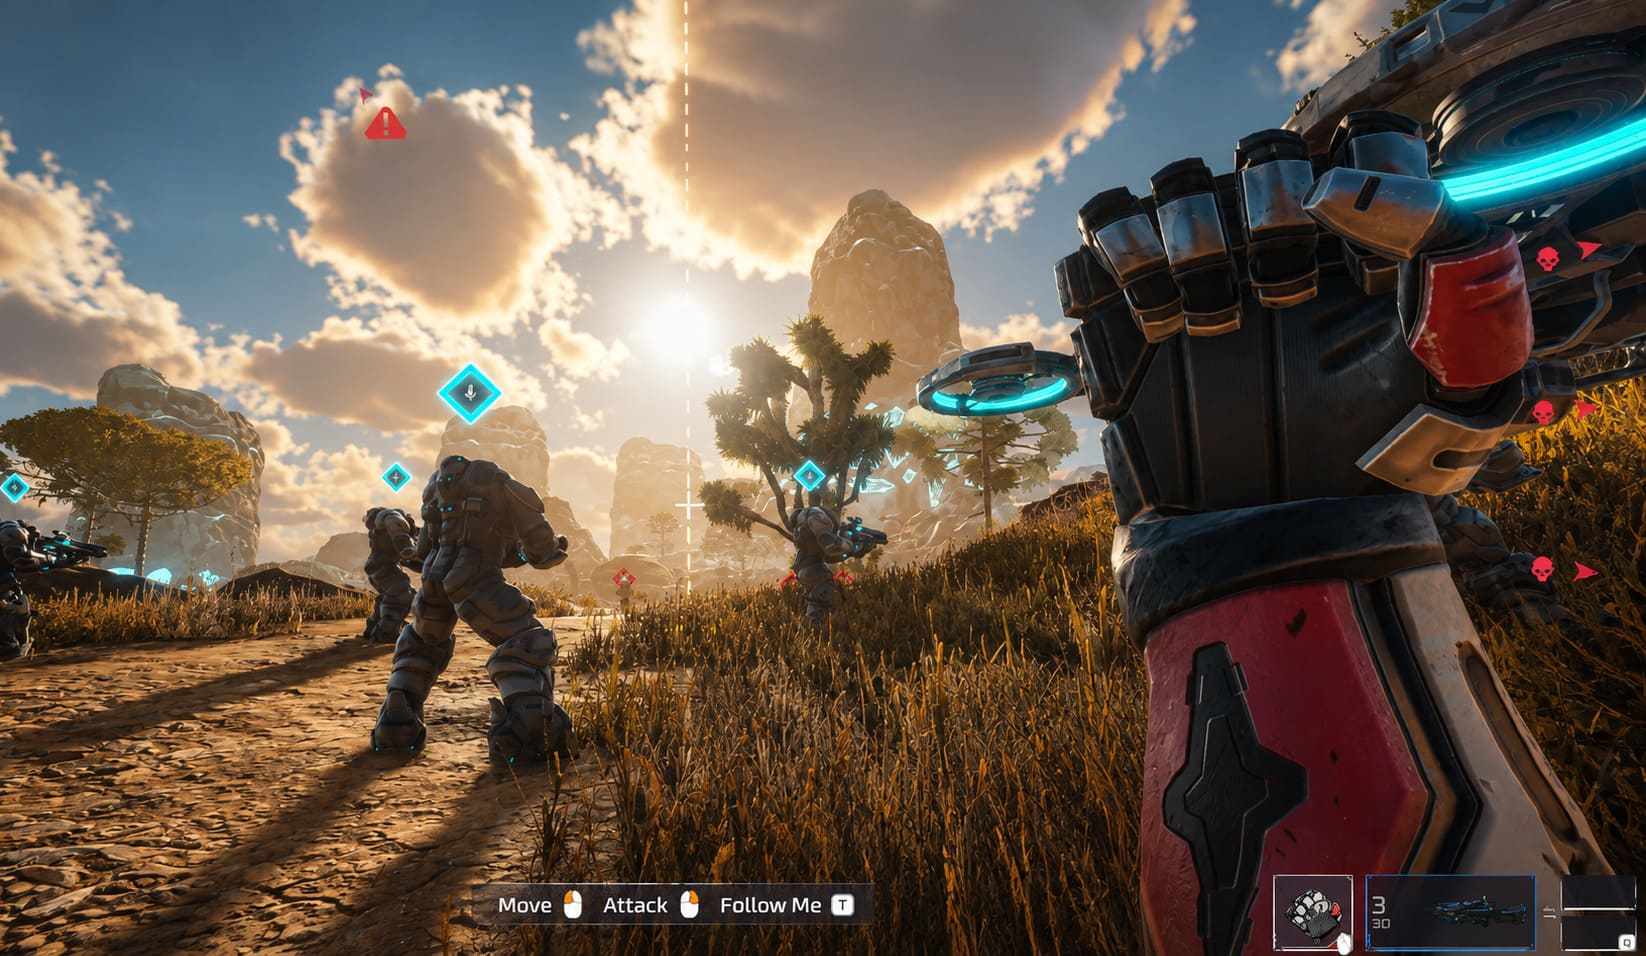
The basic command system is built around your crosshair. Instead of clicking around an RTS-style map, you physically look toward the location, enemy, or object you want your troops to interact with and issue the appropriate command. It feels slightly awkward during your first few fights, but once the muscle memory develops, it becomes surprisingly natural.
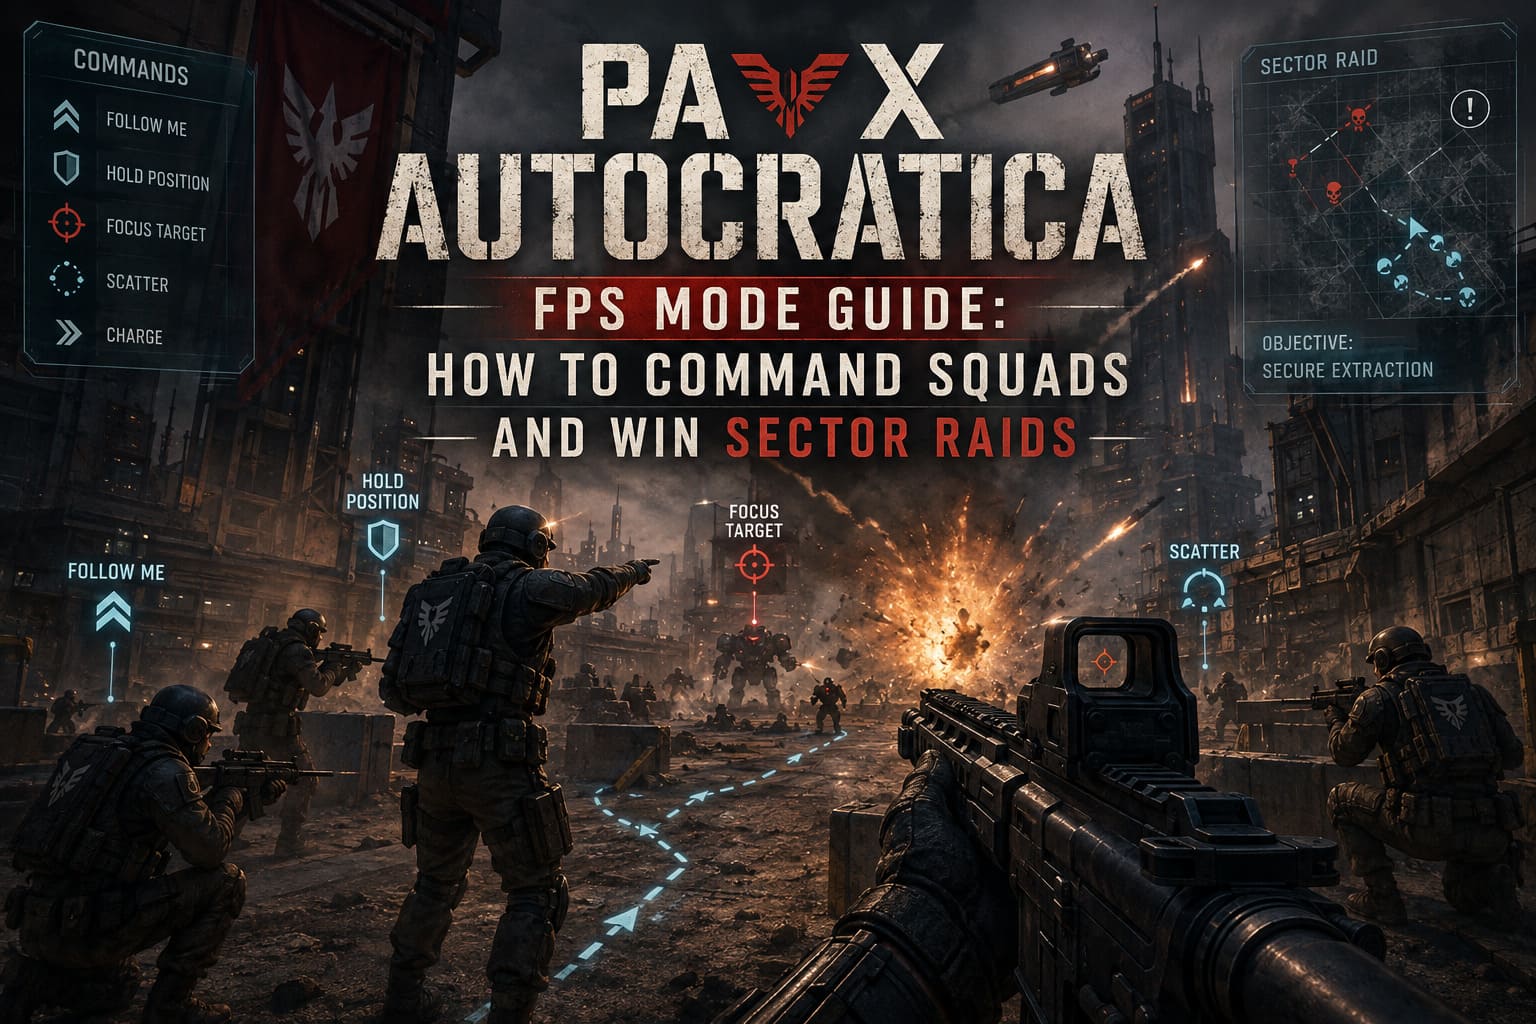
| Command | Best Use | My Advice |
|---|---|---|
| Follow Me | Travel and repositioning | Cancel before major fights |
| Hold Position | Defense and overwatch | Place troops near, not directly on, cover |
| Focus Target | Elites, bosses and heavy units | Use early in every difficult engagement |
| Scatter | Artillery and AoE attacks | Use before explosions land |
| Charge | Aggressive pushes | Best with expendable frontline units |
The Command Ring Is Your Real Tactical Weapon
The Command Ring is probably the most important interface element to learn. When you activate squad commands, your crosshair effectively becomes a targeting tool for your entire team.
Look at an empty section of terrain and you can order your soldiers to move there. Aim at an enemy and you can direct their attention toward that target. Point toward a useful defensive position and you can establish a rough frontline.
What makes this system interesting is that your physical position matters. You cannot simply sit safely behind a rock and micromanage everything like a conventional strategy game. You are part of the battlefield, which means your own movement, visibility, and positioning influence how useful your commands are.
I strongly recommend learning the radial command menu early, but don’t become dependent on it. During a chaotic firefight, opening a wheel while enemies are shooting at you can be a great way to lose track of what is happening. Once you know which commands you use most frequently, put them on convenient hotkeys whenever possible.
Follow Me Is Useful Until It Suddenly Isn’t
On paper, Follow Me sounds like the obvious default command. Your squad follows you, you move toward the objective, everyone stays together. Easy.
The problem is that this can create terrible behavior during combat. Soldiers trying to catch up with a rapidly moving commander tend to spend too much time running and not enough time actually fighting. I’ve had situations where my troops technically followed my orders perfectly while accomplishing absolutely nothing useful because they were sprinting across an open area under fire.
My rule is simple: use Follow Me for travel, not firefights.
As soon as you approach an enemy position, stop thinking like a traveler and start thinking like a commander. Give your squad a location, assign a target, and let them establish themselves before you start shooting.
Hold Position Can Turn Bad Terrain Into a Defensive Line
Hold Position is probably the command I use most during serious raids. It allows you to create a temporary anchor point for your squad while you maneuver independently.
It is particularly useful around extraction zones, chokepoints, elevated terrain, and entrances to fortified facilities. Your squad will attempt to make use of nearby environmental protection, although you shouldn’t expect perfect military formations or flawless cover selection.
One small trick makes a noticeable difference: don’t place the command marker directly on top of the cover you want them to use. Put it slightly behind the defensive geometry instead. This often produces a more useful position where soldiers have some protection while retaining a reasonable firing angle.
It isn’t a perfect formation system, but it is good enough to create a functional firing line.
Focus Fire Is How You Deal With Elites
This is where squad commands stop being convenient and start becoming essential.
Normal enemies can often be handled through raw firepower, but elite units and heavily armored targets are a different problem. If every member of your squad chooses a different target, your combined damage becomes scattered and inefficient.
Instead, pick the most dangerous enemy and use Focus Target.
Concentrated squad damage can burn through shields and armor much faster than several soldiers independently attacking different enemies. It is especially valuable against elite units that can regenerate defenses or overwhelm individual squad members.
My preferred sequence is straightforward:
- Identify the strongest enemy in the area.
- Order the squad to focus that target.
- Fire at the same target yourself.
- Once it falls, immediately select the next priority threat.
That simple habit prevents a surprising number of messy encounters.
Scatter Before the Explosion, Not After
One of the easiest mistakes to make in FPS combat is waiting until your squad is already taking damage before giving them a defensive command.
If you see artillery coming in, a grenade trajectory, or an obvious area-of-effect attack, use Scatter immediately. The goal isn’t to make your squad disappear. The goal is to prevent six soldiers from occupying exactly the same blast radius.
This is particularly important against enemies that rely heavily on explosive attacks. A tightly packed squad can go from full strength to practically useless in seconds. Spread them out, survive the initial attack, and then regroup when the danger passes.
Build Your Squad Around Roles, Not Just Rarity
One of the biggest mistakes I see in squad-based games is automatically assuming that the rarest unit is always the best unit. In Pax Autocratica, composition matters just as much as individual quality.
Assault Infantry
These are your dependable frontline troops. They are flexible, responsive, and good at absorbing the first wave of enemy aggression. I like using them to secure chokepoints while I move around the side of an enemy formation.
Snipers
Snipers become extremely valuable when you give them room to work. Find elevated terrain, issue Hold Position, and let them start removing distant threats while you handle the ground-level fighting.
The worst place for a sniper is usually the middle of an assault. The best place is somewhere high, distant, and difficult for enemies to reach.
Heavy Units
Heavy ordnance and suppression troops are slower, but they can control space extremely well. Use them to lock down enemy infantry while you concentrate on priority targets.
Conscripts And Prisoners
These lower-tier units aren’t necessarily useless. In fact, they can be surprisingly valuable when used appropriately.
I wouldn’t build an entire tactical plan around them, but they can absorb attention, trigger dangerous abilities, and create openings for your better troops. In a particularly nasty encounter, having expendable bodies between an elite enemy and your expensive soldiers can make a real difference.
The Best Raid Strategy: Let Your Squad Start the Fight
My favorite tactic for fortified Urslan positions is probably the simplest one: don’t be the first person everyone shoots at.
Send your squad forward and establish a position where they can engage the main defensive force. Once the enemy starts concentrating on your soldiers, move around the flank.
This creates a very useful division of labor. Your squad becomes the visible threat while you become the problem the enemy doesn’t notice until it is too late.
From the side or rear, you can target defensive turrets, rocket launchers, isolated elites, and other high-value threats. Once those are gone, the frontal engagement becomes dramatically easier.
It sounds cowardly. I prefer the term strategically unemployed by the concept of fair combat.
Use Aggro To Save Your Best Soldiers
Enemy aggression is another mechanic worth exploiting. When you personally damage an enemy, you can often pull its attention toward yourself.
That means your character isn’t just a damage dealer. You can deliberately become the target when one of your important squad members is in trouble.
Imagine your sniper is being chased by an elite unit. Instead of trying to physically rescue the sniper, shoot the elite yourself. Once its attention shifts toward you, retreat through cover and give your sniper enough time to reposition.
This creates a simple but effective rhythm: pull aggro, reposition, let the squad recover, then attack again.
Don’t Ignore Mines And Battlefield Hazards
Sector Raids aren’t only about shooting enemies. Environmental hazards can be just as dangerous, particularly when you’re moving a large group of soldiers through unfamiliar territory.
Slow down when entering suspicious areas. Scan the ground and avoid blindly pushing your entire squad into potential minefields.
If you suspect explosives are present, take the time to clear the route rather than discovering the hazard with six soldiers standing directly on top of it.
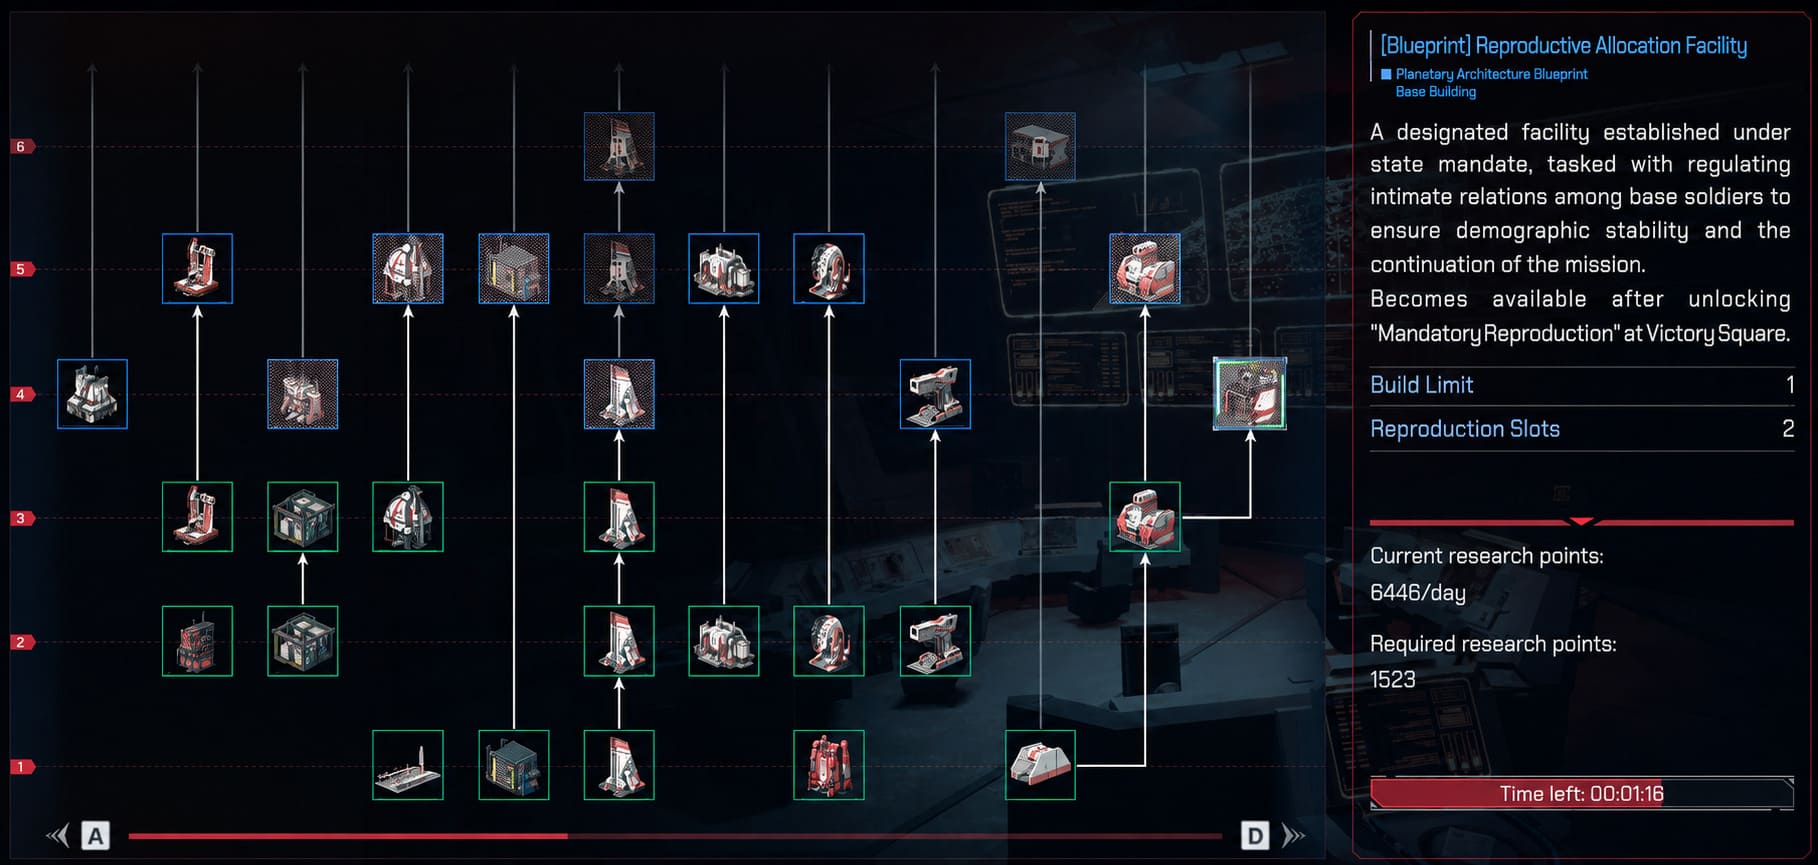
Your Colony Build Directly Affects Your FPS Performance
This is the part of Pax Autocratica that I think deserves more attention. Your FPS performance doesn’t exist separately from your colony strategy.
The upgrades, resources, equipment, policies, and talent choices you make back home eventually show up on the battlefield.
When investing character and squad points, don’t put everything into your personal weapon damage. Improving squad health, armor, survivability, and command-related abilities can produce much better results during difficult raids.
The same applies to equipment. Sending poorly equipped troops into high-danger sectors is basically asking the game to convert your expensive recruits into statistics on a casualty screen.
Before difficult expeditions, I prefer maintaining at least a reasonable green- or blue-quality equipment baseline for my important squad members. You don’t necessarily need to chase the absolute best gear for everyone, but sending elite troops into endgame content with starter equipment is rarely a good economy.
Politics Can Follow You Onto The Battlefield
One of the stranger and more interesting aspects of Pax Autocratica is how much your colony’s political system can influence combat.
A regime built around fear and indoctrination can produce soldiers who are extremely obedient and less likely to break under pressure, but other policies can affect morale, stamina, recovery, or the broader consequences of losing personnel.
That means there isn’t necessarily one universally correct political setup for combat-focused players. Your colony decisions can create different strengths and weaknesses, and your expedition strategy should reflect them.
My Ideal Squad Routine Before Every Sector Raid
After experimenting with different approaches, I now follow a fairly simple checklist before pushing into a dangerous area:
- Check squad equipment and avoid taking under-equipped units into high-level sectors.
- Identify your sniper position before the first major engagement.
- Keep assault troops forward and heavy units somewhere they can control the battlefield.
- Stop using Follow Me once combat becomes unavoidable.
- Focus the most dangerous target rather than letting the squad split its damage.
- Use your character to manipulate aggro when important squad members are threatened.
That routine sounds basic, but it prevents most of the problems that made my early raids feel chaotic.
Pax Autocratica Colony Management Guide: Resource Optimization Strategy
What I Want From Pax Autocratica’s Future Squad System
If Multiverse continues expanding the FPS side of Pax Autocratica, the command system is the area I’d most like to see improved.
A portable tactical interface would be fantastic. Being able to check squad positions, alter orders, call reinforcements, or manage battlefield logistics without physically running back and forth would make large-scale engagements feel even more like commanding an actual force.
I’d also love more dedicated hotkeys for advanced commands. The radial menu works, but during a difficult firefight every second matters. When I’m trying to track an elite enemy, dodge artillery, and keep my squad alive at the same time, I don’t particularly want to navigate another menu.
Pax Autocratica Console Commands List (2026): All Cheat Codes & How to Enable
Final Verdict: Stop Playing Like You’re Alone
The biggest improvement you can make in Pax Autocratica FPS mode isn’t finding a better gun or learning how to land perfect headshots. It is learning to stop thinking like a solo FPS player.
Your squad is part of your weapon system.
Use infantry to establish pressure. Put snipers somewhere they can actually see the battlefield. Keep heavy units controlling dangerous areas. Focus fire on elites. Scatter before explosions hit. Manipulate enemy aggro when your valuable troops are threatened. Most importantly, don’t leave your soldiers to make every tactical decision themselves.
Once you start doing that, Sector Raids feel less like chaotic shooting galleries and more like the strange hybrid strategy game Pax Autocratica was clearly designed to be.
And honestly, that’s when the FPS side finally clicked for me. I stopped asking, “How do I kill everything?” and started asking, “How do I make my entire squad kill everything?”
That small change in mindset makes a huge difference. Lead from the front, abuse every tactical advantage the game gives you, and don’t be afraid to let your soldiers create the distraction while you do the dirty work.
All hail the State. And please, for the love of your colony, stop making your sniper run into the artillery.