How to Fix Low FPS and Stuttering in GERONIMO VR (2026 Performance Guide)
There are few things more frustrating in VR than preparing for a perfect room breach only to have your headset freeze for a split second at the worst possible moment. Unlike traditional shooters, a tiny stutter in virtual reality isn’t just annoying—it can completely destroy immersion, ruin your aim, and for some players even cause motion sickness.
After spending plenty of time with GERONIMO VR, experimenting with different runtimes, graphics settings, and community recommendations, I realized that smooth performance isn’t simply about owning the newest GPU. Even powerful PCs can struggle if one or two settings are working against each other.
The good news is that most performance issues have surprisingly simple solutions. If you’re experiencing unstable FPS, inconsistent frame times, or random hitching, these are the adjustments that made the biggest difference for me.
Why GERONIMO VR Can Feel Inconsistent
GERONIMO is built around realistic indoor environments, advanced lighting, detailed equipment, physics interactions, and precise weapon handling. All of these systems place heavy demands on both your graphics card and processor.
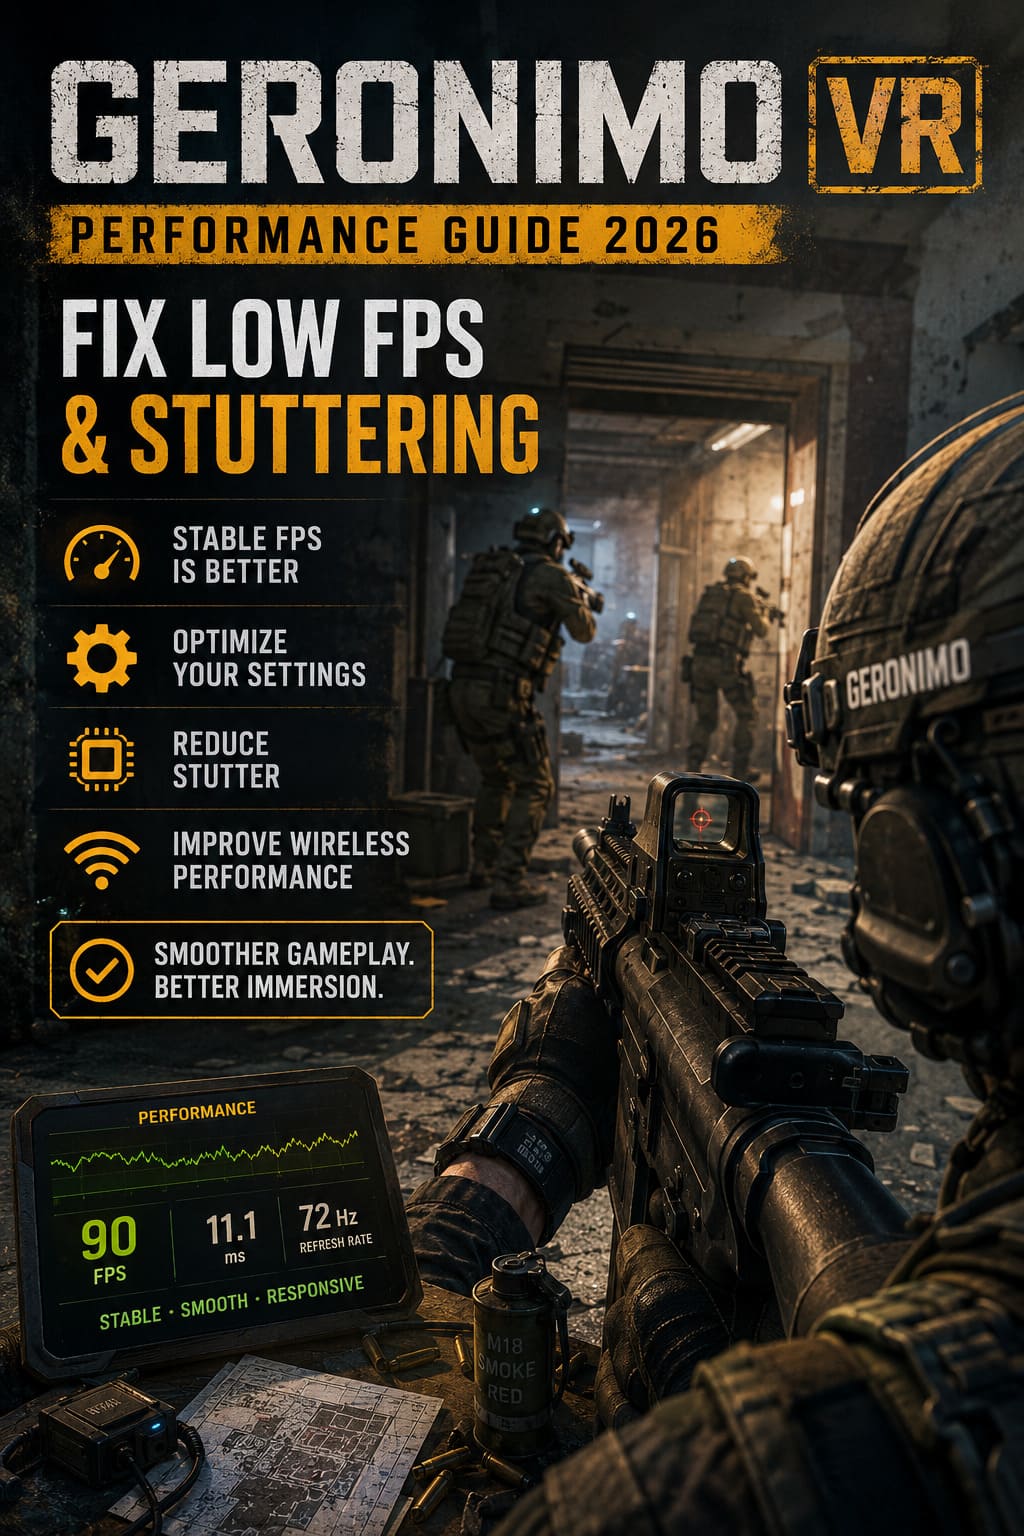
VR is also much less forgiving than normal PC gaming because every frame has to be rendered twice—once for each eye—while maintaining extremely low latency.
The most common reasons for poor performance include:
- Multiple VR runtimes running together
- Motion smoothing conflicts
- Oversized resolution scaling
- Background Windows features
- GPU power-saving behavior
- Wireless streaming instability
In my experience, fixing several small problems usually delivers a much larger improvement than changing one graphics setting.
Start With Your VR Runtime
This was probably the biggest improvement I noticed.
Many players automatically launch GERONIMO through SteamVR even when their headset supports a more direct OpenXR implementation.
If you’re using Virtual Desktop, switching to VDXR/OpenXR instead of SteamVR can noticeably reduce overhead. The game simply feels more responsive, especially during fast movement.
Meta Quest users should also verify that the Meta Link software is handling OpenXR instead of SteamVR whenever possible.
My recommendation:
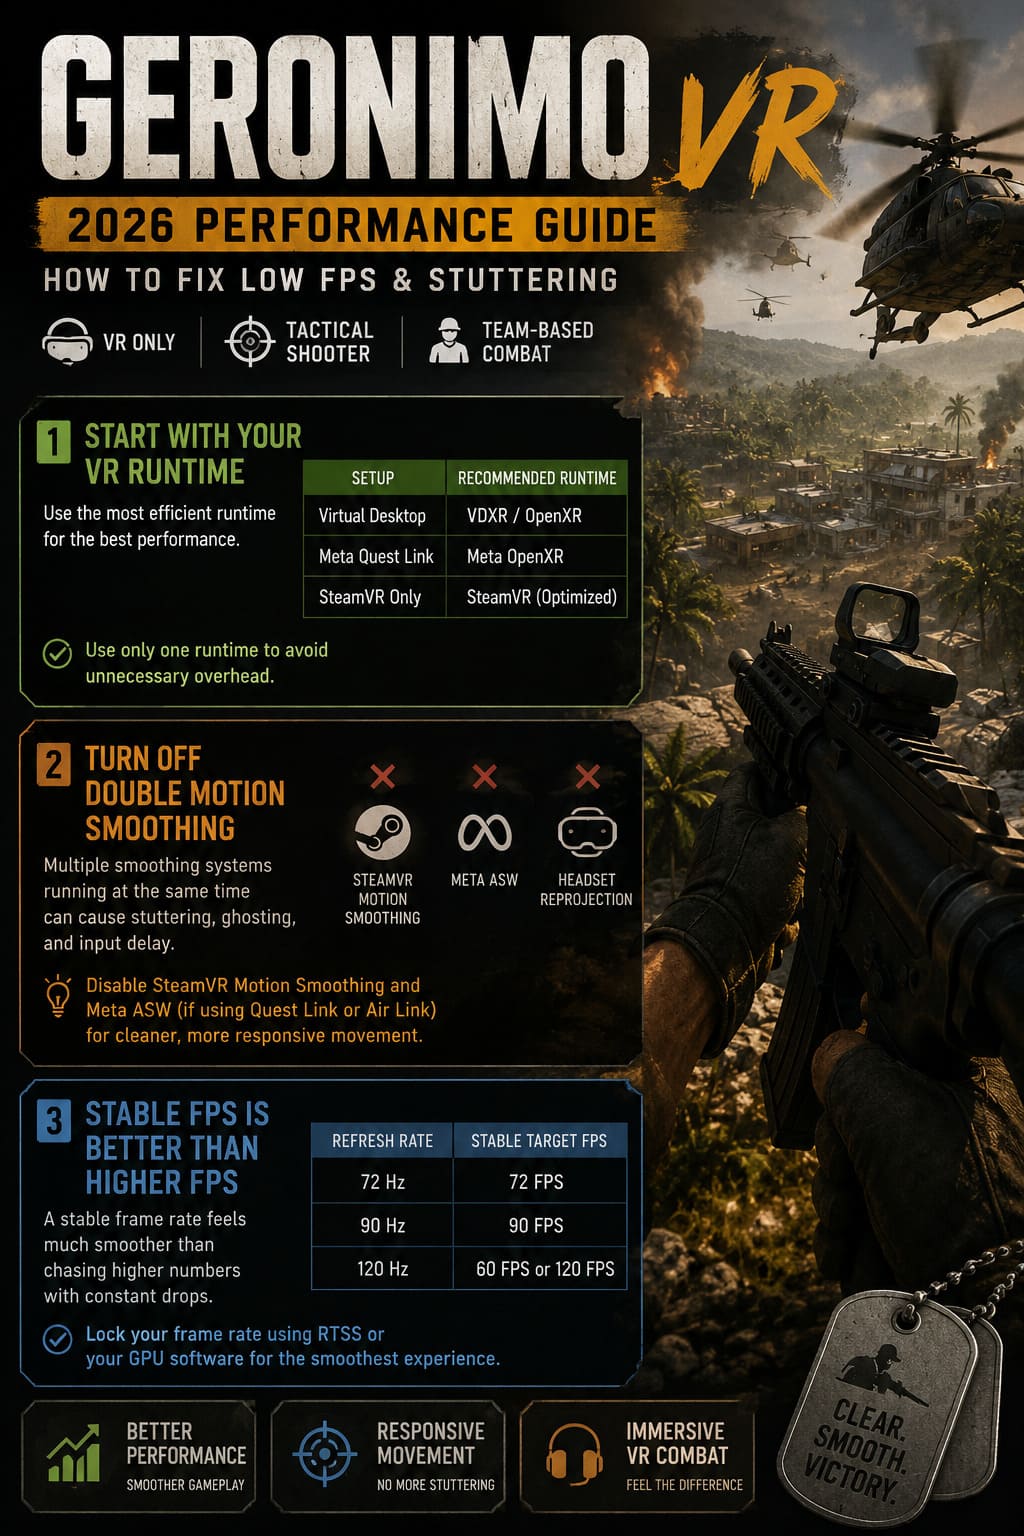
| Setup | Recommended Runtime |
|---|---|
| Virtual Desktop | VDXR |
| Meta Quest Link | Meta OpenXR |
| SteamVR Only | SteamVR (Optimized) |
Keeping only one runtime active prevents unnecessary software layers from competing with each other.
Turn Off Double Motion Smoothing
One issue that surprised me was discovering that several motion smoothing systems can run simultaneously.
For example:
- SteamVR Motion Smoothing
- Meta ASW
- Headset Reprojection
When two of these systems activate together, frame pacing often becomes inconsistent. Instead of smooth movement, you get strange ghosting, jitter, and delayed tracking.
Disabling SteamVR Motion Smoothing completely gave me much cleaner movement.
If you’re playing through Quest Link or Air Link, I also recommend disabling ASW before launching the game.
The difference during fast corner peeks was immediately noticeable.
Stable FPS Is Better Than Higher FPS
This is something many VR players eventually learn.
An unstable frame rate jumping between 90 FPS and 45 FPS usually feels worse than a perfectly stable locked frame rate.
Instead of chasing the absolute highest number, aim for consistency.
For example:
| Refresh Rate | Stable Target FPS |
|---|---|
| 72 Hz | 72 FPS |
| 90 Hz | 90 FPS |
| 120 Hz | 60 FPS or 120 FPS |
Using RTSS or your GPU software to lock the frame rate can dramatically improve overall smoothness because your headset no longer constantly switches between rendering modes.
Personally, I’d rather play at a perfectly stable frame rate than deal with constant fluctuations.
Windows Isn’t Always Helping
Windows includes several gaming features that sound great on paper but don’t always cooperate with VR.
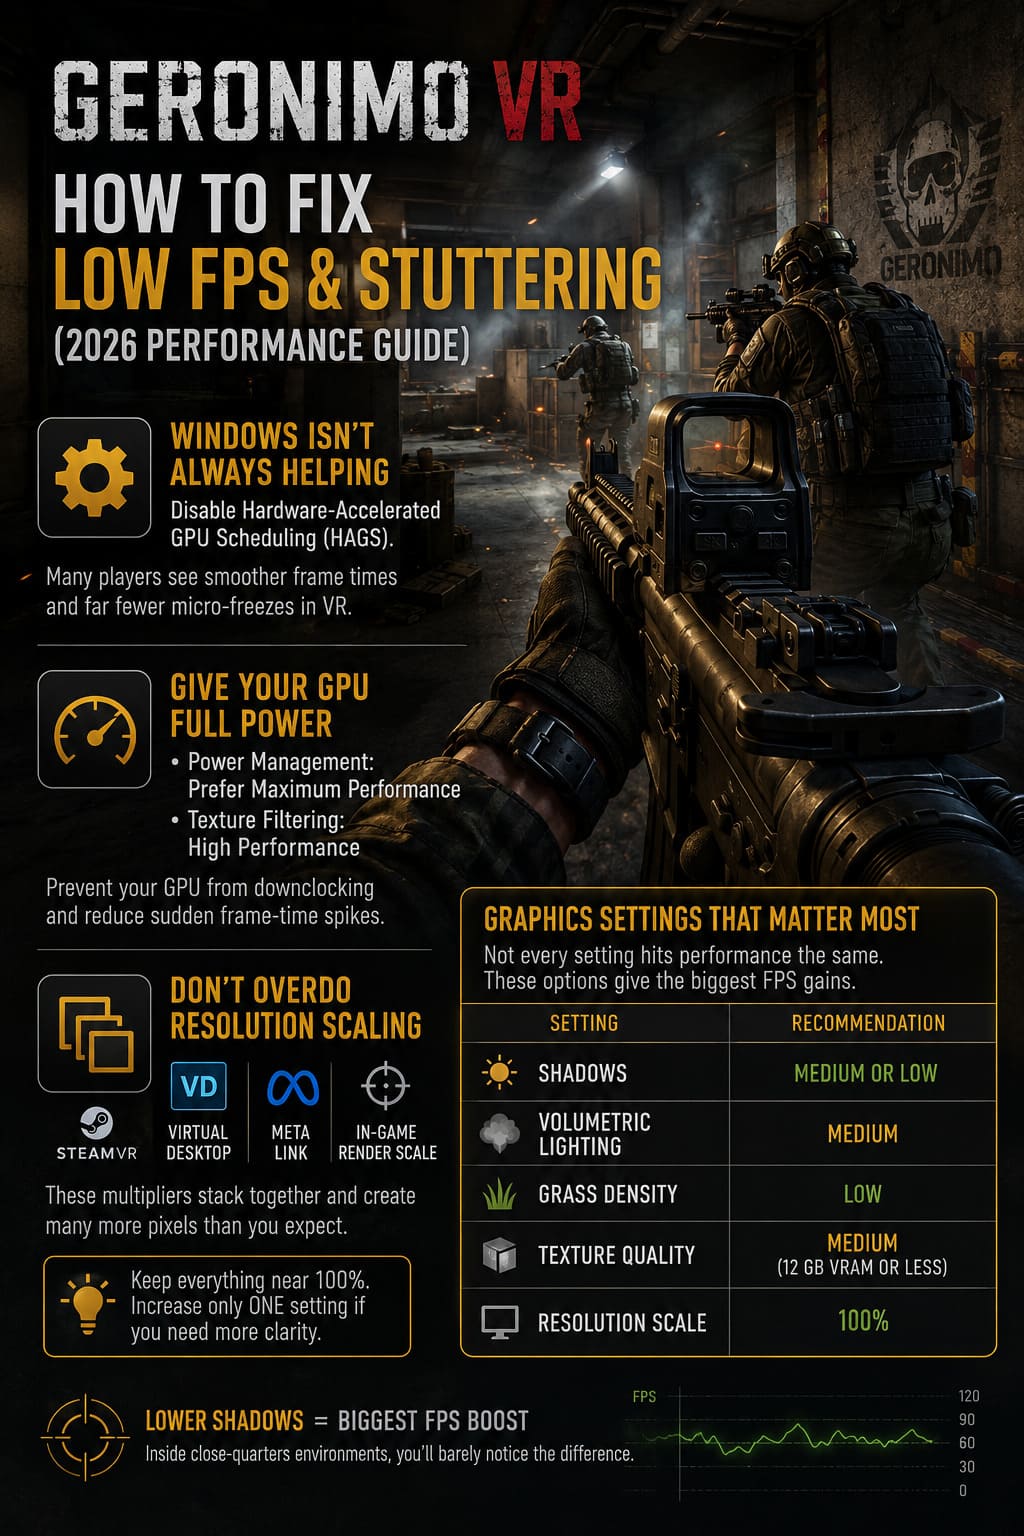
One setting that repeatedly causes issues is Hardware-Accelerated GPU Scheduling (HAGS).
Although it may improve performance in some flat-screen games, I’ve consistently seen smoother frame times after disabling it for VR sessions.
After turning HAGS off and restarting Windows, the annoying micro-freezes during intense firefights almost disappeared.
It’s a quick change that’s worth testing.
Give Your GPU Full Power
Modern graphics cards aggressively reduce clock speeds whenever they think maximum performance isn’t necessary.
Unfortunately, VR workloads change rapidly.
One second you’re standing still.
The next you’re entering a room filled with dynamic lights, shadows, smoke, and AI enemies.
If your GPU is constantly changing frequencies, those transitions can create noticeable hitching.
For Nvidia users, I recommend changing the GERONIMO profile to:
- Power Management: Prefer Maximum Performance
- Texture Filtering: High Performance
These settings won’t magically double your FPS, but they can reduce sudden frame-time spikes.
Don’t Overdo Resolution Scaling
This is probably the easiest mistake to make.
Many players unknowingly increase resolution in several different places.
- SteamVR
- Virtual Desktop
- Meta Link
- In-game Render Scale
These multipliers stack together.
For example, running SteamVR at 130% while also increasing the in-game render scale to 120% creates far more pixels than most players expect.
Even expensive GPUs can struggle under that workload.
I generally recommend keeping everything close to 100% before increasing only one setting if additional image quality is needed.
Graphics Settings That Matter Most
Not every graphics option has the same impact.
Some barely change performance while others can completely overwhelm your CPU.
The settings that usually provide the biggest FPS gains are:
| Setting | Recommendation |
|---|---|
| Shadows | Medium or Low |
| Volumetric Lighting | Medium |
| Grass Density | Low |
| Texture Quality | Medium (12 GB VRAM or Less) |
| Resolution Scale | 100% |
Lowering shadows often produces the largest improvement with surprisingly little visual difference inside indoor environments.
Watch Your VRAM Usage
One thing many players overlook is video memory.
When VRAM fills up completely, Windows starts moving textures into regular system memory.
That’s when the serious stuttering begins.
Common symptoms include:
- Random pauses
- Delayed texture loading
- Hitching while entering rooms
- Freezes after explosions
If your GPU has between 8 GB and 12 GB of VRAM, using Medium textures is usually the safer option.
I’d rather lose a tiny amount of texture sharpness than experience constant streaming stutter.
Wireless VR Needs a Good Network
If you’re playing through Air Link, Steam Link, or Virtual Desktop, don’t assume every performance issue is caused by your graphics card.
Sometimes the network is the real culprit.
For the smoothest experience:
- Connect your PC with Ethernet.
- Use a dedicated 5 GHz or 6 GHz Wi-Fi network.
- Keep other devices off that wireless band.
- Reduce bitrate if latency becomes unstable.
Many people try using extremely high bitrates because bigger numbers seem better.
In reality, a perfectly stable 200–300 Mbps connection often looks smoother than an unstable 500 Mbps stream filled with packet loss.
Consistency always wins.
One Small Trick That Actually Helps
Here’s a surprisingly simple habit I’ve started using.
Once GERONIMO finishes loading inside my headset, I minimize everything on my desktop.
The mirrored game window isn’t consuming as many resources, background applications stop constantly refreshing, and my GPU has slightly more breathing room.
The improvement won’t be dramatic on every PC, but every little bit helps when trying to maintain smooth VR performance.
How to Fix Controller Positioning Offset Glitch in GERONIMO VR (2026 Guide)
Quick Performance Checklist
- Use OpenXR or VDXR whenever possible.
- Disable SteamVR Motion Smoothing.
- Disable Meta ASW.
- Turn off HAGS.
- Set GPU Power Mode to Maximum Performance.
- Keep render resolution around 100%.
- Lower shadows before lowering everything else.
- Monitor VRAM usage.
- Use Ethernet for wireless streaming.
- Lock FPS if frame pacing is inconsistent.
Doing all of these only takes a few minutes and can completely transform the experience.
How to Fix Geronimo VR Crash on Launch on Windows 11 (2026 Guide)
Final Thoughts
GERONIMO VR is one of those games that truly shines when performance gets out of the way. The tactical gameplay, realistic weapon handling, and tense room-clearing mechanics become incredibly immersive once your headset is delivering smooth, stable frames.
After trying dozens of different tweaks, I don’t believe there’s one universal fix for everyone. Every headset, GPU, and runtime behaves a little differently. What made the biggest difference for me wasn’t chasing ultra graphics—it was removing unnecessary software layers, keeping frame times consistent, and avoiding settings that overloaded my hardware.
If you’re still dealing with stutters, don’t immediately assume your PC isn’t powerful enough. In many cases, a few smart adjustments can make GERONIMO feel like a completely different game without spending a single dollar on new hardware.
Smooth VR isn’t just about higher FPS—it’s about consistency. Once you achieve that, every breach, every reload, and every close-quarters encounter feels exactly the way this game was meant to be played.