Gothic 1 Remake The Banner of Banners Quest Guide: How to Get the Ulu-Mulu Fast
The world of Gothic 1 Remake doesn’t waste time reminding players that they’re nobody special. The Valley of Mines remains just as brutal as veterans remember, and every major story milestone feels genuinely earned. One of the most important quests in the second half of the game is Banner of Banners, a lengthy but unforgettable mission that ultimately grants access to the Orc lands and the mysterious Sleeper Temple.
After spending dozens of hours exploring camps, fighting through dangerous wilderness, and building your character into a capable warrior, mage, or ranger, you’ll eventually discover that brute force isn’t the answer this time. Charging into the Orc Settlement is practically a death sentence. Instead, you’ll need to earn a symbol of respect recognized by the orcs themselves: the legendary Ulu-Mulu.
This guide covers every stage of the quest, including where to find Tarrok, how to collect all four required trophies, and the quickest path to completing the mission without unnecessary detours.
Why the Ulu-Mulu Is So Important
The Ulu-Mulu isn’t simply another quest item.
Within orc culture, it serves as a sacred tribal artifact carried only by warriors worthy of respect. Ordinary orcs immediately recognize the symbol and will allow its bearer to move through their territory without hostility.

Without it, reaching the Sleeper Temple becomes nearly impossible unless you’re looking for one of the most painful combat experiences in the entire game.
The quest becomes available during Chapter 4, shortly after meeting Xardas and progressing the main storyline.
How to Begin the Banner of Banners Quest
Your journey starts after speaking with Xardas, the powerful necromancer who understands more about the Colony’s secrets than almost anyone else.
During your conversation, Xardas explains a harsh reality: there is no realistic way to force your way through the Orc Settlement and survive. The orcs guarding the area are simply too numerous and too powerful.
Instead, he points you toward an unusual ally.
You must locate Ur-Shak, the exiled orc shaman living away from his people. Depending on your progression, you can encounter him near Xardas’s territory or revisit him through earlier quest connections.
When speaking with Ur-Shak, he reveals the existence of the Ulu-Mulu and explains why it is essential for entering the sacred temple dedicated to Krushak, known to humans as the Sleeper.
Unfortunately, Ur-Shak cannot craft one himself.
The only orc capable of creating the artifact is his old friend Tarrok, who was captured and imprisoned deep inside the Free Mine.
Before Tarrok can forge the Ulu-Mulu, he requires four legendary hunting trophies:
- Horn of a Great Shadow Beast
- Tusks of a Troll
- Tongue of a Fire Lizard
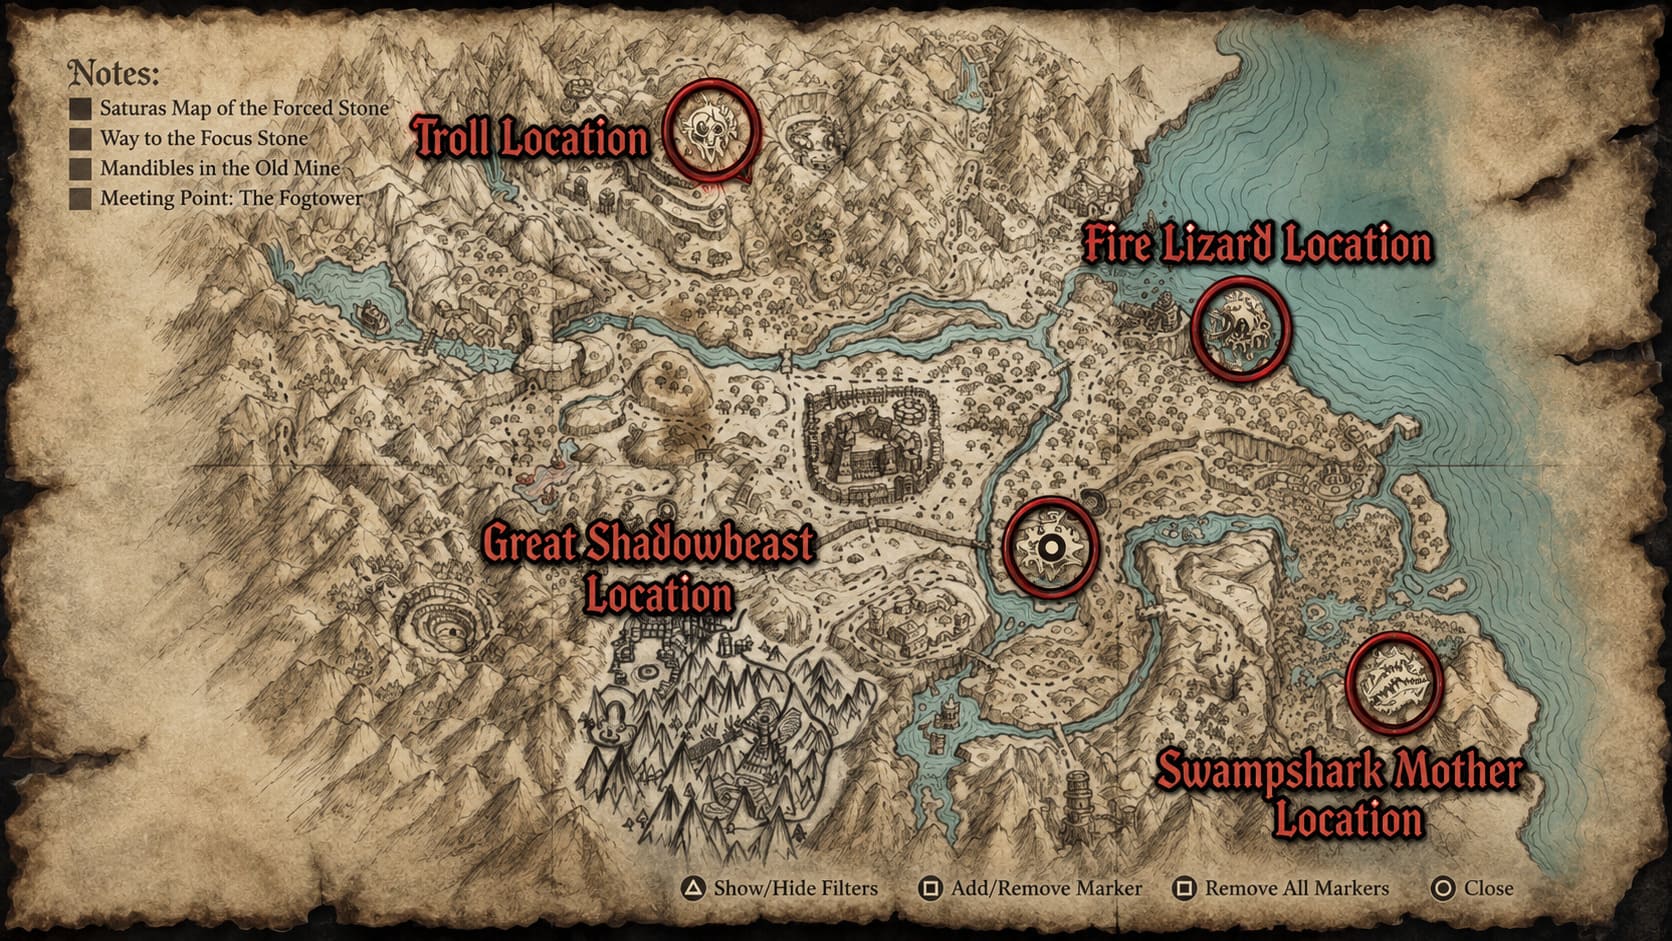
- Teeth of a Swampshark Mother
Don’t underestimate this shopping list. Every creature involved is among the strongest enemies roaming the Colony.
Finding Tarrok Inside the Free Mine
Many players spend more time searching for Tarrok than actually hunting the required monsters.
Tarrok is hidden deep within the Free Mine, located near the New Camp.
Route to Tarrok
| Step | Location |
|---|---|
| 1 | Travel to the New Camp |
| 2 | Enter the Free Mine |
| 3 | Follow the lower mining tunnels |
| 4 | Cross the large wooden bridge |
| 5 | Continue descending toward the bottom level |
| 6 | Locate Tarrok’s prison cell |
The lower sections of the mine contain stronger enemies than many players expect, so entering unprepared can become a costly mistake.
When you finally reach Tarrok, mention Ur-Shak immediately. The orc will recognize the name and trust you enough to discuss the Ulu-Mulu.
If you already possess all four trophies, you’re one step away from completing the quest. Otherwise, it’s time to begin the hunt.
Great Shadow Beast Location and Strategy
Trophy Required: Horn of the Great Shadow Beast
Where to Find It
The Great Shadow Beast lives inside a cave hidden within the forest region situated between the Old Camp and the Swamp Camp.
It’s one of those encounters that instantly reminds you why Gothic’s wildlife is feared more than many bosses.
Best Way to Kill the Great Shadow Beast
Fighting inside the cave is usually a terrible idea.
The creature hits incredibly hard, and the confined environment leaves almost no room for movement.
A much safer strategy is:
- Shoot it with a ranged weapon.
- Pull it outside.
- Force it to navigate around trees and rocks.
- Punish it whenever it becomes stuck or misses a charge.
Players running magic-focused builds can make this fight dramatically easier with a Summon Golem scroll. Let the summon absorb the punishment while you attack from behind.
Once defeated, loot the horn and move on.
Great Troll Location and Strategy
Trophy Required: Troll Tusks
Where to Find It
The Great Troll waits inside the infamous Troll Canyon, a location many players will recognize from earlier story quests involving Milten and the Focus Stones.
Best Way to Kill the Troll
The troll has a ridiculous amount of health and can send your character flying with a single slam attack.
The trick isn’t damage output.
It’s positioning.
Veteran Gothic players have abused the troll’s slow turning speed for years:
- Stay behind it.
- Circle continuously.
- Attack during turning animations.
- Never remain directly in front of its face.
If you’re carrying a Shrink Monster Scroll, the fight becomes almost comically easy. The reduced troll loses most of its threat and can be eliminated quickly with standard attacks.
Collect the tusks and continue your hunt.
Fire Lizard Location and Strategy
Trophy Required: Fire Lizard Tongue

Where to Find Them
Head toward the eastern coastline of the Colony.
Near the shoreline and lighthouse area marked on the map, you’ll encounter groups of Fire Lizards roaming the beach and rocky terrain.
Best Way to Kill Fire Lizards
These monsters are dangerous primarily because of their ranged fire attacks.
Their flames deal heavy damage and can quickly drain health if you panic.
A few survival tips:
- Equip fire resistance gear whenever possible.
- Pull one lizard at a time.
- Avoid fighting entire packs.
- Use ranged attacks to soften targets before engaging.
Melee fighters should wait until a fire-breath animation finishes before rushing forward for quick strikes.
Greedy players often get punished here.
Land a few hits, retreat, and repeat.
After defeating one, harvest the tongue and prepare for the final trophy.
Swampshark Mother Location and Strategy
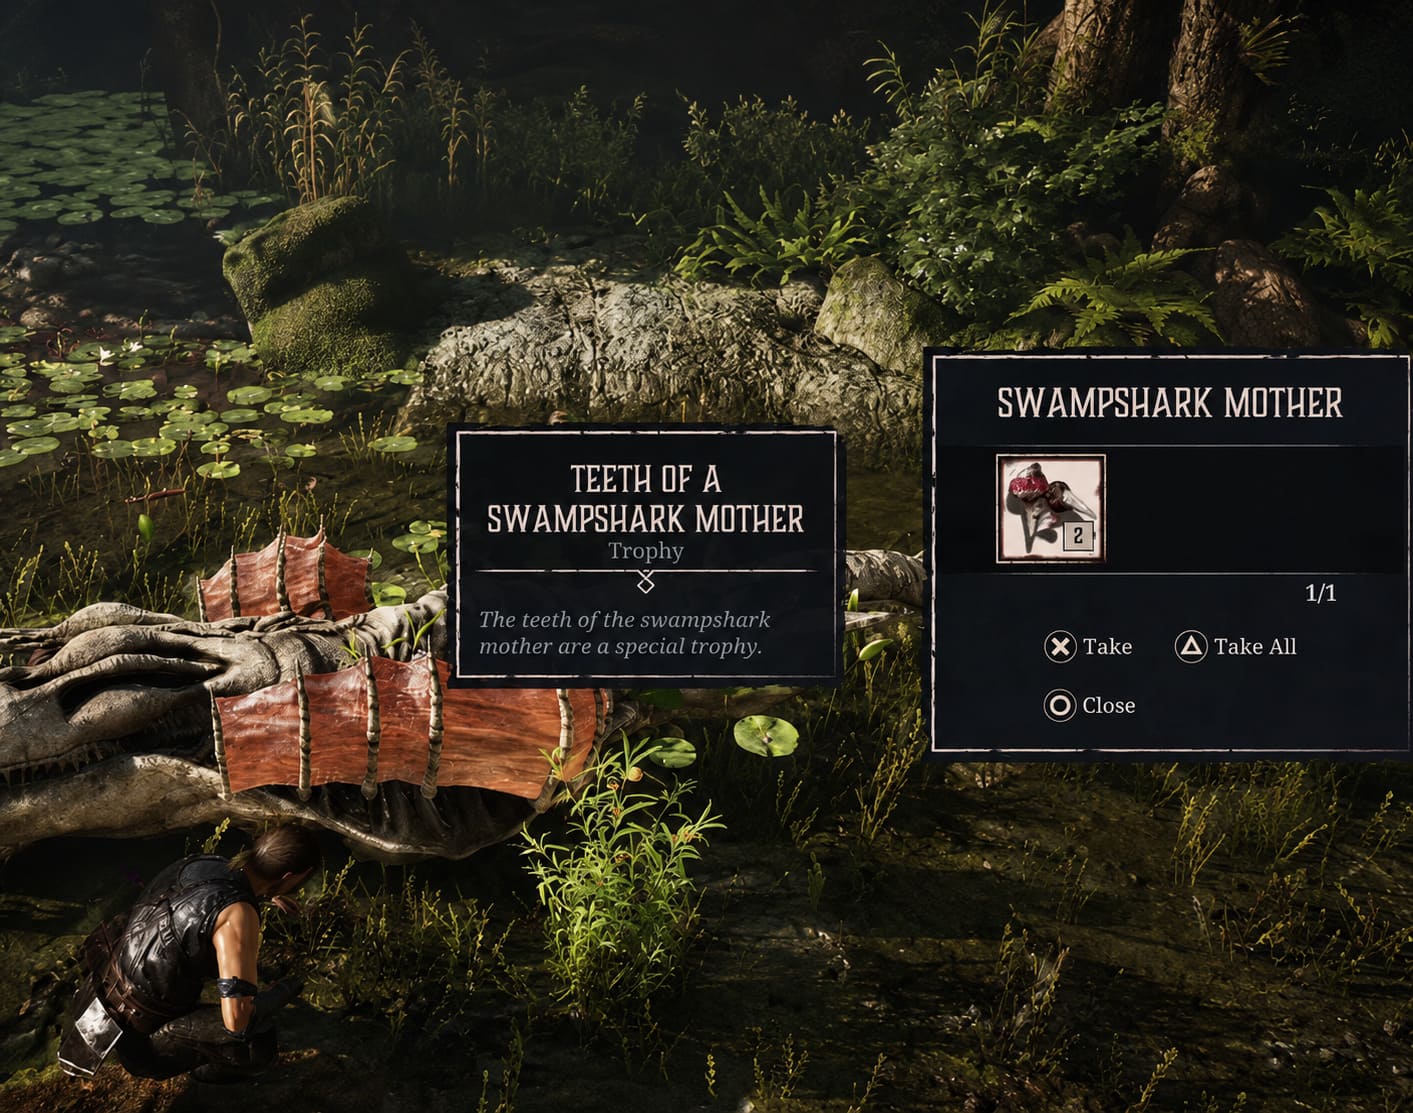
Trophy Required: Swampshark Mother Teeth
Where to Find Her
The unique Swampshark Mother can be found near the marshlands surrounding the Swamp Camp.
Look beyond the wooden bridge guarded by Templars and search for a grassy area containing a single prominent tree.
This is her territory.
Best Way to Kill the Swampshark Mother
Unlike standard Swampsharks, this boss variant is significantly tougher and far more aggressive.
Before reaching her, you’ll likely need to clear several regular Swampsharks.
During combat:
- Use roots and trees as obstacles.
- Dodge sideways after lunging attacks.
- Attack from the flanks whenever possible.
- Utilize elevated rocks if using bows or magic.
The environment works heavily in your favor during this fight. Smart positioning can reduce incoming damage dramatically.
Once defeated, take the teeth and return to Tarrok.
Crafting the Ulu-Mulu
With all four legendary trophies collected, head back to the deepest section of the Free Mine.
Tarrok will inspect the materials and begin crafting the sacred artifact.
After handing over:
| Required Component | Source |
|---|---|
| Shadow Beast Horn | Great Shadow Beast |
| Troll Tusks | Great Troll |
| Fire Lizard Tongue | Fire Lizard |
| Swampshark Mother Teeth | Swampshark Mother |
Tarrok rewards you with the completed Ulu-Mulu.
This marks one of the most satisfying moments in the entire Chapter 4 progression because it fundamentally changes how you interact with the Orc Settlement.
Voidling Bound Skill Tree Guide: Ultimate Research Points Distribution & Meta Builds (2026)
Using the Ulu-Mulu Correctly
A surprising number of players accidentally trigger hostility even after obtaining the artifact.
The rules are simple:
Keep the Ulu-Mulu equipped.
As long as it remains visible, ordinary orcs recognize your status and will not attack.
Avoid the following actions:
- Drawing another weapon
- Casting offensive spells
- Provoking or attacking orcs
- Performing hostile actions inside the settlement
Breaking these rules immediately destroys the temporary peace.
With the Ulu-Mulu safely equipped, you can finally walk through the Orc Settlement, reunite with Ur-Shak, and gain access to the legendary Sleeper Temple, where some of Gothic 1 Remake’s most memorable endgame encounters await.
Gothic 1 Remake Magic Guide: Runes vs Spell Scrolls Explained
Final Thoughts
Banner of Banners remains one of the strongest quests in Gothic 1 Remake because it perfectly captures everything that makes the game special. Exploration, dangerous monster hunts, faction lore, meaningful NPC interactions, and genuine progression all come together in a single adventure.
Unlike many modern RPG quests that rely on markers and hand-holding, this mission makes you earn every step. Hunting the four legendary beasts feels like a true rite of passage, and receiving the Ulu-Mulu afterward genuinely feels like you’ve accomplished something important.
If you’re entering Chapter 4, prioritize this quest as early as possible. Not only does it unlock one of the most iconic areas in the game, but it also serves as the gateway to the final chapters and the unforgettable journey waiting beneath the Sleeper Temple.