Dinoblade Parry Guide: How to Master Deflections and Beat Every Boss (Team Spino LLC)
When I first saw the trailers for Dinoblade, I honestly thought it was another funny internet meme that somehow became a real game. A giant Spinosaurus carrying an oversized greatsword in its jaws sounded ridiculous—in the best possible way. Then I actually played it.
A few hours later I was getting flattened by bosses that looked like they walked straight out of a prehistoric nightmare.
Like many players coming from Dark Souls or Elden Ring, my first instinct was simple: dodge everything. That strategy worked… until it didn’t. Stamina disappeared faster than I expected, bosses chained together endless combos, and every mistake snowballed into another death screen.
Eventually I stopped treating Dinoblade like another dodge-heavy Soulslike and started paying attention to one mechanic the game clearly wants you to master—perfect deflections.
After spending dozens of attempts learning boss patterns, I honestly think parrying is the single biggest skill that separates struggling players from those who make every fight look effortless.
If you’re having trouble with the early Alpha bosses, here’s everything I learned.
Why Parrying Feels So Important in Dinoblade
Many action RPGs give players several equally strong defensive options.
Dinoblade doesn’t really work that way.
Sure, dodging is useful.
Blocking has its place.
But perfect parries are where the combat truly comes alive.
Every successful deflection feels rewarding because it keeps the fight moving instead of forcing you to retreat. Rather than constantly backing away to recover stamina, you’re encouraged to stay aggressive and fight at close range.
That’s something I really appreciated after spending time with the game.
Instead of playing cautiously for ten minutes, boss battles become fast-paced rhythm games where every successful deflection builds momentum.
Blocking vs Perfect Deflecting
New players often treat these as the same mechanic.
They’re not.
| Action | Result |
|---|---|
| Hold Guard | Prevents most incoming damage but slows stamina recovery. |
| Perfect Deflect | Negates damage, restores momentum, and rapidly builds enemy posture damage. |
| Dodge Roll | Avoids attacks but consumes valuable stamina. |
| Failed Parry | Usually results in taking the full hit and losing your offensive rhythm. |
If you’re only holding block throughout an entire fight, you’re making the game much harder than it needs to be.
Timing Is Everything
The biggest mistake I made wasn’t reacting too slowly.
It was reacting too early.
Bosses love dramatic attack animations.
A huge dinosaur might pull its weapon behind its body for what feels like forever before finally swinging.
The instinct is to hit the guard button the moment you see movement.
Don’t.
Instead, watch for the exact instant the weapon changes direction.
Think of every attack as two completely separate animations.
- Preparation (Windup)
- Forward Swing (Attack Frame)
Ignore the preparation.
React to the beginning of the forward swing.
Once I started focusing on that transition instead of the entire animation, my success rate improved almost immediately.
Don’t Spam the Guard Button
This deserves its own section because I still catch myself doing it.
When a boss starts throwing out a four-hit combo, panic naturally sets in.
Many players mash guard hoping one input lands.
Ironically, that usually causes the opposite result.
Good timing always beats fast timing.
I found it much easier to mentally count boss attacks instead.
- “One…”
- “Two…”
- “Three…”
That tiny mental rhythm helped me stay calm during long combo strings instead of panicking.
The Stamina Economy Changes Once You Learn Parries
One thing I didn’t expect was how closely stamina management is connected to successful deflections.
Early on I kept wondering why experienced players looked so much more aggressive.
The answer wasn’t better weapons.
It was stamina.
Rolling constantly drains it.
Heavy attacks drain it.
Running drains it.
Successful perfect deflections let you maintain pressure while recovering momentum instead of constantly backing away.
The difference becomes especially noticeable during longer Alpha encounters where every point of stamina matters.
Instead of spending half the fight waiting for the green stamina bar to refill, you can continue attacking almost nonstop.
Breaking Enemy Posture Faster
One mechanic I think Dinoblade explains surprisingly well is the Posture Meter.
You’ll notice a yellow gauge underneath many stronger enemies.
Think of it as their balance.
Regular sword swings damage it slowly.
Perfect deflections damage it dramatically faster.
Once that gauge fills completely, the boss becomes vulnerable to one of the most satisfying moments in combat—a massive stagger that leaves them completely exposed.
Whenever I trigger one of these openings, I always save my strongest abilities for that exact moment.
Using powerful attacks outside stagger windows usually feels wasteful.
Learn Boss Animations Instead of Memorizing Buttons
One habit I picked up from Sekiro helped me here.
Don’t memorize which button to press.
Memorize what the boss looks like before attacking.
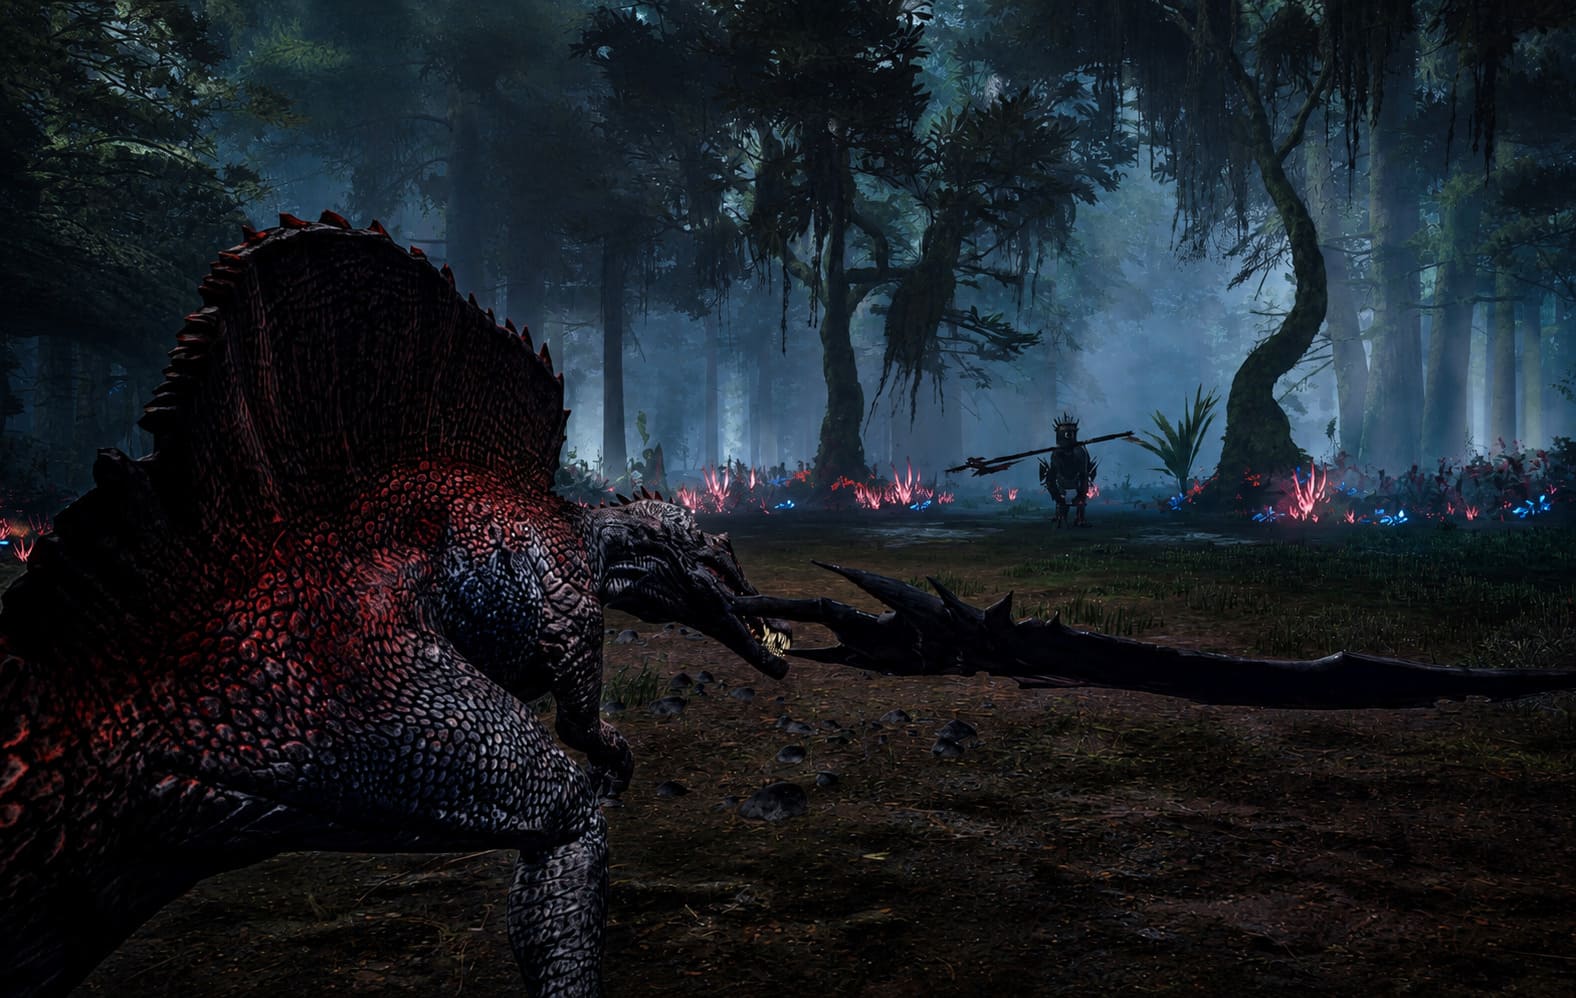
Every enemy has subtle visual tells.
- A shoulder twist.
- A tail movement.
- A brief weapon flash.
- A tiny pause before impact.
Once your brain starts recognizing these visual cues, combat feels much less random.
Eventually you stop reacting to attacks.
You begin predicting them.
That’s when Dinoblade becomes incredibly satisfying.
Red Attacks Mean One Thing: Move
No matter how confident you become with parries, there are attacks you simply shouldn’t challenge.
Whenever an enemy flashes with a red warning effect, forget everything about deflecting.
Those attacks exist specifically to punish players who insist on parrying every single move.
The safest response is simple.
- Dash sideways.
- Move behind the boss.
- Create space.
- Prepare for the next combo.
Trying to prove you can parry a red attack usually ends with your dinosaur eating dirt.
Early Boss Advice
The first major encounters act as tutorials disguised as boss fights.
Each teaches a different lesson about mastering the combat system.
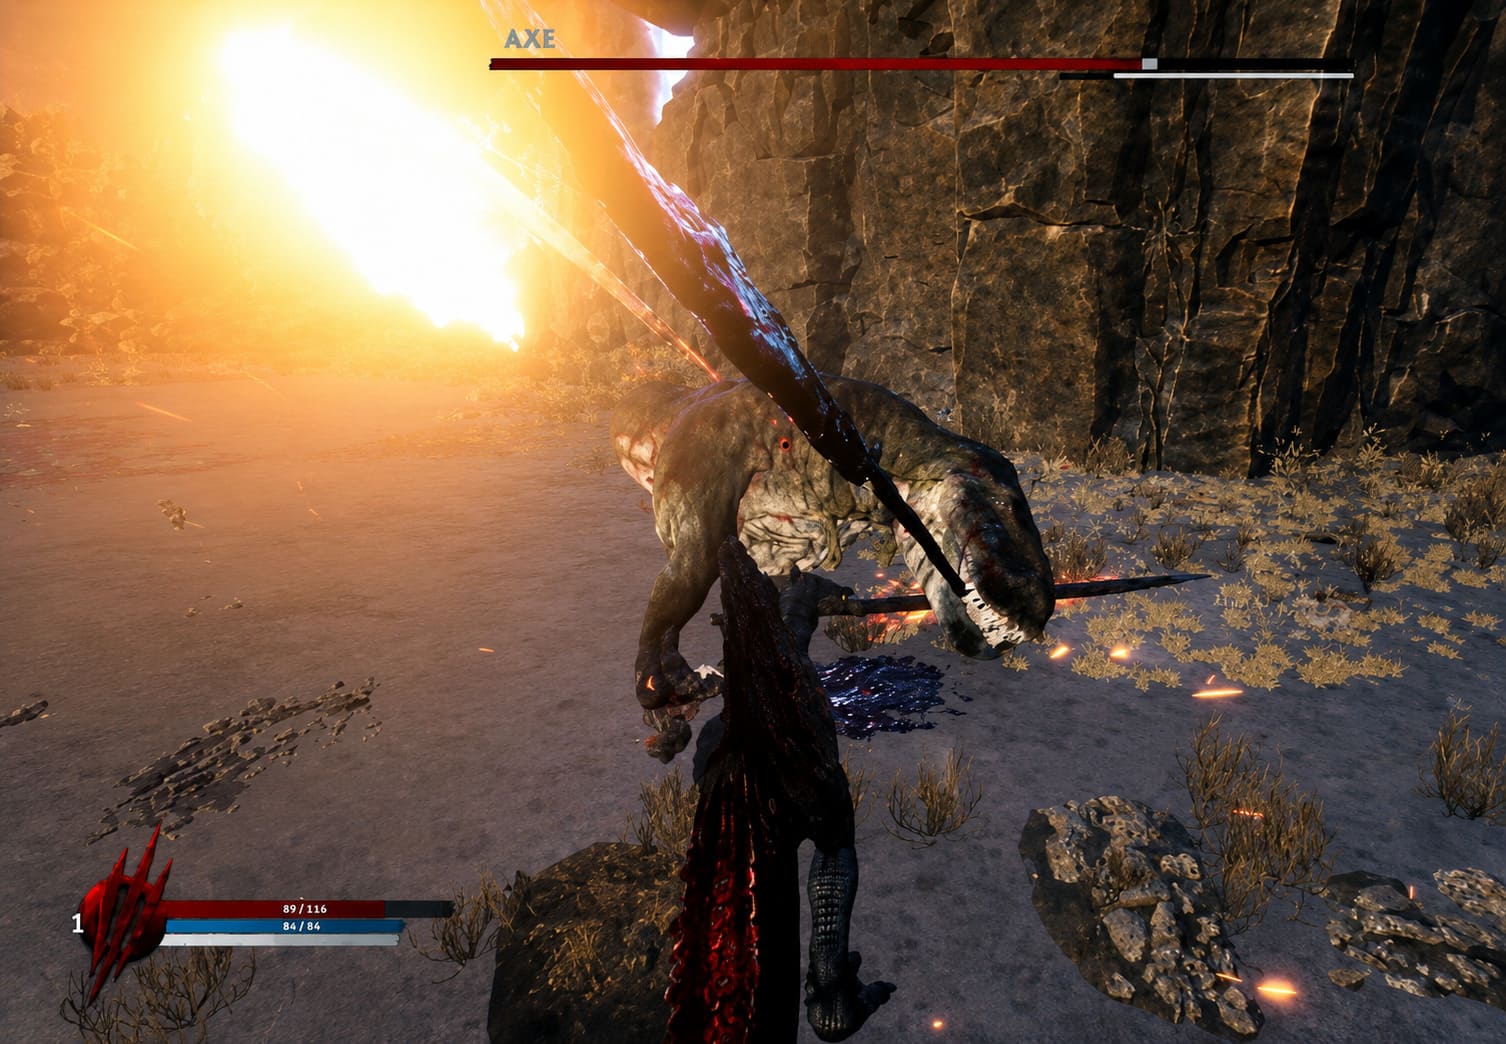
Kira and Axe
These opponents become much less intimidating once you stop running away.
Their attack rhythm stays surprisingly consistent.
Instead of backing off after every swing, stay close and match their tempo.
Landing several consecutive perfect deflections fills their posture incredibly quickly.
I actually found these encounters becoming easier the more aggressive I played.
Kasei the Tyrant
This was the first boss that genuinely humbled me.
The opening phase has awkward timing because of the oversized club weapon.
Its hitbox reaches farther than expected, meaning the instinctive parry timing is usually too early.
I failed dozens of attempts simply because I reacted to the animation instead of waiting for the actual impact.
Phase two completely changes the pace.
The attacks become faster.
More unpredictable.
Much more dangerous.
Fortunately, they’re also cleaner to read once you slow down and focus on the weapon itself instead of the dinosaur.
The metallic blade often gives away exactly when the real attack begins.
Small Enemies Can Be Surprisingly Dangerous
One thing that caught me off guard wasn’t even a boss.
It was the smaller dinosaurs.
Several times I assumed an enemy was staggered, turned toward another target, and immediately got clipped by a low attack I barely noticed.
Never assume a smaller enemy is harmless.
If anything, they’re often harder to read because their animations are much shorter and less dramatic.
Keeping your guard ready even during your own attack strings saved me countless healing items.
My Biggest Piece of Advice
If I could give one tip to every new Dinoblade player, it would be this.
Stop thinking about surviving.
Start thinking about controlling the fight.
Parrying isn’t just another defensive mechanic.
It’s the tool that lets you dictate the pace of combat.
The moment you begin confidently standing your ground instead of constantly retreating, bosses suddenly feel much less overwhelming.
That’s when Dinoblade finally clicked for me.
Deaths became learning opportunities instead of frustrating setbacks.
Each failed attempt taught me another attack animation, another rhythm, and another timing window.
Eventually those impossible-looking Alpha predators started falling one after another.
DragonSword Awakening Low FPS Fix: Best Unreal Engine 5 Performance Guide
Quick Parry Checklist
| Tip | Why It Matters |
|---|---|
| Face enemies directly. | Guards only work against attacks coming from the front. |
| Watch the swing instead of the windup. | The correct timing begins when the weapon starts moving forward. |
| Don’t spam Guard. | Consistent timing is much more reliable than panic inputs. |
| Use parries aggressively. | Breaking posture faster creates massive damage opportunities. |
| Save your strongest skills. | Use them after a stagger for maximum efficiency. |
| Dodge every red attack. | These attacks are designed to bypass your defenses. |
Final Thoughts
After spending a good amount of time with Dinoblade, I genuinely think its combat system is deeper than it first appears. The giant dinosaurs and oversized weapons grab your attention, but it’s the rhythm of the battles that kept me playing. Every successful deflection feels earned, and few things are more satisfying than breaking an Alpha’s posture after perfectly reading an entire combo.
If you’re still relying almost entirely on dodge rolls, try dedicating a few fights to practicing parries instead of worrying about winning. Your first successful chain of perfect deflections completely changes how the game feels, and once that timing becomes second nature, even the toughest encounters become far more manageable.
Dinoblade rewards patience, observation, and confidence far more than reckless aggression. Master those perfect deflections, and you’ll quickly discover why experienced players rarely spend entire boss fights rolling around the arena—they’re standing their ground and fighting like true apex predators.