Dinoblade Guide: Best Buster Sword Combo Strings and Advanced Combat Tactics (Team Spino LLC)
When I first saw Dinoblade, I honestly thought it was just another internet joke turned into a game. A Spinosaurus carrying a gigantic sword sounded ridiculous in the best possible way. After spending dozens of hours exploring its world, though, I realized there is far more depth here than the memes suggest. Team Spino LLC managed to create a combat system that constantly rewards patience, timing, and mechanical improvement rather than mindless aggression.
If you’ve played Soulslike games before, some of the fundamentals will feel familiar. Stamina matters. Positioning matters. Greedy attacks usually end badly. But Dinoblade also introduces enough original mechanics to keep combat feeling fresh, especially when using the community’s favorite weapon—the massive Buster Sword.
I’ve experimented with almost every weapon class available, yet I keep coming back to the Buster Sword. It hits incredibly hard, staggers enemies faster than anything else I’ve tested, and makes every successful combo feel satisfying. The downside is obvious: every mistake is heavily punished.
Below are the combo strings and combat habits that consistently gave me the best results against both regular enemies and late-game bosses.
Why the Buster Sword Feels So Good
Unlike faster weapons that rely on constant pressure, the Buster Sword is all about commitment. Every swing carries weight, every hit feels impactful, and landing a perfectly timed heavy attack never gets old.
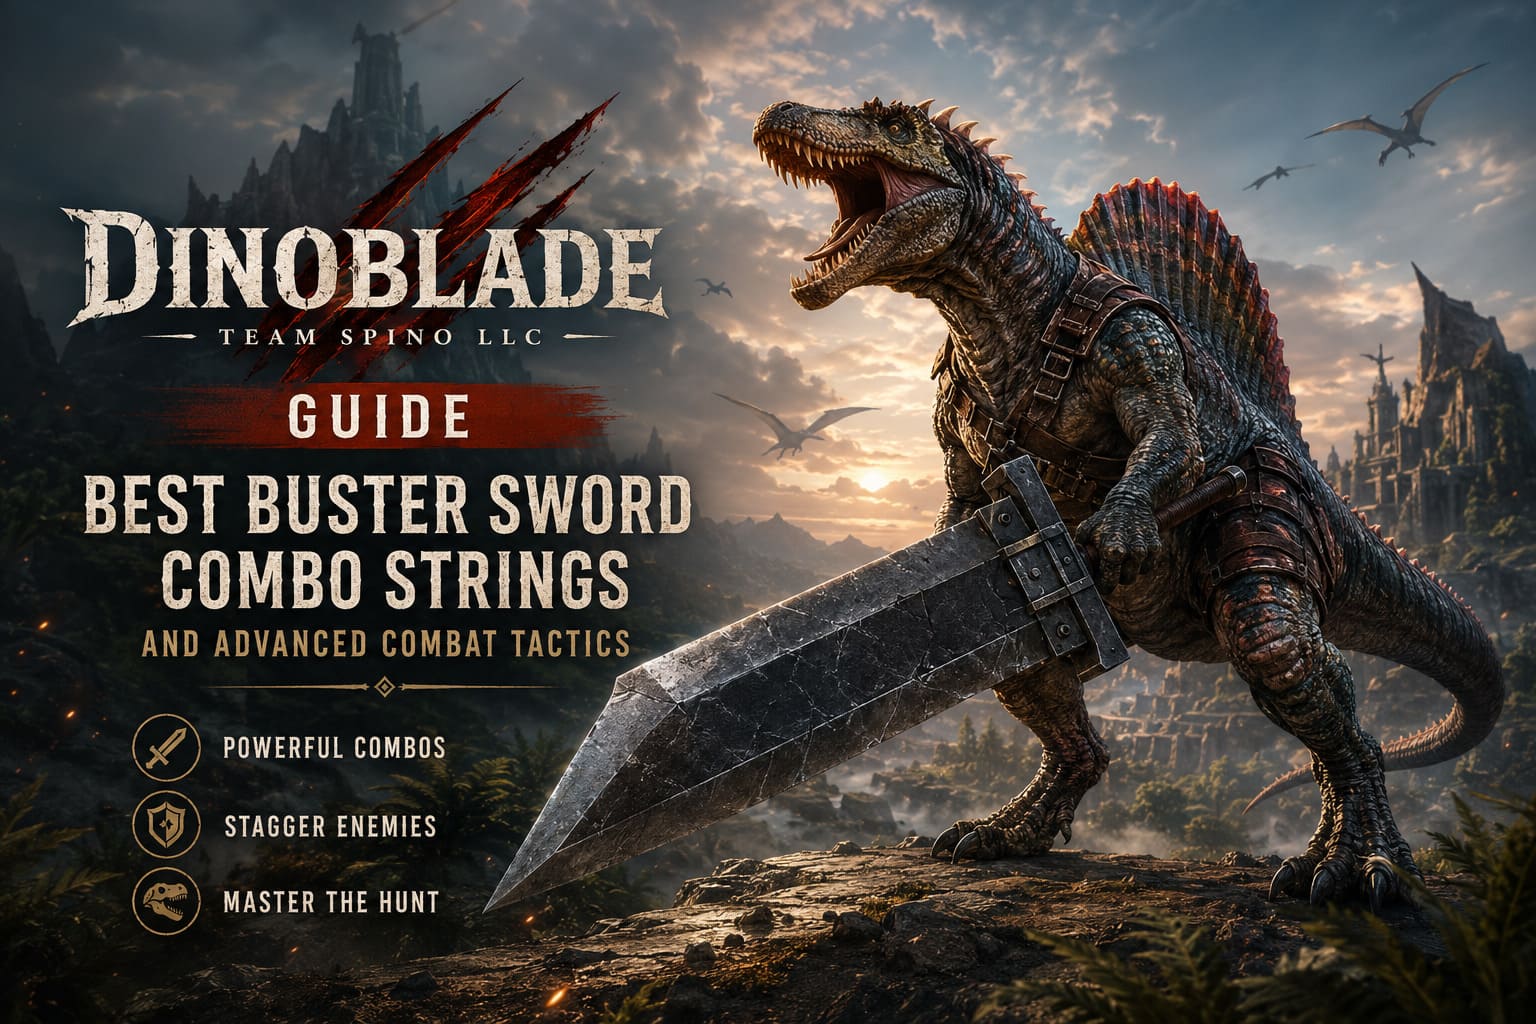
The weapon shines because it excels in three important areas:
- Exceptional posture damage
- Large attack range
- Reliable stagger potential
The tradeoff is equally important. Long recovery animations mean careless attacks leave you completely exposed. That’s why learning when not to attack is almost as important as learning your combo routes.
Core Mechanics You Should Learn First
Before worrying about advanced combos, spend some time mastering the basics.
| Mechanic | Why It Matters |
|---|---|
| Super Armor | Heavy attacks allow you to absorb lighter enemy hits without immediately staggering. |
| Animation Cancels | Rolling immediately after certain attacks greatly reduces recovery time. |
| Tail Transitions | Tail attacks keep pressure on enemies while smoothly connecting sword attacks. |
| Stamina Control | Running out of stamina is one of the fastest ways to lose difficult fights. |
| Positioning | Staying slightly off-center often creates larger punish windows. |
| Patience | Waiting for one guaranteed opening is usually stronger than forcing three risky attacks. |
One mistake I made early was treating the weapon like a traditional greatsword from other RPGs. Dinoblade expects you to weave movement, tail attacks, and recovery cancels into nearly every engagement.
Combo #1 – Reliable Exploration Combo
Input
Light Attack → Light Attack → Heavy Vertical Slash → Roll Cancel
If I had to recommend only one combo for new players, it would be this one.
The opening light attacks come out quickly enough to interrupt many standard enemies while also covering a surprisingly wide arc. Once those connect, finish with the heavy overhead strike.
The important part isn’t actually the damage.
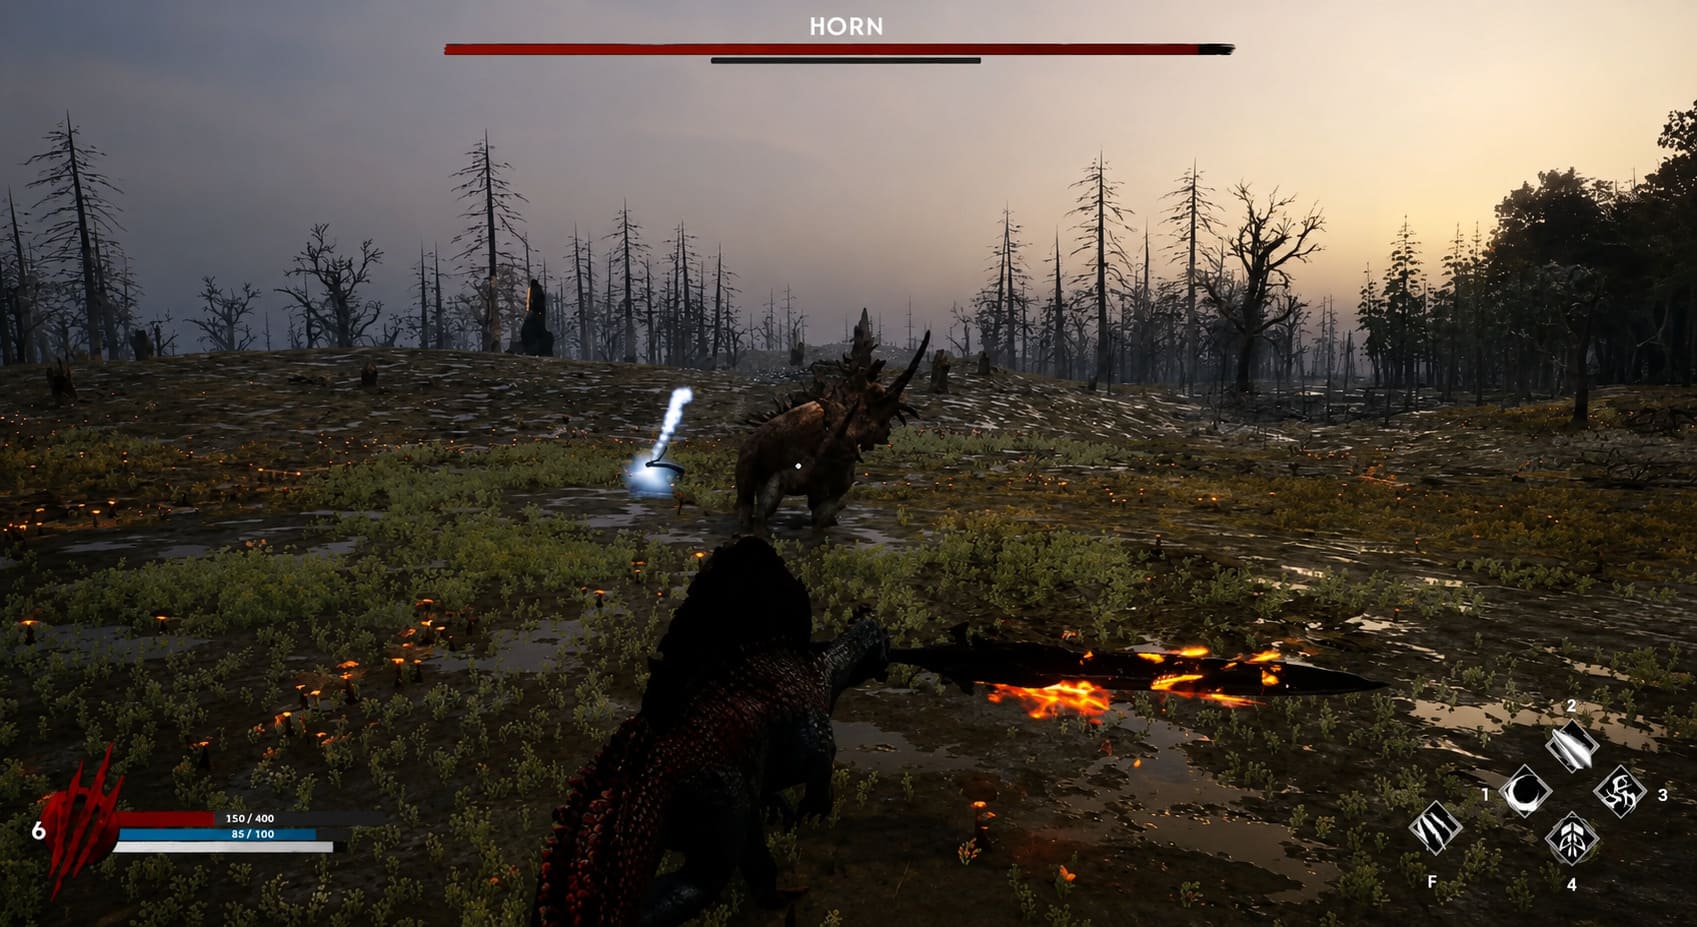
It’s the roll immediately afterward.
Skipping the recovery animation keeps you mobile and prevents enemies from punishing the long weapon recovery. Once I started consistently canceling heavy attacks, combat immediately became smoother.
Best against:
- Standard dinosaurs
- Elite patrol enemies
- Exploration encounters
- Medium-sized predators
Combo #2 – Boss Punish Sequence
Input
Sprint Heavy → Tail Sweep → Charged Heavy → Weapon Skill
Bosses in Dinoblade almost always have recovery animations after their largest attacks.
Those few seconds are where the Buster Sword absolutely shines.
Opening with a sprinting heavy attack immediately chunks posture. Instead of waiting for the animation to finish naturally, transition into the tail sweep to maintain pressure before charging the next heavy attack.
When everything lines up correctly, the enemy’s posture bar frequently breaks, opening the door for massive follow-up damage.
This combo requires patience because attempting it outside of a proper opening usually ends with you getting flattened.
Combo #3 – Surrounded? Use This Instead
Input
Roll → Rising Slash → 360 Spin → Defensive Tail Stance
Some areas throw multiple fast enemies at you simultaneously.
Trying to duel every opponent individually rarely works.
Instead, use your dodge roll to create invincibility frames before immediately launching the upward slash. That attack naturally flows into the spinning heavy attack, creating one of the largest melee hitboxes in the game.
Finishing in the defensive tail stance gives you a brief safety net if another attacker approaches from behind.
I found this especially effective against fast pack enemies that love attacking from multiple directions.
Combo #4 – Maximum Damage During Staggers
Input
Light → Heavy → Tail Sweep → Light → Heavy → Roll
Whenever a boss gets stunned, this became my default damage sequence.
Alternating lighter attacks with heavy strikes keeps stamina consumption under control while maintaining excellent damage output.
The tail sweep between attack chains also helps maintain combo flow instead of forcing the slower recovery animation many players accidentally trigger.
It’s one of those small optimizations that doesn’t seem important until you compare total damage over an entire boss fight.
My Favorite Combat Habits
Combos matter.
Habits matter even more.
These simple adjustments improved my performance more than memorizing attack strings.
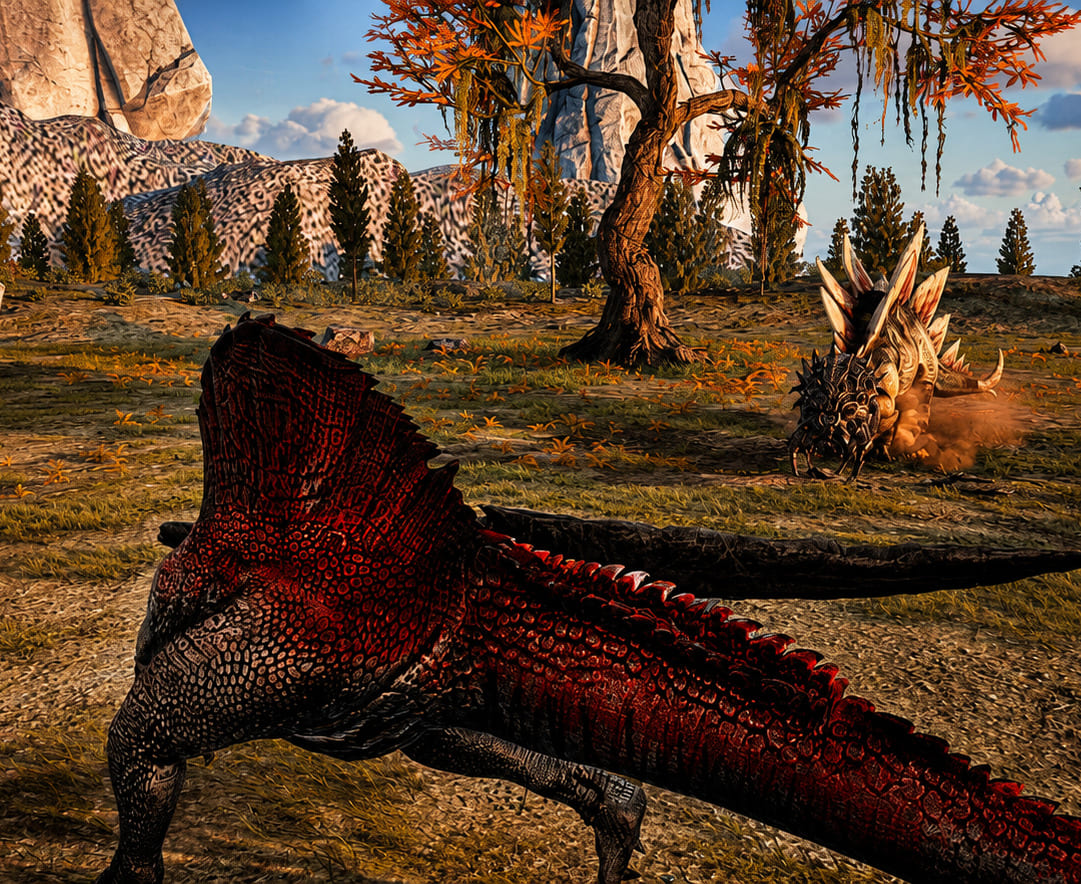
Always keep stamina in reserve
Nothing feels worse than breaking an enemy’s posture only to realize you don’t have enough stamina left to capitalize on it.
I try to finish almost every offensive sequence with at least 25–30% stamina remaining.
Stop panic rolling
Rolling repeatedly usually creates more problems than it solves.
Many bosses deliberately delay their attacks to punish impatient players.
Sometimes standing still for half a second is actually the correct decision.
Use tail attacks more often
The tail isn’t just defensive utility.
It connects combos smoothly, maintains pressure, and often creates safer spacing than another sword swing.
After incorporating it regularly, combat became noticeably more fluid.
Learn boss timing instead of memorizing attacks
Instead of remembering twenty individual moves, focus on rhythm.
Nearly every major boss follows predictable timing patterns once you’ve fought them enough.
Recognizing those patterns creates much larger punish opportunities.
Equipment Tips
Your equipment weight has a larger impact than many players realize.
| Equipment Load | Gameplay Feel |
|---|---|
| Light | Faster recovery, quicker stamina regeneration, lower survivability. |
| Medium | Best overall balance for most players. |
| Heavy | Higher resistance and stronger trading potential, but noticeably slower. |
Personally, I found the medium setup to be the sweet spot.
Heavy armor certainly makes mistakes less punishing, but the slower movement often reduces the number of openings you can safely exploit.
Common Mistakes I See New Players Make
Many frustrating deaths come from the same handful of errors.
Avoid these whenever possible:
- Starting heavy attacks too early.
- Emptying the entire stamina bar every combo.
- Ignoring tail mechanics.
- Forgetting to cancel recoveries.
- Fighting multiple enemies in narrow spaces.
- Becoming overly aggressive after breaking posture.
Fixing just two or three of these habits dramatically improves consistency.
Dinoblade Parry Guide: How to Master Deflections and Beat Every Boss (Team Spino LLC)
Is the Buster Sword Worth Using?
Absolutely.
Some faster weapons may feel easier at first, but few deliver the same sense of impact once you’ve mastered their mechanics.
The Buster Sword rewards patience more than raw reaction speed.
Every successful stagger feels earned.
Every perfectly timed heavy attack feels devastating.
Every boss victory becomes more satisfying because success depends on execution rather than button mashing.
That learning curve might discourage some players initially, but once the weapon “clicks,” it’s difficult to switch to anything else.
Final Thoughts
After spending a considerable amount of time experimenting with Dinoblade’s combat system, I still believe the Buster Sword offers one of the most rewarding playstyles in the game.
It’s not the easiest weapon to learn, and it definitely punishes reckless decisions. However, that’s exactly what makes it enjoyable. Every improvement comes from understanding enemy timing, managing stamina intelligently, and committing to attacks only when you’ve genuinely earned the opening.
If I could give one piece of advice, it would be this: don’t rush the learning process. Spend time practicing recovery cancels, become comfortable mixing tail attacks into your combos, and pay attention to boss animations instead of your own damage numbers. Once those fundamentals become second nature, you’ll notice encounters becoming far less chaotic and far more controlled.
The Buster Sword may never be the fastest weapon in Dinoblade, but in my experience, it’s easily one of the most satisfying. Few things compare to watching a towering prehistoric monster collapse after a perfectly executed heavy combo that you timed down to the last frame. Once you reach that point, you’ll understand why so many experienced players continue to recommend this weapon as one of the strongest and most enjoyable choices in the entire game.