NBA 2K27 Shot Timing Visual Cue Guide: How to Fix Broken Shooting and Green Every Shot
NBA 2K27 has one of those shooting systems that can make you question your controller before you question your jumper. One game you feel completely locked in, knocking down everything from the corner. The next, you are watching perfectly timed-looking releases turn into slightly early or slightly late misses, and suddenly you’re wondering if the game has changed overnight.
I’ve spent enough time with NBA 2K over the years to know that the first reaction is usually the same: blame the jumper. Then blame the controller. Then blame the servers. And, eventually, someone in the Rec starts explaining that their cousin’s friend has the “secret” release cue.
But NBA 2K27 actually gives you something much more useful than a secret jumper: control over where your visual timing cue sits inside the shooting animation.
That sounds like a small setting. It isn’t.
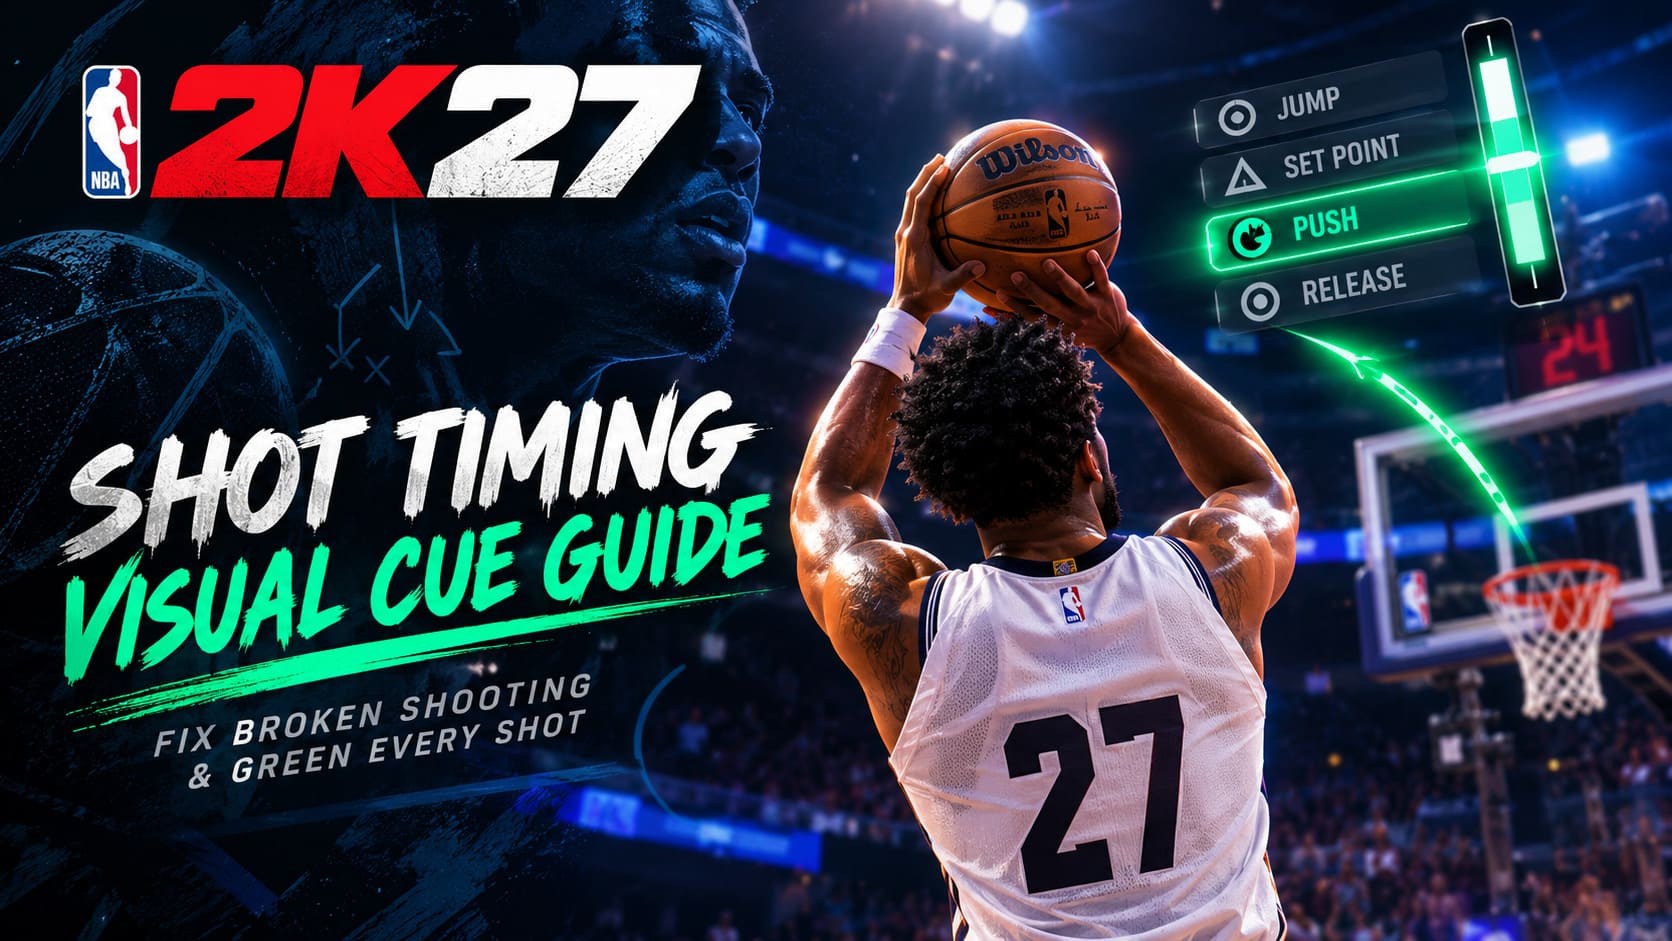
With the new emphasis on skill-based shooting and a much less forgiving green window, choosing between Jump, Set Point, Push, and Release can completely change how a jumper feels in your hands. The important part is finding the cue that your eyes naturally recognize instead of blindly copying whatever a YouTuber or streamer happens to be using.
Why Shooting Feels So Different in NBA 2K27
The biggest change this year is the game’s stronger focus on player input rather than random outcomes. The basic idea is pretty straightforward: if you release your shot perfectly inside the green window, the shot should reward that timing.
Sounds great, right?
Well, there’s a catch. The margin for error feels extremely small, especially once you start using fast jumpers. We’re talking about timing differences that can be measured in milliseconds, which is basically nothing when you’re trying to react to a moving animation during a live possession.
This is why some players are saying shooting is “broken.” In many cases, the jumper isn’t actually broken. The problem is that the player is watching the wrong part of the animation.
That’s where the Shot Timing Visual Cue becomes incredibly important.
What Does Shot Timing Visual Cue Actually Do?
The visual cue doesn’t magically make your jumper faster or slower. Instead, it tells you which moment of the shooting animation you should use as your release reference.
Think of the animation as a timeline. Your player catches the ball, gathers it, raises it, reaches the set point, begins the forward motion, and finally releases the ball. NBA 2K27 lets you choose which part of that sequence your brain should associate with “let go now.”
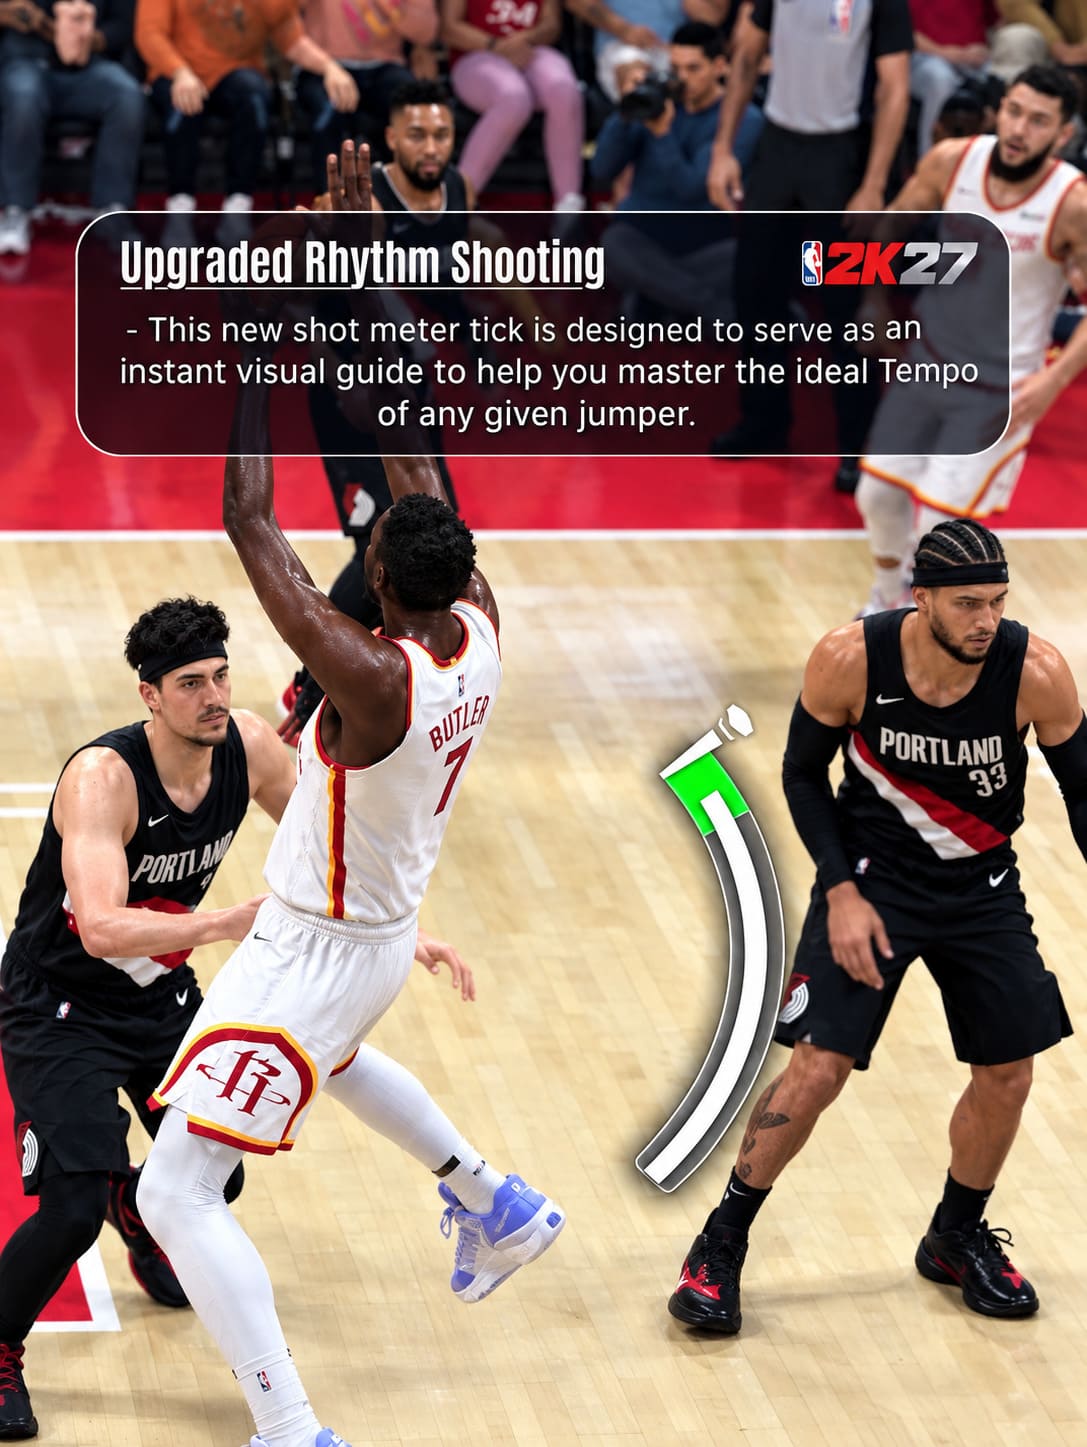
| Visual Cue | Timing Point | How It Feels | My Take |
|---|---|---|---|
| Jump | Very early in the motion | Fast and reactive | Great for quick reactions, but unforgiving |
| Set Point | Ball reaches the set position | Balanced | A solid middle ground |
| Push | Forward hand movement begins | Clear and readable | My preferred starting point |
| Release | Ball leaves the fingertips | Late and deliberate | Can be tricky with certain animations |
Push Is Probably the Best Place to Start
If you’re completely lost with shooting in NBA 2K27, I’d honestly start with Push.
Not because I think everyone needs to use Push forever. That’s the wrong way to look at this setting. The reason I recommend it is that the forward movement of the hands is usually much easier for your eyes to recognize than trying to judge the exact moment the ball disappears from the player’s fingertips.
When you use Push, you’re basically waiting for the player to transition from holding the ball into actively sending it toward the rim. Once you train your eyes to recognize that movement, the release becomes much less mysterious.
That’s especially useful when you’re creating a custom jumper and testing different bases. You can change the animation speed, but your actual visual reference remains the same concept: watch the hands and release as the push begins.
I’ve always preferred cues that give me something obvious to look for. Staring at a tiny ball leaving someone’s fingertips while three defenders are closing out is not my idea of reliable shooting.
Jump, Set Point, Push, or Release?
There isn’t one universally perfect cue. Your reaction speed matters, and so does the jumper you’re using.
- Jump: Best suited to players who react extremely quickly and like releasing early in the animation.
- Set Point: A comfortable option if you want a recognizable pause before the shooting motion goes forward.
- Push: Excellent for players who prefer reading the hands and forward motion. This is the one I’d test first.
- Release: Useful if you naturally prefer waiting longer, although certain animations can make this cue surprisingly difficult to read.
The biggest mistake is changing cues every five minutes because you missed two shots. Pick one, practice it, and give your brain enough repetitions to actually learn it.
The Push vs. Release Problem
This is where NBA 2K27’s shooting discussion gets particularly interesting.
There has been a lot of community discussion around the difference between Push and Release, with players reporting that Release doesn’t always feel as visually obvious as the name suggests. In practice, some jumpers can make the two cues feel much closer together than you’d expect.
That creates a nasty situation. You see the ball getting close to the player’s hands and instinctively wait for the final fingertip release. Then the feedback comes back Late.
It’s incredibly frustrating because your eyes are telling you that you did the logical thing.
That’s why I wouldn’t automatically assume that Release is the “correct” setting just because it sounds like the most natural release point. NBA 2K animations aren’t always intuitive. The best cue is the one your brain can identify consistently.
Don’t Automatically Use Very Quick Release Speed
This is another trap that catches a lot of players.
For years, the mindset was basically: make the jumper as fast as possible. Faster release means less time for a defender to contest the shot, so why wouldn’t you max it out?
NBA 2K27 makes that decision less straightforward.
According to the mechanics outlined around this year’s shooting system, faster release speeds can come with a smaller green window, while slower settings provide a little more breathing room. That creates an actual trade-off between getting the shot off quickly and having more room for timing error.
| Release Speed | Green Window Effect | Practical Advice |
|---|---|---|
| Very Quick | Smaller margin | Use only if you are extremely comfortable with the animation |
| Quick | Slight reduction | Good competitive compromise |
| Normal | More forgiving | Excellent starting point |
| Slow / Very Slow | Larger timing margin | Useful for learning a new jumper |
Personally, I’d rather shoot a slightly slower jumper that I can actually read than use a ridiculously fast animation that looks like a blur and then complain about missing everything.
Your Jumper Grade Matters Too
Another part of the equation is the quality of your custom jumper. The release attributes and overall animation grades can affect how forgiving the shot feels, so don’t build your jumper around speed alone.
There’s a reason some combinations immediately feel comfortable while others seem completely unusable. A jumper with a strong release profile paired with a visual cue you understand can be much more valuable than chasing the fastest possible animation.
Think of the jumper, release speed, and visual cue as one package. Changing one part can change how the entire shot feels.
Turn the Shot Meter Off
If you’re serious about becoming a consistent shooter, I’d strongly recommend experimenting with the shot meter turned off.
The meter looks useful when you’re starting out, but eventually it can become a distraction. You’re looking at a graphic, your player’s animation, the defender, the basket, and everything else happening on the court at the same time.
That’s too much information.
Once you know your cue, your player’s animation should become the meter.
Turning the meter off also provides the gameplay benefits associated with NBA 2K27’s meter-off shooting setup, making it even more attractive for players who are chasing consistency.
Settings I Would Use First
If I were setting up a new MyPLAYER today, this is the combination I’d test before changing anything else:
- Shot Timing Visual Cue: Push
- Shot Meter: Off
- Shot Feedback: All Shots
- Release Speed: Normal or Quick
- Practice Focus: Watch the hands, not the meter
These aren’t sacred settings. They’re simply a good baseline. Once you’ve played enough games, you can decide whether an earlier or later cue matches your natural reaction speed better.
Online Shooting Is a Different Beast
Here’s the part nobody likes talking about: offline practice can lie to you.
You can walk into a practice facility, hit ten greens in a row, feel like Steph Curry’s long-lost training partner, and then step into the Rec and suddenly every jumper feels different.
Online latency is a major reason.
Your controller input has to travel through your system and network before the game processes it. Even a relatively small amount of delay can be enough to throw off a timing window that is already extremely tight.
This is why a wired Ethernet connection can make a noticeable difference for competitive players. You want as much consistency as possible between what your hands do and what the game registers.
And don’t make the mistake of assuming you should always react exactly when the animation appears on your screen. Online play can require you to anticipate the cue rather than consciously react to it.
How I Would Practice a New Visual Cue
Don’t jump into the Rec after changing your jumper and expect muscle memory to appear magically.
Give yourself a proper session first.
- Turn the meter off and enable shot feedback.
- Pick one visual cue and stop changing it.
- Take shots from the corners, wings, and top of the key.
- Watch the upper body and hands instead of staring at the basket.
- Keep shooting until the animation starts feeling predictable.
- Then test the jumper in an actual online environment.
I’d aim for roughly 50 to 100 shots before making a serious judgment. Missing the first five shots doesn’t mean the cue is bad. Your brain simply hasn’t learned the timing yet.
And this is where practice becomes much more valuable than watching another “BEST JUMPSHOT 100% GREEN” video on YouTube.
NBA 2K27 Legend Badges Guide: How to Unlock the Legendary Tier
Don’t Chase Someone Else’s Release Point
This might be my biggest piece of advice.
Copying a popular player’s jumper can be useful, but copying their exact timing habits isn’t necessarily going to work for you. People have different reaction times. We notice different animation details. Some players can recognize a tiny shoulder movement instantly, while others need a much more obvious hand motion.
That’s why the best NBA 2K27 visual cue is personal.
Push might be perfect for me and terrible for you. Release might feel amazing on one jumper and completely wrong on another. There’s no reason to force yourself into a setting simply because somebody with a 70% three-point percentage swears by it.
NBA 2K27 Best Graphics Settings: Maximize FPS & Competitive Edge on PC
My Final NBA 2K27 Shooting Setup
If I had to start from scratch, I wouldn’t overcomplicate things. I’d build a jumper around a readable animation, keep the speed at Normal or Quick, switch the meter off, use Push as my starting visual cue, and spend serious time learning the animation before touching the settings again.
The biggest change in NBA 2K27 isn’t that shooting suddenly became impossible. It’s that the game is asking you to become much more deliberate about your timing.
Once you stop treating the meter as your primary source of information and start watching the actual shooting animation, things begin to click. The elbows, hands, ball movement, and forward push become your timing language.
And when that happens, the game starts feeling much less random.
So if NBA 2K27 shooting currently feels broken, don’t immediately delete your jumper. Try changing the visual cue first. Give Push a serious test. Slow the release down if the animation is too frantic. Turn the meter off. Play enough repetitions to build actual muscle memory.
You might discover that your jumper was never the problem.
You were just watching the wrong part of it.