Crimson Desert Black Bears Ambush Guide: How to Beat the Hidden Fangs Mission & Destroy Battle Weapons
When I first dropped into Crimson Desert, I expected a cinematic ride. What I didn’t expect was getting absolutely wrecked by the Black Bears within the first hours. If you’ve played through the prologue or hit the infamous “Hidden Fangs” mission, you already know—this faction isn’t just another group of enemies. They’re your first real wake-up call.
After dozens of attempts, testing builds, and yes, a few rage quits, I’ve put together a guide that feels less like a wiki and more like what you’d read on Reddit after someone finally “gets it.” This is what actually works.
Why the Black Bears Feel So Punishing
The biggest mistake I made early on was treating them like standard enemies. The Black Bears are built differently, they swarm aggressively, punish defensive play, mix heavy units with ranged pressure, and introduce “Battle Weapons” way too early. In short, if you play safe, you lose.
Personal takeaway: This game rewards chaos—controlled chaos, but chaos nonetheless.

Prologue Ambush – “Dead of Night” (What I Wish I Knew)
This opening mission is pure cinematic panic. Your camp is burning, enemies are everywhere, and your instinct is to fight everything. Don’t. I died twice trying to clear enemies before realizing the game doesn’t want that.
What actually works is simple: run the objective first, use the environment constantly, and only fight when you must. The moment it clicked for me was when I started using enemies as tools instead of targets.
- Throw enemies into fire instead of dueling them
- Keep moving because fire arrows drain stamina fast
- Ignore unnecessary fights and focus on survival
Hidden Fangs Mission – Where Most Players Get Stuck
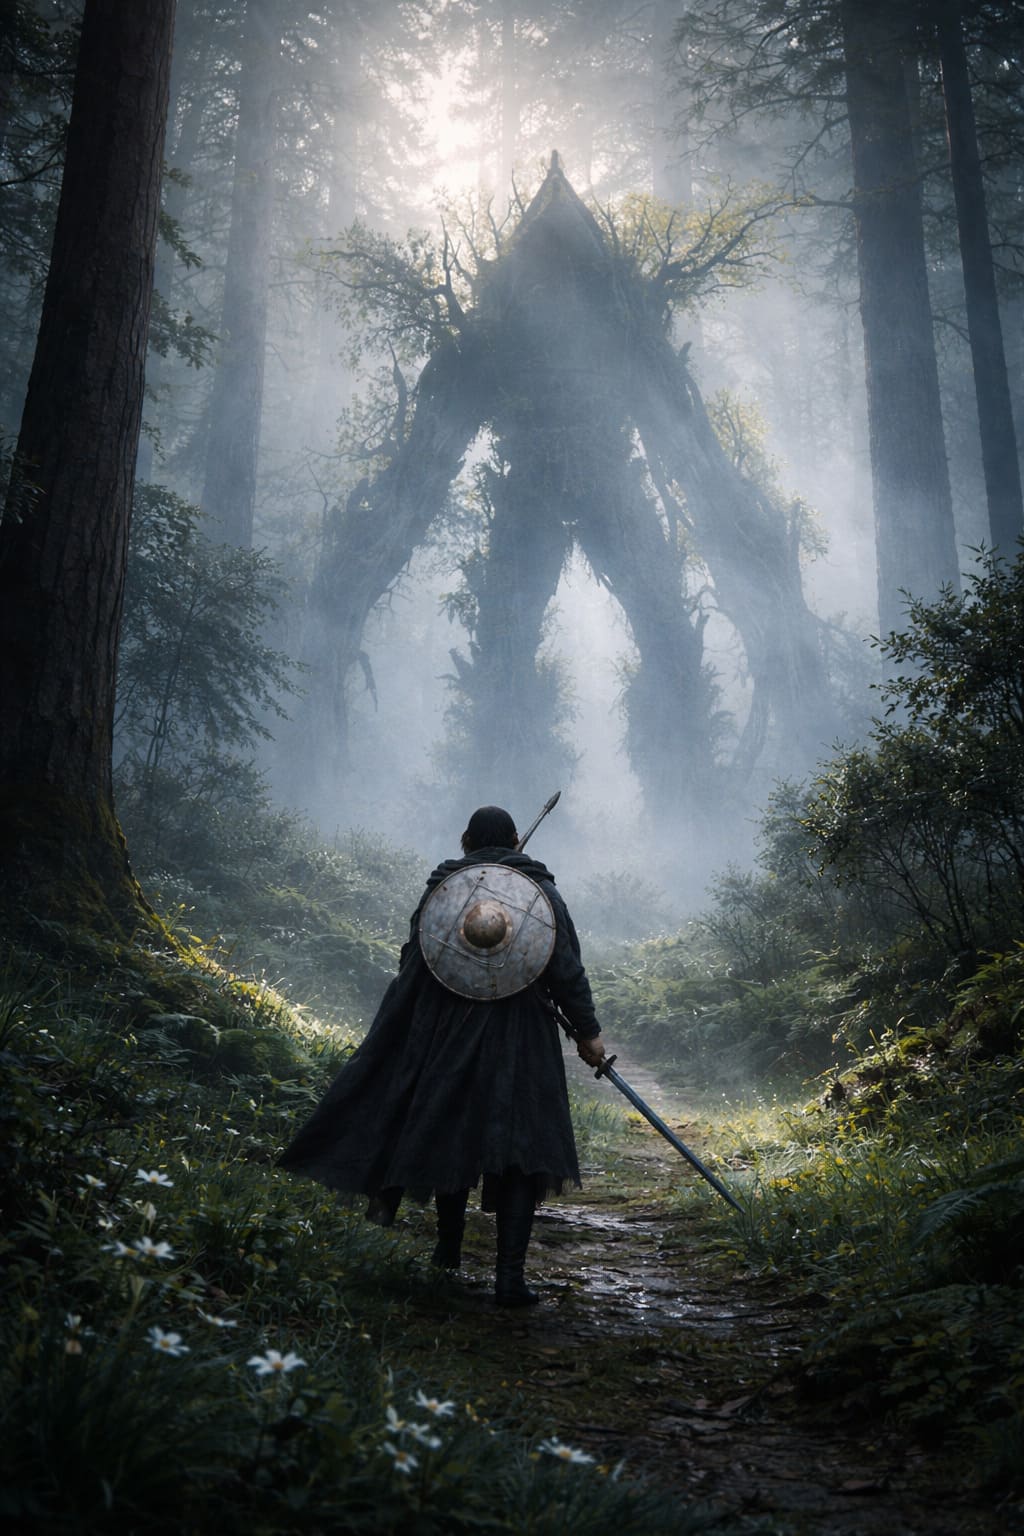
This is where the game shifts from cinematic to tactical and where most frustration kicks in. The problem is Battle Weapons, basically wooden tanks that feel impossible at first. You hit them, nothing happens, and meanwhile you’re getting overwhelmed.
The solution is Whistling Arrows, a mechanic the game barely explains. Equip them, aim at the tank, fire, and trigger an airstrike that destroys it. That’s it. I spent nearly twenty minutes attacking one tank before realizing I was doing zero real damage.
Quick Strategy Breakdown
| Situation | What You Should Do | What NOT to Do |
|---|---|---|
| Tank spotted | Mark with Whistling Arrow | Attack directly |
| Surrounded by infantry | Use AoE skills or reposition | Stand and block |
| Out of ammo | Go to SW outpost | Keep fighting without arrows |
| Low stamina | Retreat and reset | Spam dodge until empty |
The Secret Farming Trick (Yes, It Still Works)
This feels borderline exploit-like, but it’s too effective to ignore. If you clear all enemies but leave one tank alive, you can repeatedly reset the encounter and farm Artifact Meter progress, skill points, and loot drops. I tested this for about thirty minutes and came out significantly stronger than intended.
This will likely get patched eventually, but right now it’s one of the fastest progression methods in the game.
Crimson Desert Map Size Comparison: Is It Bigger Than Elden Ring? (2026 Guide)
Black Bear Enemy Types (And How I Beat Them)
Heavy Shield Units
These enemies are frustrating at first because your attacks bounce off their shields and they counter aggressively. The trick is to stop attacking head-on. Use a kick to break their guard, slide behind them, and go for back attacks. Once you adapt, they become manageable.
The Giant
This is one of the first real difficulty spikes. He is slow but extremely powerful, and brute force tactics do not work. I handled this fight by luring him near explosive barrels, focusing on timing instead of aggression, and using environmental weapons whenever possible.
If you try to trade hits with him, you will lose almost every time.
Commander-Type Enemies
These enemies are the real threat in mixed encounters. They have long reach, high damage, and punish mistakes hard. The best strategy is to master perfect parrying and counter instead of trading blows. Landing a perfect parry deals massive damage and turns the fight in your favor quickly.
My Go-To Build for These Missions
After a lot of experimentation, this setup consistently worked for me and made these encounters far more manageable.
- Whirlwind Strike for clearing groups quickly
- Vault Jump for escaping dangerous situations
- Enhanced Grapple for crowd control
For consumables, I always carried a large запас of grilled meat for healing and stamina potions, which are absolutely essential. If your stamina hits zero during a fight, you are basically done.
Crimson Desert vs. Black Desert Online (2026): Comparison of Pearl Abyss’s Giants
Playstyle Shift That Changed Everything
The biggest turning point for me was changing how I approached combat. I stopped playing like a knight and started playing like a mercenary. That means attacking fast, moving constantly, using dirty tactics, and relying heavily on the environment.
Once I embraced that mindset, the game became far more fluid and enjoyable.
Performance Tip (Underrated but Important)
During large ambushes with heavy effects like fire and explosions, performance can drop significantly. Lowering Effects Quality to Medium made a noticeable difference for me and improved overall responsiveness during chaotic fights.
Rewards – Why It’s Worth the Pain
Despite the difficulty, Black Bear encounters offer some of the best early progression rewards in the game. You can obtain stronger crossbows, faction insignias for rare gear, and rapid ability progression through repeated combat encounters.
It’s one of the most rewarding gameplay loops once you learn how to survive it.
Final Thoughts: The Moment It Clicks
There is a moment in Crimson Desert where everything finally makes sense. For me, it happened during Hidden Fangs when I stopped reacting and started controlling the fight. The Black Bears went from overwhelming to predictable.
Their aggression becomes a weakness, their machines become targets, and their numbers become manageable once you understand the systems behind them. That’s when the game truly opens up and starts to feel incredible.
FAQ
Q: Where do I get more Whistling Arrows?
A: You can craft them or find them in supply crates during the mission.
Q: Can I ignore tanks and just fight enemies?
A: You can, but it will slow your progress significantly.
Q: Is the Giant optional?
A: No, it is a mandatory boss required for progression.