Beast of Reincarnation Progression System Guide: Beginner Tutorial
Game Freak has surprised just about everyone with Beast of Reincarnation. If you walked into this expecting another colorful monster-collecting adventure, you’ll be in for a brutal wake-up call within the first hour. This is a fast, demanding action RPG built around precision, patience, and smart character progression rather than button mashing.
After spending a significant amount of time analyzing everything currently available—from gameplay demonstrations and early access footage to community discoveries—one thing becomes obvious: understanding the progression system matters just as much as mastering combat. A powerful weapon won’t save you if Koo isn’t properly developed, and a maxed-out skill tree won’t help much if you’re ignoring Spirit Stones or missing upgrade materials hidden across the world.
This guide explains how every major progression mechanic works, where your priorities should be, and what beginners often overlook during their first journey through the ruined landscapes of 4026 Japan.
Why Progression Matters More Than Raw Skill
A lot of modern action RPGs allow experienced players to brute-force difficult encounters through mechanical skill alone. Beast of Reincarnation doesn’t really play that game.
Bosses become noticeably more aggressive, enemy groups start combining attacks intelligently, and corrupted creatures gain abilities that punish repetitive strategies. If your build isn’t evolving alongside the world, every new region starts feeling dramatically harder.
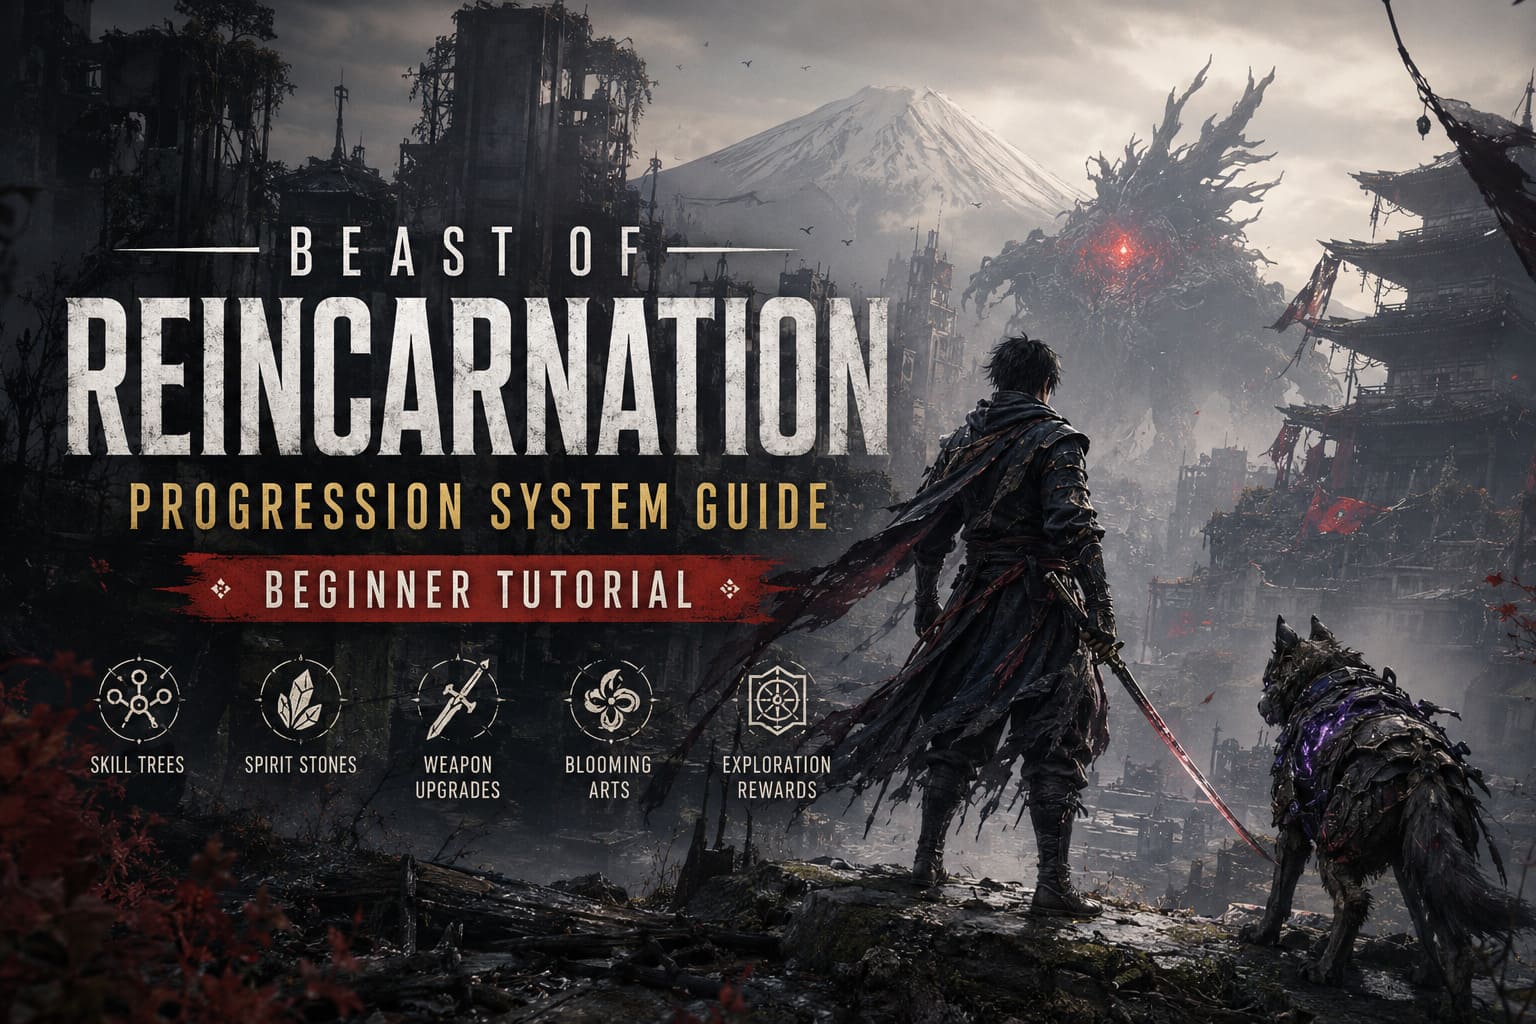
Instead of treating progression as simple stat increases, Game Freak built multiple interconnected systems that constantly feed into each other.
| Progression System | Main Purpose | Priority |
|---|---|---|
| Emma Skill Tree | Offensive abilities and mobility | Very High |
| Koo Skill Tree | Support, crowd control, AI behavior | Very High |
| Spirit Stones | Build customization | High |
| Weapon Upgrades | Raw damage scaling | High |
| Blooming Arts | Tactical combat abilities | High |
| Exploration Rewards | Upgrade materials and experience | Essential |
Ignore any one of these for too long and you’ll definitely notice the difference.
Learn Combat Before You Chase Levels
The biggest mistake new players make is assuming levels solve everything.
They don’t.
The combat system revolves around timing, not statistics.
Emma’s katana attacks feel incredibly fluid, but every offensive move is balanced around defensive mastery. Perfect parries completely block incoming damage while rapidly filling an enemy’s Stagger Gauge. Once that gauge breaks, opponents become vulnerable to devastating execution attacks capable of deleting weaker enemies almost instantly.
Rolling is still useful, but relying on dodge spam eventually gets punished against stronger enemies with delayed attacks and unpredictable combos.
If there’s one mechanic worth practicing early, it’s definitely perfect parrying.
Understanding Every Combat Meter
Several independent meters constantly build during battle, and learning when to spend them separates average players from efficient ones.
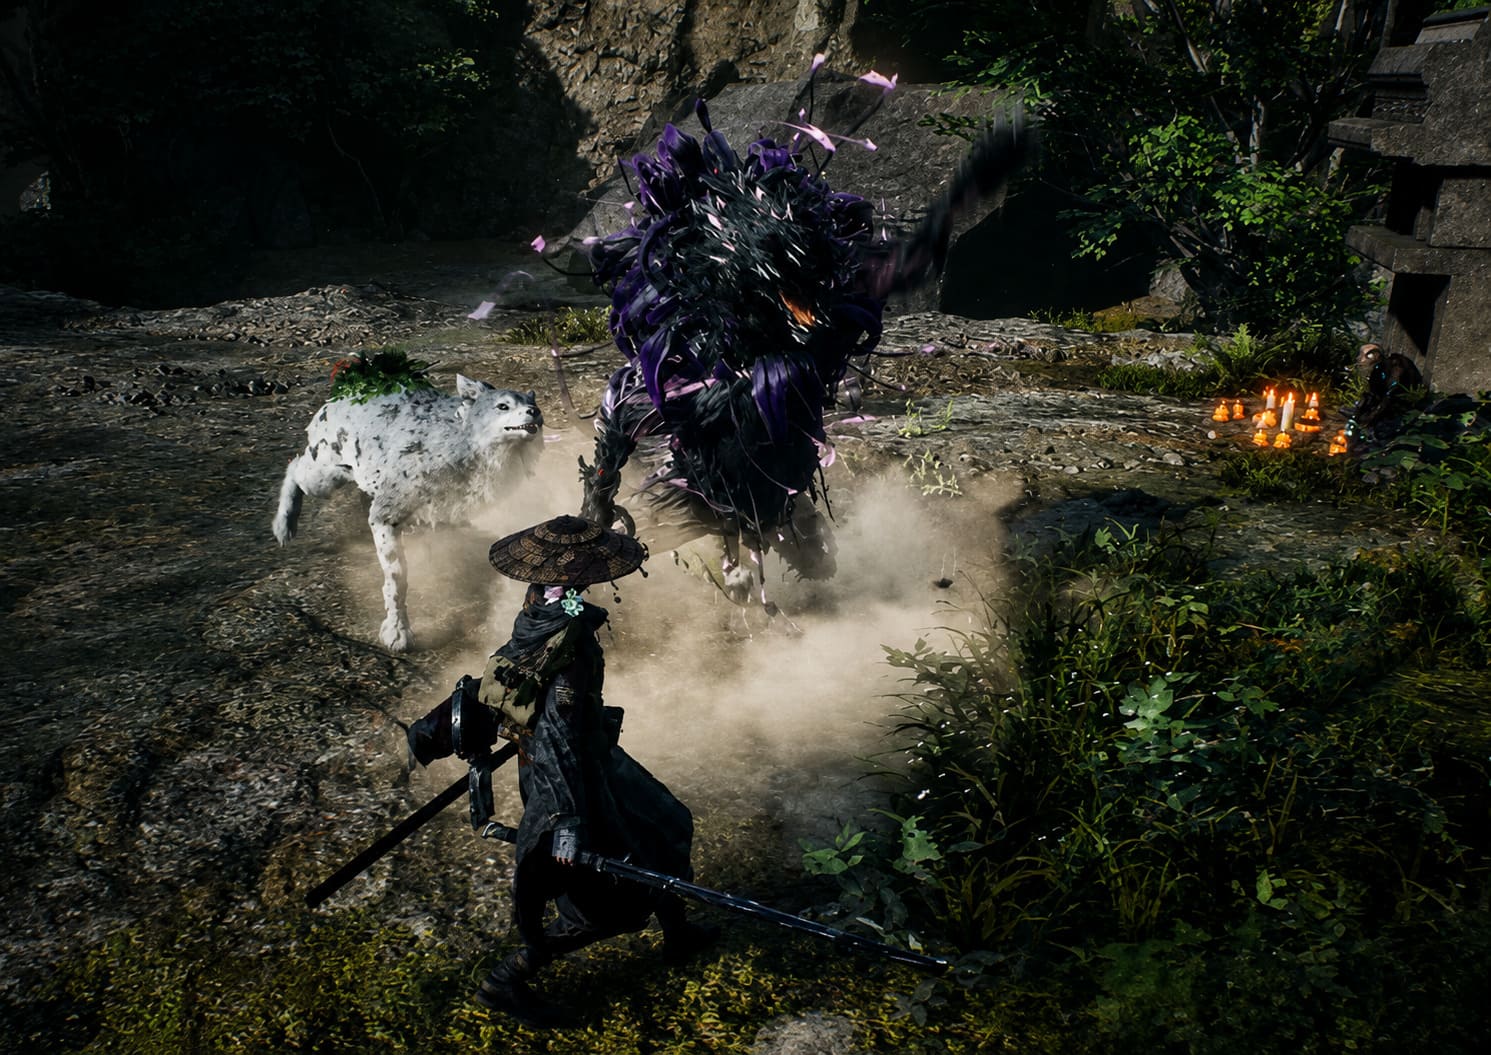
Emma’s Ability Gauge
Landing consecutive attacks charges Emma’s primary combat resource.
This energy fuels Bladed Arts, powerful weapon techniques capable of dealing heavy burst damage, launching enemies into the air, or hitting multiple targets simultaneously.
Don’t waste these on basic enemies if a miniboss is waiting around the corner.
Entanglement Overdrive
Think of this as Emma’s ultimate ability.
Successful aggression, clean parries, and sustained combat eventually activate Overdrive, dramatically increasing attack speed while granting temporary hyper armor.
Against bosses, this often becomes the perfect window to unload your strongest Blooming Arts combinations.
Koo’s Command Meter
Although Koo fights automatically most of the time, his strongest abilities require manual activation.
Managing this resource properly transforms him from a helpful companion into one of the strongest tools in your arsenal.
Blooming Arts Completely Change Combat
One feature I genuinely love is the Blooming Arts system.
Instead of forcing players to memorize endless button combinations, Beast of Reincarnation slows combat whenever you open the tactical command menu.
This brief slowdown lets you issue specialized commands for both Emma and Koo without feeling rushed.
The real strategy comes from understanding enemy weaknesses.
Some enemies barely react to sword attacks but completely collapse after Koo smashes through their defenses.
Others are vulnerable to airborne launchers, elemental effects, or specialized finishing techniques.
A properly timed Blooming Art can completely flip a difficult encounter.
As your progression continues, these abilities become more demanding. Timing windows tighten, quick-time sequences become faster, and successful execution rewards substantially higher damage multipliers.
That increased difficulty actually feels rewarding instead of frustrating because your own mastery grows alongside Emma’s abilities.
Emma’s Skill Tree Should Come First
Both protagonists deserve investment, but Emma naturally deserves the earliest priority.
Her progression tree focuses on expanding personal combat options instead of simply increasing damage numbers.
Some of the most valuable unlocks include:

- Longer combo strings
- Perfect parry counterattacks
- Improved dodge distance
- Double dash mobility
- Air combo extensions
- Specialized Bladed Arts against flying enemies
Double Dash deserves special mention.
It completely changes exploration while also becoming one of the strongest defensive tools during difficult boss encounters.
The additional mobility opens shortcuts, hidden rooftops, elevated treasure locations, and previously inaccessible pathways scattered throughout the world.
Never Ignore Koo’s Development
Many players instinctively dump everything into Emma.
That’s a mistake.
Koo isn’t just another AI companion tagging along for the story.
His progression tree unlocks entirely new tactical options that fundamentally reshape combat encounters.
Depending on your preferred playstyle, Koo can become:
- An aggressive frontline distraction
- A defensive protector
- A synchronized damage partner
- A crowd-control specialist
His advanced abilities become especially useful during boss encounters.
Root traps temporarily immobilize dangerous enemies.
Purifying fire attacks spread elemental damage.
Powerful launch attacks create opportunities for Emma’s aerial combos.
Late-game encounters practically expect players to coordinate both characters together.
Spirit Stones Create Your Build
This system might be my favorite progression mechanic in the game.
Instead of boring percentage increases, Spirit Stones introduce meaningful gameplay changes.
These upgrades are found through exploration, optional minibosses, environmental puzzles, and hidden side areas.
Examples include:
| Spirit Stone Effect | Gameplay Benefit |
|---|---|
| Shockwave after perfect parry | Pushes nearby enemies away |
| Elemental dodge trail | Applies status effects while evading |
| Execution lifesteal | Restores health after finishers |
| Automatic Koo counterattack | Extra punishment after successful deflections |
| Increased stagger damage | Faster boss vulnerability |
| Extended Overdrive duration | Longer burst windows |
Rather than sticking with one setup, experiment constantly.
A build that destroys mechanical Golems might struggle against heavily corrupted wildlife.
Changing a few Stones before entering a difficult area can completely alter the outcome.
Upgrade Weapons Whenever Possible
Weapon upgrades remain the backbone of long-term progression.
Campfires and sanctuary hubs become your crafting headquarters, allowing Emma to strengthen her growing collection of swords.
Several crafting materials appear repeatedly throughout the game.
- Amber improves physical attack and critical scaling.
- Electronic Brains are recovered from defeated Golems and unlock advanced weapon upgrades.
- Decayed Charms expand secondary weapon effects after purification.
- Fertilized Eggs unlock additional companion growth for Koo.
Even healing evolves.
Recovery Tonics become stronger by collecting rare botanical samples hidden inside purified regions.
Skipping exploration means delaying nearly every major upgrade system.
Exploration Rewards Curious Players
The world itself acts as another progression mechanic.
Blighted forests constantly reshape the environment, revealing shortcuts, hidden caves, rooftop pathways, abandoned facilities, and optional minibosses.
Vertical exploration deserves special attention.
Every time I noticed a suspicious rooftop or broken highway above me, it almost always rewarded curiosity.
Some of the best discoveries include:
- Hidden Spirit Stones
- Rare weapon blueprints
- Crafting materials
- Environmental lore
- Bonus experience
- Upgrade caches
Purifying corrupted Blight Hearts permanently transforms nearby regions.
Besides making travel safer, cleansing these locations frequently unlocks additional treasure routes and valuable crafting resources.
Preparing for New Game+
Finishing the main campaign isn’t the real ending.
Players interested in full completion should prepare for roughly 80 hours of gameplay, depending on exploration habits.
New Game+ keeps nearly everything you’ve earned.
- Skills
- Weapons
- Spirit Stones
- Crafting resources
- Equipment upgrades
Enemies, however, become dramatically stronger.
Bosses receive expanded movesets.
Attack patterns evolve.
Aggression increases noticeably.
This mode feels less like replaying the campaign and more like an advanced combat exam designed for experienced players.
If you’ve ignored progression mechanics throughout the first playthrough, New Game+ quickly exposes every weakness in your build.
Beginner Tips That Actually Matter
If I had to give only a handful of recommendations to someone starting Beast of Reincarnation today, these would easily top the list.
- Master perfect parries before chasing bigger damage numbers.
- Invest consistently in both Emma and Koo instead of favoring only one character.
- Swap Spirit Stones depending on enemy types instead of keeping one permanent setup.
- Upgrade weapons every chance you get since scaling matters throughout the campaign.
- Destroy every Blight Heart you discover because purification unlocks hidden rewards.
- Explore vertically whenever possible. Some of the game’s best equipment is intentionally hidden above the main path.
Final Thoughts
Beast of Reincarnation feels like one of the boldest reinventions Game Freak has attempted in decades. Beneath its gorgeous Unreal Engine 5 visuals lies an action RPG that rewards patience, experimentation, and thoughtful progression far more than reckless aggression.
Every system feeds naturally into another. Emma becomes stronger through her skill tree, Koo evolves into an indispensable tactical partner, Spirit Stones let you tailor completely different combat styles, and exploration constantly rewards players willing to wander off the obvious route.
That’s what keeps the progression loop satisfying. You’re never simply chasing a higher level. You’re steadily building a combat style that feels uniquely yours, adapting to tougher enemies, discovering smarter combinations, and gradually turning two vulnerable survivors into an unstoppable force against the Blight. For anyone planning to tackle every hidden boss and conquer New Game+, investing time in these systems isn’t optional—it’s the difference between barely surviving and truly mastering one of the most demanding action RPGs of the year.