Beast of Reincarnation Hidden Mechanics Guide: Advanced Combat, Koo Commands, and Frame Data Explained
When I first jumped into Beast of Reincarnation, I expected a stylish action RPG with challenging boss fights and an interesting companion system. After a few hours, though, I realized the combat was hiding far more depth than the tutorials ever explained. Some mechanics are obvious, while others only become noticeable after dozens of boss attempts, experimenting with timing, or watching experienced players approach encounters completely differently.
That’s exactly why I wanted to put together this guide.
This isn’t about repeating the tutorial or listing every skill in the game. Instead, it’s about the subtle interactions that can dramatically improve your combat efficiency. Some of these behaviors appear to be intentional design choices, while others feel like quirks of the engine that skilled players can take advantage of. Either way, understanding them completely changes how Emma and Koo perform together.
If you’re struggling against late-game bosses or simply want smoother combat, these discoveries are well worth practicing.
Why Beast of Reincarnation Feels Different
Most action RPGs reward aggression or patience.
Beast of Reincarnation rewards rhythm.
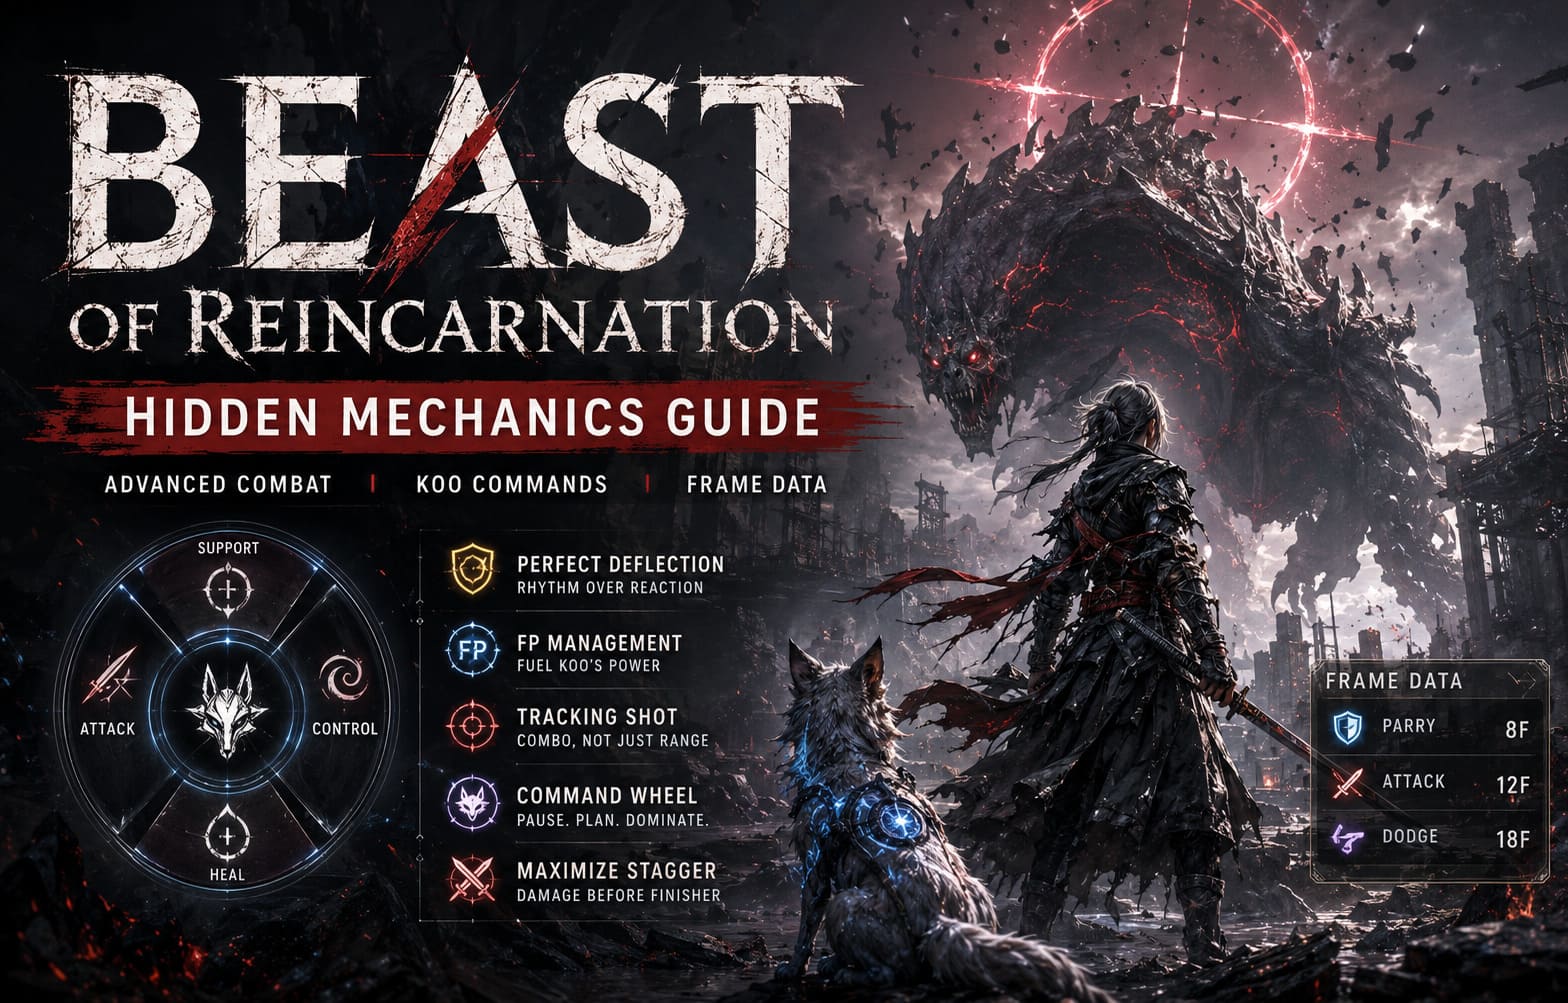
Every encounter revolves around maintaining control of three different resources at once:
- Your defensive timing.
- Your Focus Point (FP) economy.
- Koo’s support abilities.
Ignoring any one of those systems usually results in longer battles and unnecessary mistakes.
After spending time experimenting with different approaches, I found that the game becomes much more enjoyable once you stop treating Koo as a simple companion and start thinking of him as an extension of Emma’s combat toolkit.
Perfect Deflections Are More Forgiving Than They Look
The tutorial teaches you how to parry.
It doesn’t really teach you how the animation system behaves.
One thing I noticed is that initiating movement immediately before blocking often makes successful deflections feel noticeably more consistent. Whether that’s because of animation blending or internal timing, the result is the same—certain transitions seem considerably smoother than blocking from a completely stationary position.
Instead of waiting passively for incoming attacks, try this flow:
- Make a short reposition.
- Immediately prepare your guard.
- Time the incoming strike.
- Counterattack instantly.
The movement keeps Emma mobile while making defensive play feel much less rigid.
Against aggressive bosses, this rhythm becomes surprisingly reliable.
Recover Faster After Imperfect Blocks
Nobody lands perfect deflections every time.
Fortunately, a regular guard doesn’t always have to leave you standing helpless.
One habit I’ve developed is opening Koo’s command interface immediately after absorbing a heavy attack. Besides giving me a second to evaluate the battlefield, the transition into the tactical menu often makes the recovery feel much smoother before returning to real-time combat.
Whether this is intended or simply a side effect of how the game handles time slowdown, it creates breathing room during difficult encounters.
Rather than panicking after a missed parry, use the command menu as a tactical reset.
FP Management Is More Important Than Raw Damage
Many new players become obsessed with increasing weapon damage.
Personally, I think FP generation matters even more.
Having constant access to Koo’s abilities creates opportunities that raw attack power simply cannot replace.
Some habits that noticeably improved my FP economy include:
- Staying close enough to encourage melee attacks instead of ranged patterns.
- Defensively timing attacks instead of panic rolling.
- Alternating offense with well-timed deflections.
- Avoiding unnecessary stamina waste.
The faster you recover FP, the more often Koo can influence the battle.
That creates a positive feedback loop where stronger control leads to easier boss phases.
Tracking Shot Works Best as a Combo Tool
At first I treated Tracking Shot like a traditional ranged attack.
That turned out to be a mistake.
The skill becomes much stronger when woven naturally into sword combat rather than used independently.
A sequence I particularly enjoy looks like this:
- Successful deflection.
- Quick sword slash.
- Tracking Shot.
- Dodge reposition.
- Resume melee pressure.
Instead of interrupting combat, the projectile feels like another combo extension.
It keeps pressure on mobile enemies while maintaining offensive momentum.
Koo Is Secretly the Most Powerful Character
Emma may carry the sword.
But Koo controls the pace of every major encounter.
One of my favorite aspects of Beast of Reincarnation is how the command wheel slows combat without completely stopping it. Those few moments allow you to rethink positioning, plan ability order, and avoid making rushed decisions.
During difficult boss fights I often use those brief pauses to:
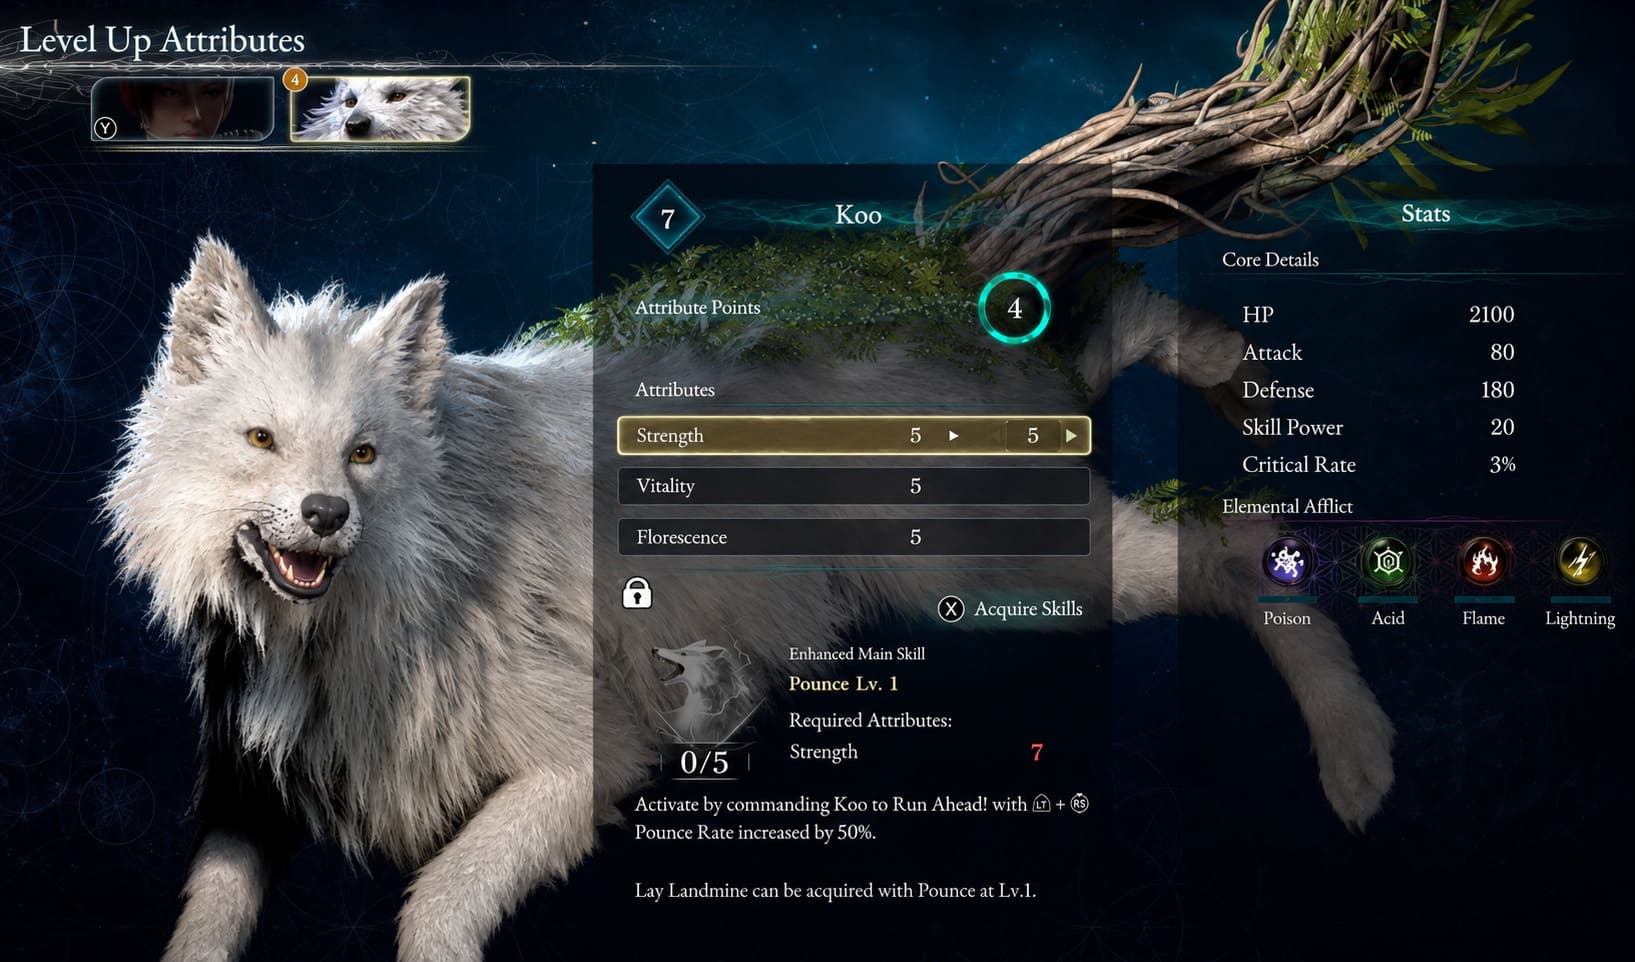
- Check enemy positioning.
- Decide whether healing is actually necessary.
- Plan my next offensive rotation.
- Choose crowd-control abilities.
- Prepare for the next attack pattern.
Instead of reacting emotionally, you’re making calculated decisions.
That difference becomes enormous during the game’s toughest encounters.
Save Powerful Buff Windows
Temporary buffs rarely last as long as we’d like.
Because combat is so hectic, it’s easy to waste valuable seconds repositioning instead of attacking.
One lesson I learned is simple:
Don’t activate offensive buffs until you’re certain you can stay aggressive.
Waiting just a few extra seconds before committing often results in much higher overall damage.
This is especially true before stagger opportunities.
Don’t Rush Every Boss Finisher
This might be my favorite discovery in the game.
Whenever a major enemy falls into its vulnerable state, most players instinctively sprint toward the cinematic finisher.
I did exactly the same thing.
Eventually I realized I was sacrificing a surprising amount of free damage.
Instead, I now spend most of the stagger window unloading my strongest sword combinations before triggering the finishing animation near the end of the opportunity.
The result is consistently higher overall damage without increasing the encounter’s difficulty.
Timing matters more than speed.
Emma’s Mobility Is Better Than It First Appears
The exploration abilities aren’t only useful outside combat.
Several movement skills can double as defensive tools when used creatively.
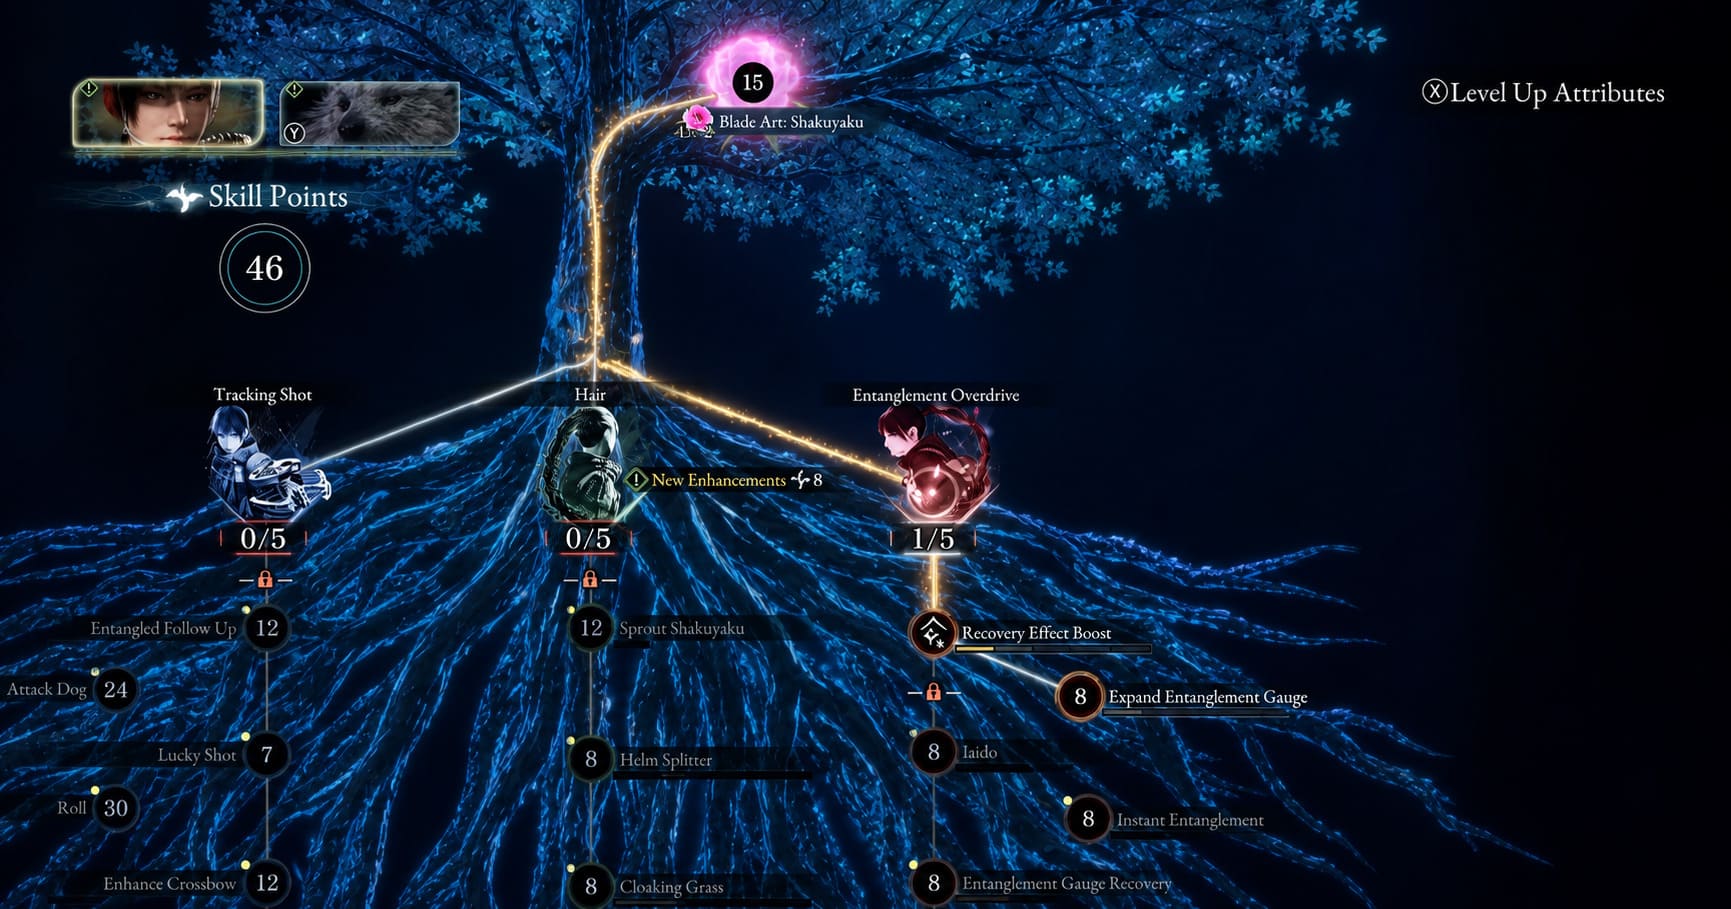
Hair-based attacks, for example, aren’t simply traversal mechanics—they can also help reposition Emma in surprisingly effective ways during hectic encounters.
Against oversized enemies, experimenting with these attacks often creates safer spacing than relying exclusively on traditional dodge rolls.
The game rarely explains these possibilities, making experimentation extremely rewarding.
Air Combat Deserves More Attention
One feature I almost ignored during my first playthrough was aerial combat.
Later, I discovered that mixing ranged attacks with airborne movement can dramatically improve survivability against certain bosses.
Remaining airborne for even a brief moment can avoid:
- Ground shockwaves.
- Sweeping attacks.
- Expanding explosions.
- Low horizontal strikes.
- Environmental hazards.
It’s a niche strategy, but some encounters become noticeably easier once you start thinking vertically instead of horizontally.
Small Improvements Add Up
The biggest improvement didn’t come from finding one overpowered technique.
It came from combining lots of little optimizations.
Here’s a comparison that summarizes my overall approach.
| Combat Habit | Average Result |
|---|---|
| Panic dodging | Lower FP generation and inconsistent offense. |
| Controlled deflections | More FP and stronger momentum. |
| Random Koo usage | Missed tactical opportunities. |
| Planned command usage | Better battlefield control. |
| Immediate finishers | Good burst damage. |
| Delayed finishers | Higher total damage during stagger windows. |
None of these adjustments seem game-changing on their own.
Together, however, they completely transform difficult boss encounters.
My Favorite Mindset for Late-Game Bosses
One thing I genuinely appreciate about Beast of Reincarnation is that it doesn’t reward button mashing.
The strongest players aren’t necessarily the fastest—they’re the calmest.
Every successful fight becomes a cycle:
- Observe.
- Deflect.
- Build FP.
- Support with Koo.
- Pressure the enemy.
- Capitalize on stagger windows.
- Repeat.
Once that rhythm clicks, even intimidating bosses become much more manageable.
Beast of Reincarnation Dev Blog Updates 2026: Gameplay, Release Date, and Everything We Know So Far
Final Thoughts
After spending considerable time with Beast of Reincarnation, I honestly think its combat system is one of Game Freak’s most ambitious designs to date. Beneath the straightforward tutorials lies a layered combat engine that rewards patience, experimentation, and mechanical consistency far more than raw aggression.
The biggest takeaway isn’t learning a single hidden trick—it’s understanding how every mechanic supports another. Accurate deflections fuel FP, FP empowers Koo, Koo creates safer openings, and those openings allow Emma to deal meaningful damage without taking unnecessary risks.
That’s what makes the combat so satisfying. Every improvement feels earned.
If you’re willing to experiment with timing, optimize your command usage, and resist the temptation to rush every stagger opportunity, you’ll gradually notice encounters becoming smoother, cleaner, and far more enjoyable. Mastering Beast of Reincarnation isn’t about discovering one secret exploit—it’s about refining dozens of small habits until they come together as one seamless fighting style.