Sineus Arena Survivors Beacon Defense Guide: How to Protect Your Central Stronghold Under Any Wave Cost
When I first started playing Sineus Arena Survivors, I made the same mistake that most new players make. I treated it like every other survivor-style game on the market. My entire focus was on maximizing damage, collecting upgrades, and turning my character into a walking apocalypse.
That approach worked perfectly—until my Central Beacon exploded.
The moment I realized the Beacon was not just a background objective but the actual heart of my entire run, everything changed. Unlike traditional bullet heaven games where only your character matters, Sineus Arena Survivors constantly forces you to split your attention between personal progression and settlement defense.
After dozens of runs, failed experiments, and plenty of painful defeats, I’ve come to the conclusion that protecting the Central Beacon is less about building the strongest hero and more about understanding the game’s unique balance between expansion and defense.
This guide covers the strategies that consistently helped me survive longer waves, protect the Stronghold, and handle even the most aggressive Khmar invasions.
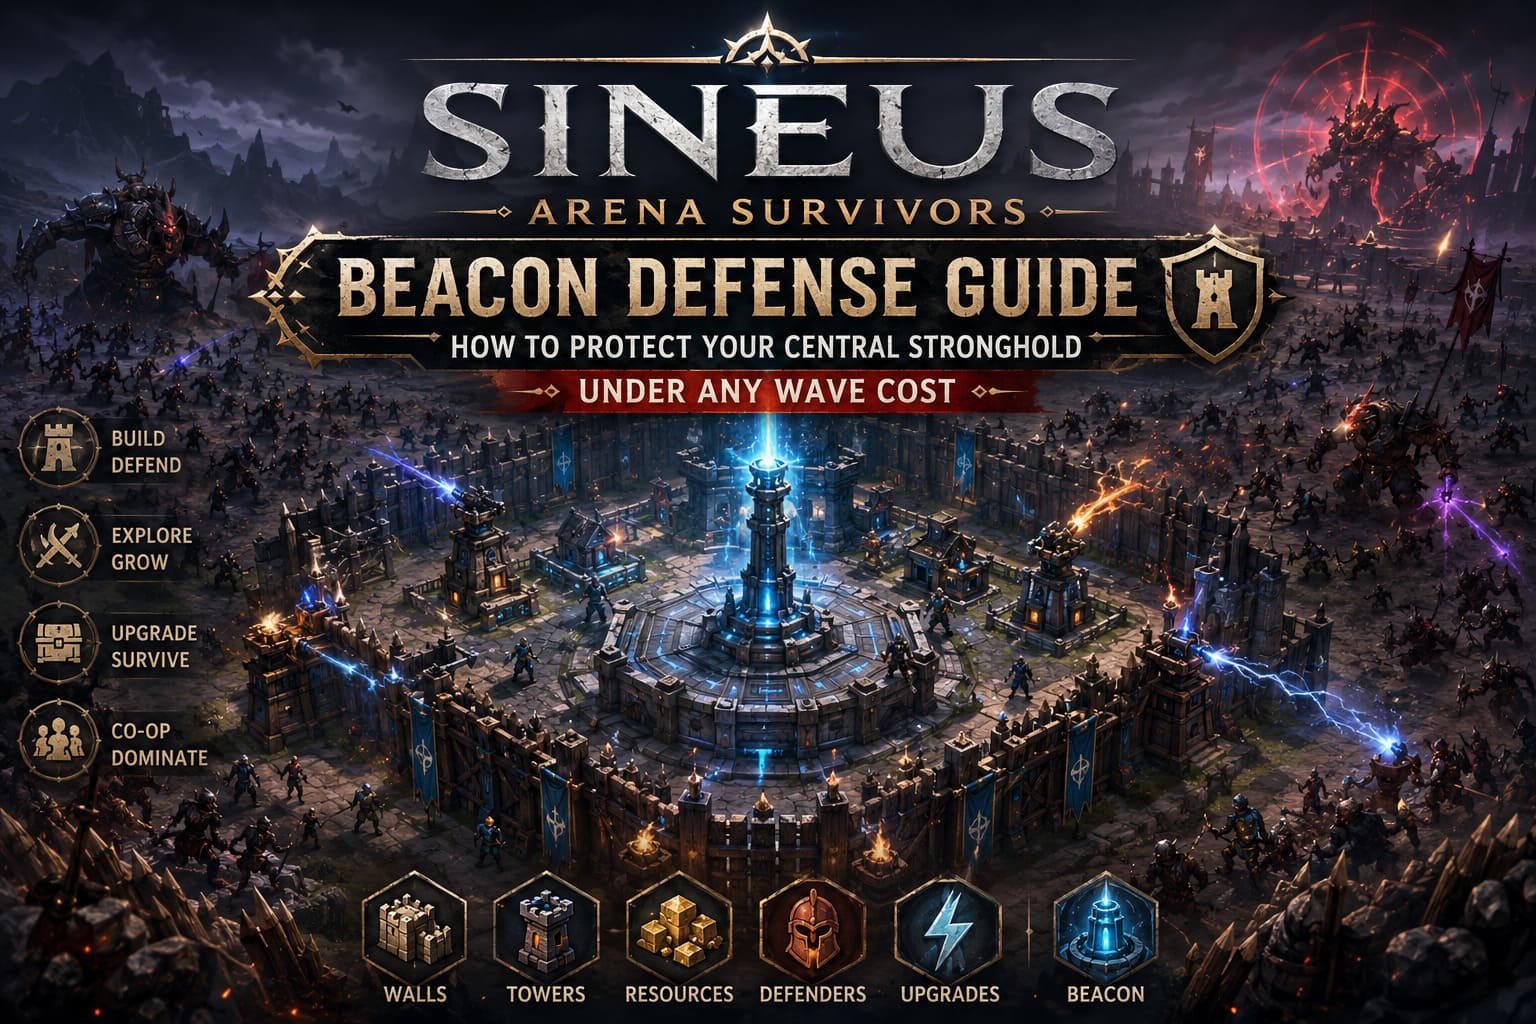
Why the Central Beacon Is More Important Than Your Character
One thing that makes Sineus Arena Survivors stand out is how much pressure it places on the player.
Your hero can be incredibly powerful, but if the Central Beacon falls, the run ends instantly.
That means every decision matters:
- Where you place walls
- When you leave the base
- How much gold you spend
- Which upgrades you prioritize
- How long you stay outside farming resources
The Beacon isn’t just another structure. It is the core objective around which your entire strategy should revolve.
Many players focus too heavily on personal power scaling and forget that the Beacon itself needs support. The game punishes that mistake harder than almost any other roguelite I’ve played recently.
The Biggest Trap New Players Fall Into
Ironically, the most dangerous strategy is often the one that feels safest.
New players tend to stay close to the Stronghold for the entire match because they don’t want to risk losing resources. Unfortunately, that creates a different problem.
Without exploration, you miss:
- Artifact rewards
- Resource caches
- Elite enemy drops
- Altars
- Experience opportunities
- Rare upgrades
As enemy scaling increases, your defenses eventually become too weak to keep up.
In my experience, successful runs always involve calculated risk. You need to leave the safety of the Stronghold regularly, gather resources, and return before major waves arrive.
The trick is knowing when to push your luck and when to retreat.
Base Layout Matters More Than Tower Count
One lesson I learned surprisingly late was that building more structures doesn’t automatically create a stronger defense.
Placement matters far more.
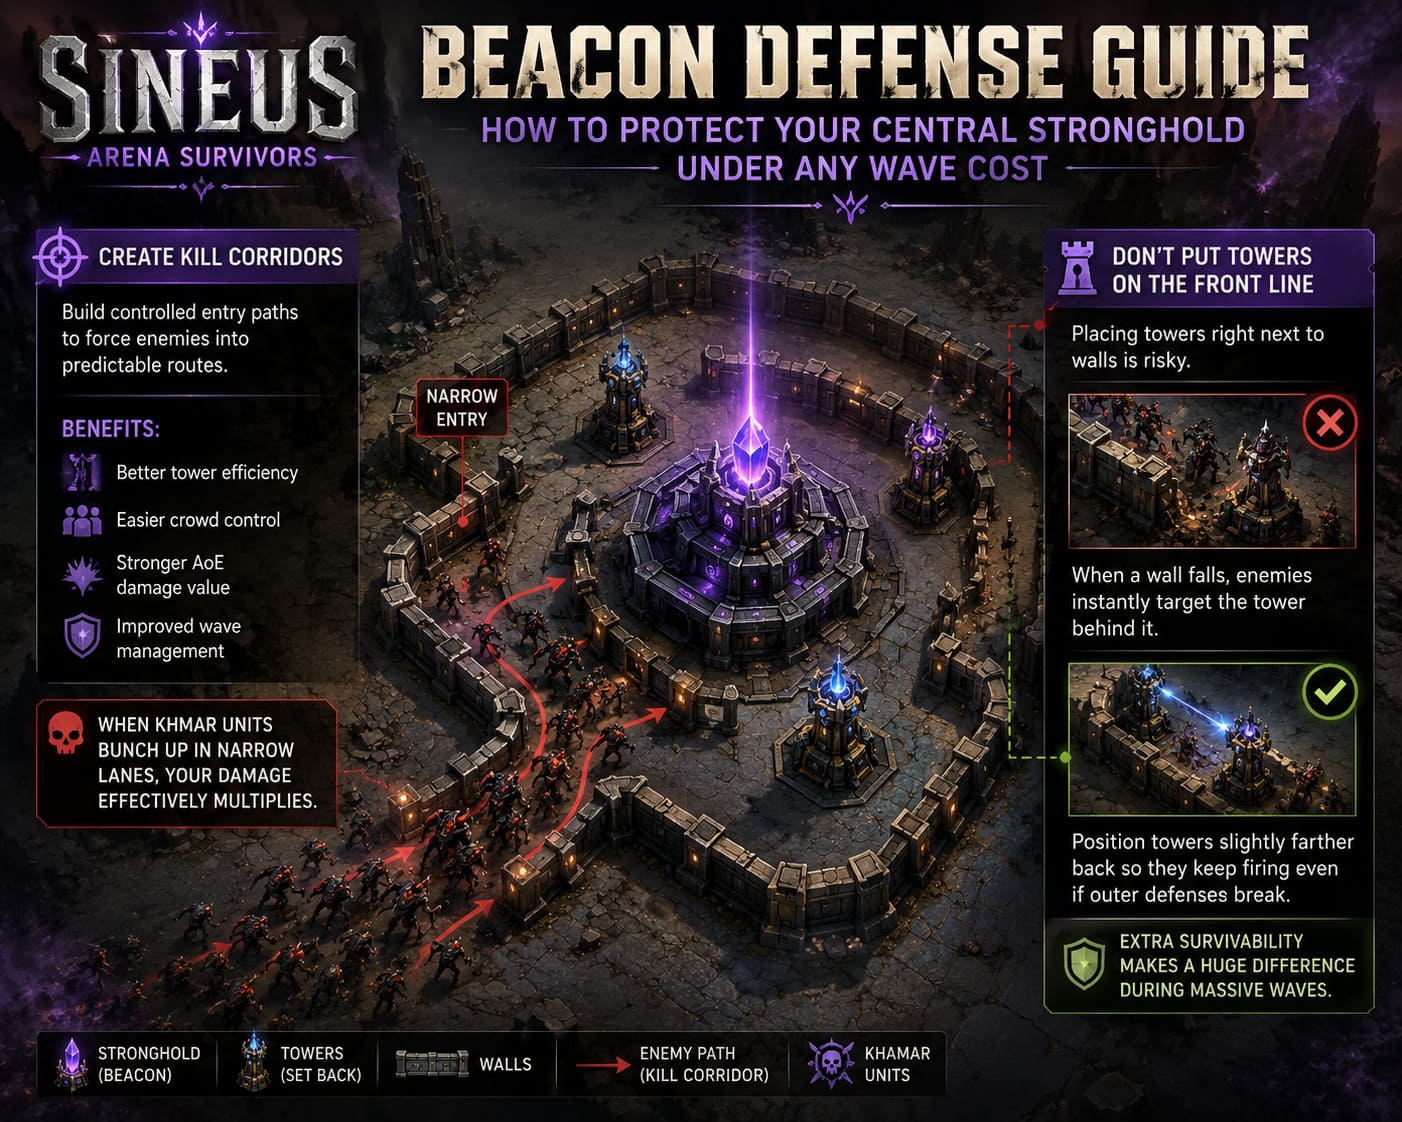
Create Kill Corridors
Instead of surrounding the entire Stronghold with simple square walls, try building controlled entry routes.
By creating narrow corridors, you force enemies into predictable paths.
Benefits include:
- Better tower efficiency
- Easier crowd control
- Stronger AoE damage value
- Improved wave management
Whenever Khmar units bunch together inside a narrow lane, your damage output effectively multiplies.
Don’t Put Towers on the Front Line
Many players place towers directly beside walls.
This usually ends badly.
When a wall section collapses, enemies immediately begin damaging the tower behind it.
I prefer positioning towers slightly farther back so they continue firing even if the outer defense breaks.
The extra survivability often makes a huge difference during large assaults.
My Preferred Defense Structure Order
After testing multiple approaches, this is the upgrade order that feels the most reliable:
| Priority | Structure | Purpose |
|---|---|---|
| 1 | Palisades | Create defensive funnels |
| 2 | Basic Towers | Early wave protection |
| 3 | Resource Buildings | Improve economy |
| 4 | Barracks | Additional AI defenders |
| 5 | Advanced Towers | Mid-game scaling |
| 6 | Beacon Support Structures | End-game stability |
The key idea is simple: establish control first, then invest into scaling.
Trying to rush expensive late-game defenses too early usually leaves the base vulnerable.
The Skills That Consistently Save Runs
Character builds matter, but not always in the way people expect.
Pure damage builds look impressive on paper, yet they often struggle when multiple lanes are under pressure simultaneously.
The strongest defensive builds usually combine three elements.
Area Damage
Persistent area-of-effect abilities are incredible for defending chokepoints.
Skills that continuously damage enemies can keep entire lanes under control without requiring constant attention.
Whenever possible, I prioritize:
- Persistent damage zones
- Expanding attack circles
- Chain lightning effects
- Projectile multiplication upgrades
These upgrades provide consistent value throughout the entire run.
Crowd Control
Damage alone isn’t always enough.
Elite enemies and mini-bosses can sometimes walk through incredible amounts of punishment.
That’s why crowd control becomes essential.
Useful effects include:
- Freezing
- Slowing
- Knockback
- Stunning
- Pull mechanics
Even a few seconds of delay can give your defenses enough time to eliminate dangerous targets.
Mobility
Movement speed is an underrated defensive stat.
When a wall suddenly collapses on the opposite side of the Stronghold, being able to reach that location quickly can save the entire run.
A slow hero often arrives too late.
Understanding the Exploration Cycle
One of the most fascinating parts of Sineus Arena Survivors is the constant tension between exploration and defense.
Every minute spent outside the base creates opportunities and risks.
I generally divide matches into three phases.
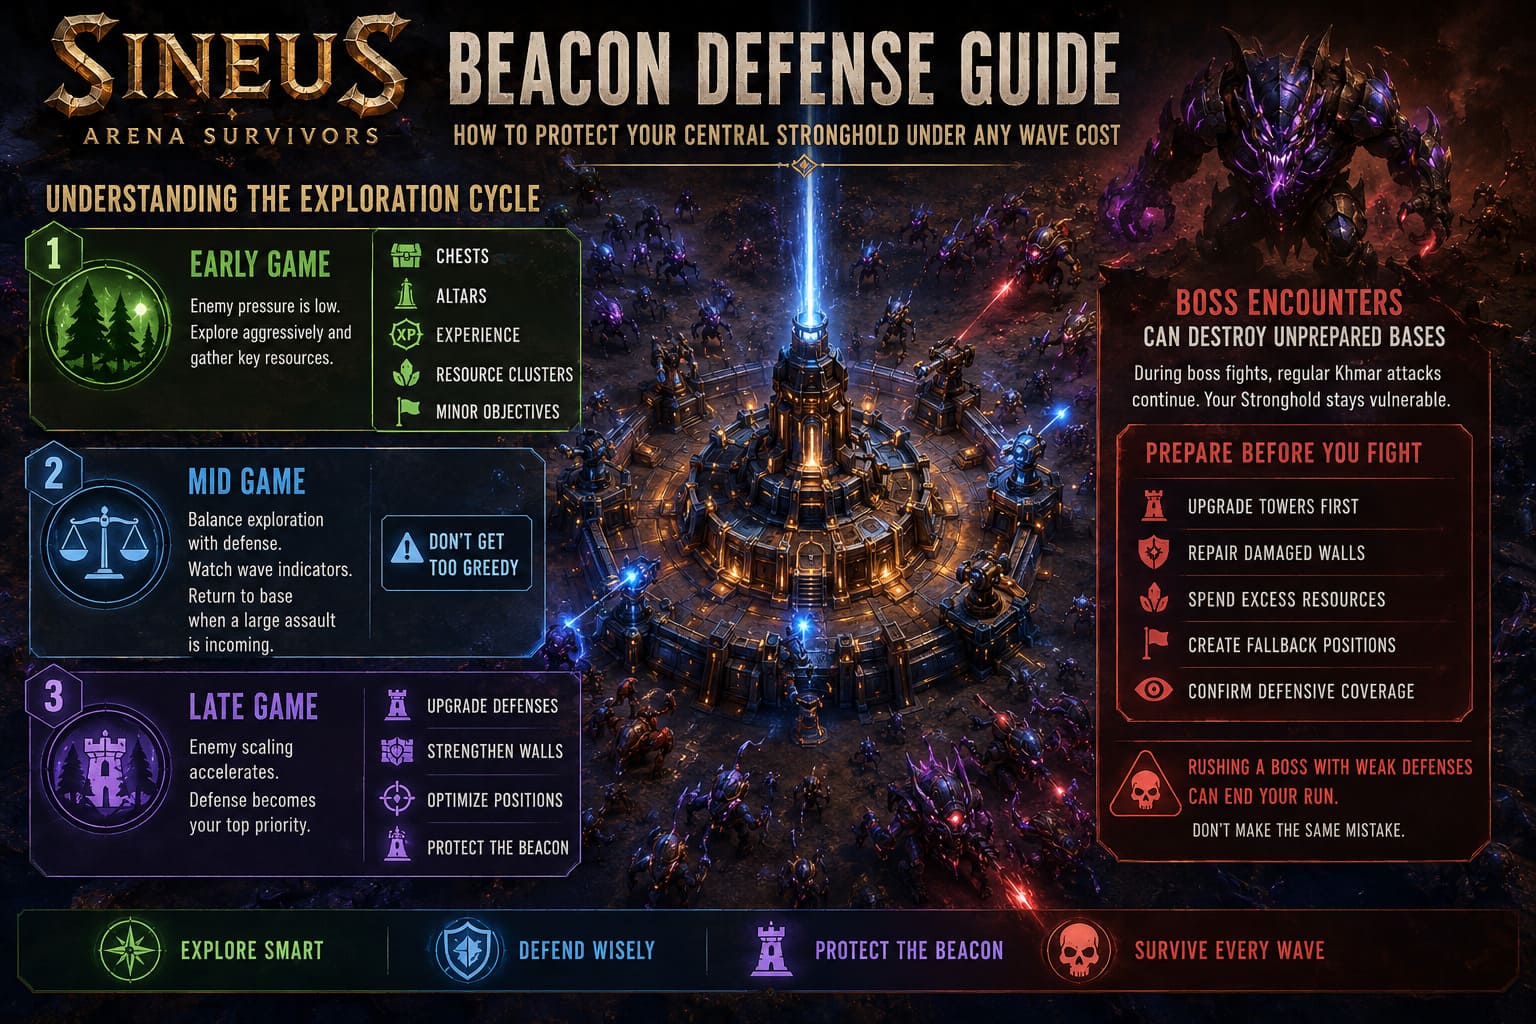
Early Game
The first few minutes are your best opportunity to gather resources.
Enemy pressure remains relatively low, allowing you to explore aggressively.
Focus on:
- Chests
- Altars
- Experience
- Resource clusters
- Minor objectives
This is where the foundation of a successful run is built.
Mid Game
This phase is all about balance.
Spend some time exploring, but always monitor incoming wave indicators.
If the game signals a large assault, immediately return to base.
Many runs are lost because players become too greedy during this stage.
Late Game
Once enemy scaling accelerates, your priorities shift.
The base becomes significantly more important than resource collection.
At this point, every structure, upgrade, and defensive position should support Beacon survival.
The farther the run progresses, the more valuable defense becomes.
Boss Encounters Can Destroy Unprepared Bases
Boss fights introduce another layer of complexity.
While you’re focusing on a powerful enemy, the Stronghold often remains vulnerable to regular Khmar attacks.
This creates a dangerous split in attention.
The best strategy is to strengthen defenses before engaging major bosses.
Whenever possible:
- Upgrade towers first.
- Repair damaged walls.
- Spend excess resources.
- Create fallback positions.
- Confirm defensive coverage.
Only then should you commit fully to the encounter.
I’ve lost several promising runs simply because I rushed a boss fight while my defenses were still unfinished.
Co-Op Changes Everything
Although solo play is enjoyable, I genuinely believe Sineus Arena Survivors reaches its full potential in co-op.
The ability to divide responsibilities completely transforms the experience.
My favorite setup is:
| Role | Main Objective |
|---|---|
| Defender | Base construction and repairs |
| Explorer | Resource collection |
| Hunter | Elite and boss elimination |
| Support | Flexible assistance and emergencies |
This arrangement keeps the Stronghold protected while still allowing the team to progress efficiently.
Communication becomes incredibly valuable during difficult waves.
A coordinated group can survive situations that would instantly overwhelm solo players.
Sineus Arena Survivors Gameplay Walkthrough: Strategy Guide to Solo and Co-op Base Defense
Final Thoughts
After spending countless hours experimenting with different builds and defensive layouts, I’ve become convinced that the secret to success in Sineus Arena Survivors isn’t maximizing damage numbers.
It’s understanding timing.
The strongest players know when to leave the base, when to return, when to invest resources, and when to play conservatively.
The Central Beacon constantly forces you to make difficult decisions, and that’s exactly what makes the game so addictive.
Build smart, explore aggressively but responsibly, create efficient choke points, and never underestimate the importance of a well-defended Stronghold.
Do that consistently, and even the most brutal Khmar waves will eventually become just another obstacle standing between you and victory.