NBA 2K27 Badge Tokens Guide: How to Earn, Equip, and Maximize Your MyPLAYER
If you’ve played previous NBA 2K games, you probably know the routine. Build your MyPLAYER, chase the right attributes, grind games and practices, unlock badges, and slowly turn your character into the player you actually wanted from the beginning.
NBA 2K27 shakes that formula up quite a bit.
The biggest change, in my opinion, is that badges are no longer something you can simply treat as passive rewards attached to your ratings. This year, Visual Concepts has built a much more deliberate progression system around Badge Slots, Badge Tokens, Bonus Tokens, and Synergy.
At first, I wasn’t sure whether I’d like this approach. More currencies and more restrictions can easily become annoying in a basketball game. But once you understand what the system is trying to do, there is actually some logic behind it.
The idea is simple: your attributes determine what your player can potentially use, while your Badge Tokens and available slots determine what you actually decide to put into the lineup.
And that distinction matters a lot.
You can create a MyPLAYER with enough ratings to qualify for a huge number of badges, but you won’t necessarily have enough capacity to equip everything. NBA 2K27 is basically forcing you to make a basketball identity instead of building a player who does absolutely everything.
Badge Slots vs. Badge Tokens: Don’t Confuse the Two
This is the first thing I’d recommend learning before spending serious VC or committing to a MyPLAYER build.
There are two separate pieces of the puzzle.
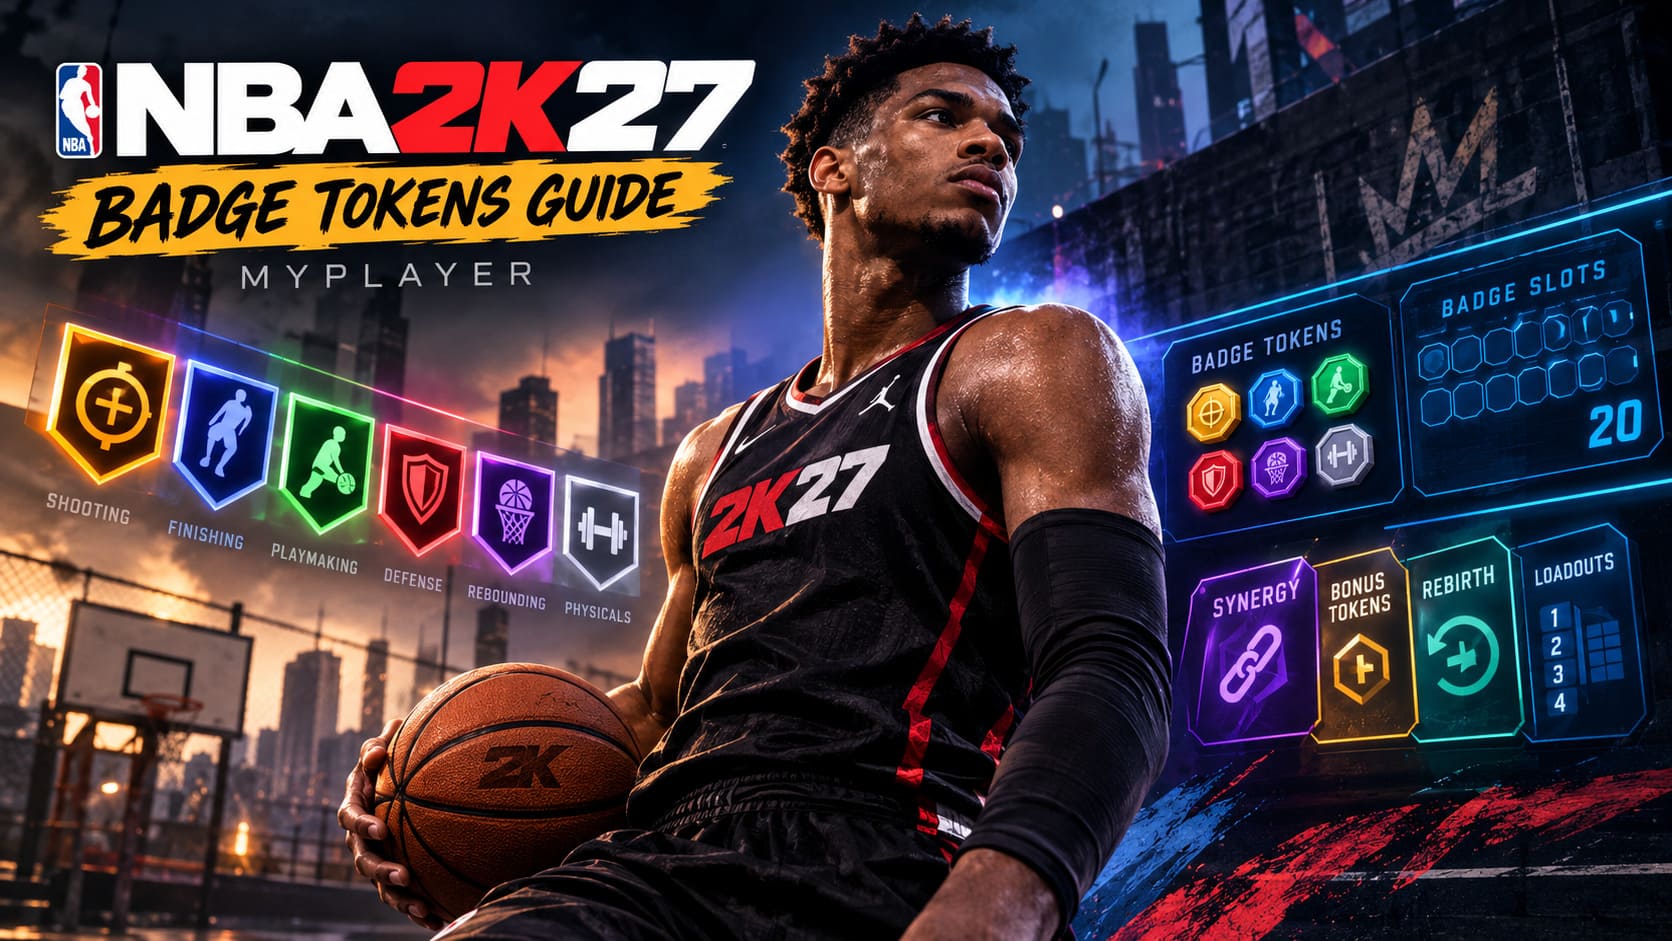
Badge Slots are your capacity. Think of them as spaces where your active badges live. Every new MyPLAYER starts with 20 Badge Slots.
Badge Tokens, meanwhile, are what you use to activate and assign badges to those slots.
So, for example, your attributes might qualify you for an excellent shooting badge. That doesn’t automatically mean the badge is equipped and active. You still need to use the appropriate progression resources to put it into your loadout.
That’s an important distinction because it changes how you should approach the Builder.
In older systems, you could look at a badge threshold and think, “I just need to get this rating high enough.”
In NBA 2K27, I’d be asking a second question:
“Even if I unlock this badge, will my build actually have the token capacity to use it?”
That question can save you from making a very expensive mistake.
The Six Badge Disciplines You Need to Understand
NBA 2K27 divides Badge Tokens into six different disciplines, with Physicals becoming its own dedicated category.
| Discipline | What It Generally Supports |
|---|---|
| Shooting | Jump shooting, shot creation and perimeter scoring |
| Finishing | Layups, dunks and scoring around the rim |
| Playmaking | Ball handling, passing and creation |
| Defense | Perimeter and interior defensive abilities |
| Rebounding | Offensive and defensive board work |
| Physicals | Speed, stamina, vertical and physical-focused abilities |
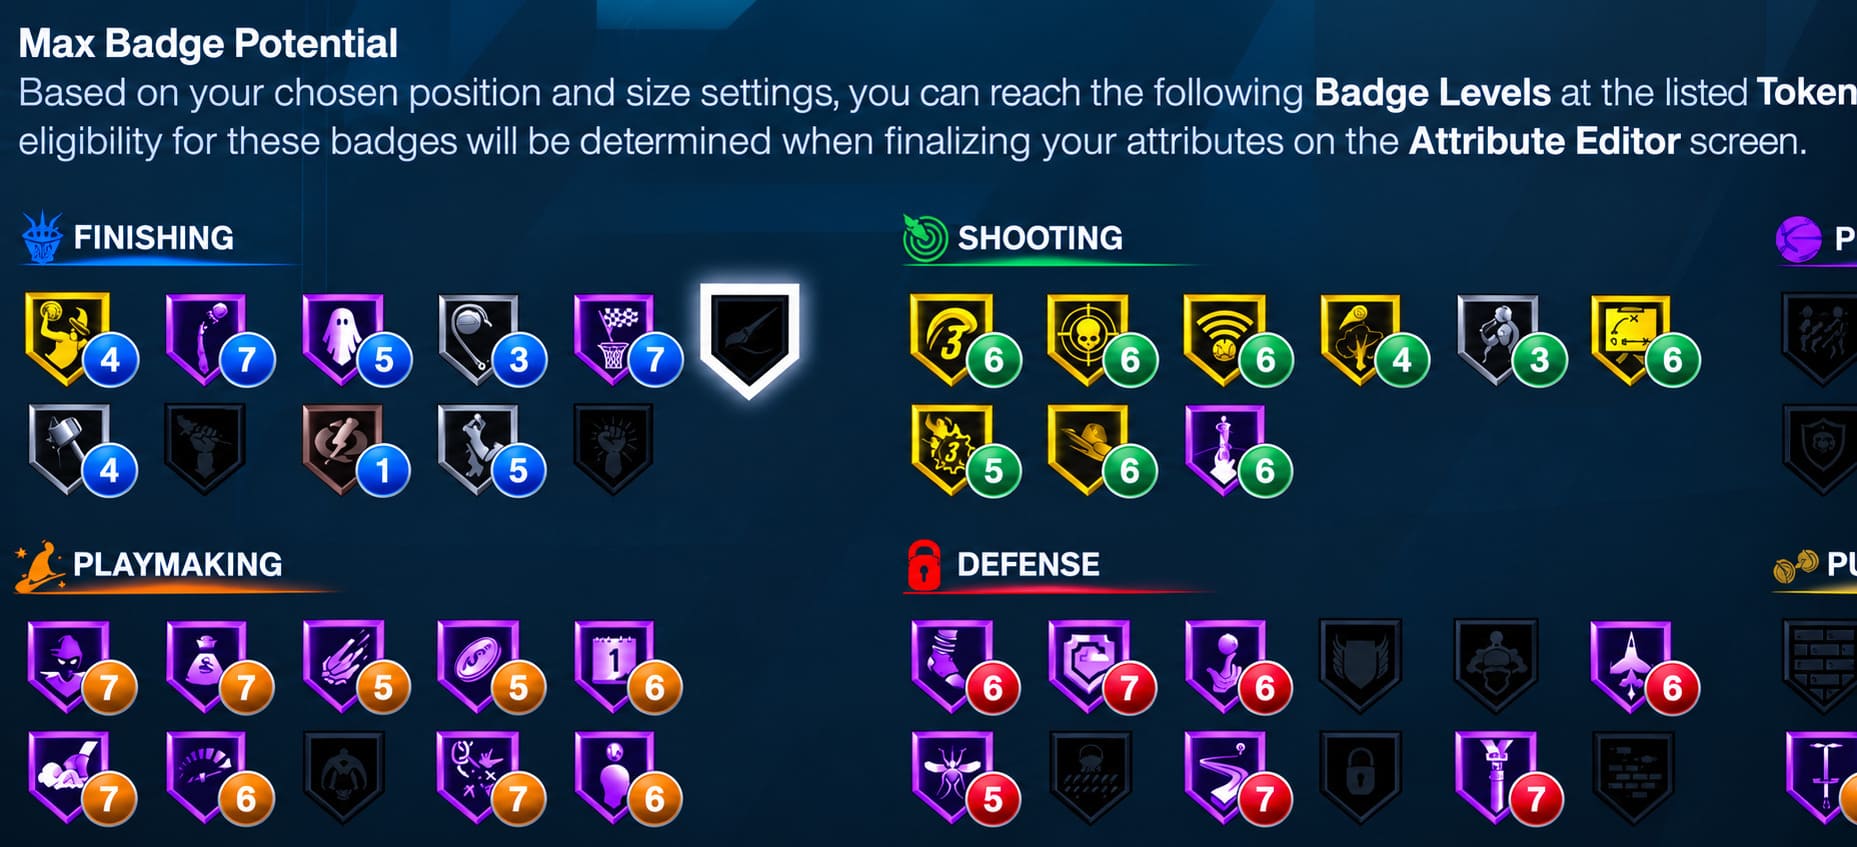
Your attribute investment affects the number of basic tokens you can eventually obtain in each category.
This is where the MyPLAYER Builder gets considerably more interesting.
Let’s say you’re making a pure shooter. You pour points into Mid-Range and Three-Point Shot while sacrificing some playmaking. Your build may have a much stronger Shooting token potential than Playmaking potential.
That isn’t necessarily a problem.
In fact, that’s probably the point.
If your player is supposed to be an elite shooter, the system encourages you to lean into that identity instead of trying to turn him into a complete offensive machine.
The Builder also gives you information about token potential as you’re creating the player, which is something I strongly recommend checking before locking in your attributes.
How to Earn Badge Tokens Faster in NBA 2K27
Once you create your MyPLAYER, you’ll have to start filling those empty slots somehow.
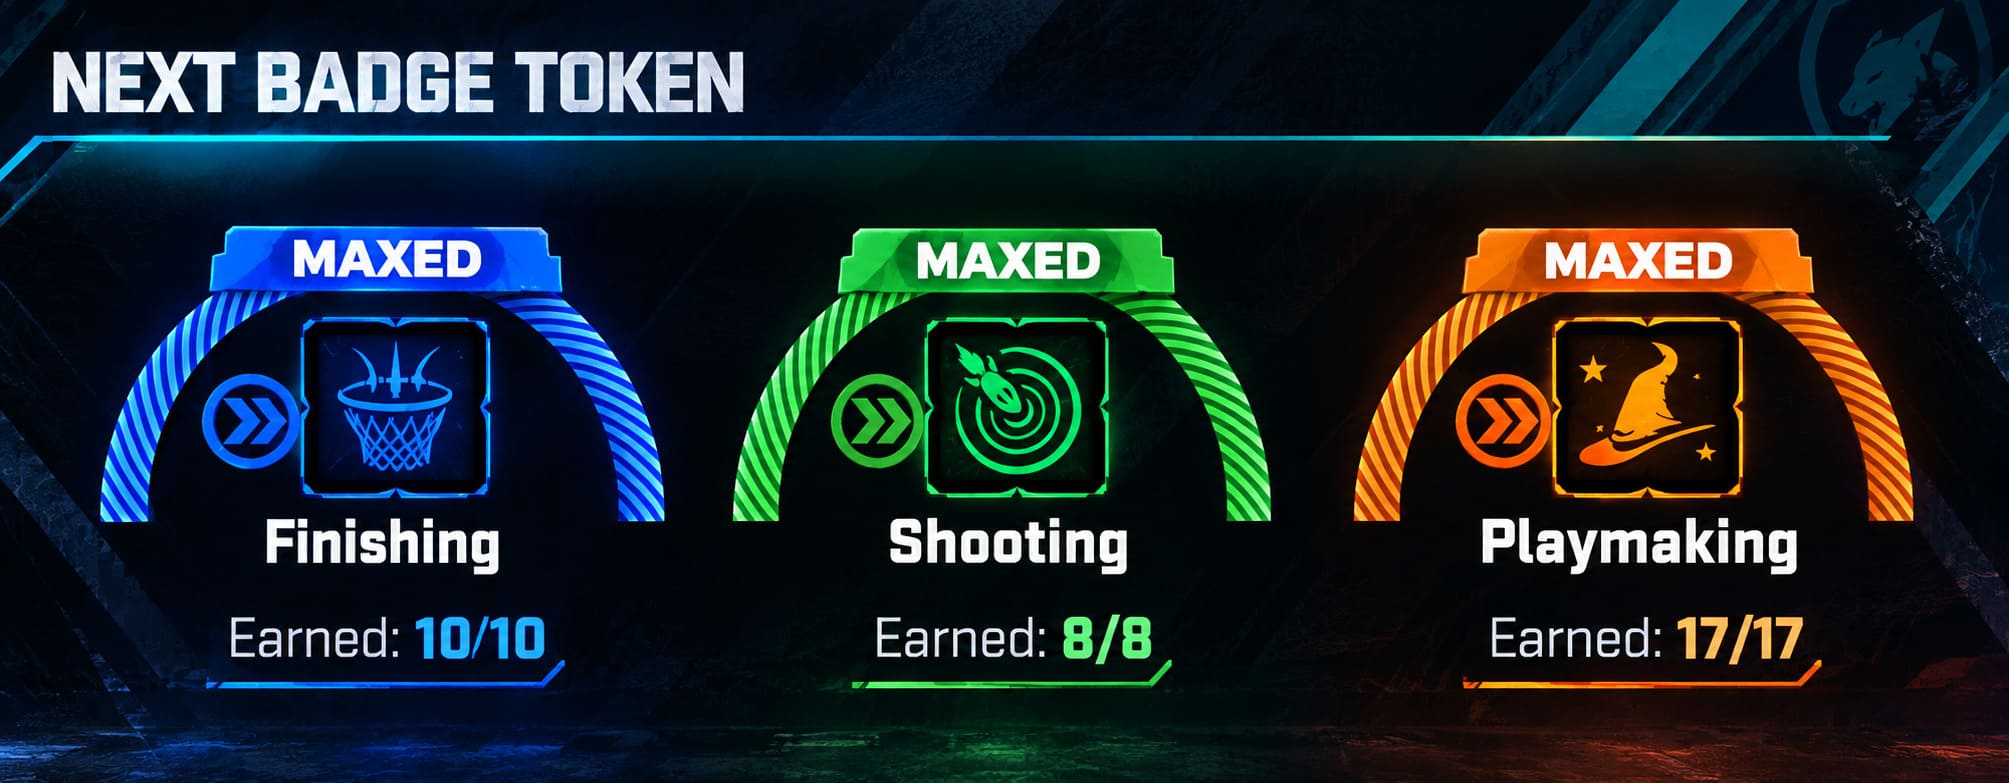
The good news is that progression isn’t based purely on individual badge meters. Instead, NBA 2K27 uses broader discipline-based progression.
In other words, your actual performance on the court matters.
1. Play the Way You Want to Progress
This is probably the most obvious method, but it’s also the one you’ll use constantly.
Want Shooting Tokens?
Then shoot.
Take smart jumpers, knock down threes, hit mid-range shots and convert your free throws. Playing NBA games, Streetball and Park activities can all contribute to your progression.
Trying to improve Defense or Rebounding?
Stop worrying about scoring every possession and start doing the dirty work. Grab rebounds, contest shots, force turnovers and stay attached to your matchup.
I actually like this approach because it makes progression feel more connected to how you’re playing.
If you’re constantly trying to unlock defensive progression while spending every possession hunting for threes, you’re obviously working against yourself.
2. Don’t Ignore Team Practice
Team Practice is one of those systems that is very easy to skip and regret later.
The targeted drills can provide focused progression toward specific disciplines. If you’re trying to push one category quickly, choosing the appropriate practice activities can be much more efficient than simply playing random games and hoping the meter moves.
My advice: treat practice as part of your build progression rather than optional filler.
3. Use the Gatorade Facility
The Gatorade Gym has another purpose beyond physical boosts.
Regular workouts can also contribute toward the Physicals discipline, making them useful for players who care about speed, stamina and vertical-related development.
If you’re already visiting the facility for physical improvements, you may as well take advantage of the additional progression.
Bonus Tokens and Bonus Slots Can Completely Change a Build
Here’s where things get really interesting.
Your original attributes determine your normal token potential, but Bonus Tokens and Bonus Slots give you a way to go beyond those initial limitations.
And unlike standard discipline-specific progression, these bonus resources are universal.
That means you can use them where you actually need them.
Even better, they can be reassigned, so you aren’t permanently punished for changing your mind later.
That’s a huge quality-of-life feature for anyone who likes experimenting with builds.
Where Do Bonus Resources Come From?
There are several progression routes worth watching:
- Season Rewards: Seasonal progression can provide additional Badge Slots, Bonus Tokens and other MyPLAYER rewards. Season 1, for example, can offer up to four additional slots and four extra tokens by Level 40.
- Build Specialization: Long-term objectives connected to your archetype can provide permanent bonus resources.
- Crew and Rep Progression: Competitive players can earn valuable rewards through Crew progression and Rep advancement.
- 2K HQ App: The launch progression tied to the companion app offers a bonus token for players who complete the required 60-day login period.
Personally, I’d keep a close eye on Seasonal progression. Those universal resources become increasingly valuable as your build gets more specialized.
Rebirth Is Even More Important for Build Experimenters
If you’re the type of player who creates one MyPLAYER and sticks with him all year, you might not care about Rebirth immediately.
For everyone else, Rebirth could be one of the most useful systems in NBA 2K27.
Once you reach the required overall rating on your previous character, you can create Rebirth builds that skip part of the normal token grind.
The system is divided into four tiers:
| Rebirth Tier | Token Progression | Requirement |
|---|---|---|
| Tier I | 25% | One previous build at 90+ OVR |
| Tier II | 50% | One previous build at 95+ OVR |
| Tier III | 75% | Two builds at 95+ OVR |
| Tier IV | 100% | Three builds at 95+ OVR |
All four tiers also provide a 15% faster badge progression rate.
The important detail is that Rebirth doesn’t simply copy your old character’s tokens.
Instead, it looks at the new build’s own default token potential and unlocks the appropriate percentage of that pool.
That’s actually a much better system for people who want to try different positions.
Imagine spending weeks building a dominant point guard and then deciding you want to make a defensive center. Rebirth doesn’t magically turn the center into your old guard, but it can dramatically reduce the amount of early progression you’ll have to repeat.
The Synergy System Is Where Builds Get Really Interesting
If Badge Tokens are the foundation, Synergy is where NBA 2K27 starts getting genuinely experimental.
The system introduces 16 Synergy Slots, divided between Fuse and Reaction components.
The basic idea is to pair complementary badges so that they work together and receive additional effects during gameplay.
This is important because Synergy isn’t simply another way to collect badges. It’s about making the badges you’ve already chosen work better together.
That’s potentially huge for specialized builds.
A scoring guard, for example, may want to construct a Synergy setup around shot creation and finishing rather than spreading everything across unrelated abilities.
Likewise, a defensive wing could focus on combinations that reinforce perimeter defense and transition play.
And then there’s the really interesting part: Synergy can help push a badge beyond its normal ceiling, potentially reaching the Tier 5 “Legend” level.
That’s the kind of endgame optimization that will probably separate casual builds from the monsters you’ll eventually see dominating The City.
Don’t Forget About Badge Loadouts
Another feature I think players are going to appreciate is the ability to maintain up to four different Badge Loadouts.
This makes perfect sense because your ideal setup isn’t necessarily the same for every mode.
A badge configuration that works beautifully in 5v5 REC might be much less useful in a fast 2v2 game.
Spacing, possession frequency, defensive assignments and the number of touches you receive can all change dramatically depending on the mode.
So instead of rebuilding your entire character around every activity, you can maintain different badge configurations and switch between them.
That flexibility is especially valuable once you’ve accumulated enough tokens and bonus resources to experiment.
My Biggest NBA 2K27 MyPLAYER Builder Advice
If I could give players only a few pieces of advice before they start spending VC, these would be the ones.
Check the Badge Menu Before Finalizing Attributes
Don’t blindly raise an attribute because you like the number.
Check what that rating actually unlocks.
You want to know both the badge threshold and the token implications before committing to the build.
An attribute increase that looks fantastic on paper may not be worth it if it doesn’t meaningfully improve the badges you actually plan to use.
Specialize Instead of Trying to Do Everything
This might be the hardest lesson for NBA 2K players.
Everyone wants a demigod.
Everyone wants shooting, elite handles, contact dunks, lockdown defense and dominant rebounding in the same package.
But NBA 2K27’s token system makes that approach less attractive.
I’d rather have a build that is elite in two disciplines and useful in the others than one that is mediocre across all six.
A great shooter who can defend adequately has a clear role.
A player who is average at everything can end up feeling useless when the competition gets serious.
Treat Seasons as Part of Your Build
Don’t think of Season XP as some completely separate progression track.
The additional Badge Slots and universal tokens can eventually make a huge difference to your MyPLAYER.
Leveling through the Season is effectively another part of building your character.
Onimusha Way of the Sword: Nintendo Switch 2 vs PS5 Graphics Comparison & Performance Review
Final Thoughts: NBA 2K27 Rewards Players Who Actually Plan Ahead
The Badge Token system initially looks complicated, but once you break it down, the philosophy behind NBA 2K27 becomes pretty clear.
Your attributes define your potential.
Your Badge Tokens determine your active strengths.
Your Badge Slots determine how much you can carry.
And Synergy and Bonus resources are what let you push the build beyond its basic limitations.
I actually think this is one of the more interesting MyPLAYER progression changes in recent 2K games. It won’t be perfect, and I’m sure the community will find optimal token combinations within days, but the system gives players more reasons to think about their build beyond simply chasing the highest possible attribute ratings.
The biggest mistake you can make is rushing into the Builder, spending VC and only afterward realizing that your favorite badges don’t fit together.
Take your time.
Look at the token potential.
Decide what your player is actually supposed to do.
Then build around that identity.
NBA 2K27 isn’t really asking you to create the best player at everything anymore. It’s asking you to create a player who is exceptionally good at something—and then use Badge Tokens, Rebirth, Bonus Slots and Synergy to turn that specialty into a serious competitive advantage.
And honestly, for a MyPLAYER system that has sometimes felt like a numbers spreadsheet with a basketball game attached, that’s a direction I can get behind.