Tom Clancy’s Ghost Recon Wildlands Tier 1 Mode Fast Leveling Guide (2026 Strategy)
Ghost Recon Wildlands is one of those games that can quietly turn a normal evening into a four-hour tactical marathon. You start by clearing a few cartel bases, steal a helicopter, complete a couple of story missions, and suddenly you’re staring at the Tier 1 progression screen wondering why you decided this was a good idea.
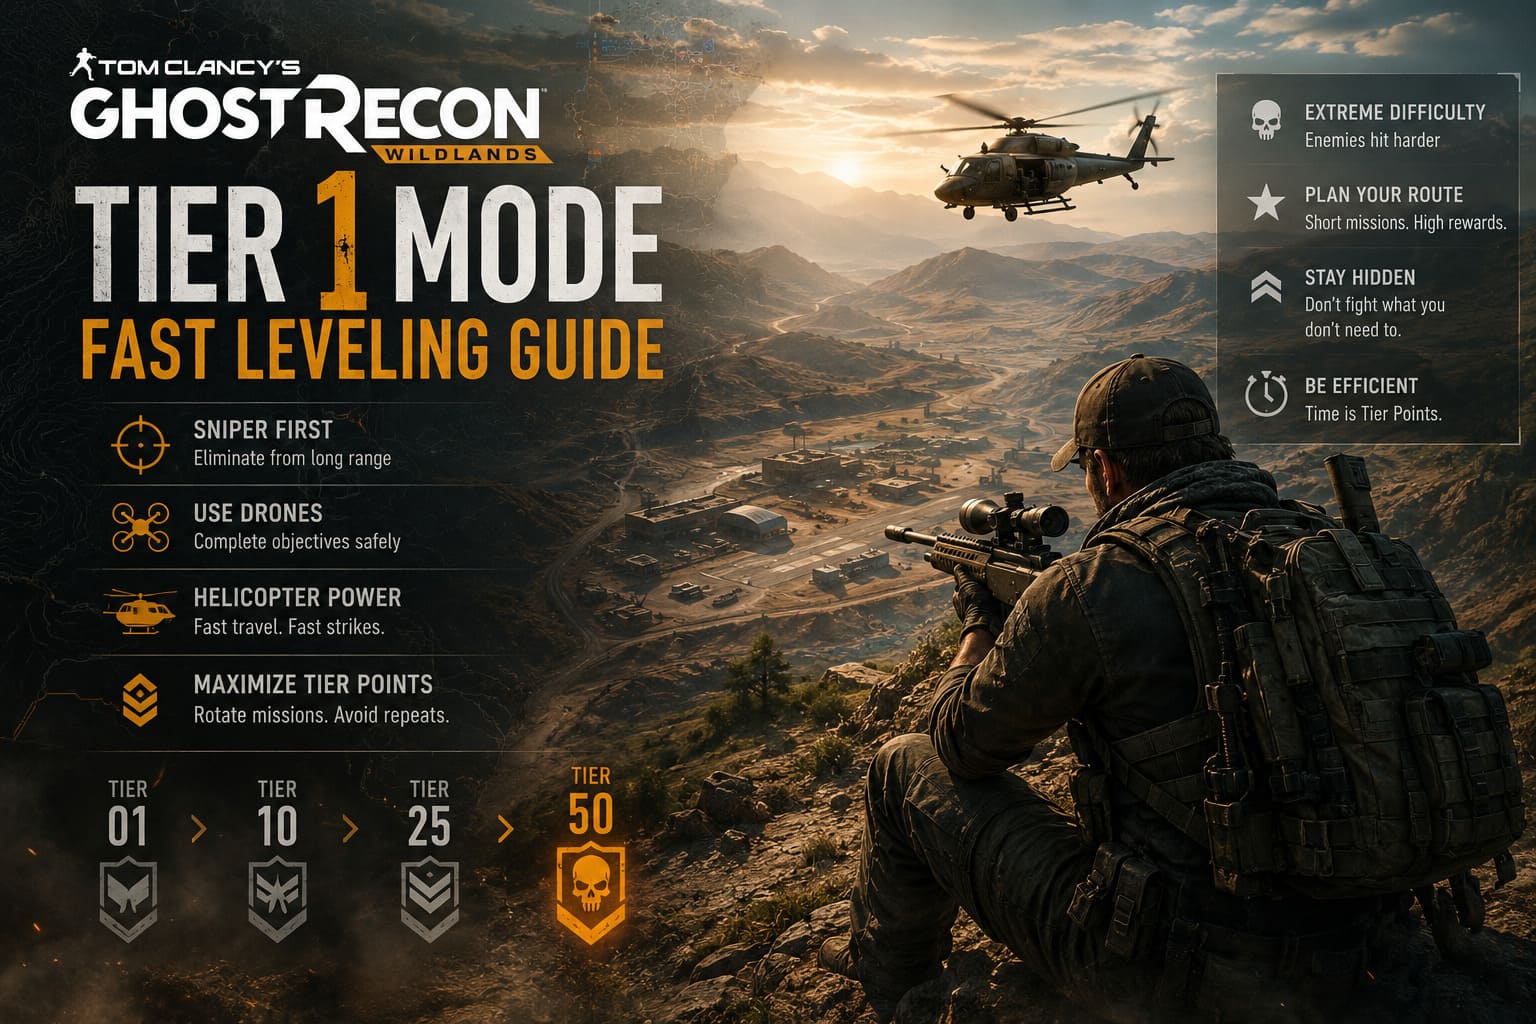
Tier 1 Mode is where Wildlands stops being a relatively forgiving open-world shooter and starts demanding that you actually respect the sandbox. Enemy damage goes through the roof, mistakes become much more expensive, and eventually you’re dealing with Extreme difficulty as the minimum setting. For me, that’s exactly what makes the mode interesting — but it also makes inefficient farming incredibly frustrating.
If you’re trying to reach Tier 1 quickly in 2026, randomly completing missions isn’t the answer. You want short objectives, predictable spawns, long sightlines, useful vehicles, and as little unnecessary combat as possible. After spending a lot of time experimenting with different approaches, I think the best strategy is to treat Tier 1 progression like a farming route rather than a normal playthrough.
This is the rotation I would use when the goal isn’t sightseeing or role-playing as a Ghost, but simply getting that Tier 1 number down as efficiently as possible.
Why Tier 1 Farming Feels So Slow
The biggest mistake new Tier 1 players make is assuming that every mission is equally valuable. It isn’t. Some objectives can be finished in minutes while others turn into ten-minute firefights for a relatively small reward.
There is another important mechanic to understand: mission rewards suffer from diminishing returns when you repeatedly complete the same objective during the same tier. Your first completion can be extremely valuable, while immediately repeating that mission can produce a much smaller payout.
That’s why I prefer a rotation of missions from different provinces. Instead of grinding one objective until the reward becomes terrible, you move around the map, collect the better payouts, and then return to the beginning once your Tier level changes.
| Strategy | Efficiency | Risk | Best Use |
|---|---|---|---|
| Long-Range Sniping | Very High | Low | Exposed Targets |
| Explosive Drone | Very High | Very Low | Static Objectives |
| Attack Helicopter | High | Medium | Open Areas |
| Direct Assault | Low | High | Only When Necessary |
The Golden Rule: Don’t Fight Battles You Don’t Need
This might sound obvious, but Tier 1 rewards a completely different mindset from the early game. You aren’t trying to prove that you can clear an entire cartel base with an assault rifle.
You are trying to finish the objective.
If a mission asks you to destroy something, destroy it. If the target can be eliminated from 500 meters away, there is absolutely no reason to walk through the front gate. If an explosive drone can complete the objective without exposing you to twenty enemies, use the drone.
Personally, I find the sniper-and-gadget approach much more reliable than trying to play Tier 1 like a conventional tactical shooter. Your character doesn’t need to be the hero of every firefight. The best Tier 1 run is often the one where the enemy barely realizes you were there.
My Favorite Tier 1 Farming Route
The exact order can be adjusted depending on your current tier and which missions are available, but the following route gives you a very good balance of speed, safety, and Tier Point income.
1. Start in Koani
Koani is probably my favorite farming province simply because the environment works in your favor. The desert terrain provides enormous sightlines, making it much easier to stay outside enemy engagement ranges.
The first stop is Boston Reed. Grab a helicopter after fast traveling to the area and approach from a position that gives you a clear view of the airstrip. Rather than attacking the entire location, look for an opportunity to eliminate the target’s helicopter or take the objective from distance.
This is exactly the kind of mission I want in a Tier 1 rotation: predictable, fast, and capable of being completed without turning the entire province into a firefight.
After that, move to The Convoy. Find elevated terrain along the route and use a powerful sniper rifle such as the HTI or another high-damage anti-materiel weapon. The important thing is not to chase the convoy into a populated area. Set up ahead of time, take the critical shot, and immediately reposition if the situation becomes messy.
If you still need additional points, Koani’s other objectives can be used as fillers. The basic philosophy remains the same: maximum objective progress, minimum exposure.
2. Move to Espiritu Santo
Espiritu Santo is where gadgets become extremely useful. The dense jungle can make conventional firefights annoying, but it also provides plenty of opportunities to approach objectives indirectly.
The Advisor is one of the missions I particularly like for this purpose. Instead of charging the target structure, park your helicopter at a safe distance, get into position, and use your drone to reach the objective. An explosive drone can turn what looks like a complicated assault into a short interaction followed by an immediate extraction.
Next, take on Gold Rush North. Use your AI teammates and Sync Shot to remove isolated guards, then move through the objective quickly. Plant the required explosives and get out before the area becomes chaotic.
The important part here is knowing when to leave. I’ve seen plenty of Tier 1 attempts ruined because the player completes the actual objective and then decides to stay around for another two minutes fighting reinforcements that don’t matter.
The mission is complete. Leave.
Inca Camina: The Helicopter Shortcut
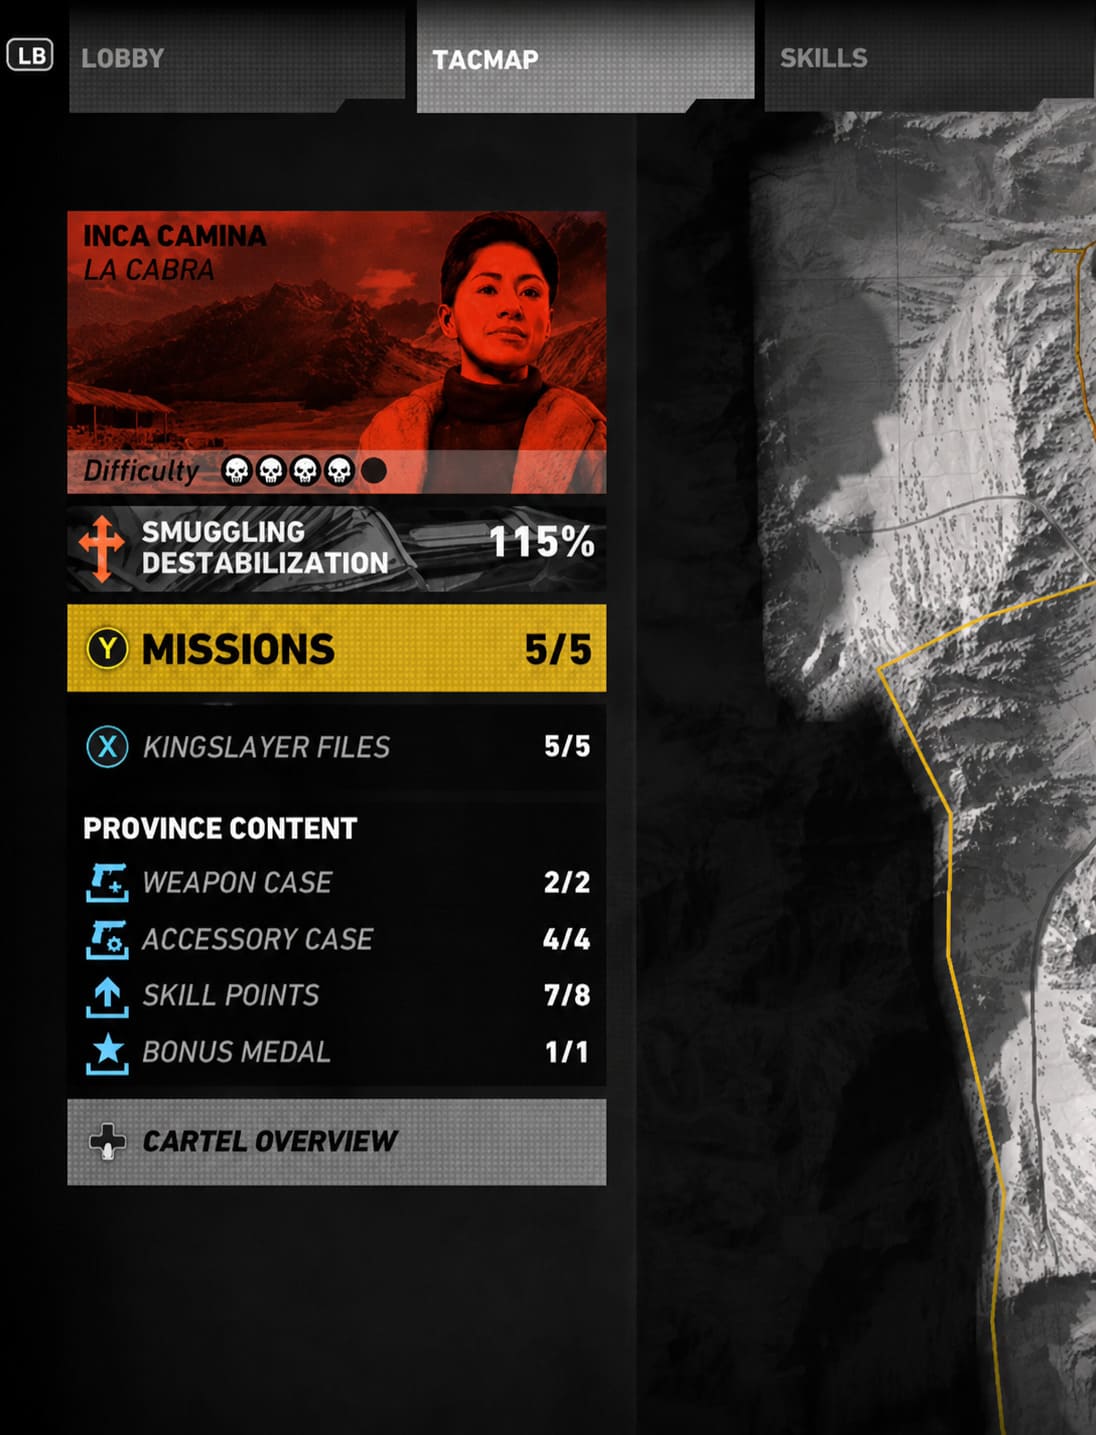
If you have access to the relevant content, Inca Camina can become one of the strongest parts of your farming rotation.
The cargo plane objectives are especially attractive because the targets are exposed and don’t necessarily require you to dismantle an entire enemy installation. A helicopter equipped with guided missiles can dramatically reduce the time spent on these missions.
Fly high enough to give yourself room to react, locate the stationary aircraft, fire your missiles, and immediately move away from the area. Don’t hang around trying to collect kills. The objective is worth more to your progression than a pile of dead cartel soldiers.
There are several cargo plane objectives available in the area, so this can provide a substantial injection of Tier Points without forcing you into a prolonged ground assault.
One warning: helicopter farming is only efficient while you remain in control. If you’re flying directly over heavily defended areas and getting locked by anti-aircraft systems, the strategy has stopped being efficient. Abandon the run and approach the objective differently.
Use Remanzo and Mojocoyo as Your Point Fillers
Sometimes you finish your main route and find yourself frustratingly close to the next Tier level. This is where I recommend having a couple of short filler missions ready instead of starting another long story objective.
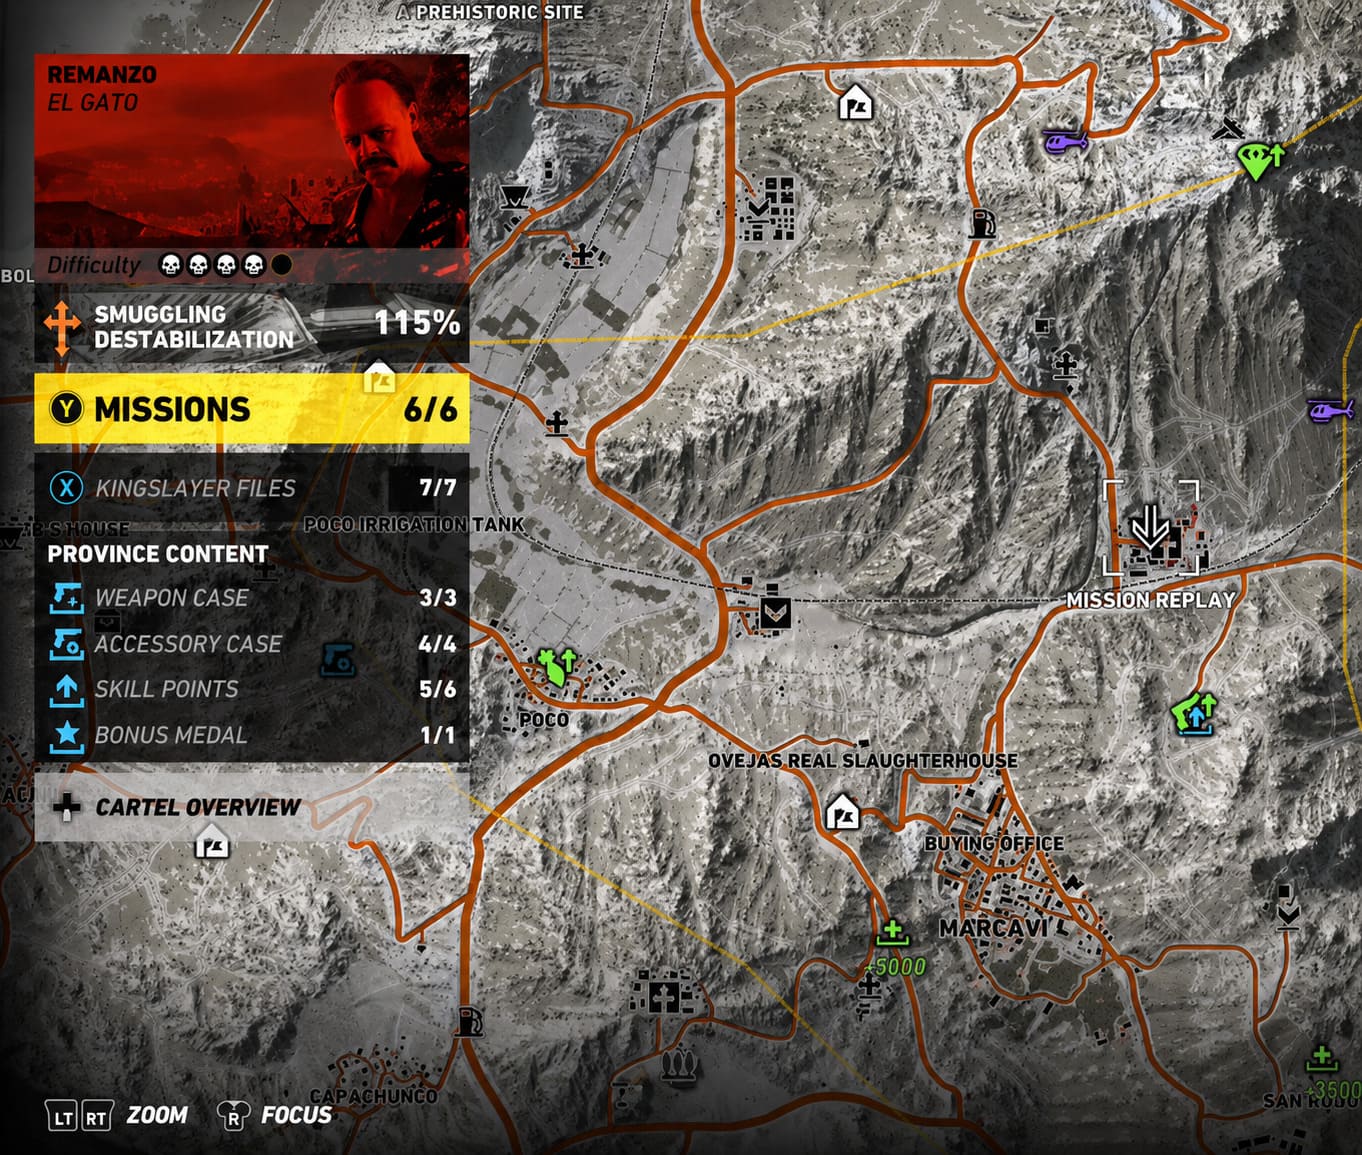
The Quinoa Factory in Remanzo can work well here. Use your drone and Rebel support to deal with important targets without committing yourself to a full compound assault.
Mojocoyo’s cocaine cache missions are another useful option. The objectives are relatively straightforward, and you can often approach them with a helicopter, deploy your drone from a safe position, destroy the cache, and move on.
These missions aren’t necessarily the centerpiece of the farming strategy. Think of them as the final few points you need to push your progression over the line.
Tier 1 Difficulty: Why Survival Matters More Than Speed
Once you’re deep enough into Tier 1 progression, Extreme difficulty changes the entire rhythm of the game. Enemies become far less forgiving, and standing in an open area for even a few seconds can be enough to end the run.
This is why I strongly recommend investing in the drone and support abilities before attempting serious Tier 1 farming.
- Increase drone range and battery life so you can scout without exposing yourself.
- Improve explosive drone effectiveness for static objectives.
- Use Sync Shot constantly when several enemies need to be removed quietly.
- Carry a high-damage sniper rifle for targets that can be eliminated from extreme range.
- Stay behind cover even when the area appears quiet.
One of the biggest adjustments I had to make was accepting that aggressive play is usually inefficient here. You might be capable of wiping out a base quickly, but every additional enemy you engage creates another opportunity for something stupid to happen.
Tier 1 Boosters Are Worth Using
If you have Tier 1 boosters available, don’t save them forever. This is exactly what they’re designed for.
A booster can increase your Tier Point earnings and reduce the number of missions required to reach the next level. The difference becomes particularly noticeable when you’re already running a carefully optimized route.
If you’re playing with friends, coordinating boosters can make the farming process even more efficient. The important thing is to activate them when you’re ready to complete several high-value objectives rather than wasting their duration while traveling around the map.
When a Run Goes Bad, Reset Instead of Fighting
This is probably the most important piece of practical advice in the entire guide.
If you accidentally trigger a large Unidad response, get hunted, or turn a stealth mission into a full-scale battle, don’t let your ego turn a two-minute mission into a fifteen-minute firefight.
If fast travel is available, use it. Move to a safe location, reset your positioning, grab another vehicle, and continue the rotation.
There is no prize for winning an unnecessary firefight against endless reinforcements. Tier 1 farming is about efficiency, not cinematic heroics.
My Recommended Tier 1 Rotation
When I want to grind efficiently, this is the basic order I would follow:
- Fast travel to Koani and complete Boston Reed.
- Run The Convoy using long-range positioning.
- Move to Espiritu Santo and complete The Advisor.
- Run Gold Rush North and leave immediately after the objective.
- Travel to Inca Camina if the DLC content is available.
- Destroy the available cargo plane objectives using a properly equipped helicopter.
- Check your Tier progress before committing to another lengthy mission.
- Use Mojocoyo or Remanzo fillers if you’re only a small number of points away from the next level.
Once your Tier level changes and the relevant mission rewards refresh, start the rotation again.
Fix Tom Clancy’s Ghost Recon Wildlands Infinite Loading Screen When Joining Friends (2026 Guide)
| Province | Primary Objective | Preferred Method | Risk |
|---|---|---|---|
| Koani | Boston Reed | Sniper / Helicopter | Low |
| Koani | The Convoy | Long-Range Sniper | Low-Medium |
| Espiritu Santo | The Advisor | Explosive Drone | Low |
| Espiritu Santo | Gold Rush North | Sync Shot + C4 | Medium |
| Inca Camina | Cargo Planes | Missile Helicopter | Medium |
| Mojocoyo | Cocaine Caches | Explosive Drone | Low |
The Biggest Mistakes I Would Avoid
First, don’t grind one mission endlessly. The diminishing rewards make this one of the worst ways to spend your time.
Second, don’t treat every enemy as a mandatory kill. If the objective is complete, disappear.
Third, don’t rely on a helicopter in areas covered by serious anti-air defenses. The vehicle is a farming tool, not an invitation to fly directly through every SAM site on the map.
Finally, don’t rush simply because you’re chasing Tier 1. A failed run costs more time than taking an extra thirty seconds to scout the compound properly.
Final Thoughts: Play Like a Ghost, Not an Action Hero
Reaching Tier 1 in Ghost Recon Wildlands is less about having incredible aim and more about understanding how to manipulate the game’s systems. Once you stop thinking of every mission as a battle and start thinking of it as an objective to be solved, the grind becomes considerably easier.
For me, the sweet spot is the combination of Koani’s open terrain, Espiritu Santo’s drone-friendly objectives, Inca Camina’s aircraft targets, and short filler missions from Remanzo or Mojocoyo. It keeps the rotation varied while avoiding the long, exhausting assaults that make Tier 1 progression feel like a chore.
The golden rule is simple: scout, exploit the objective, collect your Tier Points, and leave.
Ghost Recon Wildlands gives you an enormous toolbox of weapons, drones, AI teammates, helicopters, Rebel support, stealth mechanics, and long-range weapons. Tier 1 Mode is where that toolbox finally starts to matter. Use everything you have, avoid unnecessary fights, and you’ll find that the road from Tier 50 to Tier 1 is much less painful than it initially appears.