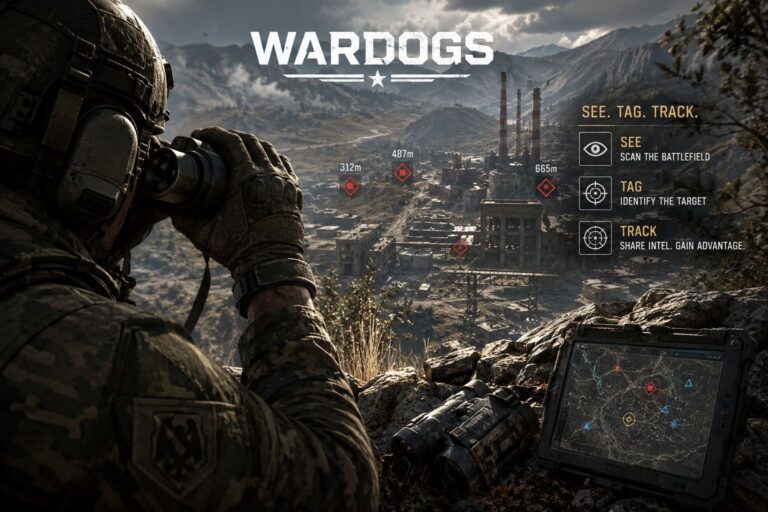
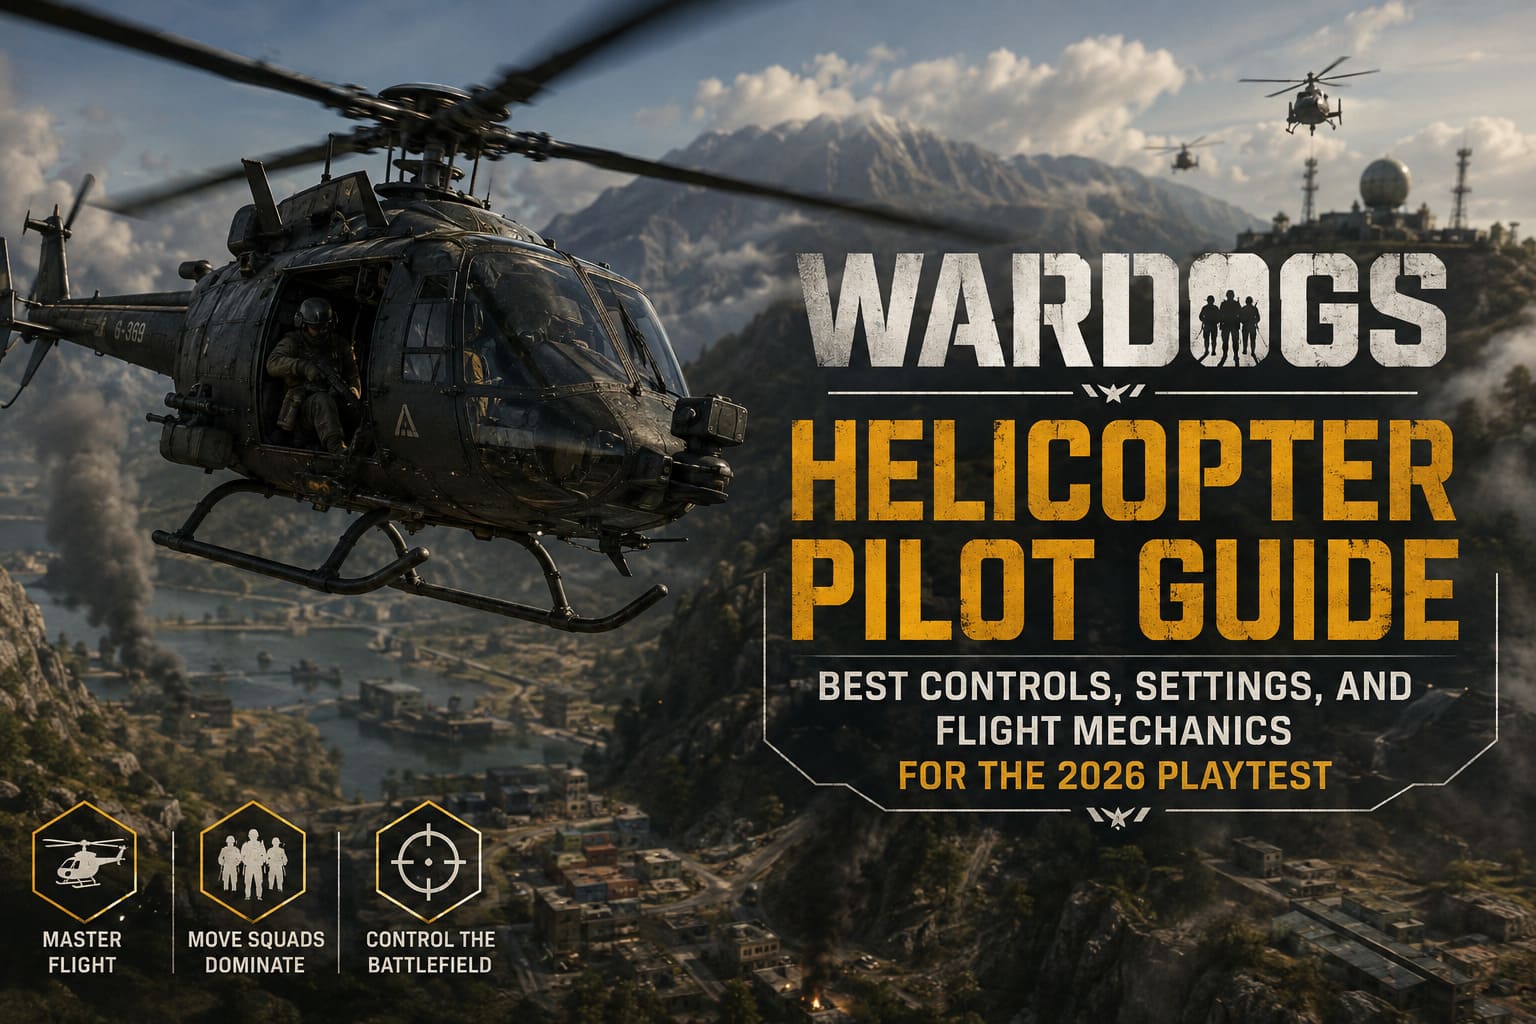
WARDOGS Helicopter Pilot Guide: Best Controls, Settings, and Flight Mechanics for the 2026 Playtest
If you think helicopters in WARDOGS are just flying versions of the usual Battlefield-style taxis, you are going to learn that lesson the hard way.
Bulkhead’s tactical FPS gives helicopters a surprising amount of weight and momentum. They feel like machines rather than magic flying platforms. That is great when you finally understand what the aircraft wants to do, but during your first few flights it can feel like you are trying to wrestle a refrigerator through the sky.
And honestly? That is part of the fun.
In a 100-player, three-team match, a competent helicopter pilot can become one of the most valuable players on the server. You can move an entire squad, deliver supplies to a Forward Operating Base, support an attack on a Control Zone, or turn an enemy armored push into scrap metal. A bad pilot, meanwhile, can turn six teammates and an expensive helicopter into one very expensive crater.
After spending time looking at the flight mechanics and the tricks experienced playtesters are using, here is the helicopter guide I wish someone had handed me before my first serious attempt at flying in WARDOGS.
First: Forget Everything You Know About Arcade Helicopters
The biggest adjustment is understanding that WARDOGS helicopters carry momentum.
You cannot simply point the nose in another direction and expect the aircraft to obediently follow. Speed, pitch, roll, yaw, and collective all interact with each other. If you enter a landing zone too quickly, you need to start braking before you actually reach the landing zone.
That sounds obvious on paper. It is much less obvious when an RPG is coming toward your cockpit.
The game’s flight model was developed with input from an aerospace engineer, and you can feel that philosophy in the way the aircraft behaves. The helicopters have weight, inertia, and a collective system that rewards deliberate inputs rather than frantic corrections.
The three concepts you should learn first are:
- Collective: Controls the amount of lift produced by the main rotor.
- Pitch: Changes the helicopter’s forward and backward attitude.
- Roll/Yaw: Controls lateral movement and rotation.
The collective deserves special attention. New pilots often treat it like a simple throttle. It is more useful to think of it as your primary vertical energy control. Too much collective and you climb when you did not intend to. Too little and your carefully planned landing becomes an emergency descent.
The built-in stabilization can help when you are learning to hover, but don’t become dependent on it. Once you start flying aggressively, the stabilization system can feel like it is arguing with you.
WARDOGS Helicopter Lineup: Which Aircraft Should You Fly?
The playtest helicopters have very different personalities. Choosing the right one depends heavily on what you want to contribute to the team.
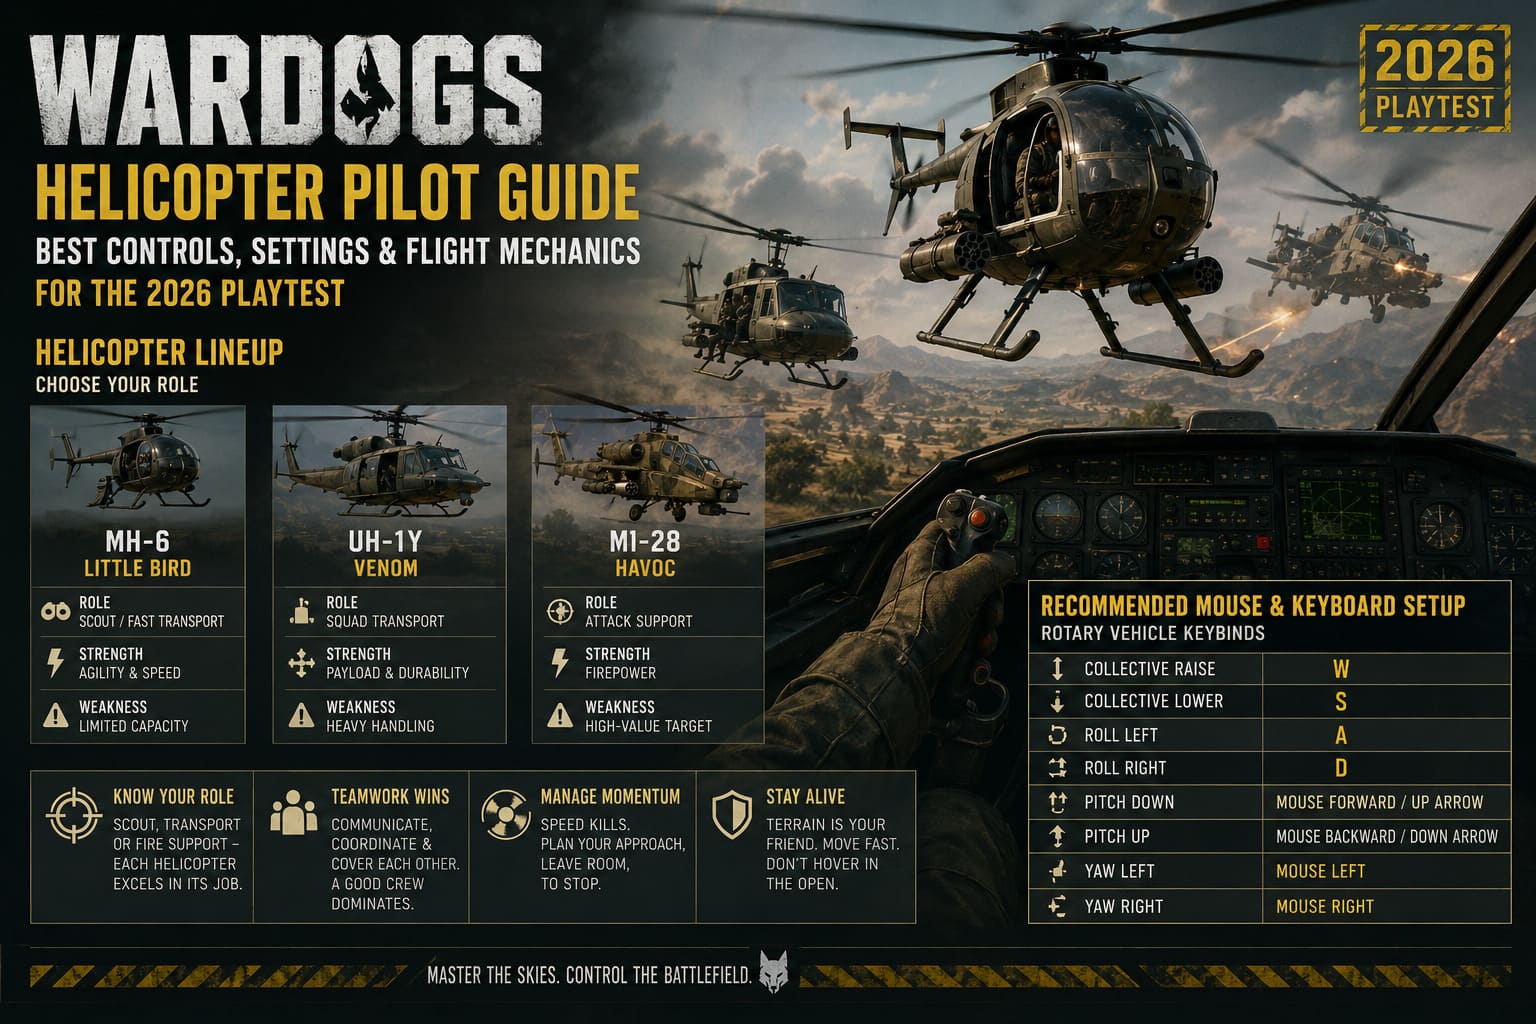
| Helicopter | Best Role | Main Strength | Main Weakness |
|---|---|---|---|
| MH-6 Little Bird | Scout / Fast Transport | Agility and speed | Limited capacity |
| UH-1Y Venom | Squad Transport | Payload and durability | Heavy handling |
| Mi-28 Havoc | Attack Support | Firepower | High-value target |
MH-6 Little Bird
The Little Bird is probably the best place to start if you want to learn aggressive helicopter movement.
It is small, responsive, and much easier to squeeze into awkward landing areas. The transport version is excellent for quick squad movements, while the armed configurations turn the aircraft into a fast attack platform.
The catch is obvious: adding weapons means giving up some passenger capacity.
That is not necessarily a bad trade. If your team needs rapid reconnaissance or someone capable of harassing enemy positions before disappearing over a hill, the Little Bird can be fantastic.
Just don’t mistake agility for invincibility.
UH-1Y Venom
The Huey is the workhorse.
It carries more people, feels considerably heavier, and takes more planning to fly properly. You need more room to accelerate, more room to turn, and considerably more room to stop.
But when a squad needs to get somewhere together, the Venom is hard to beat.
I actually prefer learning the basics in this helicopter because it forces you to respect momentum. Once you can confidently brake and land a Huey, smaller aircraft start feeling much less intimidating.
Mi-28 Havoc
The Mi-28 Havoc is where things get serious.
This is not your casual battlefield taxi. It is a dedicated attack helicopter built around heavy offensive capability. The pilot handles the aircraft and rocket attacks, while the dedicated gunner/co-pilot can operate the nose-mounted minigun.
That division of responsibilities makes crew coordination extremely important.
A good Havoc crew can dominate an open area. A bad one simply announces its location to every anti-air weapon on the map.
My Recommended Mouse and Keyboard Setup
The default helicopter controls are usable, but I would not call them comfortable.
If you are serious about learning the aircraft, the first thing I would do is customize the Rotary Vehicle Keybinds.
My preferred starting point looks like this:
| Function | Suggested Binding |
|---|---|
| Collective Raise | W |
| Collective Lower | S |
| Roll Left | A |
| Roll Right | D |
| Pitch Down | Mouse Forward / Up Arrow |
| Pitch Up | Mouse Backward / Down Arrow |
| Yaw Left | Mouse Left |
| Yaw Right | Mouse Right |
The exact layout is obviously personal. Some players will hate using the mouse for yaw, while others will immediately wonder why they ever flew without it.
The important thing is separating collective control from directional control.
Using W and S for collective makes the system easier to understand because the basic relationship becomes intuitive: W gives you more lift, S reduces it.
Also, check whether mouse vehicle control is enabled in your settings. If you are coming from a realistic military shooter, this can make the aircraft feel considerably more natural.
Don’t spend an hour copying somebody else’s exact bindings, though. Spend ten minutes testing them and adjust anything that feels uncomfortable. Helicopter controls are one of those things where muscle memory matters more than having the “perfect” configuration.
The J-Hook: The Maneuver That Will Save Your Life
If there is one advanced helicopter maneuver worth learning early, it is the J-hook landing.
The basic idea is simple: instead of trying to slowly bleed speed while approaching a landing zone, you use the helicopter’s own momentum to rapidly change your direction and dump airspeed.
A practical version of the maneuver looks like this:
- Approach the landing area at speed, but stay low enough that you are not an easy target.
- Begin pulling the nose upward as you approach the landing point.
- Reduce collective while using the pitch change to convert forward momentum.
- Add aggressive roll input to swing the aircraft through the turn.
- Finish the rotation while controlling collective and pitch to settle into the landing area.
The result should look almost like the helicopter is drawing a letter J through the air.
The important part isn’t memorizing a button sequence. It is understanding energy management.
If you try to copy the maneuver mechanically without understanding why it works, you will probably perform a spectacular sideways crash.
Practice it somewhere safe first.
Once you get it right, though, the difference is enormous. You can approach a contested position, dump speed quickly, touch down, unload passengers, and get out before the enemy has enough time to react.
Don’t Fly in Straight Lines
This is one of the easiest habits to develop and one of the easiest ways to become a target.
If you are transporting players across a dangerous area, avoid giving enemy infantry or anti-air players a predictable flight path.
Use terrain.
Dip behind hills. Change altitude. Vary your direction. Don’t hover in the open while waiting for your passengers to figure out where they want to go.
The enemy does not need to destroy you immediately. If they force you to fly predictably, they are already winning.
A good pilot is constantly asking:
“If someone is waiting for me right now, where would they expect me to appear?”
Then don’t appear there.
Flares Are Not a Panic Button
Countermeasures are another system that separates experienced pilots from people who are about to become falling debris.
Do not throw your flares out just because you suspect somebody might be aiming at you.
Wait for a legitimate lock or launch warning, then deploy your countermeasure at the appropriate moment.
You also need to remember that flares are a resource.
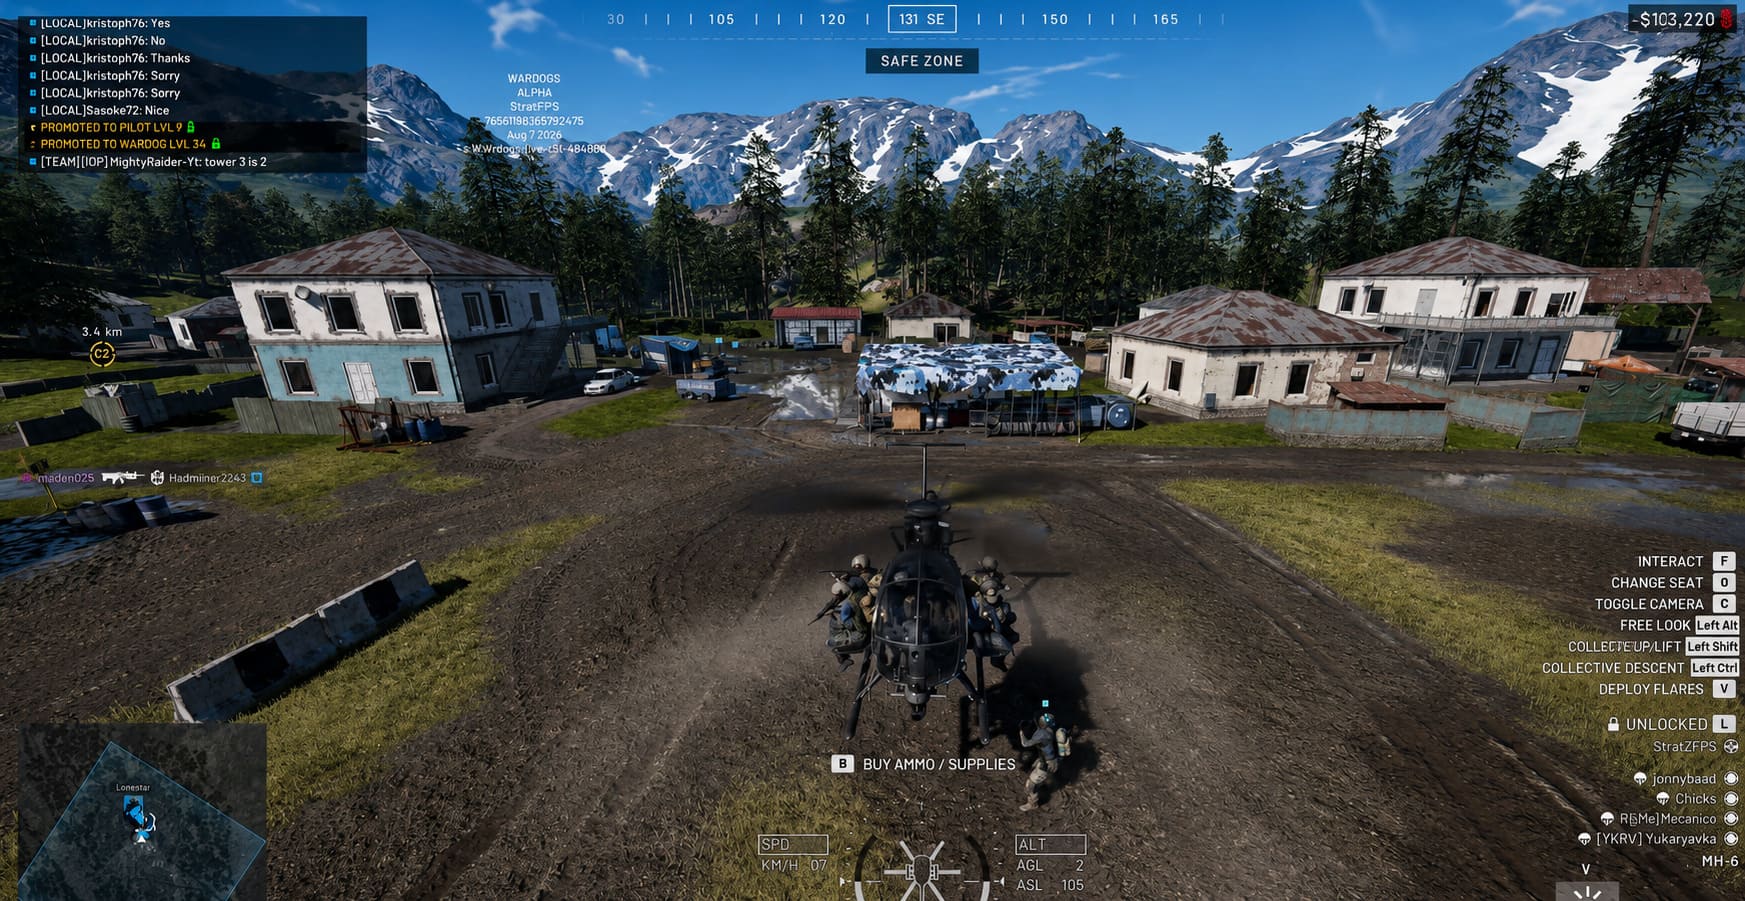
Before heading into a dangerous area, make sure you have enough defensive equipment. According to the playtest setup, pilots can use the vendor system at the main base, accessed with B, to purchase additional equipment such as flares and ammunition using earned cash.
That means logistics matter even before you leave the runway.
Going into a hot Control Zone with half your countermeasures missing is basically volunteering for trouble.
Check Your Passengers Before Takeoff
This sounds like boring advice until you realize how many things can go wrong during an airdrop.
Before carrying a squad into a contested Control Zone, check the passenger information in the lower-right portion of the interface.
Make sure everyone understands the plan.
More importantly, make sure players who are expected to parachute actually have a parachute.
If someone doesn’t, tell them before you leave.
It is much better to spend ten seconds waiting at base than discovering halfway across the map that your passenger cannot safely leave the aircraft.
For extremely dangerous drop zones, a higher-altitude parachute insertion can also make more sense than trying to land directly in the middle of an enemy position.
The Pilot Economy Is Better Than You Think
One of the more interesting parts of being a helicopter pilot in WARDOGS is the economic side of the role.
You’re not just moving people around for fun. Good aviation work can generate serious income.
The most reliable options include:
- Supply runs between the main base and Forward Operating Bases.
- Squad transport into active or high-priority areas.
- Hot Zone drops, which can provide increased rewards.
- Combat support, particularly against vehicles and fortified positions.
This creates an interesting gameplay loop.
You can start a match doing relatively safe logistics work, build up cash, purchase better equipment, then transition into more dangerous combat support.
That’s one reason I think the pilot role has more depth than it initially appears to have.
You are basically running a flying economy while trying not to get shot down.
WARDOGS Loadout Building Optimization Guide: Economy Strategies to Dominate the Battlefield
The Biggest Mistakes New Pilots Make
If your first few flights are terrible, don’t worry. Mine would probably look terrible too.
The most common mistakes are surprisingly predictable:
Flying too fast into a landing zone.
Start braking early. Your helicopter does not care that you suddenly realized the landing zone is 50 meters away.
Overcorrecting the controls.
Small inputs are often better than constantly fighting the aircraft.
Hovering in exposed areas.
If you have no reason to sit still, don’t.
Ignoring terrain.
Hills and buildings are your friends. Use them.
Wasting flares.
Countermeasures are resources, not decorations.
Taking an attack helicopter into every fight.
Sometimes the best contribution you can make is staying alive and supporting your team from a safer angle.
Trying to master everything at once.
Learn hovering first. Then basic movement. Then landings. Then aggressive turns. Then advanced maneuvers.
There is no prize for crashing faster than everyone else.
Ultimate WARDOGS Proximity Voice Chat Settings Guide: Boost Tactical Awareness and Immersion
Final Thoughts: Flying in WARDOGS Takes Patience
The helicopter system in WARDOGS is not going to click instantly for everyone.
And I think that’s a good thing.
There are plenty of shooters where you can jump into a helicopter, mash a few buttons, and immediately become a flying gun platform. WARDOGS seems far more interested in making aviation a genuine skill.
That creates a pretty steep barrier to entry, but it also creates one of the most rewarding roles in the game.
Once you stop fighting the aircraft and start anticipating it, everything changes. You begin thinking about momentum before a turn. You start choosing landing approaches based on terrain. You save flares instead of panic-spamming them. You start looking at a Control Zone and thinking about the safest insertion angle rather than simply asking where the objective is.
And eventually, you will pull off a clean J-hook, drop a full squad exactly where they need to be, climb away through a gap in the terrain, and hear your teammates celebrating the push you just enabled.
That’s the moment where helicopter flying stops feeling like a chore and starts feeling like the game within the game.
Learn the collective. Respect your momentum. Use the terrain. Stay unpredictable.
Do those four things, and you’ll already be ahead of most first-time WARDOGS pilots.