STALKER 2 Faction War Guide: How to Trigger and Master the Dynamic Territory Warfare System
If there is one thing I love about S.T.A.L.K.E.R. 2: Heart of Chornobyl, it is the feeling that the Zone never really belongs to you. You can walk into an area thinking you know exactly what is waiting around the corner, only to hear gunfire, spot a group of stalkers sprinting between buildings, and suddenly find yourself caught in somebody else’s problem.
That feeling becomes much more important in S.T.A.L.K.E.R. 2: Cost of Hope, where the long-running tension between Duty and Freedom finally becomes the central conflict. The expansion launched on August 20, 2026, alongside the free Update 2.0, and puts Skif directly into the middle of a new chapter in the rivalry between the two factions. GSC describes the expansion as a nonlinear story where your decisions affect its outcome and the way the narrative unfolds.
Now, a quick clarification before we get into the fun stuff: STALKER 2 does not simply turn into a traditional strategy-game-style territory capture mode where you manually paint the map red or blue. The faction conflict in Cost of Hope is primarily story-driven, with branching missions, faction allegiance, characters, and consequences. That distinction matters because a lot of players coming from Clear Sky or community Warfare mods naturally expect a full territory-control simulation.
What you actually get is much more in line with STALKER’s strengths: a dangerous story where choosing a side can completely change the missions you see afterward.
And honestly? That’s probably the better approach.
The Two Sides of the Conflict
The Duty and Freedom conflict works because neither faction is simply presented as “the good guys” or “the bad guys.”
Duty views the Zone as a catastrophic threat that needs to be controlled and eventually destroyed. Its members are disciplined, organized, and generally much more comfortable with military hierarchy.
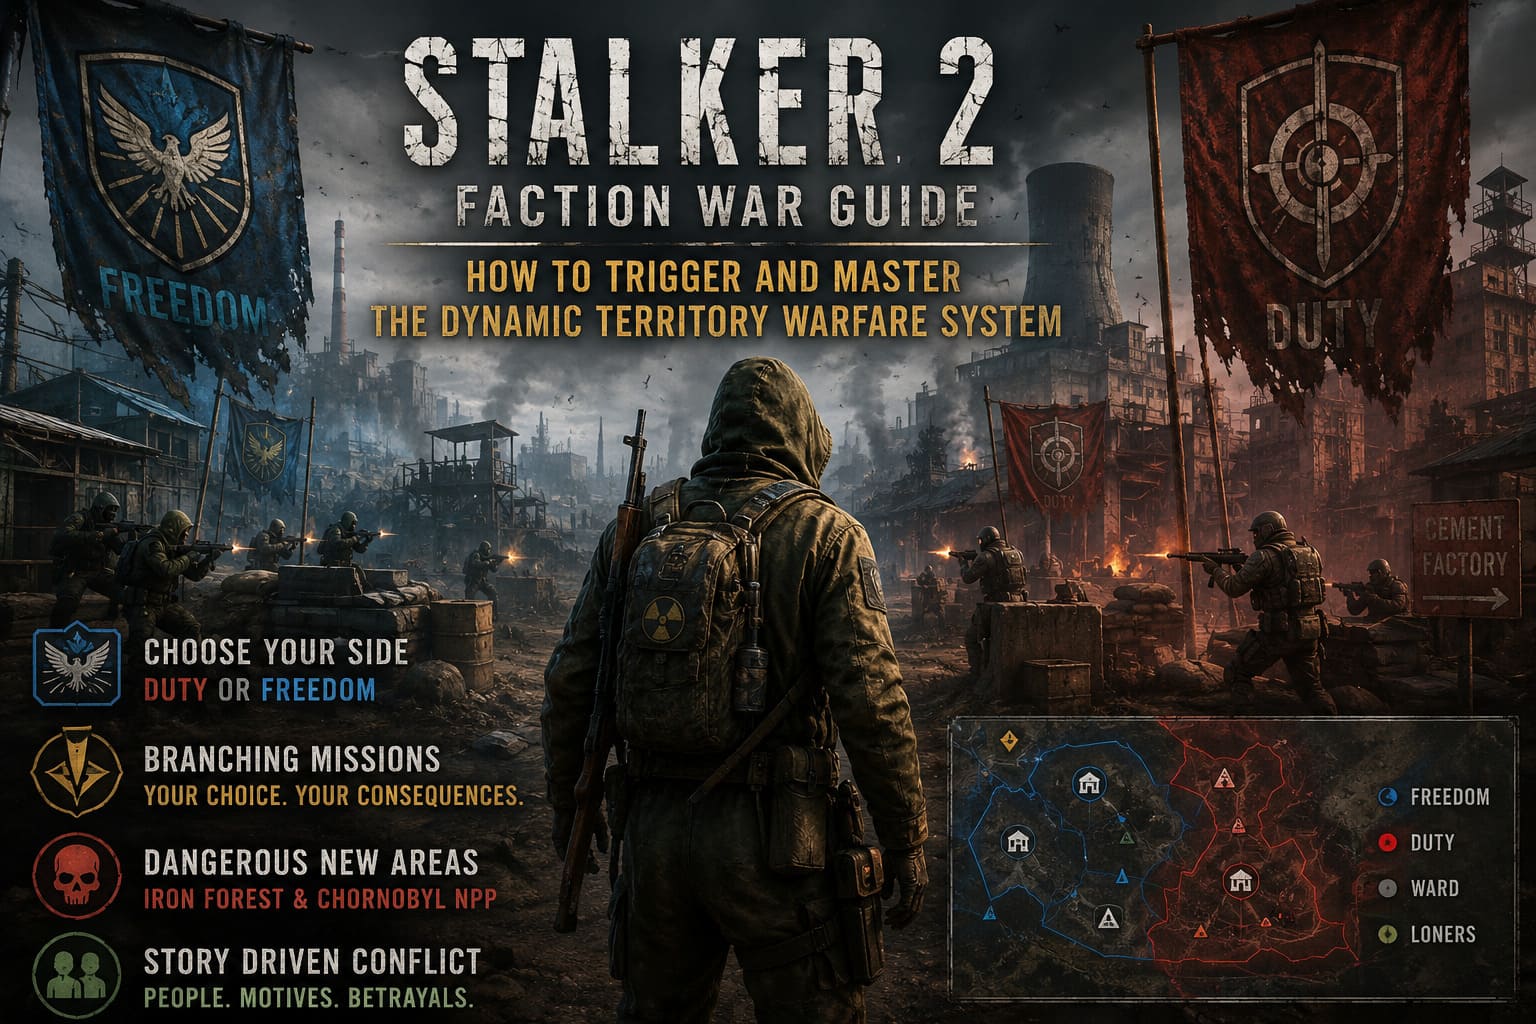
Freedom sees the Zone very differently. To them, it represents something that humanity should explore, understand, and potentially use rather than simply lock away.
That ideological clash has existed throughout the STALKER series, but the arrival of the Ward and the D4 Treaty created a fragile period of peace. According to GSC’s own faction history, Duty withdrew from Rostok to the Cement Factory after the treaty ended the earlier faction wars. Freedom, meanwhile, continued to grow in influence.
Cost of Hope is essentially what happens when that uneasy peace starts falling apart.
| Faction | Core Belief | What It Means For Skif |
|---|---|---|
| Duty | The Zone must be contained and destroyed | Order, military discipline, containment |
| Freedom | The Zone should be explored and harnessed | Independence, experimentation, access |
| Ward | Maintain control and stability | A major political force around the Zone |
| Loners | Survival comes first | Independent relationships and opportunities |
The important part is that you are not simply selecting a faction from a menu at the beginning of the DLC. You are pulled into the conflict through the story and eventually face decisions that determine which path you follow.
How Cost of Hope Starts
Cost of Hope is integrated into the main game rather than functioning like a completely isolated campaign. A mysterious PDA signal draws Skif toward the new storyline, allowing the expansion’s events to unfold alongside the broader STALKER 2 experience.
The expansion adds two major areas: the Iron Forest and the Chornobyl Nuclear Power Plant. GSC has also positioned the DLC as a large nonlinear adventure with dozens of hours of content, new characters, locations, weapons, enemies, anomalies, and story branches.
The opening hours are exactly the sort of STALKER nonsense veterans will recognize.
You are trying to follow the story, somebody gives you information that sounds suspicious, a mutant decides it wants your face removed, and suddenly you’re crawling through an industrial ruin while throwing bolts into anomalies just to figure out which floor you’re supposed to be on.
That’s the Zone.
Zulu and Mavka Become Central to the Conflict
Two characters deserve particular attention if you want to understand the faction storyline.
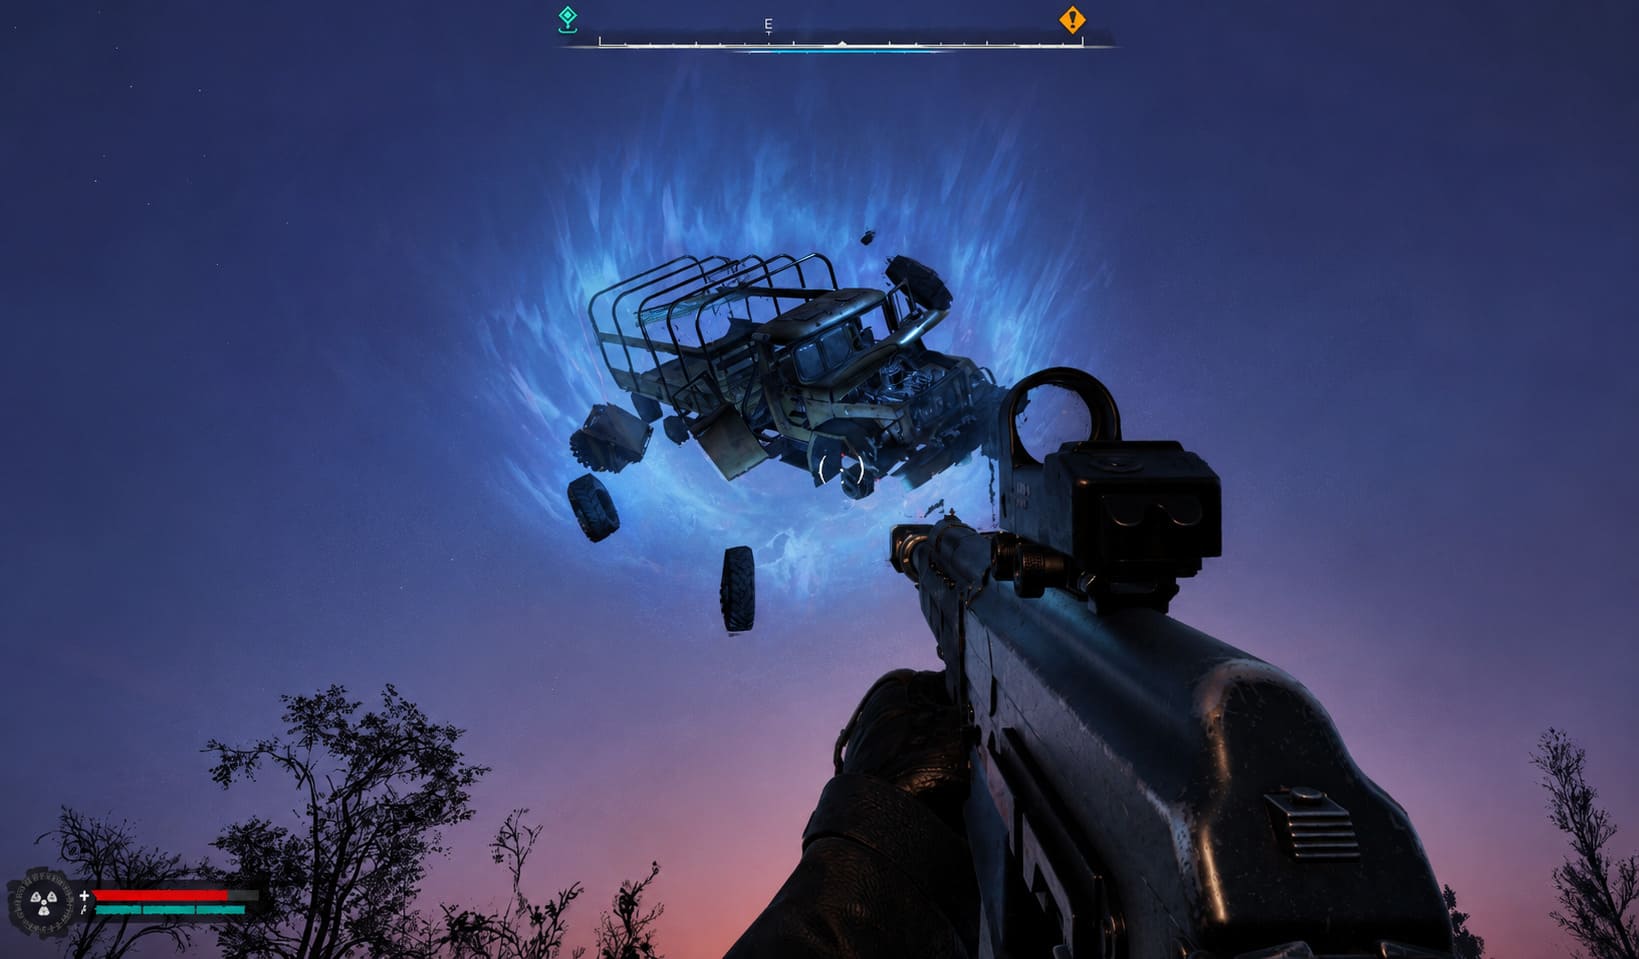
Zulu is a returning character from S.T.A.L.K.E.R.: Call of Pripyat who becomes connected to Duty during the expansion’s events. GSC specifically highlights his return and describes him as someone who remains fiercely committed to protecting the outside world from the Zone, even after mysterious circumstances forced him away from Duty’s ranks.
Then there is Mavka, a Freedom character with her own agenda and history inside the Zone. She is not merely there to stand around and shout faction slogans. Her role becomes increasingly important as Skif gets deeper into the crisis. GSC also identifies her as a major figure in the expansion’s story.
This is where Cost of Hope starts feeling less like a simple “Duty versus Freedom” shooter and more like a proper STALKER story.
People have motivations.
People lie.
People believe they’re doing the right thing.
And Skif gets stuck in the middle because apparently surviving mutants wasn’t enough.
The Most Important Choice: Duty or Freedom?
At a certain point in the expansion, the story reaches a major decision that determines which faction route you follow.
This is the moment where I strongly recommend making a manual save before committing.
Not because one faction is objectively better. There isn’t a universal “correct” answer here. The choice affects subsequent missions and the ending path, meaning you are locking yourself out of parts of the alternative route during that playthrough.
Current walkthroughs identify the mission The Destructive Power of the Mind as the key point where the Duty and Freedom paths split.
If you’re the type of player who wants to see everything in one run, stop and think before selecting the decisive dialogue option.
If you’re role-playing Skif, though?
Pick the side that actually makes sense for your character.
That’s one of the reasons I like this system. It doesn’t need to flash a giant FACTION WAR ACTIVATED notification across your screen to make the decision matter.
The consequences are in the missions.
What Happens After You Choose a Side?
Once the major faction decision is made, Cost of Hope branches into different mission content.
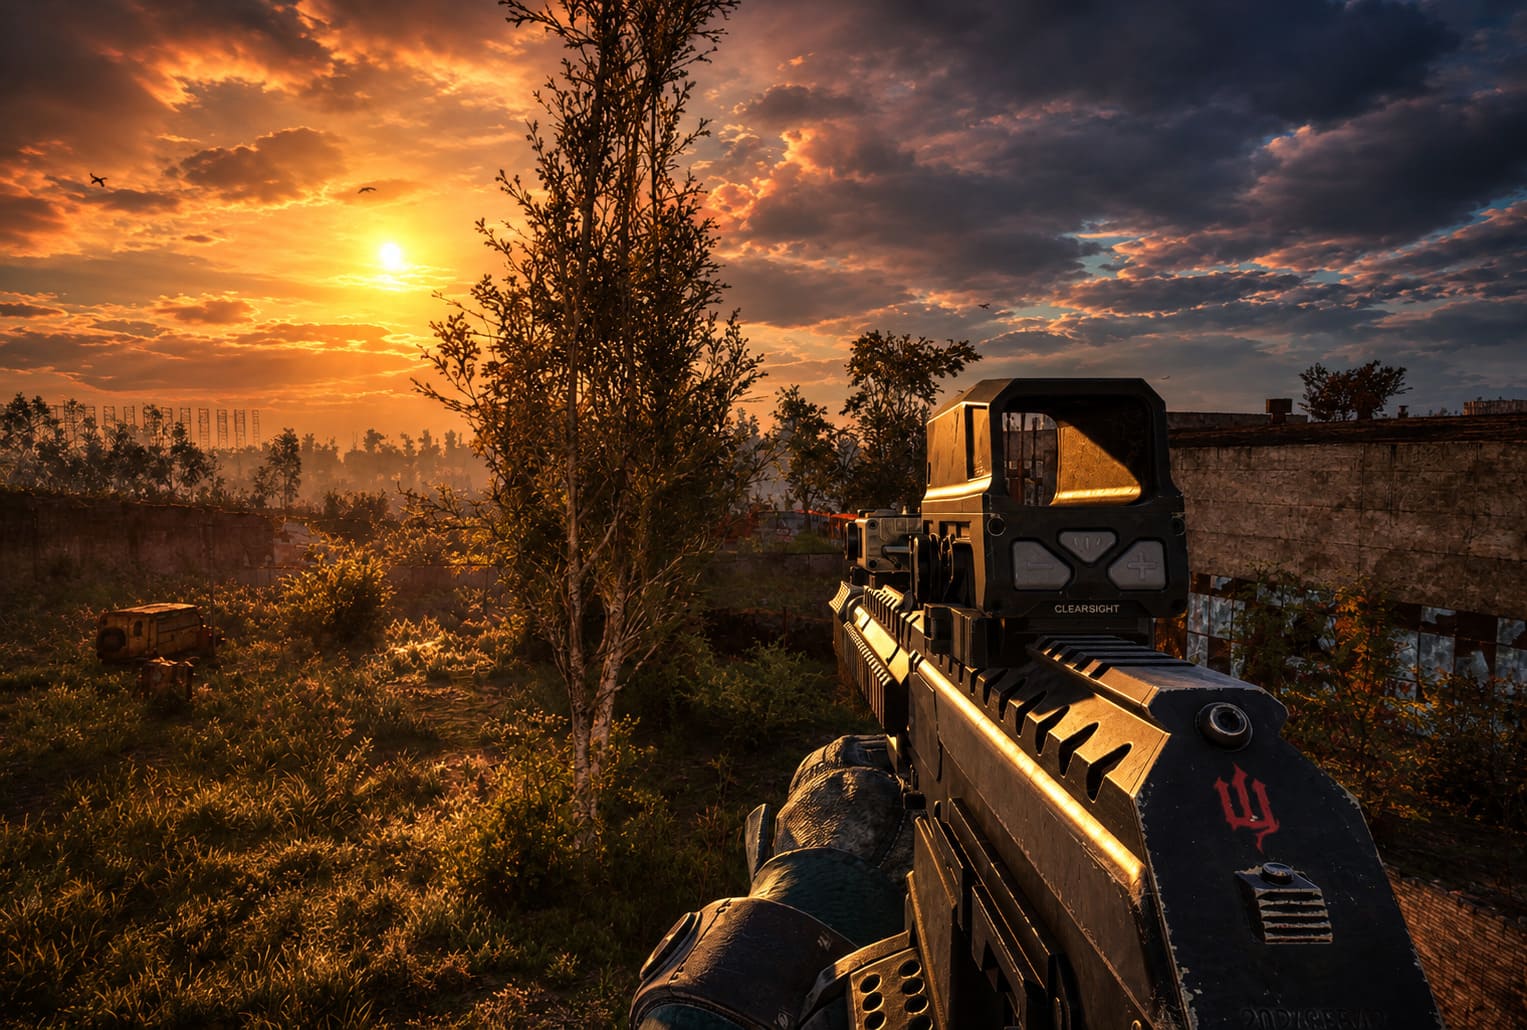
You don’t simply receive a different-colored uniform and continue playing the exact same campaign.
The remaining missions change depending on your choice, and the alternative faction route becomes unavailable during that playthrough. Current mission guides report that the expansion contains 16 main missions overall, but a single playthrough follows only part of that total because the faction split locks the opposing route.
That makes the decision considerably more important than an ordinary dialogue choice.
It also gives the DLC replay value.
On a first playthrough, I would resist the temptation to immediately look up every consequence. STALKER is at its best when you make a questionable decision, walk away from the conversation, and spend the next hour wondering whether you just ruined everything.
Then you hear gunfire in the distance.
Perfect.
Don’t Expect a Clear Sky-Style Map War
This is probably the biggest thing players need to understand.
If you remember S.T.A.L.K.E.R.: Clear Sky or have spent time with Anomaly Warfare-style mods, you may expect factions to continuously attack bases, capture territory, upgrade squads, and redraw the entire map.
Cost of Hope’s official faction conflict is not presented as that kind of standalone territory-control system.
The focus is on the Duty/Freedom storyline, branching choices, missions, characters, and consequences. GSC’s official material emphasizes the expansion’s nonlinear narrative and says your decisions directly affect the outcome and broader narration.
That’s an important distinction.
You shouldn’t approach the DLC expecting to become the Zone’s general commanding officer.
You’re still Skif.
You’re still a stalker.
You still have to search corpses for ammunition because you somehow burned through 80 rounds killing three enemies.
How to Prepare for the Faction Conflict
Regardless of which side you choose, preparation matters.
Keep Your Weapons Maintained
Faction fights can throw you into prolonged combat sequences where durability becomes a real problem. Don’t enter an important mission with a weapon that’s already flashing red.
Carry a dependable assault rifle, a close-range option, and enough ammunition to survive without immediately resorting to your knife.
And keep a backup weapon.
STALKER has a habit of turning “this should be an easy firefight” into “why are there twelve enemies and a Bloodsucker?”
Carry More Medical Supplies Than You Think You Need
Medkits and bandages disappear quickly when you’re fighting through industrial facilities.
Keep healing items in an easy-to-access slot instead of burying them inside your inventory. The difference between immediately using a medkit and standing still while opening menus can be the difference between surviving and waking up at your last save.
Save Before Major Dialogue Decisions
This is probably the most important recommendation in the entire guide.
Make a manual save before major faction decisions.
Cost of Hope’s branching structure means that one choice can determine which missions and ending you experience.
If you want to experience both sides, that save can save you from replaying the entire expansion.
Use Faction Battles as Opportunities
Even outside the main faction storyline, STALKER’s world is at its best when you stop treating every firefight as an obstacle and start treating it as an opportunity.
If two groups are already shooting at each other, don’t sprint into the middle like you’re invincible.
Let them fight.
Listen.
Watch their positions.
Move around the edge of the engagement and wait for the numbers to thin out.
Then clean up.
It sounds ruthless because it is ruthless. But this is the Zone. Nobody gives Skif a medal for honorable conduct.
You can also use chaotic encounters to move through dangerous areas while enemies are distracted. Just remember that gunfire can create its own problems, especially when mutants are nearby.
A firefight isn’t always the end of the encounter.
Sometimes it’s just the opening act.
STALKER 2 Ultimate Artifact Hunting Guide: Best Infinite Farming Routes (2026)
Duty or Freedom: Which Side Should You Choose?
There is no universally correct answer.
Choose Duty if you prefer a more controlled, militaristic worldview and believe the Zone represents a threat that should ultimately be contained.
Choose Freedom if you are more interested in exploration, experimentation, and the idea that humanity should understand the Zone instead of simply trying to destroy it.
But don’t choose based purely on which faction sounds cooler.
Look at the characters.
Pay attention to the dialogue.
Think about what Skif has experienced during the main campaign.
Then make the call.
That’s what makes the choice interesting.
Final Verdict
The faction conflict in S.T.A.L.K.E.R. 2: Cost of Hope isn’t a traditional strategy-game territory system, and players expecting a giant persistent map of bases changing hands should adjust their expectations.
What GSC has built instead is a branching Duty versus Freedom conflict embedded directly into the STALKER narrative.
And personally, I think that’s the right fit.
The Zone has never needed to become a spreadsheet of colored territories to feel dangerous. Give me a ruined industrial facility, a questionable faction leader, a half-broken rifle, three medkits, and a decision that could lock me out of an entire story branch.
That’s STALKER.
The Duty/Freedom conflict gives Cost of Hope a strong identity while bringing back one of the most recognizable ideological battles in the series. Zulu and Mavka provide personal faces for the opposing sides, while the Iron Forest and CNPP give Skif new territory to explore.
So save before the big choice, stock up on ammunition, repair your favorite gun, and don’t blindly trust anybody just because they’re wearing a familiar faction patch.
In the Zone, choosing a side is easy. Living with the consequences is the hard part.