Pax Autocratica Difficulty Levels Explained: Complete Guide to Core Settings, Loot Scaling, and Strategy
Pax Autocratica is the kind of game that looks manageable right up until it decides to ruin your afternoon.
At first, the formula seems straightforward. You build your authoritarian colony, keep the population under control, expand your territory and make sure the machinery of your state keeps running. Then the game throws you into a completely different situation: you are suddenly behind a weapon, fighting through dangerous zones where ammunition, shields and healing supplies can disappear far faster than you expected.
That combination is exactly what makes Pax Autocratica difficulty settings so interesting.
This isn’t a game where choosing a higher difficulty simply means enemies have three times as much health. The difficulty system reaches into practically every part of the experience, from economic pressure and citizen loyalty to enemy behavior, resource availability and the quality of rewards you can obtain during combat.
After spending time looking at how the different settings affect the overall flow of a campaign, my biggest takeaway is simple: difficulty in Pax Autocratica changes the way you have to think, not just how quickly you can die.
So, if you’re wondering whether you should play on Normal, jump straight into Demanding, or embrace the madness of Punishing, here’s what you need to know.
How the Pax Autocratica Difficulty System Actually Works
One of the things I appreciate about Pax Autocratica is that its difficulty system doesn’t feel like a simple collection of arbitrary modifiers.
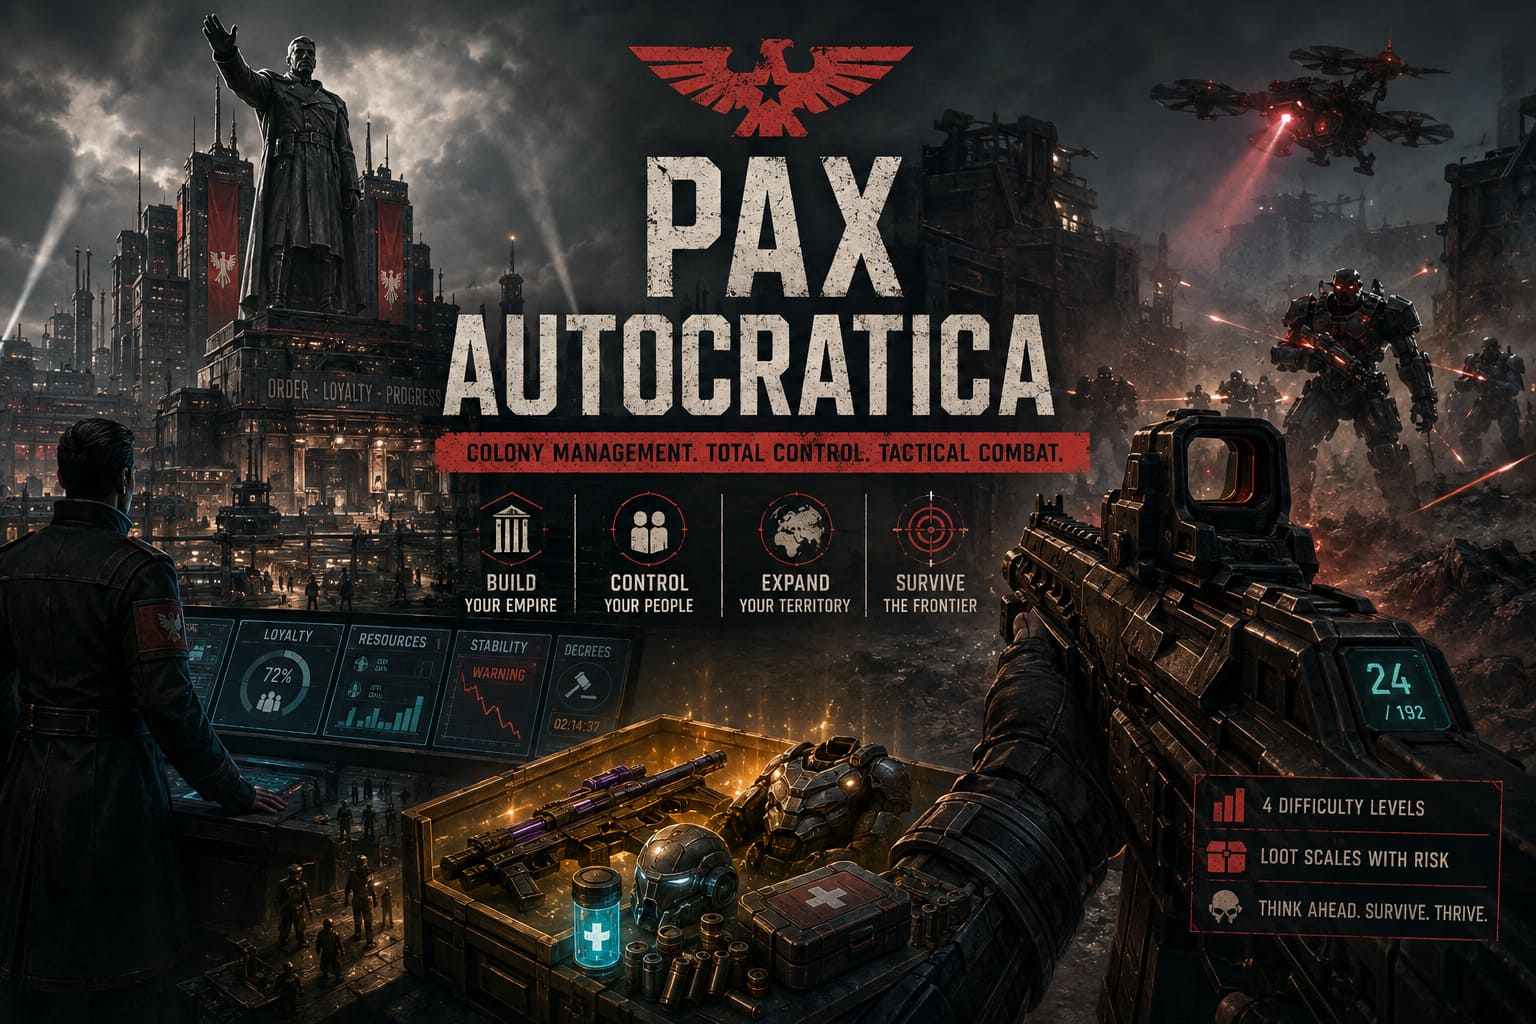
Your selected setting acts more like a global pressure system. It changes the conditions under which your empire operates while simultaneously affecting the combat portion of the game.
On the colony-management side, difficulty can influence things such as:
- Citizen loyalty and rebellion thresholds
- Resource consumption and production efficiency
- The frequency and consequences of administrative problems
- Decree cooldowns and the effectiveness of authoritarian policies
- Economic expansion and territorial management
- The likelihood of internal political instability
The FPS side has its own set of consequences. Higher difficulties can affect enemy durability, aggression and damage while also changing how frequently useful combat resources appear.
This creates an unusual situation where a decision that seems harmless during the management phase can eventually become a serious problem during a raid.
And honestly, that’s where Pax Autocratica gets much more interesting than a standard colony simulator.
Pax Autocratica Difficulty Levels Compared
If you’re starting your first campaign, the four broad difficulty tiers offer very different experiences.

| Difficulty | Best For | Colony Pressure | Combat Pressure | Overall Experience |
|---|---|---|---|---|
| Casual / Easy | New Players | Low | Low | Relaxed Sandbox |
| Normal | Most Players | Moderate | Moderate | Balanced |
| Demanding | Experienced Players | High | High | Tactical Challenge |
| Punishing | Hardcore Players | Extreme | Extreme | Survival Test |
Casual / Easy
Easy mode is basically the game’s invitation to experiment.
The economic side is forgiving, citizens are comparatively cooperative, and mistakes don’t immediately snowball into an unrecoverable disaster. Combat is similarly relaxed, with enemies giving you more breathing room to learn movement, weapons and abilities.
I’d recommend this setting if you’re primarily interested in exploring the systems rather than proving anything.
There is absolutely nothing wrong with starting here. Pax Autocratica throws a lot of information at you, and Easy gives you enough space to understand how the different systems connect.
The downside is that some of the game’s best tension disappears.
When your colony isn’t constantly threatening to collapse and combat encounters aren’t demanding careful resource management, you can miss the feeling that makes the game’s authoritarian-management concept work so well.
Normal
For most players, Normal is probably the best starting point.
This is where the game begins asking meaningful questions without constantly punishing you for existing.
Your economy needs attention. Expansion needs planning. Combat encounters require movement and sensible ability usage. You can make mistakes, but there is usually a way to recover.
That’s important because Pax Autocratica has enough interconnected systems that throwing a new player directly into Punishing can feel less like a challenge and more like being handed a spreadsheet during a firefight.
Normal lets you learn the rules before the game starts bending them against you.
Demanding Is Where Things Get Serious
If Normal starts feeling comfortable, Demanding difficulty is the point where I’d personally start paying much closer attention to every decision.
The biggest problem isn’t necessarily that individual mechanics become impossible. It’s that small mistakes begin accumulating much faster.
One of the most dangerous traps is rapid expansion.
It can feel great to watch your territory grow, but if your production infrastructure can’t support that expansion, you’re essentially building a larger machine that consumes resources you don’t have.
That’s the infamous “Growth Trap.”
You expand.
Your economy struggles.
Supply chains become inefficient.
Your population becomes harder to manage.
Political instability rises.
Suddenly the empire you were proud of ten minutes ago is an enormous liability.
That’s what makes Demanding so enjoyable once you understand the game. You’re no longer simply asking, “Can I afford this?”
You’re asking, “What will this decision cost me three steps from now?”
Combat also becomes more deliberate. Enemy pressure is stronger, but the challenge isn’t simply about absorbing enormous amounts of damage. Positioning, weapon selection and resource conservation become much more important.
If you played Normal by running around and improvising, Demanding will quickly encourage you to develop an actual plan.
Punishing Difficulty Is a Different Animal
Punishing is where Pax Autocratica stops pretending it wants you to be comfortable.
This setting is aimed squarely at players who already understand the game’s systems and want to see how far they can push them.
Enemy combatants become significantly more dangerous, and mistakes that were recoverable on Normal can turn into failed runs very quickly.
The real problem, however, is resource scarcity.

Ammunition matters more.
Healing matters more.
Defensive equipment matters more.
Crafting materials matter more.
Even a good weapon can become useless if you don’t have enough resources to keep using it effectively.
The colony layer becomes equally unforgiving. Domestic factions are more dangerous, political instability can escalate rapidly, and external powers have more opportunities to exploit weakness through embargoes or military pressure.
In other words, Punishing doesn’t just ask whether you’re good at shooting.
It asks whether you can keep an entire authoritarian machine functioning while everything around it is trying to break apart.
And yes, sometimes that machine is going to explode.
Does Higher Difficulty Give You Better Loot?
This is probably one of the more interesting questions surrounding Pax Autocratica loot scaling.
The short answer is: difficulty and progression both matter, but they don’t appear to serve exactly the same purpose.
Higher difficulty can improve the chances of obtaining more desirable equipment properties, including better weapon blueprints, armor-related rewards and useful skill modifiers.
But there is an important catch.
Higher difficulty also reduces your access to basic survival resources.
That means a Punishing run might theoretically give you access to more interesting rewards while simultaneously making it harder to actually survive long enough to enjoy them.
Here’s how I’d think about it:
| Factor | Main Effect |
|---|---|
| Difficulty Level | Changes overall reward and scarcity pressure |
| Sector Progression | Improves the quality of available loot |
| Enemy Threat | Increases combat risk |
| RNG | Determines individual reward quality |
| Resource Scarcity | Makes valuable consumables harder to replace |
This distinction is important because players sometimes assume that selecting the hardest difficulty automatically means every chest is going to contain incredible gear.
It doesn’t work quite that simply.
Progressing deeper into dangerous sectors is still one of the most reliable ways to improve your loot quality.
The Technology Choices That Matter Most
On higher difficulties, I wouldn’t recommend researching everything just because the button is available.
You need priorities.
1. Surveillance Technology
This should be one of your early considerations if you’re struggling with political instability.
Reducing Coup Risk gives your entire colony more breathing room. A powerful economy doesn’t mean much if your internal factions are already preparing to tear the government apart.
2. Economic Automation
Automation becomes increasingly valuable as your empire grows.
The larger your colony becomes, the less attractive it is to spend your attention manually solving every small production problem.
Investment in automation can improve economic growth and make your supply network more manageable.
On Demanding and Punishing, time is a resource, and automation effectively gives some of that resource back to you.
3. Cultural Development
I’d leave this area for later unless your specific strategy depends heavily on public approval.
Small improvements in approval can be useful, but when your fundamental economic and political systems are unstable, polishing public relations isn’t necessarily going to save the campaign.
Build the machine first.
Decorate it later.
Combat Tips for Demanding and Punishing
The FPS sections are where many otherwise successful management players suddenly discover that their empire-building skills don’t help much.
The biggest mistake is treating combat like a conventional shooter.
On higher difficulties, every bullet has an economic value.
Watch Your Ammunition
Don’t wait until your magazine is empty and a large enemy group is already standing in front of you.
Your loadout should be capable of dealing with groups efficiently, especially if your weapons rely on elemental effects or other damage triggers.
If your damage output is too low, you can end up spending far more ammunition than the encounter is worth.
Use Shield Grenades Intelligently
Shield-based defensive tools are extremely valuable when enemy aggression increases.
Instead of treating a shield as an emergency button, use it to control space and create a safer position from which you can deal damage.
That small change in mindset can make difficult encounters considerably more manageable.
Don’t Ignore Permanent Progression
The roguelite progression system is another major part of surviving high difficulty.
Rare Core Fragments and similar permanent progression resources should not be treated as disposable loot.
If you can improve your health, shield capacity or ability cooldowns through permanent upgrades, you’re effectively making every future run slightly more forgiving.
That matters enormously on Punishing.
Pax Autocratica Beginner Guide 2026: Tips, Strategies, and Colony Layouts
My Recommended Difficulty Progression
If you’re completely new to Pax Autocratica, I’d personally approach the difficulty system like this:
Start on Normal.
Learn how the colony economy works. Figure out how expansion affects your supply chains. Learn the combat loop without worrying about every single bullet.
Once you understand the relationship between the two gameplay systems, move to Demanding.
That’s where I think the game becomes particularly compelling.
The pressure is high enough that your decisions matter, but you still have enough room to experiment with different strategies.
Then, once Demanding starts feeling predictable, try Punishing.
Don’t expect to dominate immediately. That’s not really the point.
Punishing is more interesting when you treat it as a test of everything you’ve learned.
Pax Autocratica Guide: Capture and Indoctrination System Explained
Final Verdict: Which Pax Autocratica Difficulty Should You Play?
The best Pax Autocratica difficulty setting depends almost entirely on what you want from the game.
If you want to build a giant dystopian empire, experiment with policies and enjoy the world without constantly fighting against the systems, Easy is perfectly reasonable.
If you want the intended balance between strategy and combat, Normal is the obvious choice.
If you already understand the basics and want your decisions to carry real consequences, Demanding is where I’d spend most of my time.
And if you genuinely enjoy watching a carefully constructed plan collapse because you made one bad decision six minutes earlier, congratulations: Punishing is waiting for you.
What I like most about the difficulty system is that the higher settings don’t simply make Pax Autocratica more tedious. They force you to change your approach.
On Easy, you can improvise.
On Normal, you can recover.
On Demanding, you need a plan.
On Punishing, you need a plan for what happens when your plan fails.
That’s ultimately what makes the game’s dual structure work. You’re managing an empire on one screen and fighting for your life on another, but the two experiences constantly influence each other.
And when everything finally clicks—when your economy is stable, your citizens are under control, your technology is properly developed and your combat build is running smoothly—there’s a very satisfying feeling that you’ve finally figured out what Pax Autocratica has been asking from you all along.
Not simply to become better at the game.
To become better at surviving its consequences.