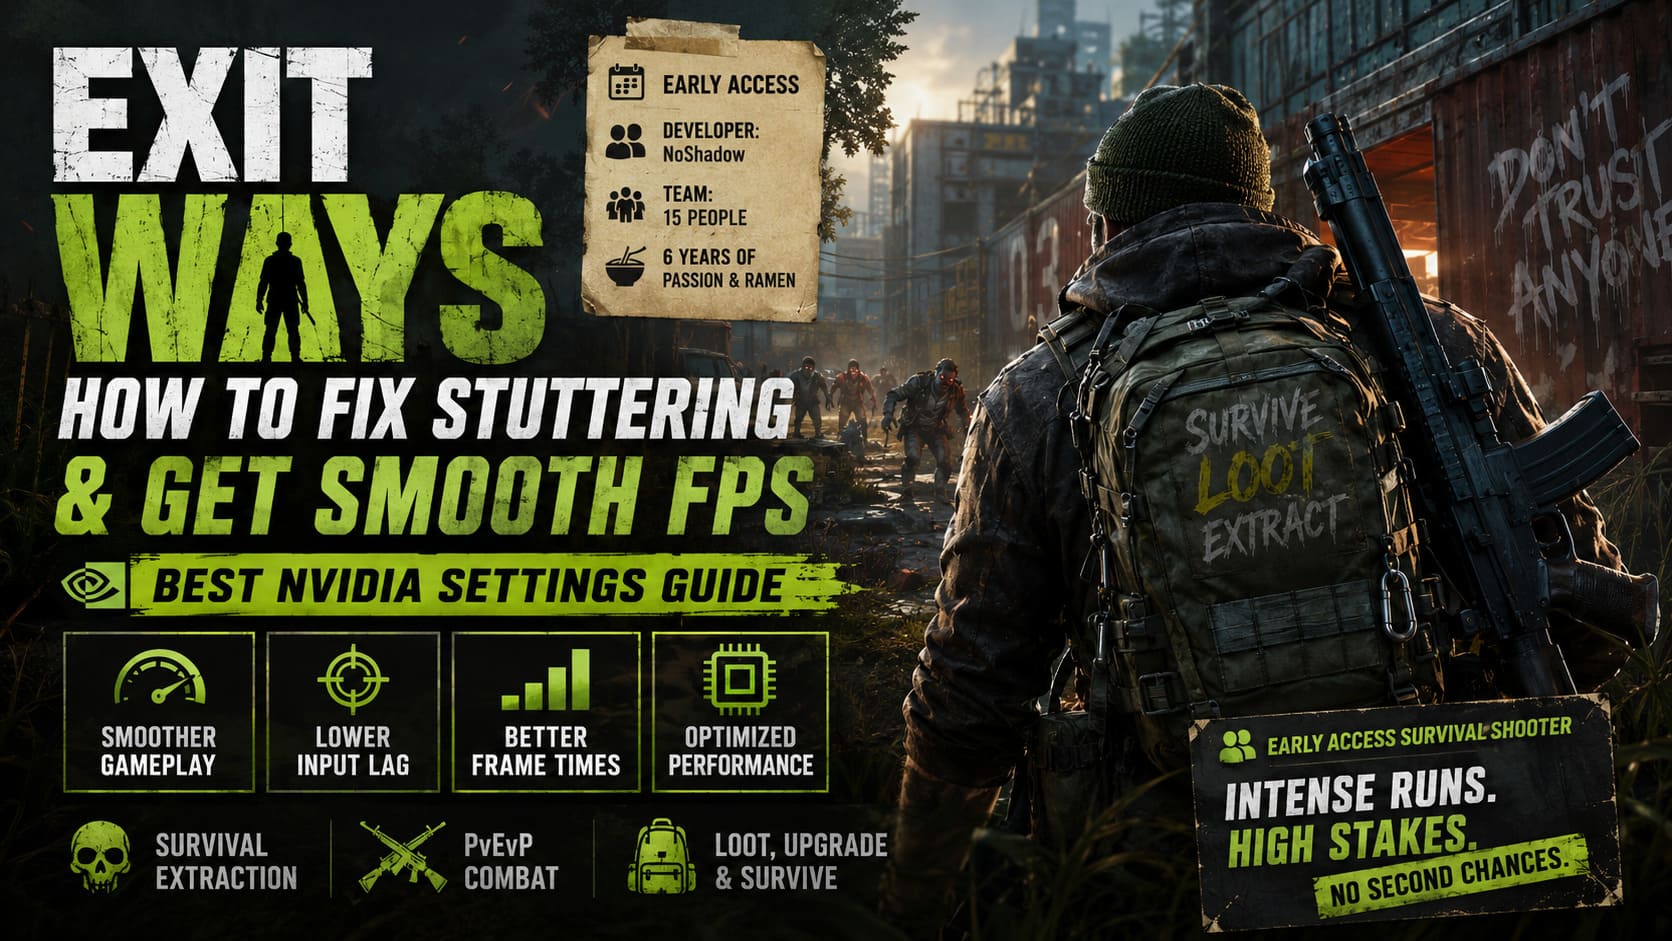
How to Fix Exit Ways Stuttering: Best Nvidia Control Panel Settings for Smooth FPS
Exit Ways has the kind of gameplay loop that can make you say “one more run” far too many times. The combination of survival, extraction mechanics, hostile infected, exploration, and PvEvP encounters creates exactly the sort of tension I enjoy in modern shooters. But there is one thing that can ruin an otherwise great extraction run almost instantly: stuttering.
If you have a relatively powerful Nvidia GeForce graphics card and Exit Ways still feels strangely choppy, you are not necessarily dealing with a hardware problem. In my experience with PC games, inconsistent frame delivery can be much more annoying than simply having a low average FPS. A game showing 100 FPS can still feel terrible if the frame time constantly jumps between smooth and uneven delivery, especially when you are fighting enemies or trying to escape with valuable loot.
This is why Exit Ways stuttering deserves to be approached differently from a simple “increase your FPS” problem. The goal is not just to push the highest possible number on an FPS counter. What we really want is consistent frame pacing, sensible GPU utilization, lower input latency, and fewer sudden hitches when the game loads new areas or effects.
Exit Ways FPS Boost Guide: How to Increase FPS and Fix Lag on AMD GPUs
Why Does Exit Ways Stutter on Nvidia GPUs?
Before changing a dozen Windows and Nvidia settings, it is worth understanding what can actually cause the problem. Exit Ways is an ambitious survival extraction shooter, and games in this category can put a lot of pressure on both the GPU and CPU at the same time. The game may be streaming environmental assets, processing AI, handling networking, rendering other players, and loading effects while you are moving through the world.
That workload can expose weaknesses in frame-time consistency. You might have a perfectly respectable average FPS while still experiencing tiny pauses that are especially obvious when turning the camera quickly. Personally, I find this type of stutter much more distracting than dropping from 120 FPS to 90 FPS for a few seconds. Stable 90 FPS usually feels better than wildly fluctuating 120 FPS.
Some of the most common causes include:
- Shader compilation when new effects or areas are encountered.
- Incorrect Nvidia driver settings that allow unnecessary GPU clock fluctuations.
- Uncapped FPS pushing the GPU constantly against its maximum workload.
- Overlays and background recording features consuming additional resources.
- Windows graphics settings assigning the game incorrectly or creating unnecessary latency.
The good news is that most of these problems can be investigated without buying a new graphics card.
Best Nvidia Settings for Exit Ways
I would recommend creating a dedicated Nvidia profile for Exit Ways rather than changing your global settings. This is a much cleaner approach because a setting that makes sense for an extraction shooter is not necessarily something you want applied to every application on your PC.
Open Nvidia Control Panel, go to Manage 3D Settings, and select Program Settings. Add the Exit Ways executable to the list and use the following configuration as a starting point.
| Nvidia Setting | Recommended Value | Why It Helps |
|---|---|---|
| Power Management Mode | Prefer Maximum Performance | Helps maintain consistent GPU clocks |
| Texture Filtering – Quality | High Performance | Prioritizes performance over minor filtering differences |
| Low Latency Mode | On / Ultra | Can reduce render queue latency |
| Threaded Optimization | On | Allows driver-level multithreaded optimization |
| Max Frame Rate | Refresh Rate – 3 FPS | Creates a more stable GPU workload |
| Shader Cache Size | 10 GB or larger | Provides more room for compiled shaders |
These settings should be treated as a baseline rather than a magical universal preset. PC configurations are incredibly different, and something that works perfectly on one Nvidia GPU can behave differently on another. I always recommend changing a few settings at a time so you know which adjustment actually helped.
1. Set Power Management Mode to Prefer Maximum Performance
One of the first settings I would test is Power Management Mode. In the Exit Ways profile, change it from the default behavior to Prefer Maximum Performance. The idea is simple: instead of allowing the GPU to aggressively adjust its performance state when the workload changes, you are asking it to prioritize consistent performance while the game is running.
This can be particularly useful when you notice stuttering during transitions between quiet exploration and sudden combat. Your GPU may not actually be too slow; it may simply be changing clocks as the workload changes. A dedicated game profile makes this adjustment apply specifically to Exit Ways instead of keeping your graphics card in a higher-performance state all the time.
2. Don’t Automatically Choose Ultra for Every Low Latency Setting
Low Latency Mode is one of those Nvidia settings that gets recommended as a universal “turn this to Ultra” solution. I would be a little more careful. If Exit Ways is heavily GPU-bound, experimenting with Low Latency Mode can make sense, but Ultra is not guaranteed to improve every system.
I would start with On and compare the game using an FPS and frame-time overlay. If the game remains stable and input responsiveness improves, you can experiment with Ultra. If performance becomes inconsistent, simply go back to the previous setting. The important thing is to judge the result by how the game feels, not by whether a setting sounds more aggressive.
3. Cap Exit Ways FPS Instead of Running Completely Uncapped
This is probably one of the most underrated ways to improve the feeling of a PC game. An unlimited FPS setting sounds attractive because, logically, more frames should mean smoother gameplay. In reality, an uncapped GPU can spend the entire session operating at or near maximum utilization, leaving very little headroom when the game suddenly demands more rendering power.
If you use a high-refresh-rate display, try setting a frame limit slightly below its refresh rate. For example, a 144Hz monitor can be paired with a 141 FPS limit, while a 240Hz display can use approximately 237 FPS.
If your GPU cannot maintain those numbers, do not force an unrealistic target. A stable 100 FPS cap can be preferable to constantly jumping between 85 and 140 FPS. For an extraction shooter, consistency is usually more valuable than squeezing every last frame out of the hardware.
4. Pay Attention to G-Sync and V-Sync
If your monitor supports G-Sync or another variable refresh rate technology, it is worth configuring it properly. For a G-Sync setup, many players prefer enabling V-Sync in the Nvidia Control Panel while disabling the game’s own V-Sync option, then using an FPS cap below the monitor’s maximum refresh rate.
This configuration can provide a smoother presentation without relying on traditional in-game V-Sync behavior. If you do not have a variable refresh display, you can simply test V-Sync off and compare the result. Personally, I prefer responsiveness over eliminating every tiny tear when playing competitive shooters, but this is one of those settings where personal preference matters.
5. Give the Shader Cache Some Attention
Shader compilation is one of the first things I suspect whenever a modern PC game produces random hitches while exploring unfamiliar areas. The first time a particular effect, material, lighting condition, or other graphical element appears, the game and driver may need to prepare shader data.
If the shader cache is corrupted, constantly being cleared, or simply does not have enough room, those operations can become more noticeable. In Nvidia Control Panel, find Shader Cache Size and consider using a larger value such as 10 GB if available on your system.
There is also a useful troubleshooting step if the stuttering suddenly appeared after a driver update or game update: clear the existing Nvidia shader cache. After doing this, the game may actually stutter more during the first few minutes because the cache is being rebuilt. That is normal. Give the game some time before deciding whether the change worked.
6. Disable Overlays You Don’t Actually Need
Overlays are convenient, but every additional layer running over a game is another potential variable when troubleshooting performance. Nvidia’s overlay, recording software, Discord, Steam features, Xbox Game Bar, browser hardware acceleration, and monitoring utilities can all potentially interact with a game in different ways.
You do not necessarily need to disable everything permanently. Instead, perform a clean test. Turn off the Nvidia in-game overlay, launch Exit Ways, and play for 15 to 20 minutes in the same type of situation where you normally experience stuttering.
If the hitching becomes noticeably better, start enabling your overlays one at a time until you identify the culprit. This is much more reliable than blindly disabling every Windows feature you can find.
7. Check the Nvidia FrameView Service
Nvidia systems can also have background services installed for monitoring and performance analysis. One example is the Nvidia FrameView SDK service. Most players will never notice it, but if you are troubleshooting persistent micro-stuttering, temporarily stopping unnecessary monitoring services can be a useful experiment.
Press Windows + R, enter services.msc, and look for the relevant Nvidia FrameView service if it is installed on your system. Rather than permanently disabling system components without knowing what they do, I recommend stopping the service temporarily and testing Exit Ways. If there is no improvement, simply restore the previous configuration.
8. Set Exit Ways to High Performance in Windows
Windows also has its own graphics preference system, and it is worth checking. Open Settings > System > Display > Graphics and add the Exit Ways executable if it is not already listed.
Once Exit Ways appears, open its options and select High Performance. On a desktop PC with a dedicated Nvidia GPU this may not make a dramatic difference, but it removes the possibility of Windows selecting an unintended graphics processor or applying a less suitable preference.
9. Test Hardware-Accelerated GPU Scheduling
Hardware-Accelerated GPU Scheduling, commonly called HAGS, is another setting that is frequently recommended for reducing latency. It changes how certain GPU scheduling tasks are handled between Windows and the graphics hardware.
If HAGS is available on your Windows installation, test it rather than assuming it must be enabled. Some games and systems respond positively, while others can behave differently depending on the driver and hardware combination. Restart Windows after changing it and compare actual frame-time behavior in Exit Ways.
My Recommended Exit Ways Stuttering Troubleshooting Order
One mistake I see constantly in PC optimization guides is changing twenty settings simultaneously. If the game becomes smoother, you have no idea which change fixed the problem. If it becomes worse, you have an even bigger headache because you have to undo everything.
I would approach Exit Ways performance problems in this order:
- Update or cleanly reinstall the Nvidia driver if the issue started after an update.
- Create a dedicated Exit Ways Nvidia profile.
- Set a sensible FPS cap instead of using unlimited FPS.
- Check G-Sync, V-Sync, and monitor refresh settings.
- Test Low Latency Mode.
- Clear and rebuild the shader cache if the stuttering appeared suddenly.
- Disable overlays and background capture features.
- Compare HAGS on and off if the problem continues.
This process takes a little longer than copying someone’s “ultimate FPS boost” settings, but it gives you much better information about what is happening on your own PC.
What If Exit Ways Still Stutters?
If none of these Nvidia Control Panel settings solve the problem, I would stop assuming the GPU is responsible. Watch your CPU usage, GPU utilization, VRAM usage, system RAM, temperatures, and frame times while playing. If the GPU suddenly drops from high utilization while one or more CPU threads become heavily loaded, you may be dealing with a CPU or game-engine bottleneck rather than a graphics-card problem.
Storage performance can also matter in large modern games. If Exit Ways is constantly streaming assets from a slow or heavily occupied drive, you can experience hitches that no Nvidia setting will completely eliminate. Likewise, background applications, antivirus scans, recording software, and Windows updates can occasionally create short bursts of system activity that appear as random stutters.
And there is another possibility that PC players sometimes forget: the game itself may be responsible. Early access games are constantly changing, and performance can vary dramatically between builds. If thousands of players begin reporting the same hitching problem after a particular update, it may simply require an engine-side or game-side fix rather than another round of Windows tweaks.
Final Thoughts
Getting Exit Ways to run smoothly on an Nvidia GPU is less about discovering one secret setting and more about creating a stable environment for the game. A sensible frame cap, properly configured Nvidia profile, clean shader cache, fewer unnecessary overlays, and correctly configured Windows graphics preferences can make a surprisingly noticeable difference.
From my perspective as someone who has spent a lot of time tweaking PC games, I would prioritize consistent frame times over impressive average FPS. In an extraction shooter, smooth camera movement and predictable input are far more valuable than watching the FPS counter briefly hit a huge number before dropping during the next firefight.
So start with the simple changes, test them individually, and pay attention to how Exit Ways actually feels. If your stuttering disappears and your frame times become consistent, you have achieved the result that matters most: fewer technical distractions and more time worrying about zombies, enemy players, and whether that last piece of loot is really worth risking the extraction.