DragonSword Awakening: How to Defeat the Reawakened Dragon Final Boss (Complete Guide)
After spending dozens of hours exploring Orbis, upgrading companions, and experimenting with different builds, I genuinely thought I had DragonSword: Awakening figured out. The game constantly rewards aggressive play, stylish combos, and quick reactions. Then the Reawakened Dragon showed up and reminded me that I actually knew very little.
This isn’t one of those bosses you defeat simply because your gear score is high enough. It’s a fight that forces you to understand nearly every combat mechanic Hound13 has introduced throughout the campaign. If you’ve been relying on one favorite character while ignoring companion swapping or status effects, the final battle will expose every bad habit you’ve developed.
After several failed attempts—and after comparing notes with other players discussing strategies online—I finally found a setup that consistently works. This guide isn’t about finding some magical exploit. Instead, it’s about understanding what the boss expects from you and turning those expectations into your advantage.
Why the Reawakened Dragon Feels So Different
Most bosses in DragonSword: Awakening let you recover after making one or two mistakes.
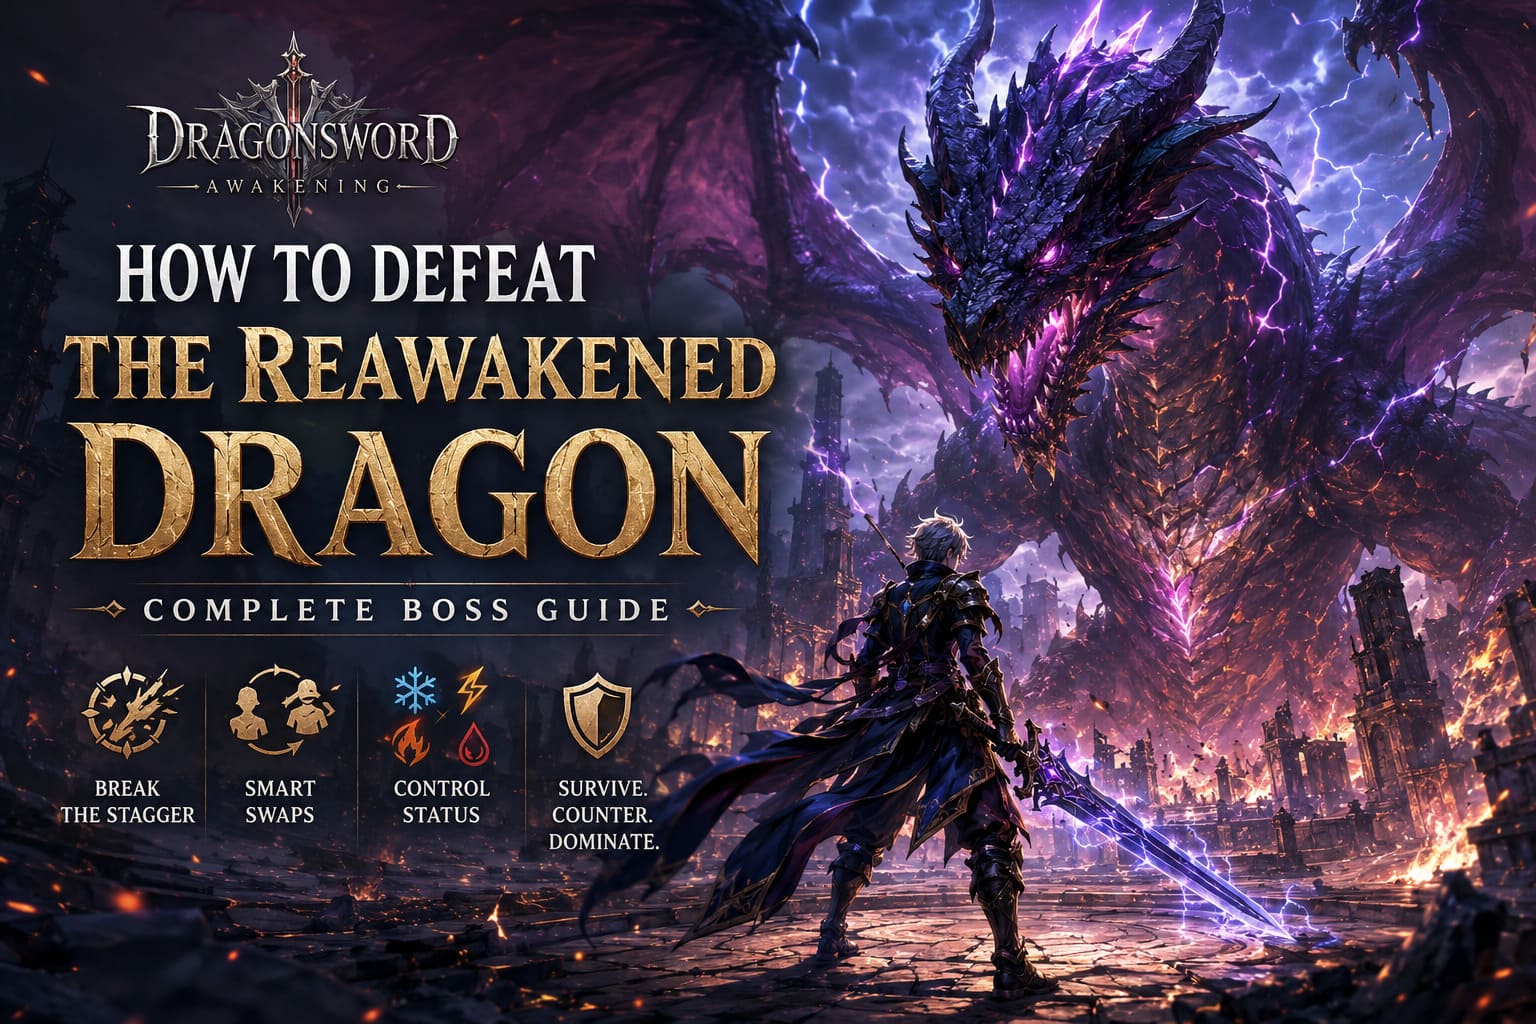
The Reawakened Dragon doesn’t.
Its attacks come in long chains, its elemental damage stacks quickly, and every phase introduces something that punishes panic rolling or careless positioning. On top of that, the enormous Stagger Gauge changes the entire rhythm of combat.
Instead of thinking only about dealing damage, you should constantly ask yourself one question:
“Am I building toward the next stagger?”
That’s where the real damage happens.
Once I stopped chasing DPS numbers and focused on breaking the boss consistently, the fight became much more manageable.
Stop Treating Companion Swaps Like a Cool Animation
One mistake I made during my first attempts was using companion swaps only when another character’s skills came off cooldown.
That approach simply doesn’t work here.
Character swapping is practically another defensive mechanic.
Those brief invulnerability frames during swaps can completely ignore attacks that would normally flatten your active character.
Sometimes it’s actually safer to swap than to dodge.
This becomes especially valuable once your stamina bar starts running low during the later phases.
A Team That Actually Works
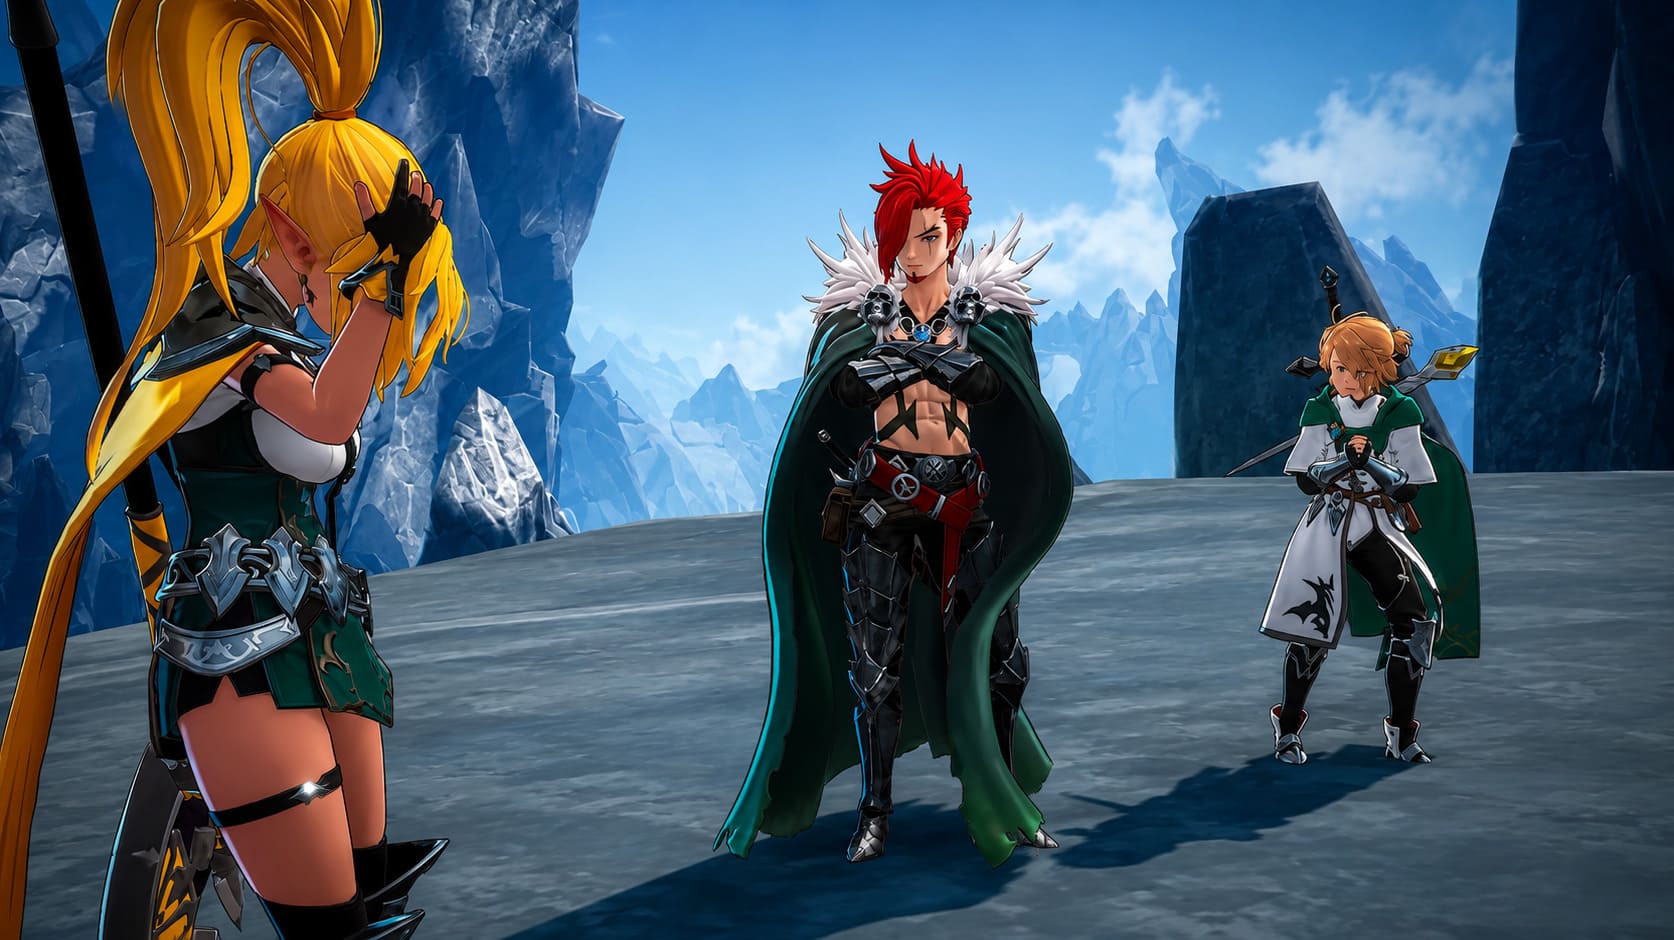
There are plenty of viable combinations, but after experimenting with different parties, this setup felt the most consistent.
| Role | Recommended Character | Purpose |
|---|---|---|
| Main Damage Dealer | Lute | Heavy stagger damage and burst windows |
| Element Specialist | Ursula | Freeze, Shock and battlefield control |
| Mobile Support | Fast Bleed/Burn character | Status application and emergency swaps |
The biggest mistake is filling every slot with pure damage dealers.
The Dragon isn’t a training dummy.
You’ll gain far more overall damage by extending stagger opportunities than by adding another hard-hitting character.
Build Priorities That Matter
Instead of stacking raw attack on every piece of equipment, I had much better results focusing on utility.
Prioritize stats like:
- Stagger Damage
- Status Effect Duration
- Critical Rate
- Cooldown Reduction
- Maximum Stamina
Longer Freeze duration creates noticeably safer attack windows.
Extra stagger damage means fewer rotations before the boss collapses.
Those two bonuses ended up contributing more to my clear than another small attack increase ever did.
Don’t Ignore Your Consumables
I’m usually the type of player who finishes RPGs with 99 unused potions.
This boss cured me of that habit.
Bring:
- Healing Elixirs
- Stamina Recovery Potions
- Burn Cure
- Shock Cure
Burn damage especially becomes annoying because it often forces you into defensive play right when the Dragon becomes vulnerable.
Removing it immediately lets you keep pressure on the boss instead of wasting valuable stagger time.
Phase One: Learn the Dance
The opening phase actually teaches everything you’ll need later.
The Dragon mostly stays grounded, which gives you plenty of opportunities to study its attack timings.
The temptation is to attack the head.
Don’t.
I found much better success staying near the front shoulder instead of directly underneath the boss or behind the tail.
This position keeps most attacks readable while avoiding some of the more awkward camera angles.
Main attacks
- Tail sweep
- Forward breath attack
- Double stomp
- Claw slam
Whenever the Dragon begins lifting both front legs, don’t panic roll backward.
Rolling through the shockwave often places you in the perfect position for a full combo.
Once the stagger bar finally breaks, unload everything.
This is not the time to save cooldowns.
Phase Two Is Where Most Attempts End
This phase frustrated me more than the final one.
The Dragon takes flight, your melee attacks suddenly become unreliable, and the arena fills with explosions.
At first I kept trying to chase it around.
That was a terrible idea.
Instead, think of Phase Two as a survival test.
Your objective isn’t maximum damage.
Your objective is forcing the Dragon back onto the ground.
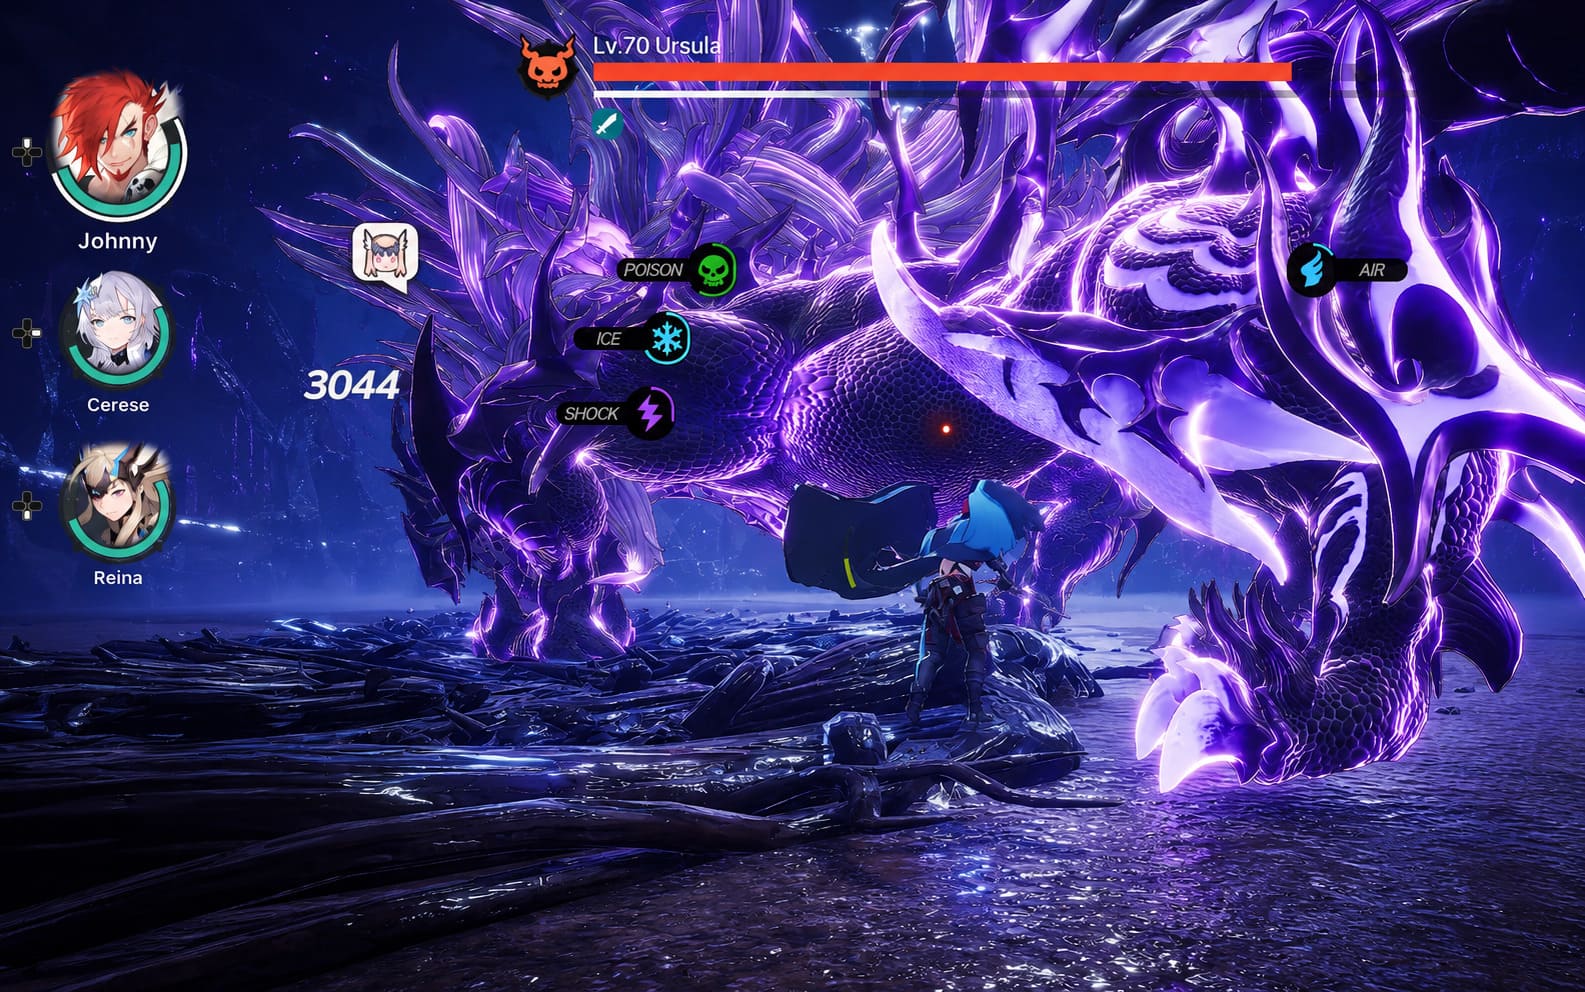
What to expect
- Homing fireballs
- Arena-wide dive attacks
- Massive stamina-draining roar
The fireballs look terrifying, but running in wide circles actually avoids most of them.
Constant dodge rolling usually drains your stamina before the real danger arrives.
Save stamina for the dive attack.
That’s the move you actually need to react to.
The Counter That Changes Everything
One mechanic deserves special attention because many players completely miss it.
During the Dragon’s aerial charge, you’ll briefly notice a glowing visual cue near its upper body.
That’s your opportunity.
Landing a perfectly timed counter immediately knocks the Dragon back to the ground.
Miss it, and you’ll spend much longer dealing with aerial attacks.
Hit it successfully, and you earn one of the biggest damage opportunities in the entire encounter.
After discovering this timing, Phase Two became dramatically shorter.
The Final Phase Turns Into Controlled Chaos
Once the Dragon reaches roughly one-third health, it stops playing fair.
Its attacks become faster.
Its recovery becomes faster.
Status effects appear more frequently.
The entire arena feels dangerous.
Ironically, this is also where hesitation becomes your biggest enemy.
Trying to play safely usually drags the fight out until something eventually goes wrong.
Instead, maintain pressure while rotating characters constantly.
Those swap invulnerability frames become incredibly valuable now.
The Ultimate Cataclysm
This attack deserves its own section.
When the Dragon moves toward the center of the arena and begins channeling enormous energy, don’t keep attacking normally.
The protective barrier around the boss isn’t just visual decoration.
You need to rapidly apply different status effects.
Think of it as solving a puzzle under pressure.
- Mix Freeze.
- Apply Shock.
- Trigger Bleed.
- Stack Burn.
Once enough status interactions occur, the barrier finally collapses.
If your party has been built correctly, this happens surprisingly quickly.
Fail to break it, and the attack will almost certainly end the attempt.
My Biggest Lesson From This Fight
Oddly enough, I stopped losing once I became less greedy.
Earlier attempts usually ended because I wanted one more combo.
One more heavy attack.
One more ultimate.
The successful run looked much calmer.
Attack.
Swap.
Dodge.
Freeze.
Break stagger.
Burst.
Reset.
The fight almost feels rhythmic once everything starts clicking together.
Small Tricks That Made a Huge Difference
These aren’t mandatory, but they noticeably improved consistency.
- Keep roughly one-third of your stamina available at all times.
- Disable lock-on if the camera starts fighting you during aerial attacks.
- Save ultimate abilities for stagger windows instead of using them immediately.
- Swap characters instead of panic rolling whenever possible.
- Reapply status effects before they expire rather than waiting until they’re gone.
None of these tips sound particularly exciting.
Combined, though, they make the encounter significantly easier.
Is the Free Launch Familiar Worth Using?
Absolutely.
If you claimed the launch-period familiar, equip it.
The passive increase to status buildup isn’t flashy, but against a boss designed around breaking stagger bars, every extra percentage matters.
It’s one of those bonuses you barely notice until you remove it.
DragonSword Awakening: How to Claim Free Abyssal Direwolf Familiar DLC (Complete Guide)
Common Mistakes I See Players Making
| Mistake | Better Alternative |
|---|---|
| Staying on one character | Rotate constantly |
| Chasing the Dragon during flight | Wait for the counter opportunity |
| Saving ultimates too long | Use them during stagger |
| Emptying the stamina bar | Always keep emergency stamina |
| Ignoring status effects | Build around them from the start |
Every one of these mistakes cost me attempts.
Fixing them mattered far more than upgrading another weapon.
DragonSword Awakening Combat Guide: How to Fast-Switch Characters & Master Perfect Dodge Timing
Final Thoughts
The Reawakened Dragon easily became one of my favorite RPG boss fights this year.
It’s challenging without feeling completely unfair, and every defeat usually teaches something useful. The encounter rewards patience, preparation, and understanding of DragonSword: Awakening’s combat system instead of simply demanding bigger damage numbers.
What impressed me most is that Hound13 resisted the temptation to make the last boss into a giant health sponge. Instead, they built a battle that constantly asks whether you’ve actually learned the mechanics introduced throughout the adventure. If the answer is yes, the fight feels incredibly satisfying. If not, the Dragon reminds you almost immediately.
Once the rhythm finally clicks—rotating companions, maintaining elemental pressure, breaking the Stagger Gauge, and unloading everything during those precious damage windows—the encounter transforms from an impossible wall into one of the most rewarding victories in the game.
If you’re stuck right now, don’t assume you need better gear. More often than not, you simply need cleaner rotations, smarter stamina management, and a little more confidence with companion swapping.
Master those fundamentals, stay calm during the aerial phase, and when the Reawakened Dragon finally crashes to the ground for the last time, the victory feels every bit as epic as DragonSword: Awakening intended.