Dead Weight Combat Guide: Beginner Tactical Strategies and Airship Mechanics (2026)
Dead Weight doesn’t play fair, and that’s exactly why it grabbed me after the first few runs.
One moment you’re feeling clever after knocking a cultist off a floating island, and five minutes later an ancient cosmic horror has turned your carefully positioned squad into scrap metal because you ignored a single tile on the battlefield. If you’ve spent hundreds of hours in games like Into the Breach, Final Fantasy Tactics, or even Fell Seal, you’ll recognize the DNA immediately. But Dead Weight has its own personality, and honestly, it can be downright brutal if you approach it like a traditional RPG.
Levels won’t save you.
Gear won’t save you.
Raw damage numbers definitely won’t save you.
The players who survive are the ones who understand positioning, initiative order, enemy intentions, and the invisible economy happening outside combat aboard their flying fortress.
After dozens of runs and digging through community strategies, here are the lessons that consistently separate successful captains from wreckage drifting through the clouds.
The Tactical DNA of Dead Weight
The biggest mistake new players make is treating every encounter like a battle of attrition.
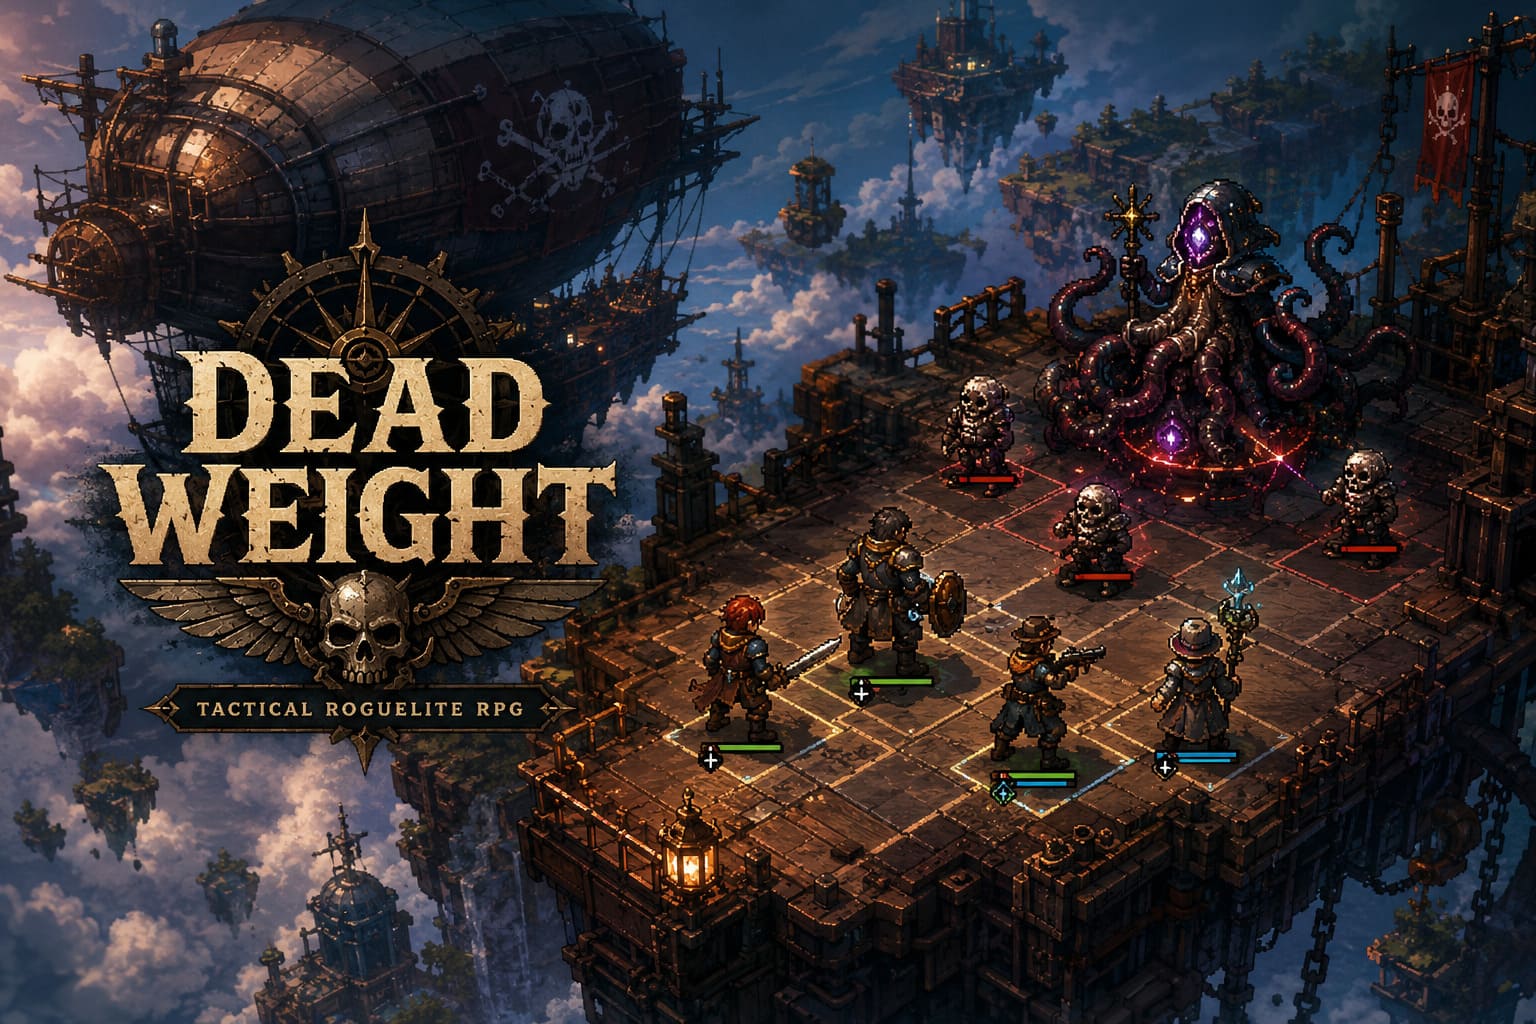
That approach dies fast.
Dead Weight asks a different question every turn: How do I stop the enemy from acting at all?
Most enemies telegraph their intentions before the turn begins. The game practically hands you the answer sheet, but it still expects you to solve the puzzle.
Sometimes killing an enemy is the correct answer.
Very often it isn’t.
Pushing an enemy one tile away from its attack marker can completely erase incoming damage. Pulling an enemy into friendly fire can eliminate multiple threats at once. Stunning a dangerous elite often creates more value than spending several attacks trying to burn through its health bar.
That mindset changes everything.
Why Positioning Matters More Than Damage
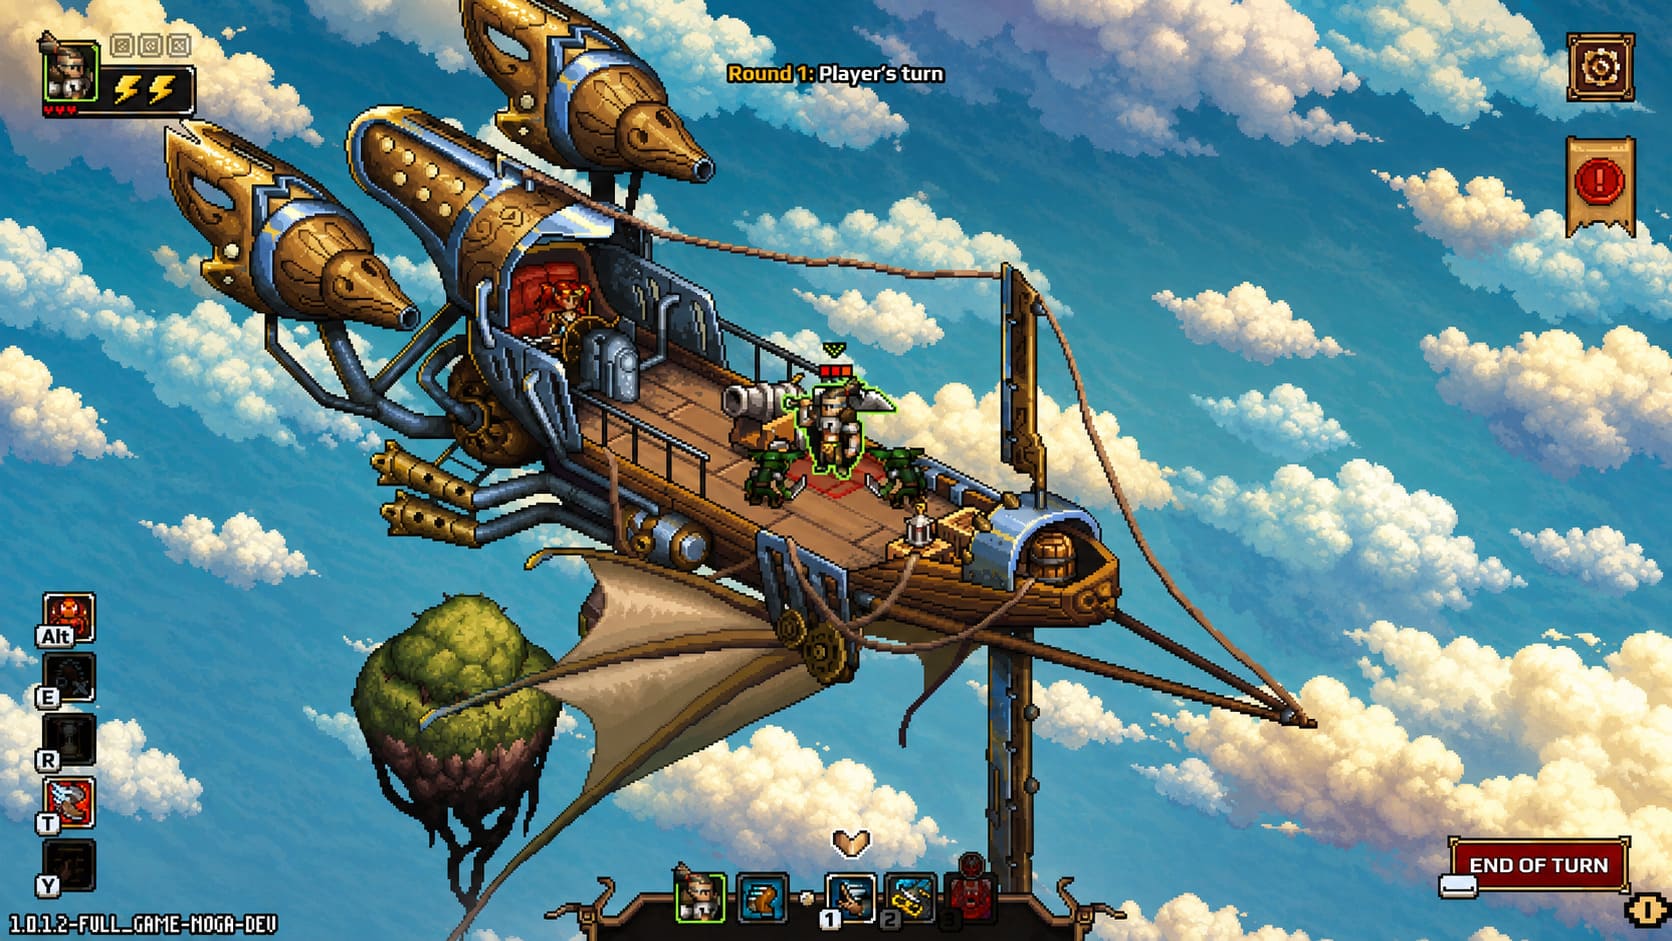
Dead Weight’s battlefields are tiny. You’ll fight on broken airship decks, floating islands barely larger than a chessboard, and industrial platforms where every square becomes valuable real estate.
Movement becomes a resource.
One extra tile of movement can completely change a battle.
A lot of newcomers chase damage upgrades first, but experienced players quickly realize mobility wins campaigns.
| Priority | Reason |
|---|---|
| Action Points | More actions create more tactical solutions every turn. |
| Movement Range | Positioning wins fights before damage calculations even begin. |
| Crowd Control | Pushes, pulls, roots, and stuns can completely invalidate enemy turns. |
| Initiative | Acting first often prevents casualties before they happen. |
| Damage | Useful, but rarely the deciding factor during early runs. |
The difference between six movement and seven movement sounds tiny until a boss attack covers half the map.
Suddenly that extra tile feels priceless.
Turn Enemy AI Into Your Strongest Weapon
One of the most satisfying things in Dead Weight is watching enemies accidentally destroy their own allies.
Seriously, embrace the chaos.
If a giant brute is preparing a devastating slam attack, don’t always rush to kill him immediately. Instead, shove another enemy into the impact zone and let the brute do your work for you.
I’ve won encounters while barely attacking because the enemy army spent two turns deleting itself.
The battlefield becomes your weapon.
Enemy attacks become your weapon.
Environmental hazards become your weapon.
Once that clicks, the game starts feeling less like a roguelite RPG and more like a tactical sandbox.
Early Crew Development and Stat Priorities
The starting squad looks simple on paper, but your first upgrades shape the entire campaign.
Many players dump everything into offensive stats because bigger numbers feel satisfying.
That’s bait.
Survivability and flexibility generate far more value in the long run.
- Health recovery after kills.
- Additional Action Points.
- Movement bonuses.
- Cooldown reduction.
- Crowd control effects.
The famous heal-on-kill upgrades may look boring compared to flashy damage skills, but they quietly carry entire expeditions.
Healing supplies are expensive.
Medical resources disappear quickly.
Passive sustain keeps your crew alive without draining your economy.
The Four-Step Combat Routine
Every combat encounter follows the same mental checklist.
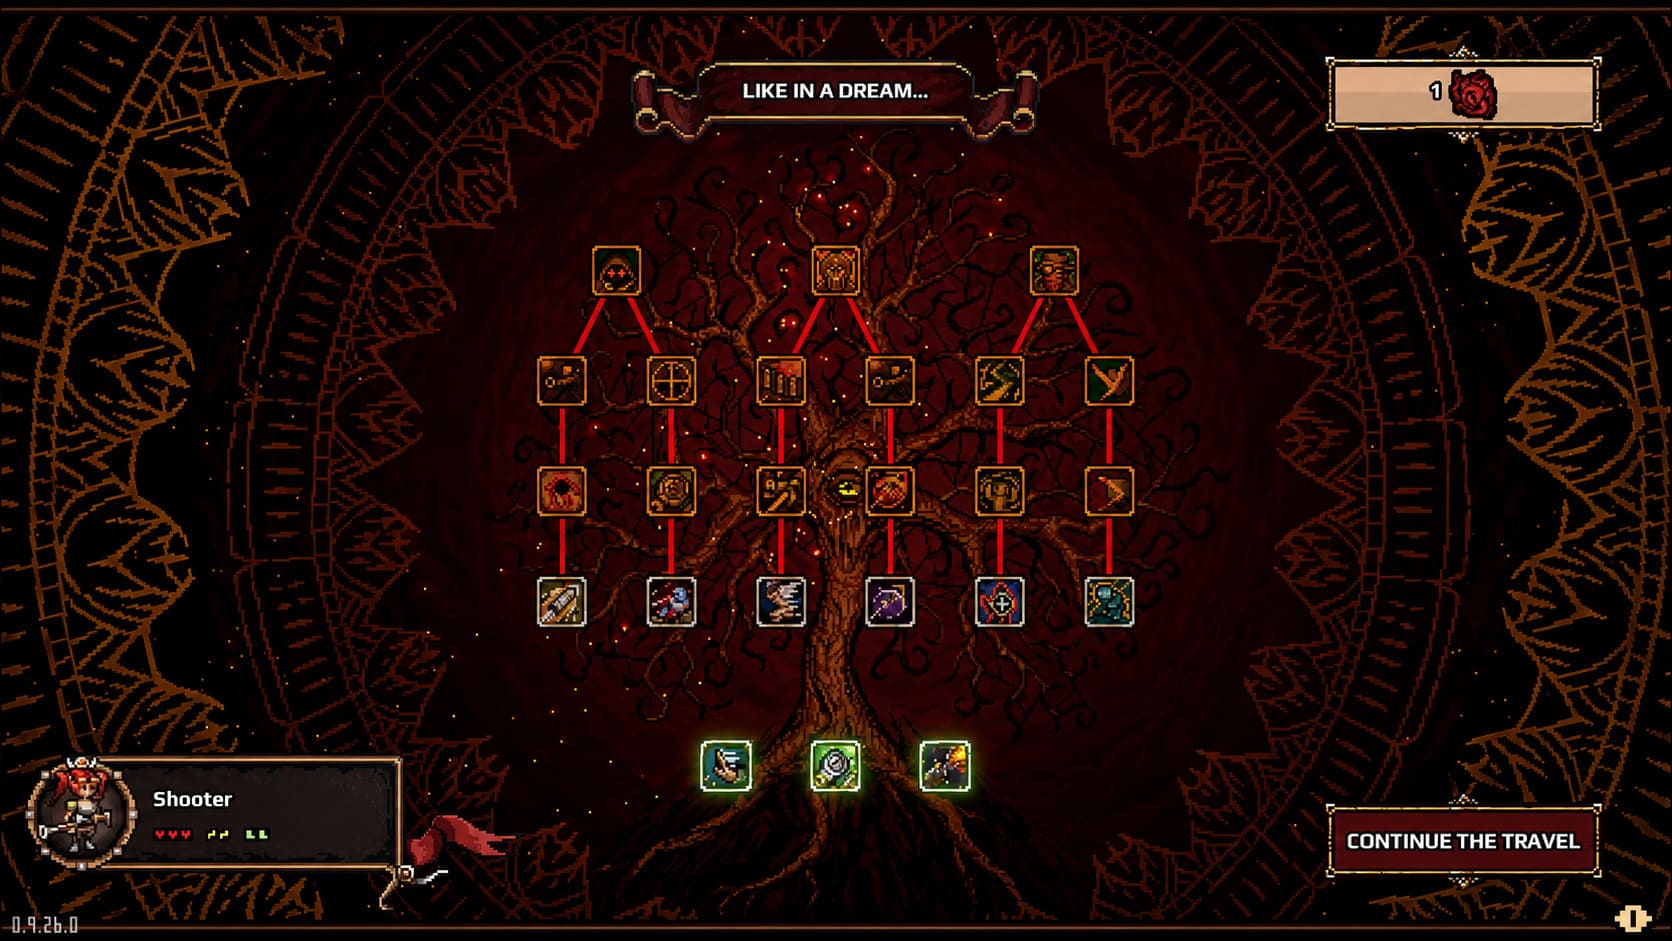
1. Read Enemy Intentions
Before moving your own units, inspect every enemy marker. Who are they targeting? How much damage is coming? What shape is the attack pattern?
2. Check Initiative Order
Turn order is everything. If an enemy acts before your healer or tank, that threat immediately becomes priority number one.
3. Search for Free Value
Can enemies hit each other? Can someone be knocked off the map? Can a stun cancel a dangerous ability? Always look for solutions that cost fewer resources than direct combat.
4. Lock Down Chokepoints
Maps are filled with machinery, debris, and narrow corridors. A single durable frontline character can hold an entire passage while ranged allies dismantle targets safely.
How to Defeat The Mad Oracle Aluza
Every tactical game has that first boss that slaps players back into reality.
For Dead Weight, that boss is Aluza.
The trick is realizing you’re fighting her mechanics rather than her health pool.
Common Mistakes
- Charging the boss immediately.
- Ignoring summoned enemies.
- Using crowd control too early.
- Entering the fight with low supplies.
What Actually Works
Aluza sacrifices her own health whenever she resurrects minions or performs ritual abilities.
That is her weakness.
Your job is survival.
Control the battlefield.
Manage the adds.
Avoid unnecessary risks.
Eventually she creates her own opening.
Once she becomes vulnerable, unload every stun, net, root, and immobilization tool you have available. If she can’t move, she can’t escape.
Your Airship Is The Real Main Character
Combat gets all the attention, but campaigns usually succeed or fail because of decisions made on the world map.
Fuel management destroys more runs than difficult battles ever do.
Clear too many nearby islands too early and you may discover that the profitable outer regions are now beyond your travel range.
Congratulations.
You’re stranded in the sky.
Plan routes carefully.
Leave opportunities available for later.
Invest in efficiency instead of short-term rewards.
Fatigue and Madness Are Run Killers
Dead Weight punishes players who become attached to a single dream team.
Your crew gets tired.
Exhaustion lowers effectiveness.
Eventually even elite characters become liabilities.
Rotate squads regularly.
Train replacements.
Hire new crew members whenever possible.
The cosmic horror themes aren’t just visual flavor either.
Sanity matters.
Low sanity creates behavioral problems ranging from movement refusal to random targeting.
Watching a valuable character ignore your command during a boss encounter is a painful experience every player remembers.
Comfort upgrades aboard your ship are not luxury purchases.
They’re insurance policies.
Dead Weight Class Guide: All 15 Character Classes and Multiclassing Tier List
Best Beginner Team Composition
| Role | Purpose |
|---|---|
| Frontline Controller | Controls movement and protects the team. |
| Mobile Assassin | Eliminates weakened enemies quickly. |
| Ranged Damage Dealer | Provides safe and reliable damage output. |
| Support Specialist | Buffs allies and manipulates terrain. |
This setup handles almost every encounter the early game throws at you.
Dead Weight Ancient Gods Lore and Strategy Guide: The Steampunk Cult RPG Explored
Final Thoughts
Dead Weight rewards patience, planning, and creativity more than almost any tactical roguelite I’ve played in recent years.
The moment you stop asking How do I kill this enemy? and start asking How do I make this enemy irrelevant?, the entire game opens up.
Push enemies into the abyss.
Turn their attacks against them.
Manage your crew like a real captain instead of a loot hoarder.
Keep the boilers running.
Keep the crew sane.
And when an ancient god finally crawls out of the clouds to challenge your ship, make sure it’s standing on the wrong tile.
Because in Dead Weight, one square of movement can decide an entire campaign.