Graveyard Keeper 2 Anatomy & Alchemy Guide: How to Craft Perfect Corpses
If there is one thing I have learned from playing a ridiculous number of management, crafting, and survival games, it is that the systems that look the most disgusting on paper are often the ones I end up obsessing over. Graveyard Keeper 2 is a perfect example. At first, the morgue seems like another production room where you process bodies, grab a few useful materials, and move on. Then you realize that the entire corpse system is basically a puzzle where every cut, injection, and organ swap can change the value of your graveyard or the efficiency of your future workforce.
Lazy Bear Games clearly knows that players will eventually start min-maxing this stuff. The result is an anatomy and alchemy system that rewards planning rather than simply throwing every available body into the ground. If you want a strong graveyard, efficient sermons, or zombies capable of carrying your production chain while you work on everything else, learning how corpse skull values actually work is essential.
This guide breaks down the anatomy system, the technology progression, the important injections, and the general process I would use when trying to turn an ordinary corpse into a high-value one.
Graveyard Keeper 2 100% Completion Guide: All Achievements Checklist
How Corpse Quality Actually Works
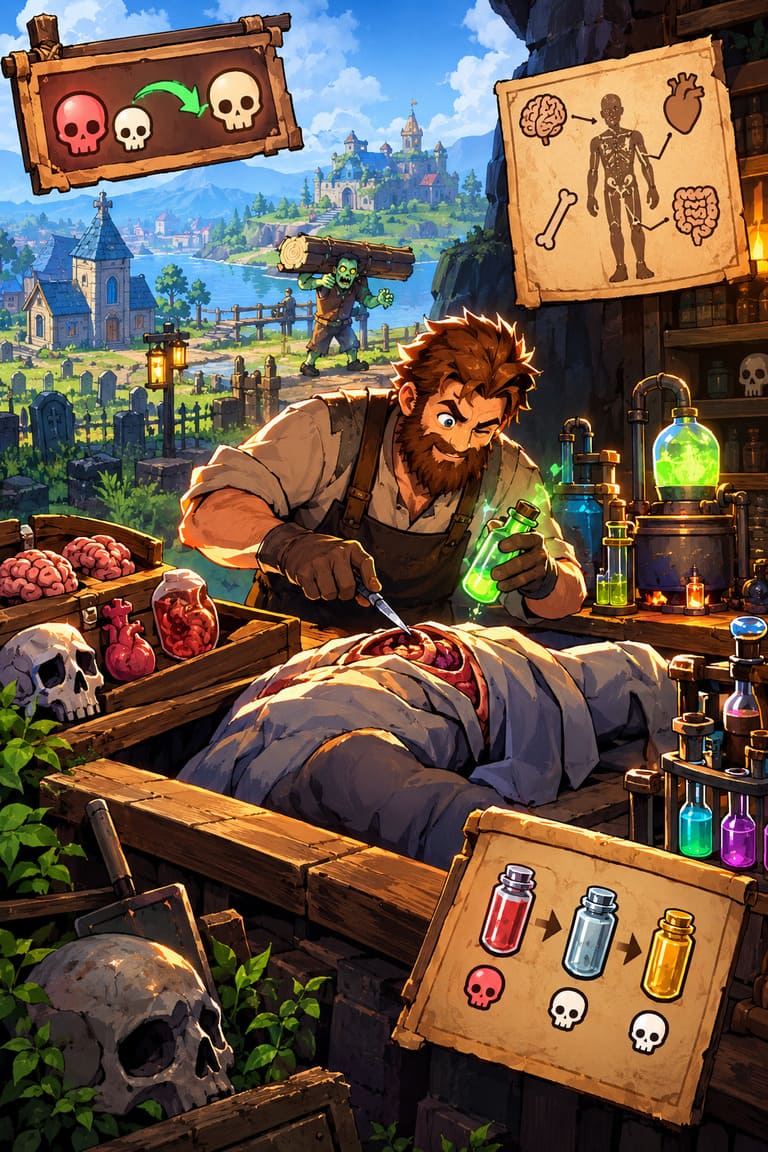
The first thing to understand is the skull system. Every corpse arrives with its own combination of red and white skulls, and those numbers determine how useful the body can eventually become.
Red skulls are basically the problem you need to solve. They represent negative corpse characteristics and directly hurt the value of a grave. White skulls are the opposite: they represent positive potential and determine how much decoration value the grave can support. They also matter when you start turning bodies into zombies, because better white-skull totals translate into more productive workers.
That makes the morgue much more interesting than a simple harvesting station. You are constantly making a decision between taking a useful body part for crafting and preserving the corpse’s rating.
| Skull Type | What It Means | Why You Care |
|---|---|---|
| Red Skull | Negative corpse value | Lowers grave potential |
| White Skull | Positive corpse value | Raises grave potential and zombie efficiency |
| Removed Red Skull | Improves the corpse | Usually desirable |
| Added White Skull | Improves the corpse | One of your main optimization goals |
The technology investment is also substantial. The anatomy and related production systems require 160 red, 630 green, and 335 blue technology points across the relevant progression, eventually opening 20 technologies, dozens of recipes, multiple production stations, and a large collection of specialized items.
That sounds expensive early on, and honestly, it is. But once you get deeper into the system, these upgrades start paying for themselves because your morgue becomes the foundation for several other parts of the game.
Anatomy: Every Extraction Changes the Body
Autopsy is where the real fun starts.
You can extract nine major body parts: skull, bone, flesh, fat, blood, skin, brain, heart, and intestines. They are not just crafting ingredients. Most of them also affect the corpse’s skull configuration, meaning that harvesting something can make the body better, worse, or simply different.
This is where I would strongly recommend slowing down. When I first approach systems like this in a management game, my instinct is usually to grab everything that looks useful. That works with rocks and berries. It does not work particularly well with corpses.
Blood and Fat Come First
Blood and fat are your basic opening moves.
Removing blood removes one red skull and adds one white skull. Removing fat does essentially the same thing. That makes both extractions incredibly valuable because you are improving the corpse rather than merely harvesting materials.
For most bodies that I want to preserve, these are the first two things I would consider removing.
You get two useful resources while simultaneously converting two negative skulls into two positive ones. There are not many early-game actions that offer such a clean trade.
Flesh, Bone and Skull
Flesh, bones, and skulls are more situational.
Flesh has several crafting uses, while bones and skulls are also needed in different production recipes. The problem is that removing flesh costs you a white skull, so you should not treat every decent corpse as an unlimited source of crafting materials.
If you desperately need flesh for a recipe, that is one thing. But if you are building a premium grave, taking flesh simply because you can is usually a bad bargain.
Bones and skulls can also be harvested when appropriate, but I prefer keeping high-potential bodies intact until I know exactly what I am doing with them.
Skin Is Particularly Painful
Skin is extremely useful as a crafting resource, appearing in a large number of recipes. Unfortunately, removing it damages the corpse considerably.
Extracting skin adds two red skulls and removes one white skull. That is a brutal trade when you are trying to build a perfect body.
My rule would be simple: use low-quality bodies as material banks. If a corpse already has a terrible rating and you are not going to rescue it, harvesting the skin makes much more sense than sacrificing a valuable body.
The Brain, Heart and Intestines Are the Wild Cards
The most interesting parts are the brain, heart, and intestines.
Their values are randomized when the corpse is generated, which means you cannot simply memorize one perfect recipe and expect every body to behave identically. One corpse might arrive with a useful organ combination while another can be a complete disaster.
This is why organ storage becomes so important.
Once you unlock Important Parts, you can start understanding the values of these organs more clearly. Later, Anatomy II gives you the tools necessary to make more precise replacements and turn the whole process into something resembling a real inventory puzzle.
And this is probably my favorite part of the system. You are no longer just processing corpses. You are effectively building a warehouse of anatomical upgrades.
A bad body can still contain an excellent organ. A good body might have one terrible internal component. Suddenly, the morgue becomes a place where you collect spare parts and wait for the right combination.
Graveyard Keeper 2 Alchemy Technology Progression
Alchemy is what takes corpse optimization from basic surgery to full-on corpse engineering.
You cannot simply walk into the laboratory and immediately manufacture the best embalming fluids. The game gates the strongest options behind a technology progression that gradually introduces more advanced surgical and chemical tools.
Early Technology
The first important nodes establish your basic capabilities.
- First Slice — 10 red and 5 green points.
- Second Chance — 10 red and 10 blue points.
- The Beginning of Alchemy — 5 green points.
- Alchemy Storage — 10 red points.
- Zombie Logistics — 10 red and 10 green points.
- Embalming Liquids — 30 green and 10 blue points.
This is the point where the system starts becoming much more than corpse disposal. You are building an infrastructure that will eventually connect autopsy, alchemy, storage, transportation, and zombie automation.
Mid-Game Anatomy and Embalming
Once you reach the more advanced branches, Gentle Butcher becomes useful because it reduces the risk associated with autopsy mistakes. Advanced Alchemy also opens the Distillation Cube, giving you access to more complicated production chains.
Then come the second-level embalming technologies.
Embalming II requires 50 green and 10 blue points, while Embalming Liquids II costs 50 green and 20 blue points. This stage introduces things such as Glue, Preservative, and Restore injections.
At this point, the corpse system starts feeling much more flexible. You have enough tools to stop simply accepting whatever numbers a body arrives with.
Endgame Technology
The expensive stuff is where corpse optimization becomes genuinely powerful.
Dark Bodies costs 50 blue points and opens the dark organ variants. Embalming Liquids III requires 80 green and 30 blue points and gives you access to Dark, Silver, and Gold injections.
Finally, Master of Alchemy costs 100 green and 40 blue points.
That is a serious investment, but if your goal is to produce elite corpses consistently, this is the branch you eventually want to complete.
Graveyard Keeper 2 Embalming Injections Explained
The injections are where the system becomes almost puzzle-like. Every fluid has a specific effect, and using one at the wrong moment can leave you with a corpse that is harder to fix.
Lye
Lye Injection adds one red skull and one white skull.
At first glance, that sounds terrible. Why would you deliberately add a red skull?
Because advanced corpse optimization is not always about immediately removing every negative skull. Sometimes you need to create the right configuration before another chemical can improve it.
Acid
Acid removes one red skull and one white skull.
It is useful when you need to reduce red skulls but do not mind sacrificing one white skull in the process. It is more of a balancing tool than a straight upgrade.
Glue
Glue is much easier to love.
Glue adds one white skull without adding a negative effect.
If you have already established a good corpse and simply want to push its positive rating higher, Glue is one of the cleanest tools available.
Preservative
Preservative is less about improving the skull count and more about protecting your work.
Once you have spent time carefully preparing a corpse, you do not want decay to undo your effort. Preservative helps lock down the body and prevents further deterioration.
Restore
Restore is your answer when a corpse has already started suffering from decay.
It can bring damaged tissue back toward its original condition, which is especially useful if you were unable to process the body immediately after arrival.
Dark Injection
Dark Injection deliberately adds red skulls.
Again, this sounds backwards until you reach the more advanced formulas. In the late game, red skulls can become raw material for further conversion, so adding them at the right point can actually be part of creating a superior corpse.
Silver Injection
Silver is much more straightforward.
It removes one red skull and adds one white skull, making it one of the most useful conversion tools in your late-game toolbox.
Gold Injection
Gold is the monster.
It removes two red skulls while adding two white skulls. If you have a high-priority corpse and are trying to squeeze every last bit of value out of it, Gold is the kind of injection you save for the final stages of your process.
My Preferred Perfect-Corpse Workflow
There are plenty of situations where you will need to improvise because of randomized organs, but the following structure is a useful baseline.
1. Start With Blood and Fat
Put the corpse on the autopsy table and remove the blood and fat.
This immediately improves the skull balance by converting two red skulls into two white skulls. It is such a useful opening that I would consider it the default first step for a body you actually care about.
2. Inspect the Internal Organs
Now look at the brain, heart, and intestines.
Do not blindly remove them. Check what they are doing to the corpse first. If one is heavily corrupted, replace it with a better organ from your stored collection.
This is the part where your previous work pays off. Good organ storage turns future autopsies from gambling into planning.
3. Create Additional Red Skulls When Necessary
If your advanced recipe requires more red skulls for conversion, use Dark or Lye.
This is one of those mechanics that feels completely wrong the first time you see it. You spend hours learning how to remove red skulls, and then the late game tells you to put them back.
But once you understand the chemistry, it makes sense. You are creating the negative values you intend to convert.
4. Use Silver and Gold for Conversion
Once the corpse has the right setup, use the stronger conversion injections.
Silver removes one red skull and creates one white skull. Gold removes two red skulls and creates two white skulls.
Used together, they can turn a deliberately prepared body into a dramatically better one.
5. Finish With Glue and Preservative
When the corpse is sitting where you want it, use Glue to add another white skull.
Then preserve the body.
The important thing is not to keep experimenting after you have reached the result you wanted. In management games, players often ruin a perfect production chain because they keep trying to squeeze out another tiny improvement. Once the corpse is good enough, lock it down.
What Should You Do With a Perfect Corpse?
This is where the entire system connects back to the rest of the game.
A high-quality corpse can become a valuable graveyard asset. Better bodies support stronger grave ratings and help you push your cemetery toward higher levels, which in turn supports other progression systems.
But you can also go in the opposite direction and use your carefully prepared bodies for zombie production.
A strong zombie can become part of your automated workforce, handling tasks around things such as wood, iron, transportation, and other production chains. Since worker effectiveness is tied to white-skull quality, spending time perfecting the corpse can eventually save you a huge amount of manual labor.
That is why I think the anatomy system is more important than it initially appears. It is not just a weird side mechanic for people who enjoy playing medieval mortician. It is connected directly to graveyard optimization, resource production, technology progression, and automation.
Common Corpse Mistakes I Would Avoid
After playing enough crafting and management games, I have a pretty strong suspicion that most players will make the same mistakes here.
Harvesting every useful body part is the first one. A corpse is not automatically better because you extracted more materials from it. Sometimes the best thing you can do with a valuable body is leave most of it alone.
The second mistake is ignoring organ storage. Brain, heart, and intestines can completely change the quality of a body, so keeping good replacements around gives you much more control.
Finally, do not rush into expensive injections without understanding their purpose. Lye and Dark can look like bad choices if you only think in terms of ‘red skull bad, white skull good.’ Once you understand the conversion process, their role becomes much clearer.
Final Thoughts
The anatomy and alchemy system in Graveyard Keeper 2 is exactly the kind of mechanic I appreciate in a management game. It starts with a simple question — what do I do with this corpse? — and eventually turns into a much deeper problem involving randomized organs, technology unlocks, chemical reactions, resource management, graveyard ratings, and automated workers.
The biggest lesson is that you should stop thinking of corpses as disposable resources. Good bodies are projects. Bad bodies can still be useful for materials. Organs can be stored as future upgrades, while late-game injections give you enough control to deliberately reshape a corpse instead of simply accepting the numbers you were given.
If you are chasing maximum graveyard quality or want an army of efficient zombies doing the boring work while you explore the rest of the game, learning these systems is absolutely worth the investment. Once the morgue starts running like a proper production line, Graveyard Keeper 2 becomes much less about digging graves and much more about building a bizarre little industrial empire powered by anatomy.