Ascenders Beyond The Peak Base Camp Upgrades & High-Ascent Class Synergies
There’s something brutally addictive about Ascenders: Beyond The Peak. At first glance, it looks like a climbing game with a cool roguelite twist—but after a few failed expeditions and a couple of lost climbers, you realize the real game isn’t just on the mountain. It’s back at Base Camp.
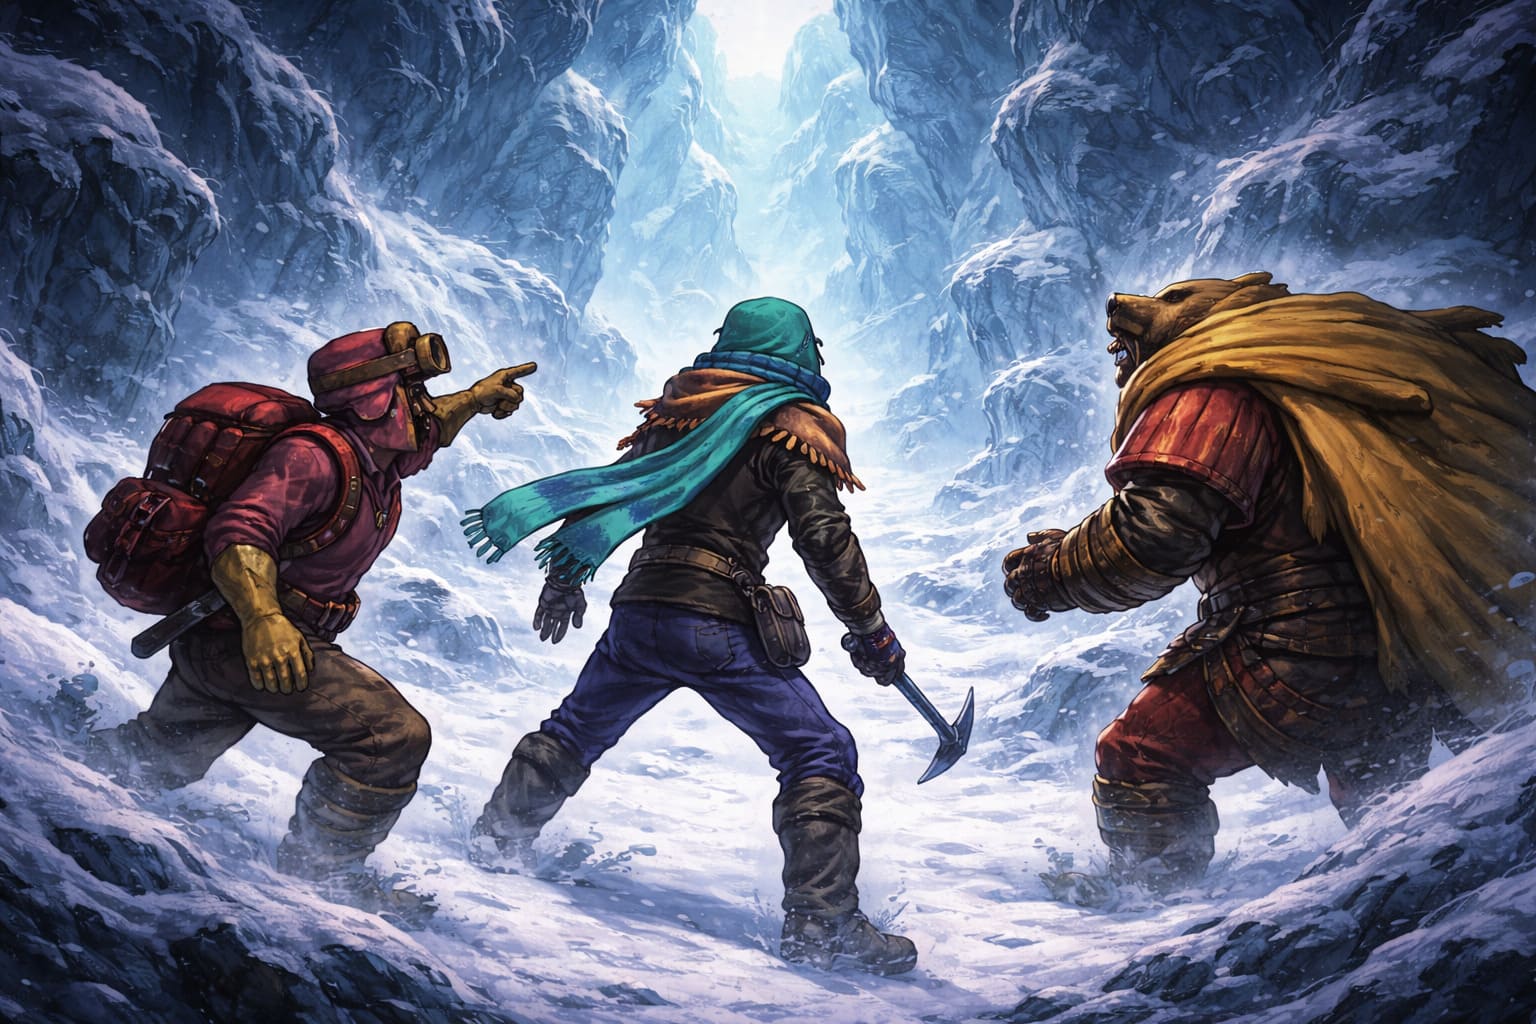
I’ve spent a good chunk of time experimenting with different HQ setups, and if there’s one thing I’ve learned, it’s this: your success on the mountain is decided before you even start climbing. Let’s break down how to actually build a Base Camp that keeps your team alive—and progressing.
Xenonauts 2 Alien Guide: Psyon vs. Eternal Differences, Stats, and Tactics (2026 Version)
Why Base Camp Matters More Than You Think
Every run feels tense because death is permanent. When you lose a climber, they’re gone. No reload, no second chances.
That’s why your HQ becomes the backbone of your entire playthrough. It’s where you recover from injuries, upgrade gear, prepare food, and build relationships that directly affect your performance on the mountain.
Think of it like this: each expedition is just a test of how well you prepared at Base Camp.
The Core Loop: Risk, Return, Reinforce
The gameplay loop is simple but punishing. You go on an expedition, gather artifacts and resources, try to survive, return to Base Camp, and invest everything into upgrades that improve your next attempt.
What makes it engaging is the constant tension between short-term survival and long-term progression. Do you spend resources now to stay alive, or invest them into something that will pay off later?
From experience, leaning too hard in either direction will hurt you. Balance is everything.
Essential Base Camp Upgrades
You don’t need everything unlocked right away. Trying to rush every upgrade will slow your overall progress. Instead, focus on improvements that give immediate and noticeable impact.
Medical Bay – Your Safety Net
If there’s one upgrade that carries entire runs, it’s the Medical Bay. Climbers don’t just return injured—they come back with lasting trauma that can ruin future expeditions.
Without proper healing, your best characters quickly become ineffective. Trauma reduces performance, injuries force downtime, and before you know it, your roster collapses.
Prioritize faster recovery times and improved trauma treatment. A stable roster is more valuable than a strong but broken one.
I underestimated this early on and paid the price. Once I invested in the Medical Bay, my team became far more reliable.
Workshop – The Real Power Spike
The Workshop is where the game truly opens up. Better tools don’t just improve efficiency—they change how you approach the mountain entirely.
With stronger gear, you can explore more dangerous areas, take riskier routes, and survive situations that would otherwise end your run.
One standout tool is the Chain Launcher, which allows you to connect distant surfaces and create new traversal opportunities.
Focus on improving tool durability and unlocking new crafting recipes. Preparation in the Workshop often matters more than skill during the climb.
Kitchen – Underrated but Critical
The Kitchen is easy to overlook at first, but it plays a crucial role in long-term survival. Food directly affects stamina, morale, and resistance to environmental hazards.
Upgrading your Kitchen allows you to cook advanced meals that provide stronger and longer-lasting buffs. Some recipes even grant resistance to extreme conditions like cold or heat.
A well-fed team performs better, lasts longer, and is less likely to fail under pressure. Never underestimate the power of a good meal before a climb.
Faction Alliances: Choosing Your Path
Artifacts are one of the most important resources in the game, and how you use them defines your progression. You can spend them immediately or invest them into factions for long-term benefits.
| Faction | Primary Benefit | Best For |
|---|---|---|
| Belay Corporation | Resource efficiency and economic stability | Players who want consistent progression and safer runs |
| Belay Academy of Science | Advanced technology and gear upgrades | Players focused on powerful tools and innovation |
| Keepers of the Esoteric Order | Horror resistance and trauma mitigation | Players struggling with mental effects and late-game threats |
Each faction supports a different playstyle, and your choice should reflect your current needs. If you’re low on resources, go economic. If you want stronger tools, focus on technology. If the horror elements are overwhelming, invest in resistance.
Do not try to split your investments evenly. Commit to one direction to see meaningful results.
Managing Your Roster
One of the biggest mistakes players make is relying too heavily on a single team. It feels natural to stick with your strongest climbers, but in a game with permanent death, that strategy is risky.
Instead, maintain multiple teams and rotate them between runs. This reduces fatigue, prevents burnout, and ensures you always have backup options.
Losing your best team without replacements can feel devastating. A deep roster is your true safety net.
Synergy Over Raw Strength
Strong individual climbers are useful, but real success comes from synergy. Pairing characters with complementary abilities unlocks tactical advantages that go beyond basic stats.
Combining different roles allows you to handle a wider range of situations and adapt to unexpected challenges during a climb.
A well-coordinated team will outperform a group of strong but disconnected individuals.
Pay Attention to Camp Events
It’s tempting to skip narrative moments and focus only on gameplay, but camp events often provide useful bonuses and insights.
These interactions can boost morale, reveal hidden mechanics, or offer temporary advantages that make a difference in your next expedition.
They also add personality to your crew, making each run feel more meaningful.
Build for the Long Climb
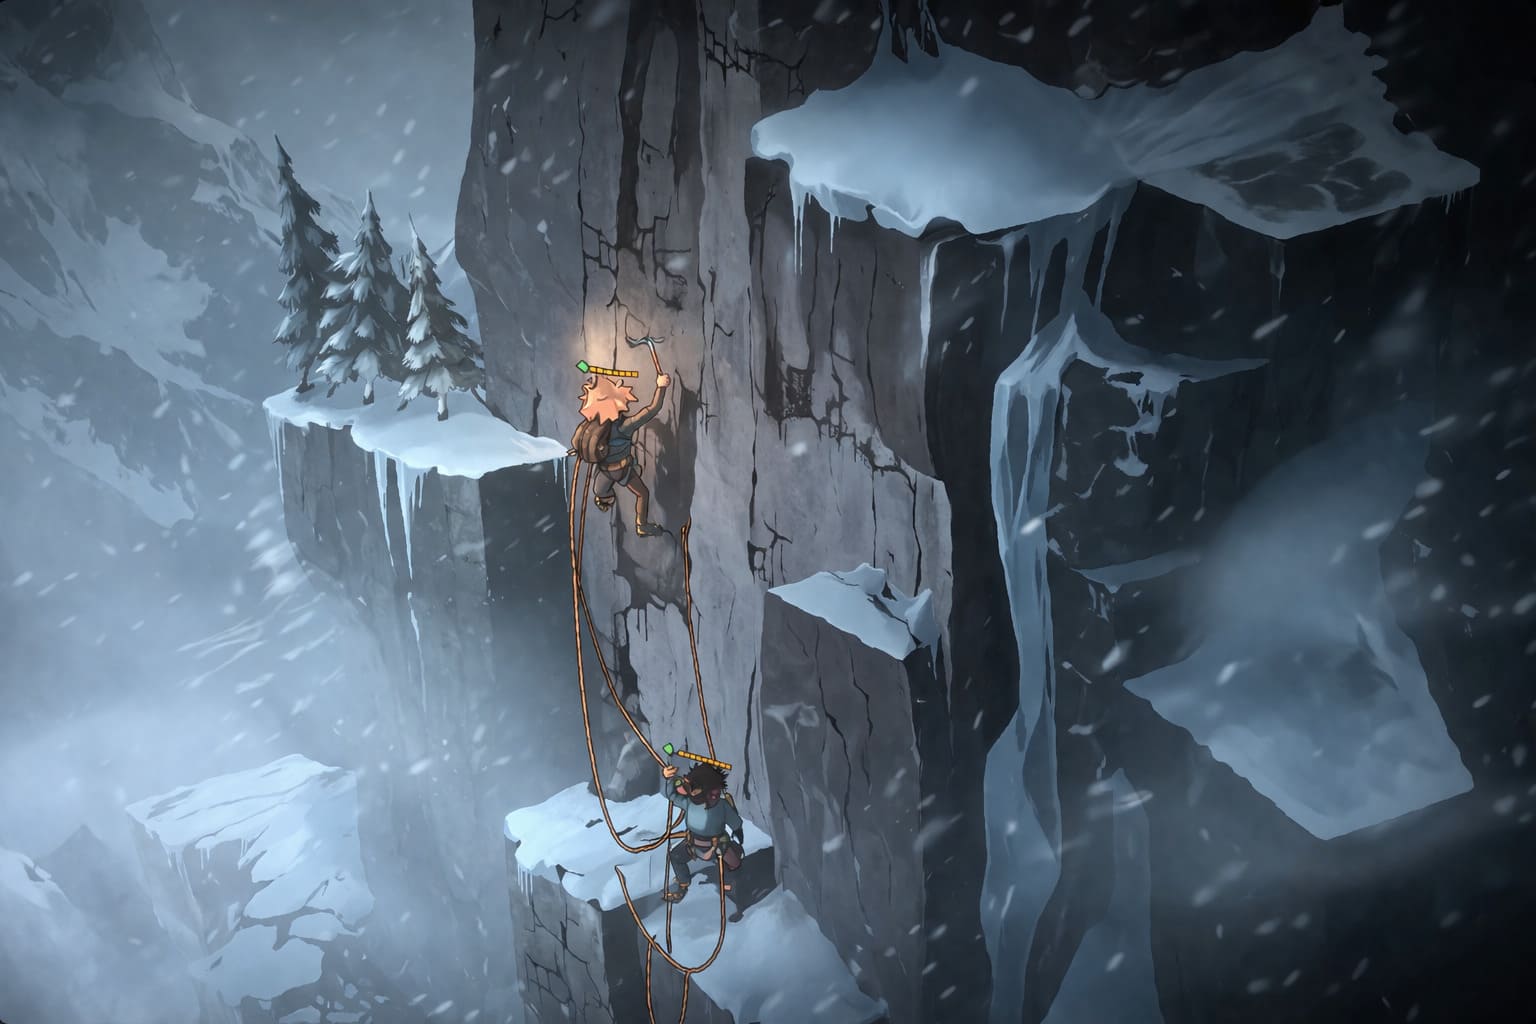
Ascenders: Beyond The Peak rewards planning, patience, and smart decision-making more than raw execution.
If you find yourself struggling, the issue often isn’t your performance on the mountain—it’s how your Base Camp is set up.
Focus on sustainable upgrades, clear strategic direction, and balanced team management. Once your HQ is running efficiently, the game becomes far more manageable and rewarding.
You will still lose climbers—that’s part of the experience. But with the right preparation, those losses become manageable rather than devastating.
In the end, survival isn’t about climbing higher—it’s about building smarter.
Ultimate Class Synergies for Dominating High-Ascent Levels in Ascenders: Beyond The Peak
If you’ve ever tackled the dizzying heights of Ascenders: Beyond The Peak, you know that the upper-tier Ascent levels—especially 6 and 7—aren’t just a casual stroll up a cliff. They’re brutal tests of stamina, strategy, and sheer teamwork. Night cold sap your health, harsh terrain drains your stamina, and the inability to revive fallen climbers means every decision carries weighty consequences.
As someone who’s spent countless hours juggling roped teams on precarious ledges, I’ve found that picking the right class synergy can make or break your high-ascent runs. Here’s my take on the best combinations for surviving the mountain’s harshest challenges, along with some essential gear recommendations to keep your climbers alive.
1. Pathfinder Duo: Scout + Sapper
If speed and efficiency are your top priorities, the Pathfinder duo is pure gold. On Ascent 6+ levels, timing is everything: night cold and hunger can overwhelm even the most seasoned climber if you linger in the wrong spot for too long.
| Class | Role | Key Abilities |
|---|---|---|
| Scout | Mobile Anchor | Grappling Hook for instant repositioning across gaps or up ledges |
| Sapper | Terrain Manipulation | Explosives and Firearms to clear obstacles |
Why They Work Together: The Scout sets secure anchor points ahead of the team, allowing the Sapper to blast debris or hazardous plants without risking the entire rope line. This is especially useful for bypassing stamina-draining obstacles like brambles, poisonous vegetation, or fragile terrain. In practice, the Scout feels like your safety net while the Sapper turns the mountain into a cleared path of opportunity.
Pro Tip: Always keep the Scout slightly ahead of the Sapper. Their grappling hook isn’t just mobility—it’s a literal lifeline if a misstep happens mid-explosion.
2. Frontline Anchor Duo: Highlander + Scout
Sometimes, it’s not just about speed—it’s about surviving environmental threats and hostile enemies. The Frontline Anchor duo is ideal for sections where cliffs crumble beneath your feet or eldritch creatures are ready to push you into the void.
| Class | Role | Key Abilities |
|---|---|---|
| Highlander | Combat Anchor | Can shove enemies off cliffs to prevent team-wide falls |
| Scout | Mobile Support | Uses grappling hooks to stabilize teammates and create safe zones |
Synergy in Action: The Highlander clears a safe area on the rock face, while the Scout ensures the rest of the roped party stays anchored to secure points. This pairing minimizes the dreaded “cascade effect,” where one fall can drag the whole team down the cliff. I can’t stress enough how much easier high-ascent levels become when you’ve got someone clearing threats while another player literally catches your teammates if things go sideways.
Personal Tip: The Highlander’s shove ability is not just offensive—it’s strategic. Use it to redirect enemies toward natural hazards, giving your team precious seconds to stabilize.
3. Siege Team: Sapper + Highlander
For more combat-heavy biomes like the Volcanic Caldera or the Alpine heights, nothing beats the raw destructive synergy of the Siege team. Here, terrain isn’t just an obstacle—it’s a weapon.
| Class | Role | Key Abilities |
|---|---|---|
| Sapper | AoE Specialist | Heavy explosives that reshape the battlefield |
| Highlander | Protector & Brawler | Pushes threats into traps or Sapper blasts |
Why This Works: High-difficulty encounters leave little stamina for drawn-out fights. This duo maximizes environmental kills, funneling enemies into cliffs, lava flows, or explosive traps. It’s fast, brutal, and efficient—a survivalist’s dream when stamina bars are dangerously low.
Insider Tip: Positioning is everything. Let the Highlander control enemy movement while the Sapper focuses on quick, high-impact blasts. Timing the two abilities correctly often means the difference between a flawless ascent and a rope-line disaster.
Essential High-Ascent Gear for Survival
Regardless of which duo you prefer, some gear choices are mandatory on Ascent 6 and 7. I’ve listed my personal recommendations below:
- Lantern: The single most critical item for night cold mitigation. Without it, resting health decay is brutal.
- Purple Kingberry / Honeycomb: High-tier stamina items to offset the extreme cost of climbing in peak conditions.
- Flares: Crucial for visibility and signaling—though note that certain high-difficulty levels may limit flare use.
- Rope Reinforcement Kits: Not flashy, but every climber should have a couple. They prevent catastrophic rope breaks in risky areas.
- Stamina Boosting Consumables: Even if temporary, every little bit helps when you’re sprinting across unstable ledges.
Quick Tip: Don’t hoard consumables at the base. Using them strategically during tough sections can mean the difference between a successful Ascent 7 and a frustrating collapse.
Final Thoughts: Choosing the Right Team for Your Playstyle
What I love most about Ascenders: Beyond The Peak is that it isn’t just about individual skill—it’s a game that rewards tactical synergy. Each of the duos I’ve discussed shines in different situations:
- Scout + Sapper: Perfect if your team thrives on mobility and rapid terrain manipulation.
- Highlander + Scout: Works best when survival and precision are paramount, particularly on hazardous cliff faces.
- Sapper + Highlander: Dominates combat-heavy sections and environmental traps.
Experimentation is key. Personally, I often switch between the Pathfinder and Frontline setups depending on whether I anticipate environmental hazards or heavy enemy presence.
Final Gear Reminder: Regardless of your chosen duo, pack smart. Every stamina potion, flare, or rope kit can mean the difference between conquering the peak and witnessing a cascade failure that wipes out hours of progress.