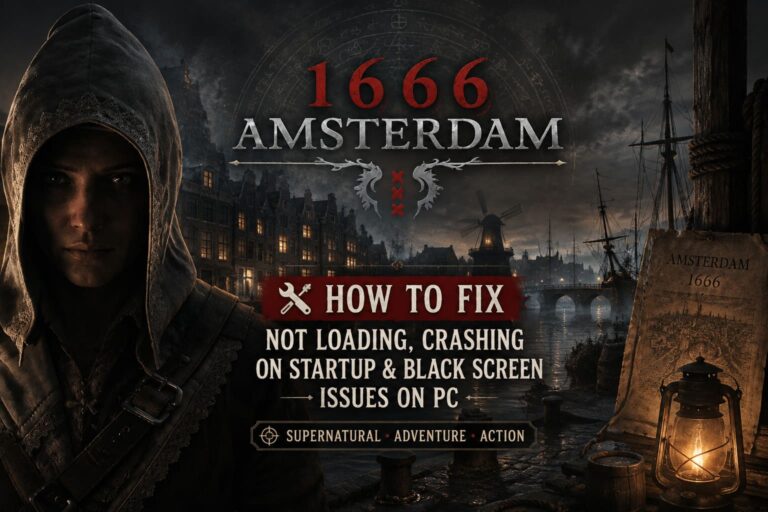
How to Fix Metal Gear Solid: Master Collection Vol 2 Black Screen on Launch (2026 Guide)
There are few things more annoying than launching a game you have been waiting to play, only to get… absolutely nothing. No menu. No intro. No music. Just a black screen staring back at you while you start wondering whether Windows, Steam, or the game itself has decided to ruin your evening.
That is exactly what can happen with Metal Gear Solid: Master Collection Vol. 2 on PC. In some cases, the game hangs immediately after pressing Play. In others, you get a brief loading window before the screen turns black and the application disappears. I have also seen situations where the process remains open, but there is no useful way to interact with it without forcing the game closed.
The frustrating part is that there is rarely one universal fix.
If you have installed old mods, use a gaming laptop with integrated and dedicated graphics, have unusual audio settings, or have been carrying an old save configuration through several updates, the problem can come from completely different places.
So rather than throwing random fixes at the wall, I would work through these Metal Gear Solid: Master Collection Vol. 2 black screen troubleshooting steps in roughly this order.
Quick Fix Checklist
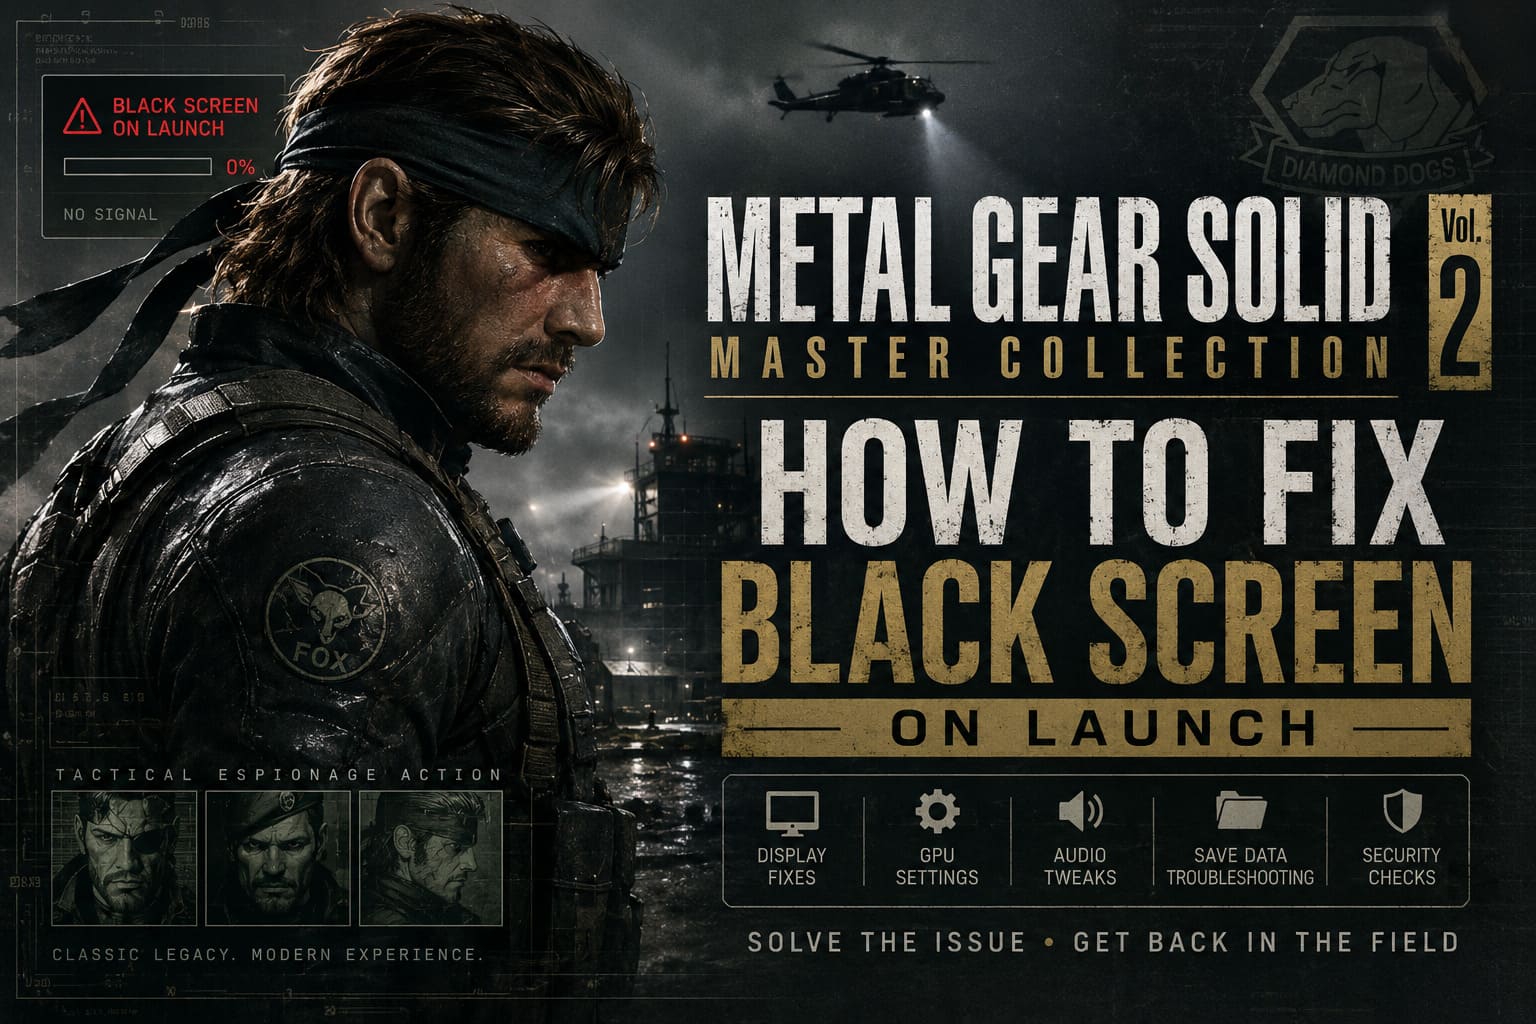
| Problem | Fix I Would Try First |
|---|---|
| Black screen after pressing Play | Remove old display mods |
| Laptop launches incorrectly | Force the dedicated GPU |
| Game suddenly stopped booting | Temporarily move save data |
| DXVK/Vulkan setup fails | Check GPU device configuration |
| Black screen with unusual audio behavior | Set audio to 44.1/48 kHz |
| Problems after a driver or game update | Clear DirectX Shader Cache |
The good news is that most of these fixes are relatively painless. The bad news? Some of them are easy to overlook because the symptoms look almost identical.
1. Remove Old Resolution Mods Before Doing Anything Else
If you have ever modified an older Metal Gear Solid Master Collection installation, this is the first place I would look.
Mods are great. In fact, I would much rather play a properly configured PC version with better resolution and display options than accept a bad default configuration. But mods that worked perfectly months ago can become a problem after an update.
Old DLL files are particularly suspicious.
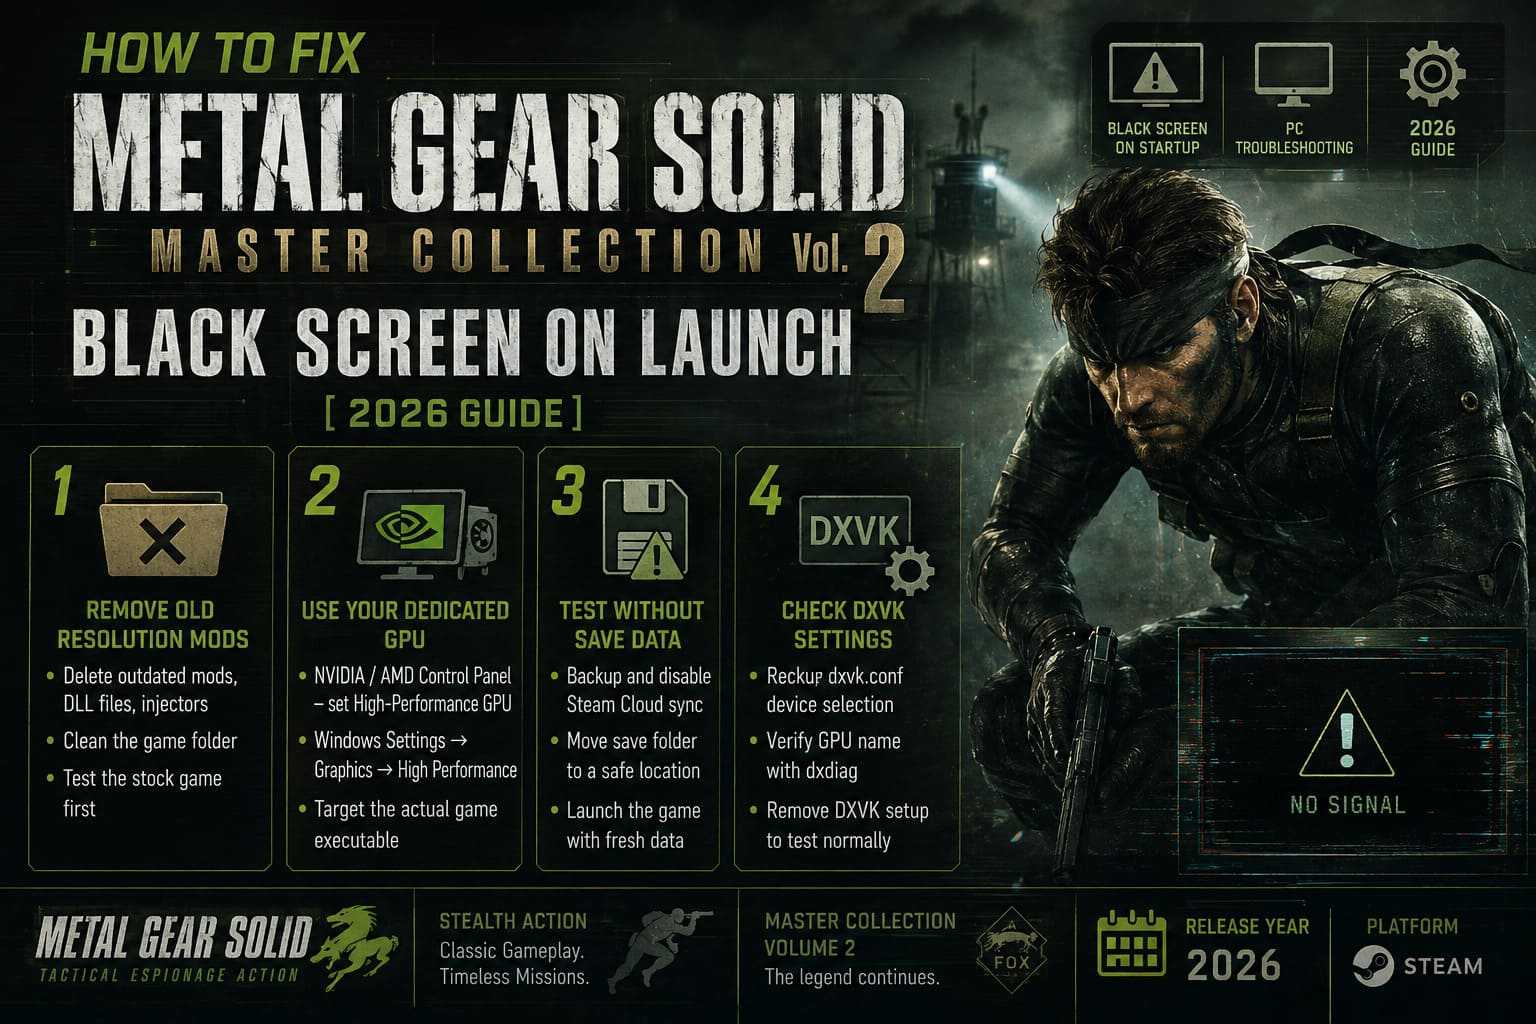
A leftover d3d9.dll, d3d11.dll, injector, or outdated resolution patch can interfere with the game’s startup process before you even reach the main menu. That makes the problem look like a broken installation when the actual issue is sitting quietly in the game folder.
Go to the game’s installation directory and look for files you manually added in the past.
If you are using something like an old resolution patch, remove it temporarily. Don’t just disable one configuration option and assume everything is fine. Completely clean the folder of third-party files and test the untouched game.
If the game launches normally afterward, you have found the culprit.
For players who want improved resolutions or widescreen support, I would reinstall a current community fix only after confirming that the stock game works. That way, you know exactly which modification causes trouble if the black screen comes back.
2. Force the Game to Use Your Dedicated GPU
This is one of those fixes that sounds obvious until you actually check which GPU Windows has assigned to the executable.
On gaming laptops, Windows can sometimes decide that an application doesn’t need the powerful NVIDIA or AMD GPU. The launcher may look lightweight enough to run on integrated graphics, so the operating system chooses the low-power chip.
That is not ideal.
If you have an NVIDIA GPU, open NVIDIA Control Panel and go to Manage 3D Settings → Program Settings.
Add the actual game executable rather than blindly selecting the collection launcher. Then set the preferred graphics processor to:
High-performance NVIDIA processor
Apply the changes and try launching again.
AMD users can do something similar through AMD Software: Adrenalin Edition. Add the game’s executable under the Gaming section and use the appropriate high-performance graphics profile.
There is also a Windows-level option that I personally like because it is simple and doesn’t require changing global GPU settings.
Go to:
Settings → System → Display → Graphics
Add the game’s executable, select Options, choose High Performance, and save.
This is especially worth trying if you have a laptop with an integrated Intel/AMD GPU plus a dedicated NVIDIA/AMD graphics card.
One Important Detail
Don’t assume the launcher and game executable are the same thing.
If you force the launcher onto the dedicated GPU but the actual game executable still starts on integrated graphics, you may accomplish absolutely nothing.
Target the executable that actually renders the game.
3. Test the Game Without Your Existing Save Data
This is a less obvious solution, but it is worth trying when the game worked previously and suddenly started showing a black screen.
A damaged or incompatible local save configuration can sometimes prevent a game from completing its startup sequence. An interrupted write, crash, forced shutdown, or failed update can leave something in an awkward state.
Before touching anything, though, make a backup.
If you have Steam Cloud enabled, temporarily disable synchronization so that the questionable data isn’t immediately restored.
Then locate the relevant save-data folder associated with your game. Depending on the title and version, the folder name and location can differ, so don’t delete random files simply because they look suspicious.
Instead, move the suspected save folder somewhere safe, such as your desktop.
Do not permanently delete your saves during troubleshooting.
Now launch the game.
If it suddenly reaches the menu, congratulations: the installation probably wasn’t the problem. You have isolated the issue to local save/configuration data.
At that point, you can experiment with restoring your files one at a time or allow the game to create a fresh folder before moving compatible saves back.
This is one of those fixes that I would never try before making a backup. Losing hours of progress because you were trying to fix a black screen is a pretty terrible trade.
4. Check Your DXVK Configuration If You Are Using Vulkan
Most players won’t need this step.
If you’re running a standard Windows installation without DXVK, skip it.
But if you are using DXVK, Steam Deck/Linux compatibility tools, or another Vulkan-based configuration, a bad device-selection setting can cause startup problems.
Look inside your game directory for dxvk.conf.
If you have manually configured device filtering, check the GPU name being used in the configuration. A mismatched device string can prevent DXVK from selecting the hardware you intended.
You can use Windows’ built-in dxdiag utility to check your graphics device name.
Press:
Windows Key → type dxdiag → Enter
Open the Display section and check the GPU name reported by Windows.
If your DXVK configuration contains a device filter, make sure the name matches the hardware you actually want to use.
And honestly, if you don’t remember why you installed DXVK in the first place, I’d temporarily remove the entire custom setup and test the game normally.
Troubleshooting gets much easier when you’re working with fewer variables.
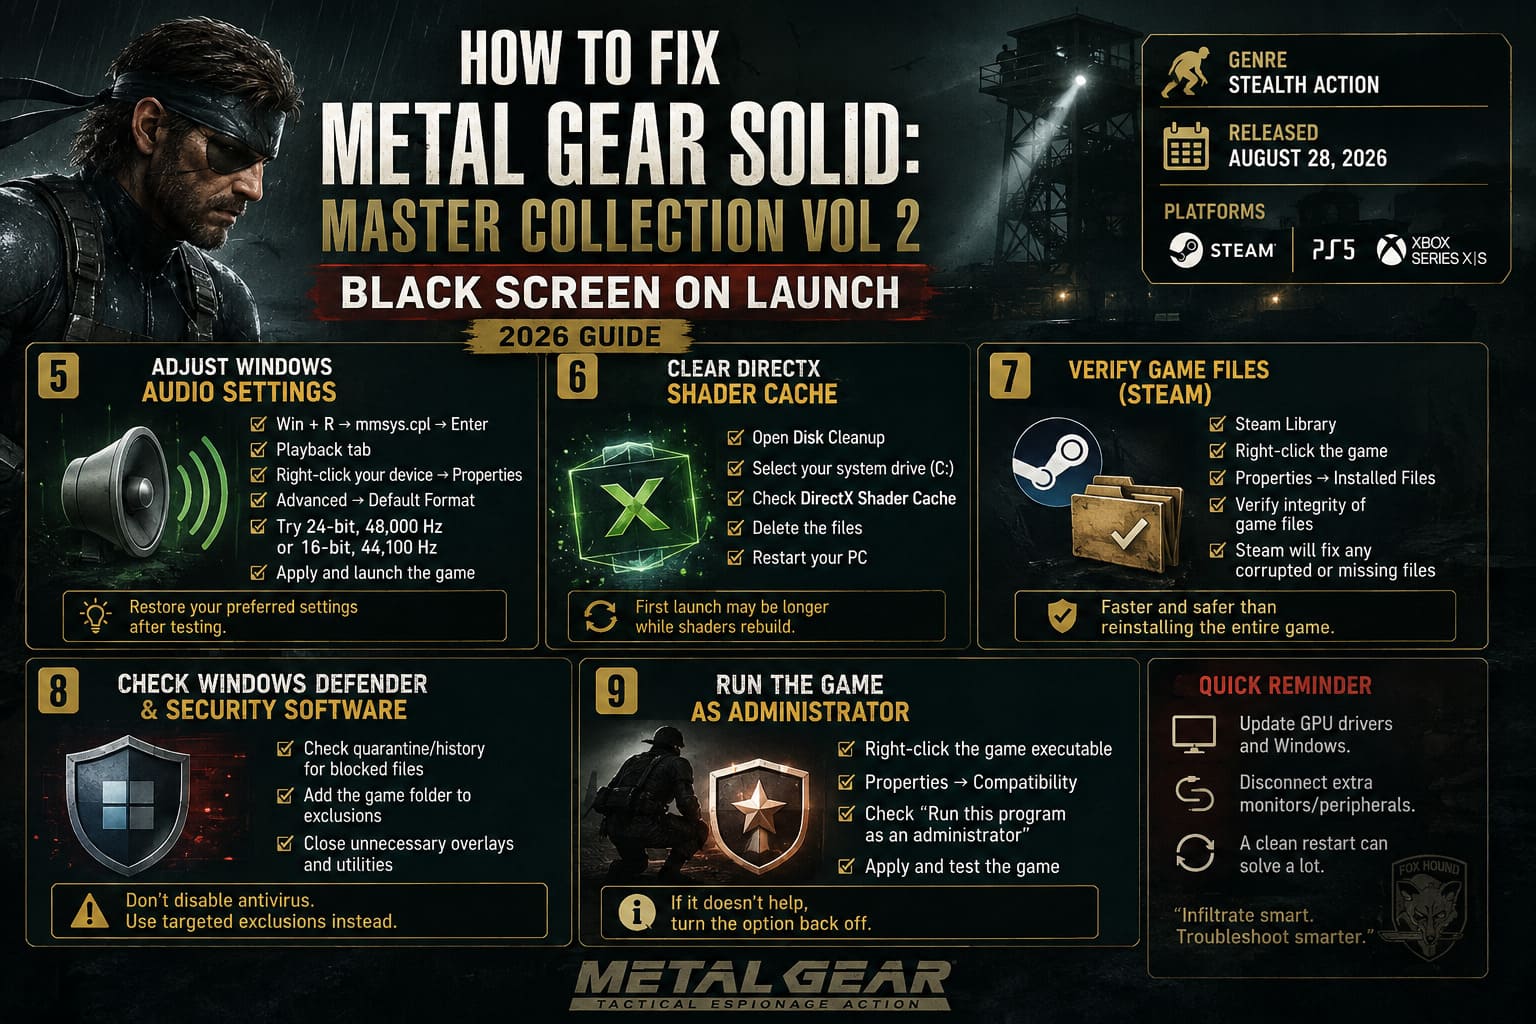
5. Don’t Ignore Windows Audio Settings
This is probably the strangest fix on this list.
You’re looking at a black screen, so naturally you start thinking about GPUs, drivers, DirectX, resolutions, and display cables.
Audio probably isn’t the first thing that comes to mind.
Still, unusual audio configurations can occasionally cause compatibility problems with older engines, emulation layers, and games that expect fairly conventional Windows audio formats.
If you’re using a high-end DAC, USB audio interface, wireless headset, or another device configured for a very high sample rate, temporarily switch to a more standard format.
Press:
Windows Key + R → mmsys.cpl → Enter
Then:
- Open the Playback tab.
- Right-click your active audio device.
- Select Properties.
- Open Advanced.
- Check the Default Format setting.
- Try 24-bit, 48,000 Hz or 16-bit, 44,100 Hz.
- Apply the change and launch the game again.
I wouldn’t permanently change your entire audio setup just because of one game. This is a troubleshooting test.
If the black screen disappears, you’ve learned something useful.
6. Clear the DirectX Shader Cache
Shader caches are supposed to make games faster to start and smoother to run.
Unfortunately, cached data can become stale after driver updates, game updates, or configuration changes.
When that happens, clearing the cache is a quick and relatively harmless thing to try.
Use the Windows search box and open Disk Cleanup.
Select your system drive, usually C:, and wait for Windows to calculate the cleanup options.
Find:
DirectX Shader Cache
Select it and remove the cached data.
Then restart your PC.
I recommend actually rebooting instead of immediately launching the game. If you’re troubleshooting graphics-related problems, a clean restart removes another layer of potential weirdness.
The first launch afterward may take slightly longer while shaders are rebuilt. That’s normal.
7. Verify the Game Files Before Reinstalling Everything
This is the boring fix.
It’s also one of the fixes I would absolutely try before deleting a massive game installation and downloading everything again.
In Steam:
Library → right-click the game → Properties → Installed Files → Verify integrity of game files
Let Steam finish the process.
If it discovers damaged or missing files, it should replace them automatically.
This is particularly useful if the black screen started after an interrupted update, storage problem, or unexpected shutdown.
I would not immediately uninstall and reinstall the entire collection. Verification is much faster and can solve exactly the sort of file corruption that causes startup failures.
8. Check Windows Defender and Other Security Software
Sometimes the game isn’t crashing because the files are broken.
Sometimes another program is getting in the way.
Security software can occasionally interfere with game launchers, DLL loading, overlays, anti-tamper components, or other files that look unusual from an antivirus perspective.
Check your antivirus quarantine/history and see whether anything connected to the game was blocked.
If you’re confident the installation is legitimate, you can consider adding the game folder to your security software’s exclusion list.
Don’t blindly disable your antivirus. A targeted exclusion is a much better approach than turning off your entire security system.
If you use multiple security or monitoring programs, temporarily closing unnecessary overlays and utilities can also help identify conflicts.
9. Try Running the Game as Administrator
I don’t consider administrator mode a magic solution. It shouldn’t be necessary for most properly configured games.
Still, it takes a minute to test.
Find the main executable, right-click it, select Properties → Compatibility, and enable Run this program as an administrator.
Apply the change and test the game.
If nothing changes, turn the option back off. There is no reason to keep elevated privileges enabled permanently when they aren’t helping.
Metal Gear Solid Peace Walker HD Online Co-Op Setup Guide: How to Play 6-Player Game in 2026
My Recommended Order for Fixing the Black Screen
If I were sitting at my PC with Metal Gear Solid: Master Collection Vol. 2 stuck on a black screen, I wouldn’t perform all nine fixes randomly.
I’d go from the least invasive checks toward the more unusual ones:
- Remove old mods and custom DLL files.
- Verify Steam game files.
- Force the dedicated GPU.
- Clear the DirectX Shader Cache.
- Temporarily test with fresh save data.
- Check Windows audio format.
- Remove or correct custom DXVK configuration.
- Check antivirus/security software.
- Test administrator mode.
That order saves time because you’re eliminating the most common configuration problems before touching anything more complicated.
Metal Gear Solid Master Collection Vol 2: Storage Specs, Total Playtime, and PC Performance Guide
Final Thoughts
A Metal Gear Solid: Master Collection Vol. 2 black screen on launch is the kind of PC problem that can make you think the entire game is broken. Usually, though, the situation is more specific than that.
Old mods are a particularly good place to start if you’ve customized the collection. On gaming laptops, GPU selection deserves attention too. And if the game used to work perfectly before suddenly refusing to boot, I would absolutely test the local save/configuration data rather than immediately reinstalling everything.
The biggest mistake is changing ten things at once.
If you remove a DLL, change your GPU, delete the shader cache, modify audio settings, and reinstall drivers simultaneously, you won’t know what actually fixed the problem.
Change one thing. Test the game. Then move to the next step.
That’s slower than blindly trying every tweak on the internet, but it gives you a much better chance of finding the real cause — and once you do, you can get back to what actually matters: sneaking through the mission instead of staring at a black screen.