WARDOGS Base Building Guide: Essential Fortification Tips to Win the Control Zone
WARDOGS has the kind of battlefield where simply being good with a rifle isn’t enough. After playing plenty of large-scale shooters, I’ve learned that the teams that survive longest are rarely the ones with the flashiest kill counts. They are usually the players who understand where to build, what to protect, when to spend money, and how to turn a messy piece of terrain into a position the enemy absolutely hates attacking.
That is exactly where base building in WARDOGS becomes so important. BULKHEAD’s tactical FPS throws huge teams into a destructible Eastern European battlefield, with three sides fighting for control of a constantly shifting objective. The scale changes the way you think about defense. You’re not building a pretty fortress for screenshots; you’re creating a temporary military position that needs to survive explosives, vehicles, artillery, helicopters, and dozens of players looking for a weak point.
The economy is just as important. Almost every useful action feeds into the cash system, and that money can eventually become weapons, vehicles, equipment, supplies, or additional construction capability. A smart team therefore treats construction as part of its overall strategy rather than something players do whenever they get bored waiting for the next fight.
WARDOGS Ultimate Arms Dealer & Mechanic Guide: Bulkhead Cash Mechanics and Upgrades
Why Base Building Matters So Much in WARDOGS
The biggest mistake I see in large multiplayer shooters is assuming that natural cover will always be enough. A wall, ruined building, hill, or pile of rubble might keep you alive for a few minutes, but it doesn’t necessarily protect the assets that keep your team in the fight.
WARDOGS makes defensive construction much more meaningful because the battlefield is built around a persistent Control Zone battle. Your team needs somewhere to regroup, resupply, spawn, repair equipment, and prepare for another push. Once a forward position becomes established, losing it can hurt much more than losing a few individual firefights.
A strong base gives your team several advantages:
- Safer spawn locations for players returning to the fight.
- Protected logistical assets that keep supplies moving forward.
- Defensive firing positions overlooking important approaches.
- Better resistance against artillery and explosives.
- A fallback position when the Control Zone becomes too dangerous.
The important thing is not to build everywhere. Good construction is deliberate. Every wall should have a reason to exist.
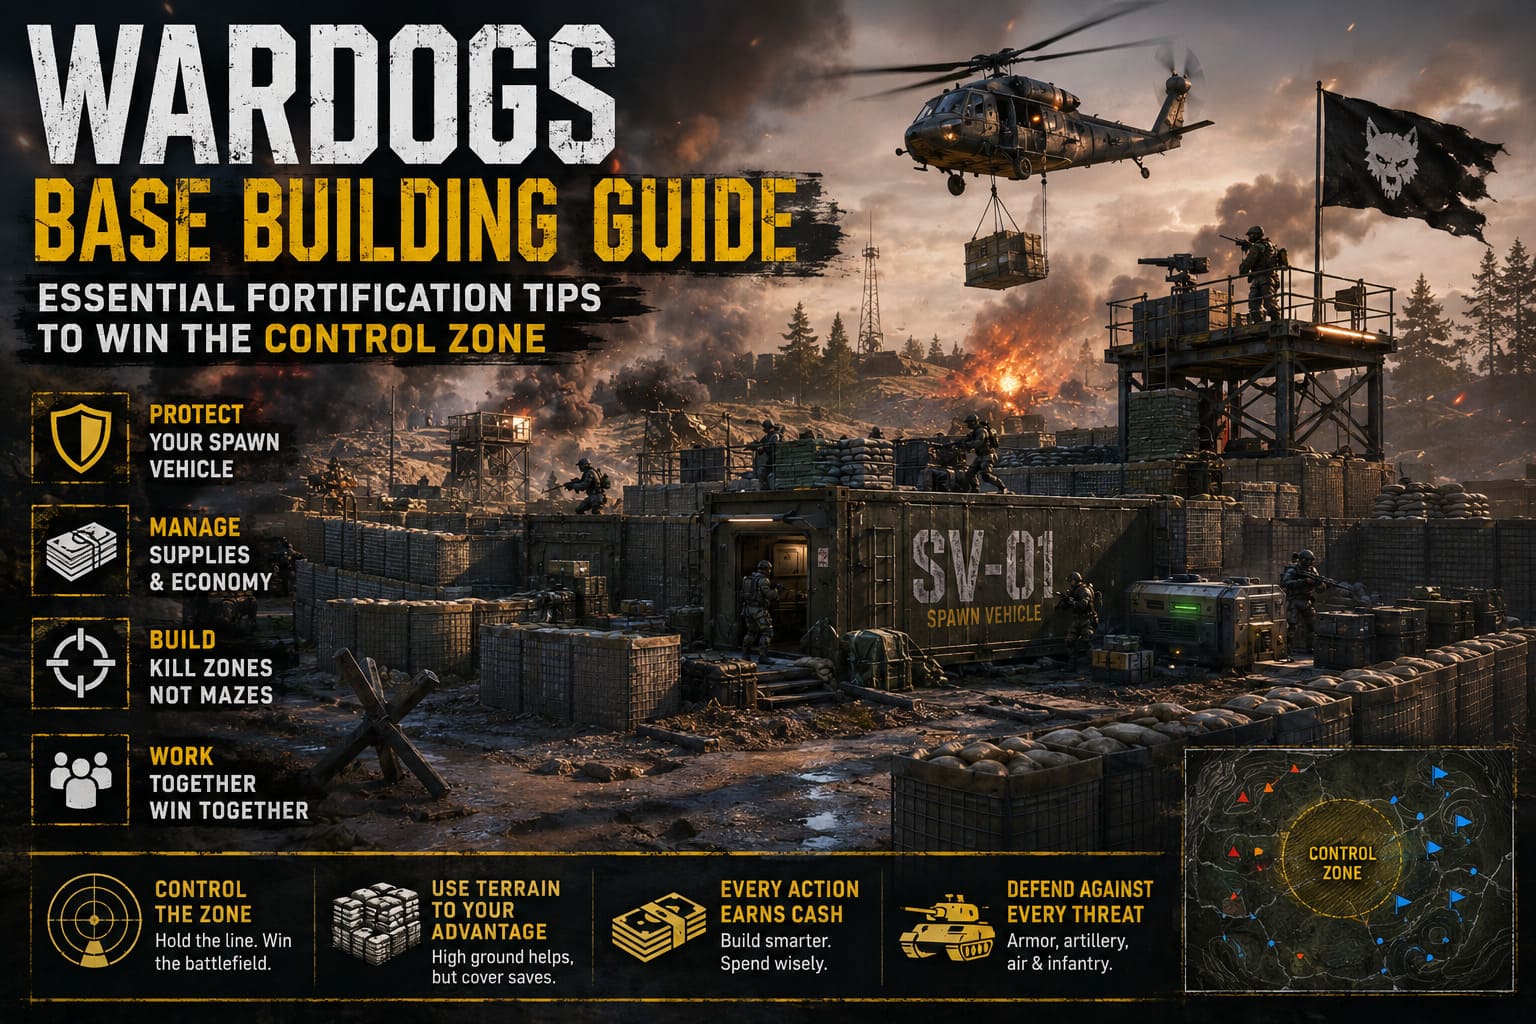
Understand the WARDOGS Economy Before Building
Before worrying about the perfect fortress design, learn how the economy works. WARDOGS ties tactical activity to cash, meaning your ability to construct and maintain a forward position depends heavily on what the rest of your team is doing.
This creates an interesting dynamic. The player flying a transport helicopter isn’t just helping pilots have fun. The person delivering supplies isn’t simply running errands. The infantry player capturing territory and the builder reinforcing the position are all contributing to the same economic machine.
I particularly like this approach because it gives non-fragging players something meaningful to do. In many shooters, someone who isn’t collecting kills can feel useless. Here, a good logistics player or builder can have a massive impact on the match without ever topping the scoreboard.
Keep Your Supply Lines Alive
Forward construction becomes much easier when supplies can reach the frontline consistently. Transport helicopters such as the Little Bird can move equipment toward contested areas, while Spawn Vehicles can establish mobile forward positions.
The problem is obvious: logistics vehicles are valuable targets.
If your team sends a transport aircraft into a hot zone without thinking about enemy anti-air weapons, you’re basically delivering supplies directly to the opposing team. The same applies to Spawn Vehicles driving through open ground with no reconnaissance.
Try to establish a simple rhythm:
- Secure an area before bringing expensive assets forward.
- Move supplies through routes that provide terrain cover.
- Deploy the Spawn Vehicle only when the location is defensible.
- Build protection immediately instead of waiting for an attack.
- Maintain a backup route for evacuation or resupply.
That last point is easy to overlook. A base with only one way in and out can become a trap when an enemy armored push arrives.
Pick Your Building Location Carefully
Location is probably the single biggest decision you’ll make when constructing a WARDOGS base.
The obvious choice is high ground. From an elevated position, your team gets excellent visibility, better sniper angles, and more information about enemy movement. The downside is that everybody else can see your position too.
A giant fortified compound sitting on top of a completely exposed hill practically announces, ‘Please shoot artillery at me.’
High Ground Isn’t Always the Best Ground
High ground works best when you have enough defensive tools to survive long-range attacks. If your team lacks artillery protection or anti-vehicle support, an exposed hill can become a death sentence.
I generally prefer positions where natural terrain does part of the defensive work. A shallow depression, rocky slope, ruined industrial complex, or partially destroyed warehouse can be much more valuable than an open hilltop.
The best location often has three characteristics:
| Location Feature | Why It Matters |
|---|---|
| Natural Cover | Reduces the amount of construction needed and limits enemy firing angles. |
| Good Visibility | Lets defenders spot infantry and vehicles before they reach the perimeter. |
| Protected Access | Makes it harder for enemy vehicles to rush directly into the base. |
| Multiple Exits | Prevents the entire team from being trapped after a successful breach. |
Industrial ruins are particularly useful because they can give you strong existing geometry without forcing your team to spend resources creating every defensive angle from scratch.
Build Around Your Most Valuable Assets
One of the biggest changes in mindset for WARDOGS base building is realizing that the walls themselves aren’t always the priority.
Your Spawn Vehicle, mortar positions, automated defenses, supply equipment, and other utility assets are what actually keep the position operational. If those assets are destroyed, a beautiful perimeter suddenly doesn’t look so impressive.
Think of the base as a series of defensive layers.
The outer perimeter should slow attackers down. The middle layer should provide firing positions and protected movement routes. The inner layer should protect the assets that your team absolutely cannot afford to lose.
This layered approach is much stronger than surrounding everything with one giant wall.
How to Protect Your Spawn Vehicle
If there is one asset I would prioritize above almost everything else, it’s the Spawn Vehicle.
A destroyed SV can completely change the tempo of a battle. Instead of spawning close to the action, players may have to return from the main base and spend valuable time traveling back toward the Control Zone. That creates a vicious cycle: fewer defenders arrive, the position becomes weaker, and the enemy gets even more freedom to attack.
Never leave an SV sitting in an open courtyard just because the area currently looks safe.
Build a dedicated protected enclosure around it. Leave enough room for the vehicle to move, but don’t create a giant empty box that gives attackers plenty of space to maneuver.
A good SV position should have:
- A protective outer wall.
- A clear exit route.
- Covered space immediately outside the spawn point.
- Defensive firing positions nearby.
- Enough room for friendly vehicles to approach without blocking the SV.
There’s another detail that matters: don’t put all of your defensive assets directly beside the SV. If artillery hits the area, one lucky strike shouldn’t destroy half your infrastructure in a single explosion.
HESCO Walls and Artillery Defense
Artillery is one of the best ways to punish lazy construction.
If your mortar, turret, supply equipment, or other stationary assets are sitting in the open, an enemy bombardment can turn your expensive setup into scrap surprisingly quickly. This is where heavy defensive structures such as HESCO-style barriers become extremely useful.
The goal isn’t necessarily to create an impenetrable bunker. You want to reduce the damage caused by splash effects and shrapnel while making direct hits harder to achieve.
Place barriers around important utility assets and avoid creating one huge cluster where every piece of equipment sits within the same blast radius.
A useful rule is simple: protect the things that cannot move before protecting the things that can.
Vehicles can relocate. A stationary defensive installation can’t.
Don’t Waste Resources on Fake Doors
If you’ve played survival builders or base-building games, you’ve probably seen the classic fake-door strategy. You create confusing entrances, fake rooms, and elaborate mazes in the hope that attackers will waste time trying to figure out where to go.
I wouldn’t bother in WARDOGS.
The destruction system changes the equation. If an enemy squad really wants through your wall, explosives, rockets, or armored vehicles can create their own entrance. Spending half your construction budget on an elaborate maze isn’t going to stop a tank from making a new doorway.
Instead, build intentional chokepoints.
Make the route into your base predictable, then make that route dangerous.
Create Kill Zones Instead of Mazes
This is one of my favorite defensive concepts because it works in almost any tactical shooter: don’t just stop enemies from entering; make the place they enter terrible for them.
Imagine your outer wall gets breached. If attackers immediately find another wall, several pieces of cover, and multiple routes to hide behind, you’ve given them exactly what they need.
Instead, create an open area immediately behind the outer perimeter. Attackers who break through suddenly find themselves exposed while defenders fire from elevated or protected positions.
That creates a controlled kill zone.
The trick is to make sure your own players can reach those firing positions without crossing the same exposed area. Defensive bases should always favor the defender’s movement.
Organize Builders Instead of Letting Everyone Build
WARDOGS can put enormous numbers of players on one battlefield. That’s great for large-scale warfare, but it can also produce complete construction chaos.
If thirty players start throwing walls down wherever they feel like it, your base will quickly become a collection of disconnected barricades. Worse, somebody may accidentally block a vehicle route, helicopter landing zone, firing angle, or emergency exit.
Assign construction responsibilities.
| Role | Main Responsibility |
|---|---|
| Builders | Construct, repair, and expand defensive structures. |
| Logistics Players | Move supplies and keep construction resources available. |
| Infantry | Defend the perimeter and watch enemy approaches. |
| Vehicle Crews | Provide mobile firepower and counter enemy armor. |
| Recon | Identify enemy movements and likely attack routes. |
This doesn’t mean everyone needs a permanent job. Roles can change as the battle develops. The important thing is that players understand who is responsible for what.
Keep Your Base Flexible
The worst fortress is one that becomes obsolete the moment the Control Zone moves.
WARDOGS isn’t a static tower-defense game. The frontline changes, vehicles attack from different directions, and objectives can force your team to relocate. Your construction strategy needs to account for that.
Avoid spending everything on a massive permanent fortress when the battlefield is already shifting away from you.
Build in stages:
- Stage One: Establish basic protection around the SV and essential equipment.
- Stage Two: Add firing positions and reinforce the most threatened approach.
- Stage Three: Improve artillery and air protection.
- Stage Four: Expand only when the frontline actually requires it.
This keeps your economy healthy and prevents builders from wasting valuable resources on structures that may become irrelevant ten minutes later.
Common WARDOGS Base Building Mistakes
Even experienced FPS players can make bad construction decisions when the battlefield gets hectic. These are the mistakes I’d try hardest to avoid:
- Building on completely exposed high ground without protection from artillery.
- Leaving the Spawn Vehicle uncovered because the area currently feels safe.
- Blocking friendly vehicle routes with unnecessary walls.
- Putting every valuable asset in one tight cluster.
- Building too much too early and draining resources before the fight develops.
- Creating complicated mazes instead of straightforward defensive chokepoints.
- Ignoring logistics and expecting construction supplies to magically appear.
The common theme is overbuilding. More walls don’t automatically mean a stronger base.
My Best Base Building Strategy for WARDOGS
If I had to establish a forward position from scratch, I’d start with a defensible piece of terrain near the active battle but not directly inside the most obvious attack route.
First, I’d protect the SV and establish a safe spawn area. Then I’d build a compact outer perimeter with deliberate openings that can be watched by defenders. After that, I’d place important stationary equipment farther inside the position and give it its own smaller layer of protection.
Once the basic structure is working, I’d look at where the enemy is actually attacking from. That’s when I’d reinforce the threatened side rather than blindly expanding the entire base.
This is where experience from other tactical shooters really helps. Don’t build for the battlefield you imagine. Build for the battlefield that is actually happening.
If tanks are coming from the east, reinforce the east. If helicopters are constantly harassing your rear, improve anti-air coverage. If infantry keeps slipping through a valley, don’t build another wall on the hilltop—control the valley.
Final Thoughts
WARDOGS rewards players who understand that a large-scale tactical FPS isn’t just about shooting accurately. Construction, logistics, positioning, economy management, and teamwork can decide a battle long before the final firefight begins.
The best bases aren’t necessarily the biggest ones. They’re compact, intelligently positioned, easy for friendly players to navigate, and built around the assets that keep the team operational. Protect your Spawn Vehicle, keep supply lines moving, use terrain whenever possible, create controlled chokepoints, and don’t waste resources trying to build an indestructible fortress.
Personally, that’s what makes the base-building system interesting to me. It gives every match another layer of decision-making. One game you might be defending a ruined factory with a tiny group of players; the next, you’re turning a forward position into a heavily protected logistics hub while enemy armor pounds the surrounding streets.
And when your team holds the Control Zone because the position you built survived one more enemy push, that’s a much more satisfying victory than simply adding another number to your kill count.