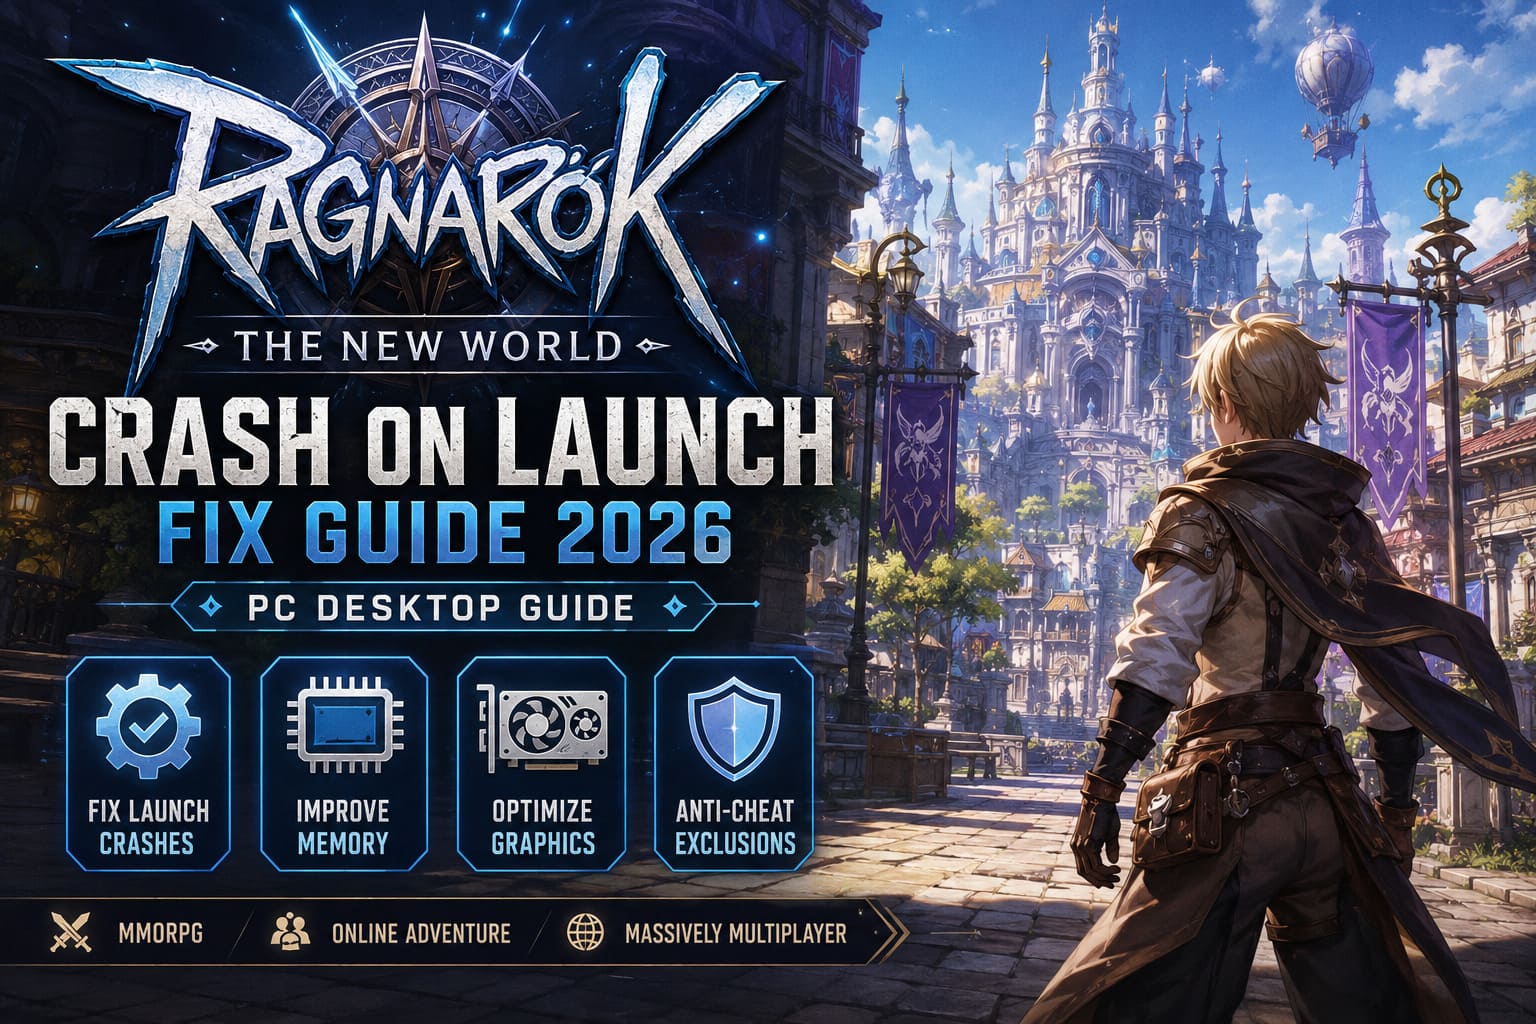
How to Fix Ragnarok: The New World Crash on Launch on PC (2026 Desktop Guide)
The excitement around Ragnarok: The New World has been huge, but judging by Steam discussions, Reddit posts, and gaming forums, plenty of players have run into the same frustrating problem I did: the game refuses to launch properly. Sometimes it flashes a black screen before disappearing. Other times it freezes for a few seconds and silently crashes back to Windows without showing any error message.
I spent far longer troubleshooting than actually playing during my first evening with the game, and after trying dozens of community suggestions, I found that the issue isn’t usually caused by one single bug. Instead, it’s a combination of Windows services, graphics drivers, shader compilation, corrupted cache files, and some rather questionable compatibility decisions inside the game itself.
If your copy crashes before the login screen or closes immediately after pressing Play, these are the fixes that have consistently helped players throughout 2026.
Quick Overview
Before diving into individual solutions, here’s what seems to cause most launch crashes.
| Problem | Typical Symptom | Recommended Fix |
|---|---|---|
| Memory limitation | Instant desktop crash | Apply Large Address Aware patch |
| Shader compilation | Black screen then crash | Increase or reset shader cache |
| Windows services | Freeze during startup | Reinstall GameInput service |
| Corrupted local data | Endless startup loop | Delete AppData cache |
| Driver compatibility | Crash after splash screen | Use DirectX 11 or graphics wrapper |
| Security software | Launcher closes immediately | Whitelist game files |
Most players won’t need every fix. Usually one or two are enough.
1. Increase the Game’s Available Memory
One of the strangest discoveries from the community is that some builds of the PC client still behave like an older 32-bit application during startup.
That becomes a problem because modern game assets require far more memory than older Ragnarok releases ever did.
Several experienced players reported that applying a Large Address Aware (4GB) patch immediately stopped launch crashes.

The process is fairly simple:
- Create a backup of the original executable.
- Run a trusted Large Address Aware utility.
- Patch the main game executable.
- Start the launcher normally.
This doesn’t magically improve performance, but it often prevents the client from running out of address space before reaching the login screen.
For me, this was one of the biggest improvements.
2. Force the Game to Use a More Compatible Graphics Pipeline
Modern graphics hardware isn’t always the advantage we’d expect.
Ironically, some RTX 50-series cards, Intel Arc GPUs, and newer AMD drivers appear to struggle with the game’s initial rendering process.
A popular workaround involves using dgVoodoo2, which translates older DirectX rendering calls into something modern drivers handle much more reliably.
After copying the required DirectX library files into the game’s installation folder and configuring the utility, many players reported that crashes disappeared completely.
It feels strange using a compatibility layer for a brand-new MMORPG, but if it works, it works.
3. Remove Broken Microsoft GameInput Installations
This one surprised me the most.
The game scans your system for controllers during startup, and Windows 11 occasionally ends up with multiple GameInput installations after cumulative updates.
When that happens, Ragnarok sometimes freezes before reaching the login interface.
Here’s what I’d recommend:
- Open Installed Apps.
- Search for GameInput.
- Remove older versions if duplicates exist.
- Restart Windows.
- Let Windows reinstall the service automatically.
Several players on community forums claimed this solved crashes without changing anything else.
4. Let Your GPU Build a Larger Shader Cache
Shader compilation is another common culprit.
Every time the game launches, it compiles thousands of shaders for characters, environments, lighting, and visual effects.
If your graphics driver restricts shader cache size, the compilation process may fail before the game even opens.
NVIDIA Users
Open the NVIDIA Control Panel and change Shader Cache Size from the default setting to Unlimited.
AMD Users
Inside AMD Software, reset the shader cache and allow the driver to rebuild it from scratch.
The first launch afterward may take a little longer, but subsequent launches are usually much smoother.
5. Delete Old Configuration Files
This fix is incredibly simple, yet surprisingly effective.
If you’ve played beta versions or experimented with earlier builds, outdated configuration files can conflict with the current release.
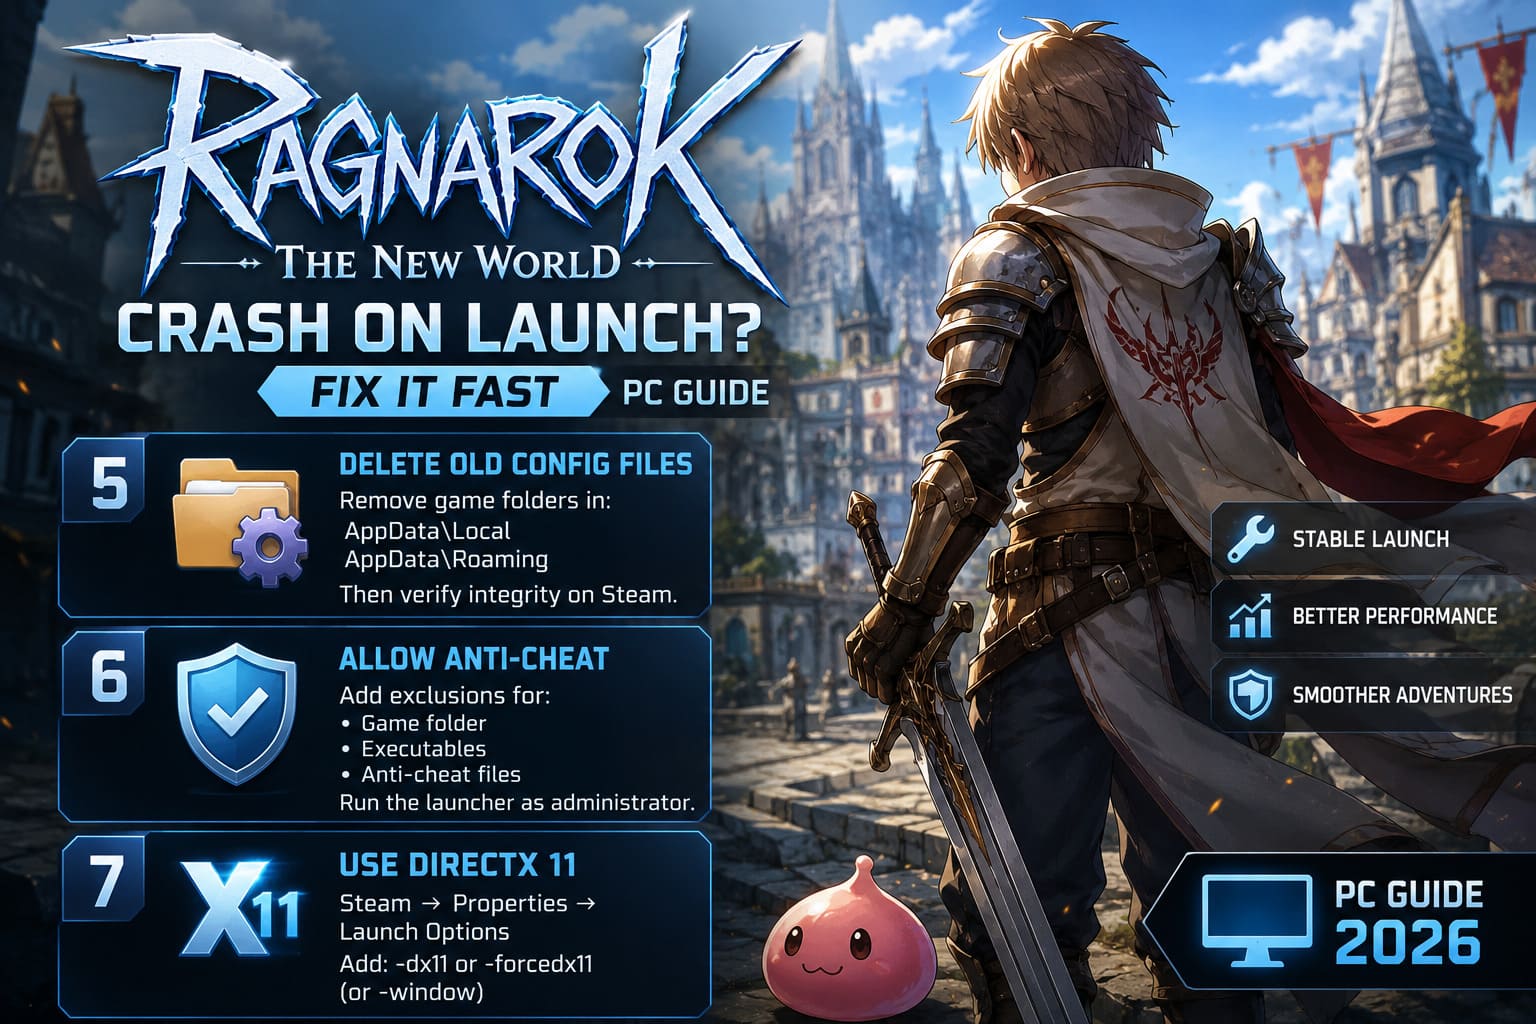
Delete the game’s folders inside:
- AppData\Local
- AppData\Roaming (if applicable)
Then verify your installation through Steam.
Steam will automatically restore anything that’s missing while leaving your save data intact if it’s cloud-synced.
Fresh configuration files solved startup problems for many players—including me after one failed update.
6. Don’t Let Antivirus Interrupt the Anti-Cheat
Modern anti-cheat software doesn’t always get along with aggressive antivirus protection.
Windows Security, Avast, Bitdefender, and several other programs have occasionally blocked launcher components or anti-cheat files without displaying obvious warnings.
If the launcher opens and closes instantly, try adding exclusions for:
- Entire game folder
- Main executable
- Launcher executable
- Anti-cheat directory
Running the launcher with administrator privileges is also worth trying.
It’s a quick test that costs nothing.
7. Launch the Game in DirectX 11
The newest graphics technologies are great—when they work.
Unfortunately, some players have experienced crashes related to DirectX 12, Frame Generation, and Reflex immediately after launch.
Instead of fighting the engine, I recommend testing DirectX 11 first.
In Steam:
Properties → Launch Options
Add one of these commands:
-dx11-forcedx11-window
If the game launches successfully afterward, you’ve already narrowed the problem to the rendering backend.
Later driver updates may allow switching back to DirectX 12.
Other Things Worth Checking
These aren’t universal fixes, but they’re easy enough to test.
Install the game on an SSD
Large open-world assets stream constantly. Installing on an older HDD can sometimes delay loading long enough for the launcher to time out.
Lower mouse polling rate
Some high-end gaming mice running at extremely high polling rates have reportedly caused compatibility issues in older PC engines.
Reducing the polling rate to 1000 Hz or below is a harmless experiment.
Disable IPv6 temporarily
If crashes happen exactly when connecting to game servers, IPv6 has occasionally been linked to connection-related launch failures.
My Personal Troubleshooting Order
If I had to start from scratch today, I’d test fixes in this order:
- Verify Steam files.
- Delete AppData cache.
- Reboot Windows.
- Reinstall GameInput.
- Launch using DirectX 11.
- Increase shader cache.
- Apply the Large Address Aware patch.
- Try dgVoodoo2 if nothing else helps.
This order minimizes unnecessary changes while addressing the most common causes first.
Final Thoughts
Launch-day problems are unfortunately becoming common for large online games, and Ragnarok: The New World is no exception. From what I’ve seen across community discussions, there isn’t one universal bug responsible for every crash. Different hardware combinations trigger different failures, which explains why one player’s fix might do absolutely nothing for someone else.
The encouraging part is that most startup crashes are fixable without reinstalling Windows or replacing hardware. Cleaning corrupted configuration files, repairing GameInput, switching to DirectX 11, expanding available memory, or adjusting shader caching has helped countless players finally get past the desktop and into the game.
If you’ve been stuck watching the launcher close over and over, don’t give up after trying just one solution. Work through the fixes methodically, restarting the PC whenever a change requires it. Chances are you’ll eventually hit the combination that works for your particular setup—and once you’re finally in Midgard, the troubleshooting will quickly become a distant memory.