Warlord Awaji Beginner’s Guide: Combat, Strategy, and Progression Tips
I have played a lot of medieval strategy games over the years. Mount & Blade, Kingdom Come, Ghost of Tsushima for the atmosphere, and of course Warlord: Britannia. So when I jumped into Warlord: Awaji, I expected another game where numbers matter more than positioning.
I was wrong.
The first few battles were brutal. I rushed a village with almost no armor, ignored the terrain, and got cut down by a handful of spearmen before I even understood what happened. That’s when the game finally clicked: Warlord: Awaji is about preparation, patience, and using the battlefield better than your opponent.
If you’re just starting your campaign on Awaji Island, this guide covers the mechanics that actually matter during your first several hours. No unnecessary fluff. Just the lessons that made my own campaign much easier.
Why Warlord: Awaji Feels Different From Most Strategy Games
Unlike many real-time strategy titles, you aren’t watching battles from above. You’re fighting inside them.
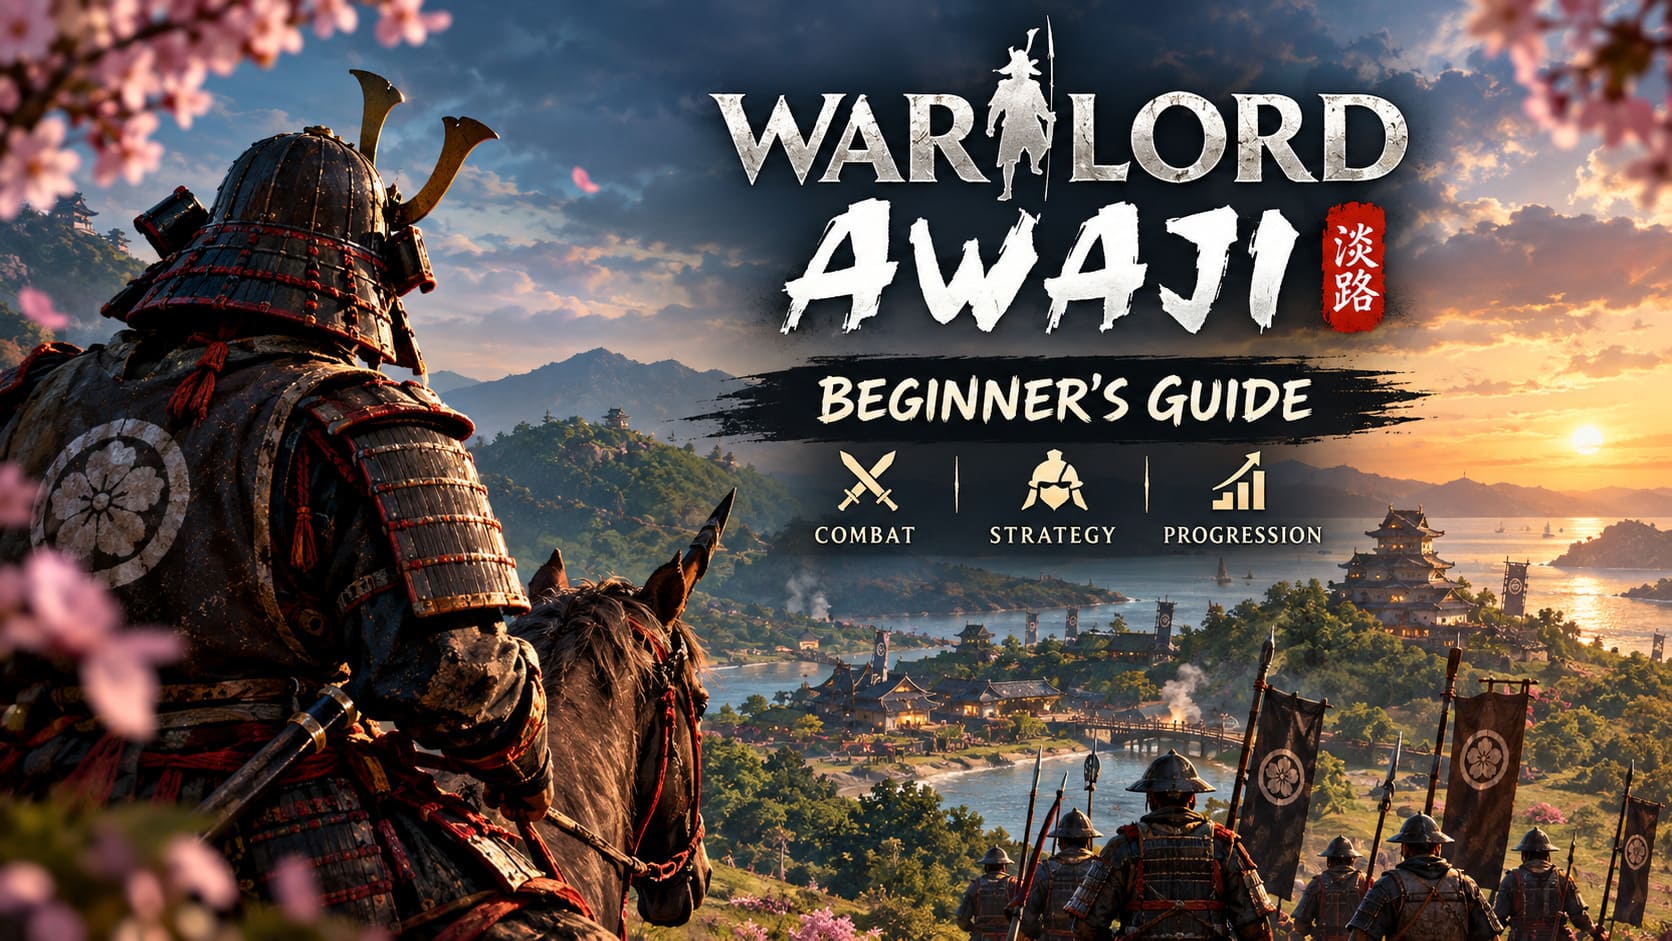
You’re the warlord. Every sword swing, every arrow, and every tactical order happens while you’re standing shoulder to shoulder with your retainers.
That changes everything.
Instead of simply building armies, you’re balancing three different roles at once:
| Role | Why It Matters |
|---|---|
| Samurai Commander | Lead troops and survive battles personally. |
| Clan Leader | Recruit, promote, and manage your retinue. |
| Strategist | Control shrines, ambush convoys, and expand territory. |
The game constantly rewards smart decisions over reckless aggression.
Your First Goal Shouldn’t Be Winning Battles — It Should Be Surviving Them
One mistake I see new players making is treating the opening hours like an action RPG.
Don’t.
Early on, your character is incredibly fragile.
Focus on leveling before chasing territory
The progression system has 12 ranks, and every rank noticeably improves what your warlord can do.
| Rank | Stage | What It Means |
|---|---|---|
| Ranks 1–3 | Survival Mode | You’re lightly equipped and have almost no authority. |
| Ranks 3–4 | Your Clan Begins | You gain access to recruitment and your first retainers. |
| Mid Campaign | Real Samurai Warfare | Better armor, stronger weapons, cavalry, and leadership upgrades become available. |
Best XP activities early game
Instead of attacking castles:
- Fight roaming patrols.
- Complete skirmishes.
- Ambush isolated enemies.
- Defend friendly groups whenever possible.
They’re faster, safer, and give consistent experience without risking your growing army.
Don’t Recruit Every Soldier You See
The recruitment system is surprisingly deep.
Resources are limited during the beginning, and every recruit costs something valuable.
My advice?
Build a small but reliable retinue instead of a huge disposable army.
The best beginner army composition
| Unit | Purpose |
|---|---|
| Spearmen | Hold enemy cavalry and frontline infantry. |
| Naginata Warriors | Strong melee crowd control. |
| Archers | Damage from a safe distance. |
A balanced squad performs much better than twenty identical infantry units.
Keep veterans alive
Experienced retainers become dramatically stronger after upgrades.
Losing a veteran hurts much more than replacing a fresh recruit.
That made me much more cautious during difficult battles.
Combat Rewards Timing More Than Fast Reflexes
The melee system immediately reminded me of grounded historical combat games.
Every weapon has weight.
Every swing matters.
Learn spacing before aggression
A few habits helped me survive consistently:
- Never sprint directly into enemy formations.
- Attack enemies already engaged with your soldiers.
- Watch stamina constantly.
- Back away after heavy attacks instead of spamming combos.
Weapons feel very different
| Weapon | Beginner Recommendation |
|---|---|
| Katana | Balanced speed and damage. |
| Tachi | Longer reach and heavier strikes. |
| Naginata | Excellent crowd control against groups. |
I started with the katana before experimenting with longer weapons later.
High Ground Is Almost Overpowered
This was probably the biggest tactical lesson I learned.
Archers aren’t just ranged units.
They’re terrain units.
Always fight from elevation when possible
Benefits include:
- Longer firing distance.
- Better arrow trajectories.
- More consistent damage.
- Safer positioning behind your infantry.
Whenever I found a hill overlooking an enemy settlement, battles became dramatically easier.
What to avoid
Never march through:
- valleys,
- narrow roads,
- cliffs controlled by enemy archers.
You’ll lose soldiers before reaching melee range.
Scout first.
Fight second.
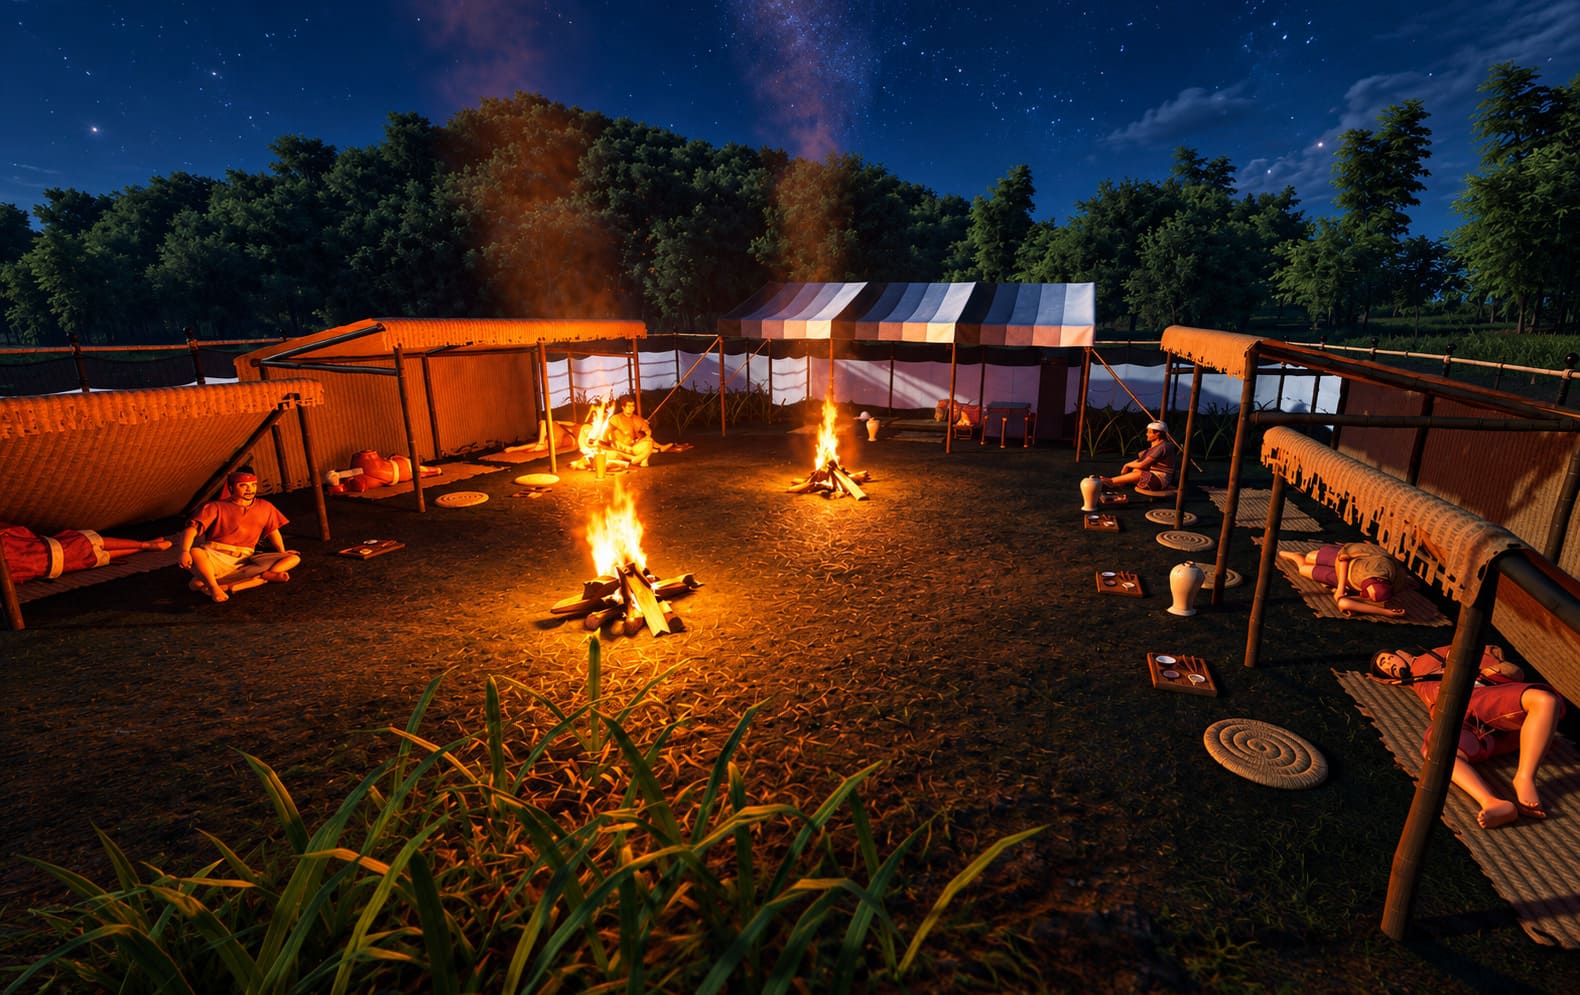
Night Raids Are Stronger Than They Sound
One mechanic I absolutely love is the preparedness system.
Enemies caught off guard don’t enter battle fully equipped.
That changes the entire encounter.
Why attacking at night is worth it
During surprise assaults:
| Enemy Situation | Result |
|---|---|
| Sleeping Garrison | Reduced armor and weaker defenses. |
| Caravan Ambush | Faster victory and fewer casualties. |
| Night Assault | Enemy reacts slower and fights less efficiently. |
I started planning attacks around sunset instead of attacking immediately after spotting enemies.
It paid off almost every time.
Shrines Are More Important Than Settlements Early Game
At first I ignored shrines because they looked like optional landmarks.
Huge mistake.
Shrines influence the spiritual strength of regional clans.
Why shrine control matters
Capturing shrines gives multiple advantages:
- Your clan gains spiritual influence.
- Nearby enemy morale decreases.
- Regional resistance becomes weaker.
- Future battles become easier.
Think of shrines as long-term strategic investments instead of loot locations.
Convoys Are the Fastest Way to Fund Your Army
Resources disappear quickly once recruitment starts.
Instead of constantly fighting armies, start hunting supply routes.
Convoys provide excellent rewards
You can earn:
- upgrade materials,
- recruitment resources,
- equipment,
- valuable supplies.
Convoy hunting tips
- Scout roads before engaging.
- Wait until escorts separate.
- Strike quickly.
- Retreat before nearby patrols arrive.
This became my favorite way to grow without triggering massive battles.
Weather Isn’t Just Visual Flavor
Rain, fog, and darkness genuinely affect combat.
That’s surprisingly rare.
Best weather for different strategies
| Weather | Best Use |
|---|---|
| Rain | Hidden movement and stealth approaches. |
| Night | Surprise attacks on settlements. |
| Clear Day | Long-range archery and scouting. |
Heavy rain helped me sneak much closer before enemies reacted.
Warrior Monks Can Completely Change a Campaign
This system surprised me.
The mountain monasteries aren’t just lore locations.
They’re strategic allies.
Why you should work with monks
Completing objectives for them unlocks unique benefits.
Some examples include:
- weakening rival clans,
- applying spiritual penalties,
- supporting large assaults,
- unlocking alternative campaign opportunities.
It’s one of the more interesting progression paths outside direct conquest.
Cavalry Changes Mid-Game Battles
Horses feel incredibly powerful once unlocked.
But they’re not unstoppable.
When cavalry shines
Perfect targets include:
- fleeing enemies,
- isolated archers,
- light infantry,
- broken formations.
Never charge these units
Avoid charging directly into:
- spearmen,
- dense polearm formations,
- fortified gates.
I learned this lesson after losing my horse in seconds.
A Simple Progression Plan That Worked for Me
If I started a fresh campaign today, I’d follow almost the exact same roadmap.
| Campaign Stage | Priority |
|---|---|
| First Hour | Farm XP through small patrols. |
| Rank 3–4 | Recruit your first balanced retinue. |
| Early Expansion | Hunt convoys instead of castles. |
| Regional Control | Capture shrines before major settlements. |
| Mid Game | Unlock cavalry and stronger equipment. |
This order keeps resources flowing while minimizing unnecessary losses.
How to Fix Warlord: Awaji Crashing on Launch, Black Screen, and Startup Freezes
Beginner Mistakes You Should Avoid
I made nearly all of these.
Hopefully you don’t.
Five common mistakes
- Ignoring stamina. Running out during melee usually means death.
- Fighting uphill. Terrain matters more than weapon rarity.
- Recruiting too many soldiers too early. You’ll run out of resources.
- Attacking fortified settlements immediately. Build strength first.
- Leaving shrines under enemy control. They quietly strengthen surrounding clans.
Fixing these mistakes improved my campaign more than any equipment upgrade.
Warlord: Awaji Low FPS Fix: PC Performance & Stuttering Guide (2026)
My Biggest Piece of Advice After the First Few Hours
The temptation in Warlord: Awaji is to play aggressively because the combat feels satisfying. But the game consistently rewards players who think like commanders rather than lone heroes.
The battles where I won the easiest weren’t the ones where I had the strongest armor. They were the ones where I attacked from high ground, waited until nightfall, or forced enemies into bad positions before the fighting even started.
That’s what makes Warlord: Awaji stand out for me. It isn’t just another samurai action game wrapped around a strategy map. It’s a campaign where geography, morale, timing, and troop management all matter at the same time.
If you’re just beginning your invasion of Awaji Island, slow down. Build a dependable retinue, protect your experienced warriors, capture shrines before expanding too far, and let terrain work in your favor. Once those systems start working together, the island becomes much easier to conquer—and every victory feels earned instead of accidental.