Warlord Awaji Guide: Full Enemy Factions List and Stronghold Attack Strategy
I’ve spent enough time in Warlord: Awaji to realize one thing very quickly: this game punishes impatience. It looks like a strategy sandbox where you can gather an army and charge the nearest fortress. That works exactly once.
The second time? You’re walking into a wall of yari spears, arrows are falling from every rooftop, and half of your veteran retinue is gone before the gate even opens.
Darkmatter Games built Awaji around battlefield positioning instead of flashy siege mechanics. Every village, temple, and mountain fort feels different because the terrain does most of the defending. That’s what makes conquering the island satisfying. You aren’t just collecting territories—you are solving military puzzles.
This guide breaks down every major enemy faction, explains how different strongholds fight, and shares the siege tactics that consistently worked best during my campaign.
Every Enemy Faction in Warlord: Awaji Explained
Not every enemy behaves like a traditional army. Some rely on morale, others never retreat, and a few exist purely to punish players who overextend.
Here’s how I’d rank them after dozens of battles.
| Enemy Faction | Threat | Biggest Strength |
|---|---|---|
| Village Conscripts & Ji-Samurai | 🟡 Low–Medium | Large numbers and terrain ambushes. |
| Rogue Ronin Bands | 🟠 Medium–High | Fast flanking attacks and deadly duelists. |
| Sohei Warrior Monks | 🔴 High | Exceptional defense and fearless morale. |
| Clan Loyalist Army | ⚫ Very High | Disciplined formations and elite armored samurai. |
Each faction forces a different approach.
Village Conscripts Are Weak Until You Ignore Them
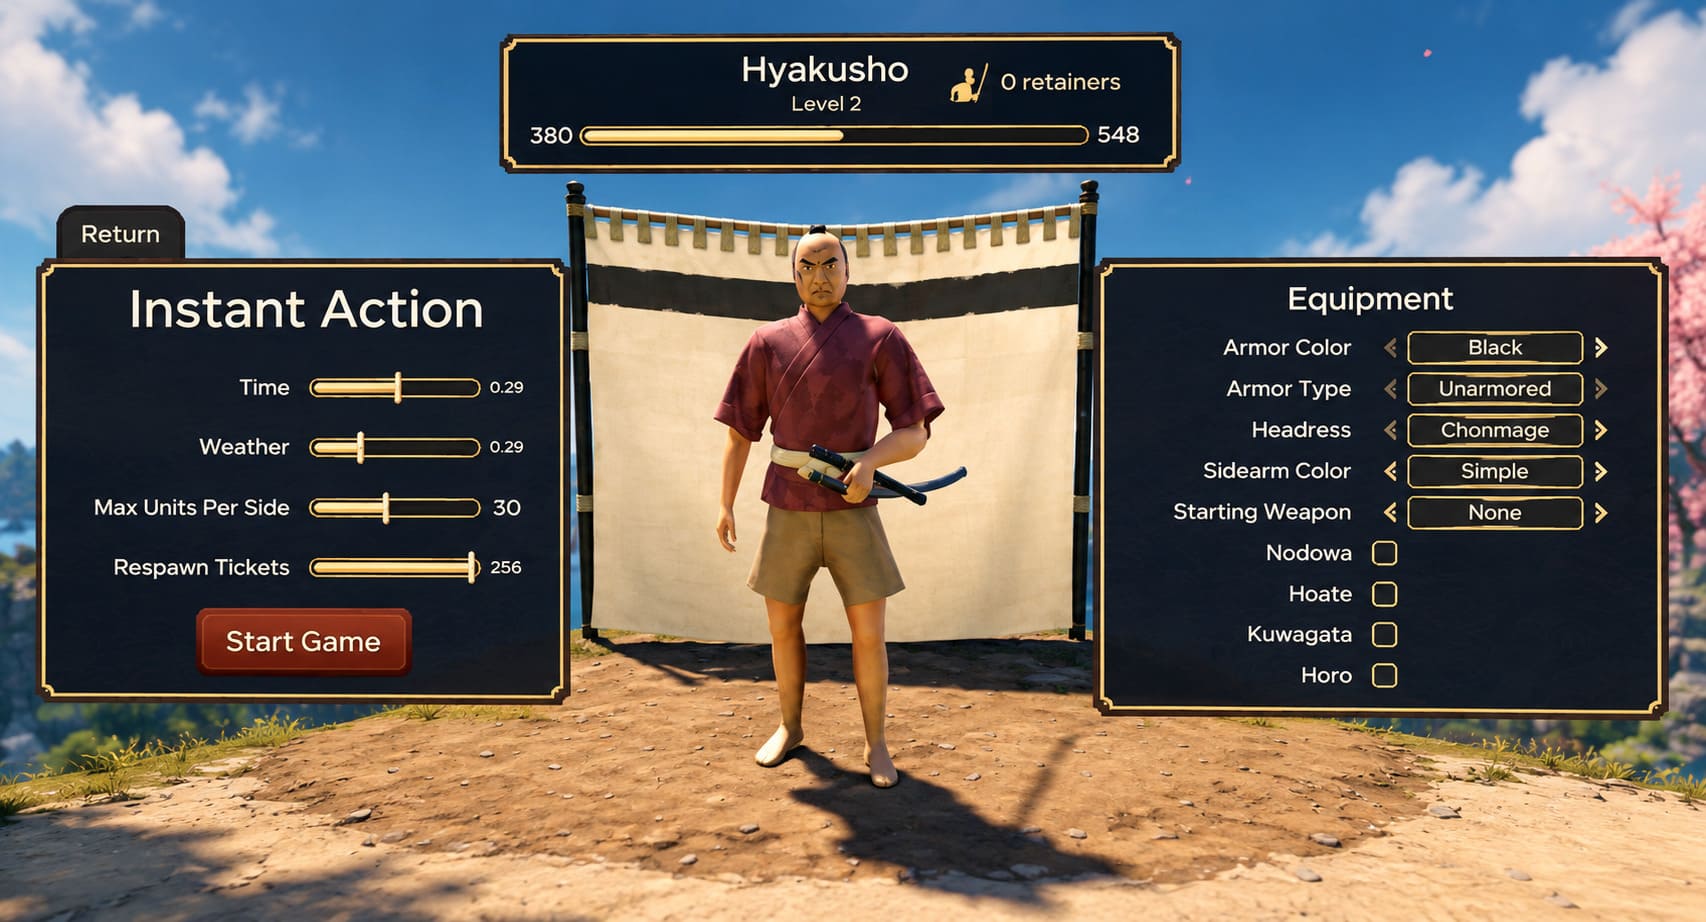
The first enemies most players meet are rural militia defending villages across Awaji.
These fighters don’t wear impressive armor, but numbers become their weapon.
What you’ll usually encounter
- Peasant spear units.
- Basic yari infantry.
- Local ji-samurai acting as officers.
- Light archers hiding behind farmland or trees.
The AI likes using forests surprisingly well. I’ve had patrols disappear into tall grass before attacking from two directions at once.
Best tactic against village militia
Don’t waste elite samurai.
Instead:
- Hold a spear line.
- Let militia charge first.
- Target ji-samurai officers immediately.
Once their leaders fall, morale usually collapses and the fight ends much faster than expected.
If you chase fleeing units too aggressively, nearby villages sometimes reinforce them, turning a small skirmish into chaos.
Rogue Ronin Are the Most Annoying Mid-Game Enemy
Ronin don’t fight fair.
That’s the point.
Instead of protecting settlements, they’re looking for opportunities.
Why Ronin feel dangerous
They’re equipped better than ordinary militia.
You’ll often see:
- Katana specialists.
- Nodachi users.
- Light armored archers.
- Mobile skirmish squads.
What surprised me most was how aggressively they hunt ranged units.
Leave your yumi archers exposed for a few seconds and ronin will sprint straight through your frontline.
Ronin AI habits I noticed
| Behavior | Counter Strategy |
|---|---|
| Flanking through forests. | Keep cavalry or reserve infantry watching the sides. |
| Night camp raids. | Build patrols around temporary camps. |
| Target isolated commanders. | Never scout completely alone. |
| Fast retreat after losing numbers. | Don’t overextend chasing survivors. |
Ronin punish greedy players more than almost any faction.
Sohei Warrior Monks Are Brutal Defensive Specialists
This faction completely changes siege battles.
The warrior monks guarding temples fight with religious fanaticism instead of survival instincts.
What makes Sohei unique?
Morale barely matters.
Breaking formations works against militia.
It barely affects monks.
Expect:
- Naginata experts.
- Temple archers.
- Heavy melee defenders.
- Support units boosting nearby allies.
A temple defended by Sohei feels dramatically harder than a village with similar troop numbers.
How I approach temple battles
- Eliminate archers first.
- Avoid charging narrow stairs.
- Use ranged pressure before melee.
- Surround isolated monks whenever possible.
Trying to duel naginata monks on elevated terrain is usually a mistake.
Clan Loyalists Are the Real Military Power on Awaji
Everything changes once you begin attacking major clan territories.
These armies feel organized.
Elite Clan Loyalist units include
- Heavy Ashigaru.
- Samurai retainers.
- Mounted horse archers.
- Veteran officers.
They’re equipped with layered armor and actually maintain formation discipline.
That’s dangerous because frontal assaults become extremely expensive.
Biggest battlefield threats
Spear walls
Heavy Ashigaru stop cavalry almost instantly.
Coordinated arrow volleys
Archers don’t shoot randomly.
They focus advancing formations.
Commander protection
Elite samurai rarely leave their lord exposed until late in the battle.
Every Stronghold Type Requires Different Siege Planning
One thing I appreciate about Warlord: Awaji is that castles aren’t identical.
The historical setting means wooden fortifications dominate instead of giant Sengoku-era stone castles.
Stronghold comparison
| Stronghold | Difficulty | Main Danger |
|---|---|---|
| Yashiki Manor | 🟡 Moderate | Tight interior fighting. |
| Temple Complex | 🟠 High | Vertical ranged defense. |
| Yamashiro Mountain Fort | 🔴 Very High | Narrow uphill choke points. |
Let’s look at each one.
Yashiki Manor Assault Tips
These fortified residences look harmless.
They’re not.
Why Yashiki battles become messy
- One entrance.
- Small courtyards.
- Minimal room for formations.
Once the gate breaks, everyone crashes together.
Best strategy
- Spearmen enter first.
- Archers stay outside until lanes open.
- Heavy samurai clear buildings afterward.
Avoid sending cavalry inside.
There’s simply no space.
Temple Complex Siege Strategy
Temple battles became some of my favorites because elevation matters constantly.
Expect defenders above you
Archers fire from:
- balconies,
- gates,
- rooftops,
- stair landings.
Every staircase becomes a kill zone.
Best approach
Use shielded archers.
Move slowly.
Trade arrows instead of sprinting.
Once ranged defenders disappear, infantry casualties drop dramatically.
Mountain Forts Are Endgame Siege Challenges
Yamashiro forts are easily the hardest structures I’ve attacked.
Everything works against attackers.
Why Yamashiro is so difficult
- Long uphill climb.
- Multiple gates.
- Switchback paths.
- Defensive platforms.
A handful of defenders can stall an army.
My biggest lesson
Patience wins.
If you rush the first gate, defenders behind the second wall attack while archers fire overhead.
Take one defensive layer at a time.
My Five-Phase Siege Strategy That Actually Works
This approach consistently reduced casualties compared to charging immediately.
Phase 1 — Scout Before You Commit
Always inspect the fortress personally.
Look for:
- hidden paths,
- watchtowers,
- cliff routes,
- secondary entrances.
I’ve found reserve forces hiding in nearby forests more than once.
Those ambushes are designed to hit your rear.
What to identify during reconnaissance
- Archer positions.
- Commander location.
- Gate layout.
- Escape routes.
Knowledge saves soldiers.
Phase 2 — Force Defenders Into the Open
This is probably the biggest trick I learned.
Don’t attack the gate first.
Instead:
- Move close enough to trigger aggression.
- Retreat toward your formation.
- Let impatient enemies chase.
Ronin and militia frequently abandon defensive positions.
Fighting outside walls removes their strongest advantage.
Phase 3 — Win the Archer Duel
You cannot ignore defenders on walls.
My preferred setup
| Unit Type | Role |
|---|---|
| Heavy Yumi Archers | Counter enemy bowmen. |
| Shield Bearers | Protect advancing archers. |
| Horse Archer | Distract defenders. |
If enemy archers survive, your melee assault becomes much harder.
Take your time.
A good volley is worth several swords.
Phase 4 — Breach Without Losing the Frontline
Breaking gates is only the beginning.
The mistake many players make is sprinting inside immediately.
Better plan
- Destroy gate.
- Hold the breach.
- Let defenders charge first.
- Counterattack after impact.
A spear wall inside the entrance absorbs the first wave extremely well.
Only then send elite katana fighters through openings.
Phase 5 — Focus the Commander Last
Every major stronghold has a leader.
They’re much tougher than ordinary samurai.
Commander strengths
- High armor.
- Heavy attacks.
- Large health pool.
- Excellent blocking.
Don’t duel unless necessary
Instead:
- surround them,
- stagger attacks,
- rotate damaged soldiers,
- finish together.
It’s faster and much safer.
Best Army Composition for Stronghold Assaults
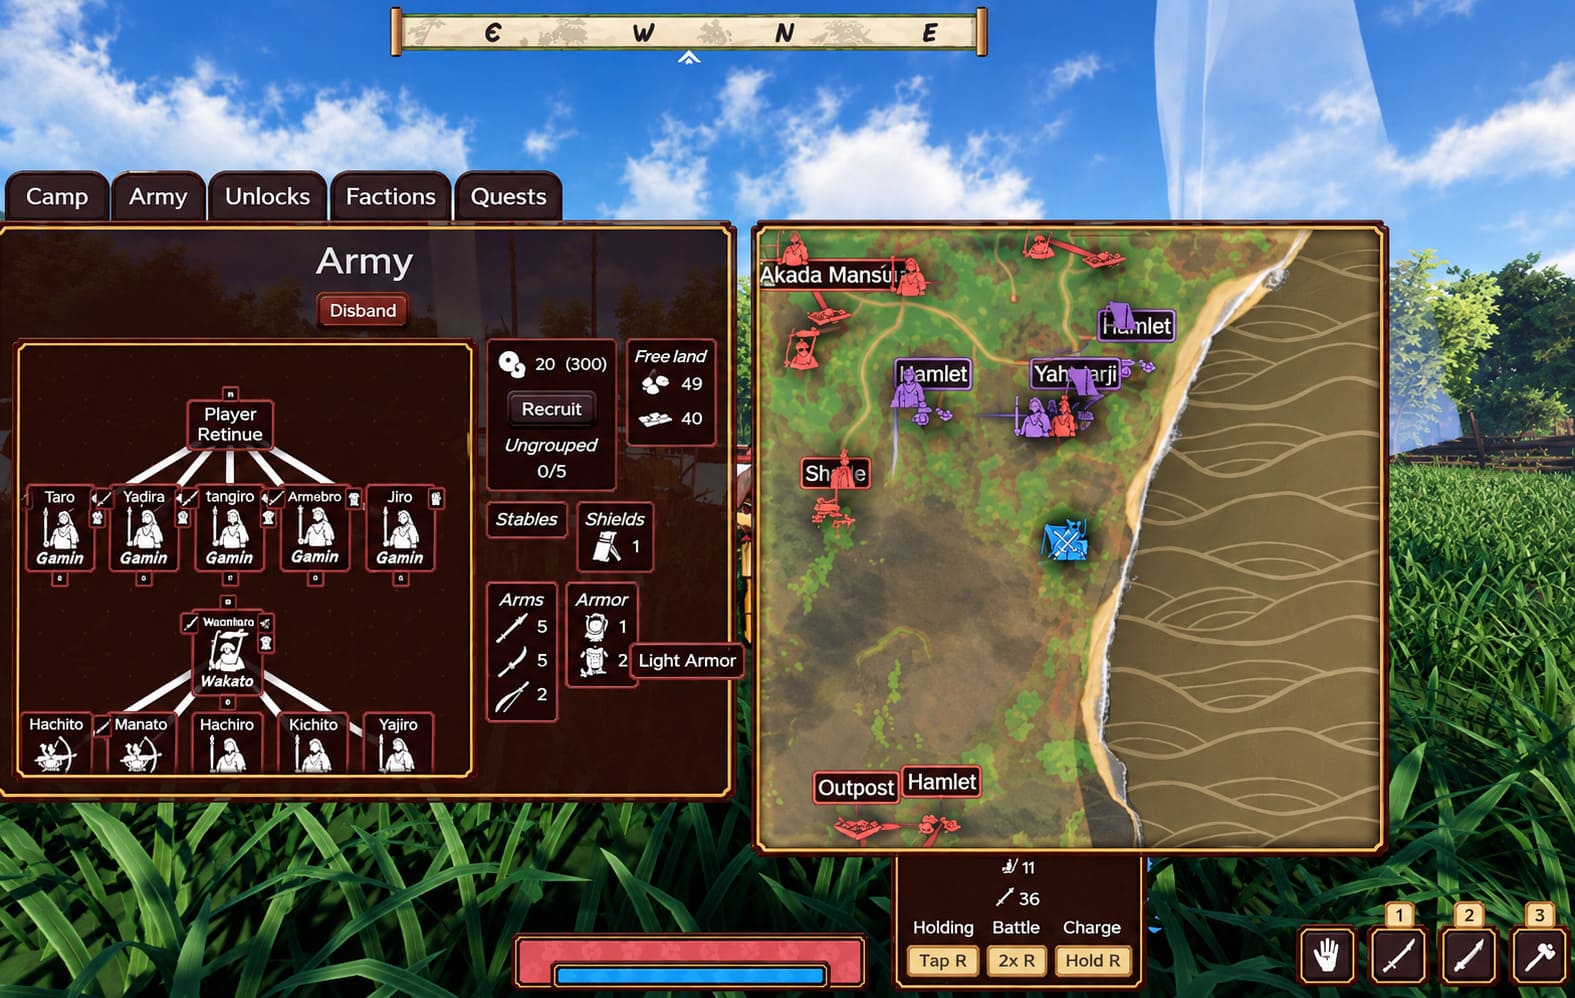
After experimenting with different retinue builds, this composition felt the most reliable.
| Unit Category | Recommended Share |
|---|---|
| Heavy Ashigaru Spearmen | 40% |
| Samurai Katana & Naginata Units | 30% |
| Yumi Archers | 30% |
Why this composition works
Heavy Ashigaru
Your anchor.
They hold choke points and protect archers.
Samurai
Your breakthrough force.
Use them only after enemy formations become disorganized.
Yumi Archers
They reduce casualties before melee even begins.
A good volley is worth several swords.
Common Siege Mistakes New Players Keep Making
I made several of these during my first campaign.
Charging immediately after discovering a fort
Bad idea.
Hidden defenders often wait nearby.
Leaving veterans on patrol alone
Experienced soldiers become incredibly valuable later.
Protect them.
Ignoring regional unrest
Capturing territory isn’t the end of the fight.
Counter-raids happen quickly.
Marching everywhere manually
Fast travel exists for a reason.
Use shrines and allied settlements to recover before major battles.
Warlord Awaji Beginner’s Guide: Combat, Strategy, and Progression Tips
How to Defend Newly Captured Strongholds
Winning the siege doesn’t mean you’ve secured the province.
Enemy factions respond aggressively after losing territory.
Immediately after capturing a fort
- Build a temporary camp nearby.
- Heal wounded veterans.
- Patrol surrounding roads.
- Watch for retaliation.
Leaving immediately often results in losing the stronghold within a day or two.
Prioritize stability before expansion
The campaign rewards consolidation.
Expanding too fast creates multiple active fronts, stretched supply lines, and constant raids on villages supporting your army.
How to Fix Warlord: Awaji Crashing on Launch, Black Screen, and Startup Freezes
Final Thoughts: Warlord: Awaji Rewards Patience More Than Aggression
The biggest surprise in Warlord: Awaji wasn’t the combat—it was how much battlefield discipline matters. Every faction fights differently, and every fortification forces you to rethink your approach instead of repeating the same siege over and over.
If you’re attacking a Yashiki, expect brutal close-quarters fighting. Temples become ranged battles before they become melee battles. And Yamashiro mountain forts are endurance tests where positioning matters more than army size.
The players having the easiest campaigns usually aren’t the ones with the largest retinues. They’re the ones scouting first, pulling defenders into bad positions, clearing archers before committing, and protecting veteran soldiers instead of treating every battle like a disposable charge.
Master those habits, and conquering Awaji becomes much less about surviving impossible sieges—and much more about commanding an army that keeps getting stronger with every victory.