Town to City Happiness Guide: How I Keep Citizens Above 60% Mood as a Streamer
When I first started playing Town to City on stream, I expected a relaxed city-builder where you just place houses, connect roads, and watch things grow.
What I didn’t expect was how quickly the game turns into a deep management puzzle built entirely around one invisible pressure point: citizen happiness.
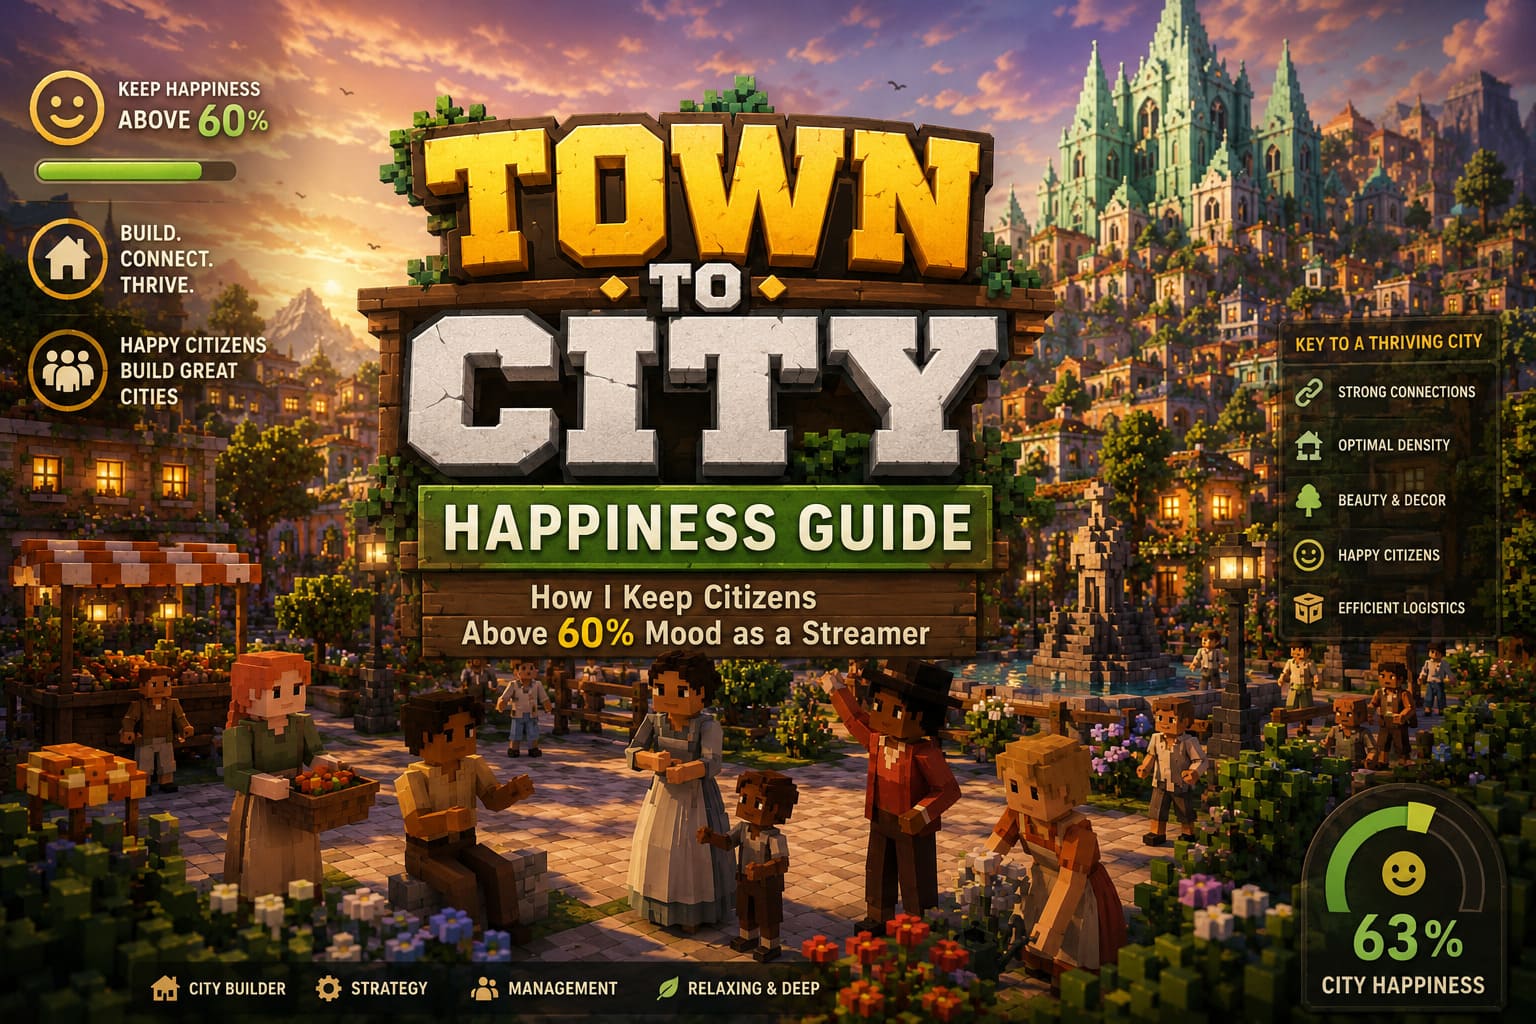
At first glance, it looks cozy and forgiving, but once your population starts scaling, you realize everything is quietly governed by whether your citizens stay above a 60% average happiness threshold. That single number decides whether your city evolves or collapses into stagnation.
From my experience streaming the game and reacting live with chat feedback, the difference between a thriving city and a dead one usually comes down to how seriously you treat that happiness system. Money helps, aesthetics help, but happiness is the gatekeeper for everything else.
Forza Horizon 6 Beginner’s Guide: Master Japan’s Roads Fast
Why 60% Happiness Is the Real Progress Wall
The biggest turning point in Town to City happens when you hit your first real population milestone and suddenly realize immigration slows down or stops entirely if happiness drops below 60%. That’s when the game stops being about building and starts being about maintenance.
No new families arrive, production chains get unstable, and expansion stalls no matter how much empty land you have ready.
On stream, I usually explain it in simple terms: money builds the city, but happiness decides if anyone wants to live in it. Once you accept that, your entire approach to city planning changes.
The Connection System: The Most Misunderstood Mechanic
The first major mistake I made—and I see a lot of players make it—is assuming buildings work just because they are close to each other. Town to City doesn’t operate on simple proximity.
It uses a connection-based service system where residential buildings must actively link to services like food stalls, shops, warehouses, and entertainment structures.
If those connections fail, happiness drops immediately even if everything looks visually fine. I learned to constantly check overlays and building connection lines to ensure no neighborhood is accidentally cut off from essential services.
Subnautica 2 Axum Bacterial Culture Guide: Locations, Map Coordinates, and Farming Tips
My Core Connection Checklist
Before expanding anything on stream, I always verify three things: whether homes are properly connected to services, whether service ranges overlap too heavily, and whether warehouses are positioned close enough to production zones. If something feels wrong in the city, it’s almost always a connection issue.
Density Problems: Why Compact Cities Fail
One of the most deceptive mechanics in the game is population density. Early on, I made the mistake of building tightly packed residential blocks thinking efficiency would improve everything. Instead, happiness collapsed as residents began competing for limited services.
High density creates hidden pressure where demand outpaces supply, and individual house happiness drops even if the overall city looks successful.
My Micro-Neighborhood Strategy
Now I build cities in small clusters instead of massive grids. Each neighborhood contains four to six houses, one food source, one service building, and a few decorations. These micro-hubs stabilize demand and prevent service overload. It looks less efficient on paper, but in practice it creates far more stable cities.
Decorations: The Hidden Happiness Engine
Decorations in Town to City are not cosmetic—they are functional happiness modifiers. What surprised me most during my playthroughs is how flexible the system is. Decorations don’t need to be perfectly placed on individual plots to matter. Instead, the game calculates environmental beauty in a radius around homes and distributes bonuses accordingly.
This means small visual improvements can have surprisingly large effects on happiness when applied consistently across neighborhoods.
What Actually Works Best
I focus on trees in empty spaces, lamps near entrances, benches in shared areas, and small gardens near intersections. The key is repetition rather than perfection. If citizens pass through it daily, it should be decorated.
Social Classes and Happiness Expectations
As your city evolves, you unlock different social tiers, and each one comes with completely different expectations. This is where most long-term cities start breaking apart if they are not planned properly.
Basic workers are relatively easy to satisfy, but artisans and bourgeoisie citizens introduce much stricter requirements, including better housing quality, luxury goods, and environmental beauty standards.
Why Mixing Classes Breaks Cities
Early on, I tried mixing all classes in the same neighborhoods. It always ended badly. Higher-tier citizens drag down system balance when placed in low-tier infrastructure zones, and lower-tier citizens struggle in over-designed luxury districts.
Now I separate them into clearly defined zones: production areas, mixed artisan districts, and high-end residential zones.
Logistics: The Invisible System That Controls Everything
Even if your city looks perfect, poor logistics will quietly destroy it over time. Warehouses too far from production, unbalanced labor assignments, or inefficient distribution routes all lead to service delays, which directly affect happiness.
What makes this system tricky is that it often fails silently. You don’t always get obvious warnings until the happiness drop becomes noticeable.
My Logistics Optimization Rules
I always place warehouses centrally between production and consumption zones, keep production slightly ahead of demand, and avoid overstaffing early game buildings. Stability matters more than maximum efficiency.
Streamer Strategy: How I Consistently Break the 60% Barrier
After multiple playthroughs, I developed a simple priority system that I now follow on every new city. First, I fix connections. Then I stabilize density. After that, I add decorations. Only once those systems are stable do I expand population again. Most players do this in reverse order, which is why they hit constant happiness walls.
The biggest mindset shift I made was learning to pause expansion whenever something feels unstable. Fixing problems early prevents long-term collapse later.
Final Thoughts: Why Happiness Is the Real Game
What I enjoy most about Town to City is that it slowly reveals its complexity. At first, it feels like a relaxed builder, but underneath it is a tightly interconnected system where every decision affects another. Happiness is not just a stat—it is the summary of how well your entire city functions as a network.
Once I stopped treating it like a decorative number and started treating it as infrastructure health, everything changed. My cities stopped collapsing, growth became predictable, and reaching above 60% happiness stopped being a struggle and became a standard part of my build process.