The Witcher 3 Remastered Best Signs Ranking: Combat Control Tier List (2026)
If there is one thing The Witcher 3 taught me after far too many hours of playing it, it is that Geralt does not really need to be a pure swordsman. The sword gets the glory in screenshots, the mutations get the late-game attention, and everyone remembers the satisfying finishers. But Signs are what often decide whether a messy fight feels completely under control or turns into Geralt getting bounced around by five angry Nekkers.
The Next-Gen version of The Witcher 3 makes this even more noticeable. Quickcasting, updated combat systems, Grandmaster set bonuses, mutations and the different alternate Sign modes give each spell a much more defined role. On Death March especially, simply swinging faster and harder is not always enough.
So I went back through all five Witcher Signs and looked at them from one specific angle: how much control do they actually give you during a fight?
This is not a ranking based purely on damage. I care more about whether a Sign can stop an enemy, create space, interrupt attacks, protect Geralt, break a formation, or turn a chaotic encounter into something manageable.
And after putting them side by side, the order is pretty interesting.
The Witcher 3 Signs Ranked for Combat Control
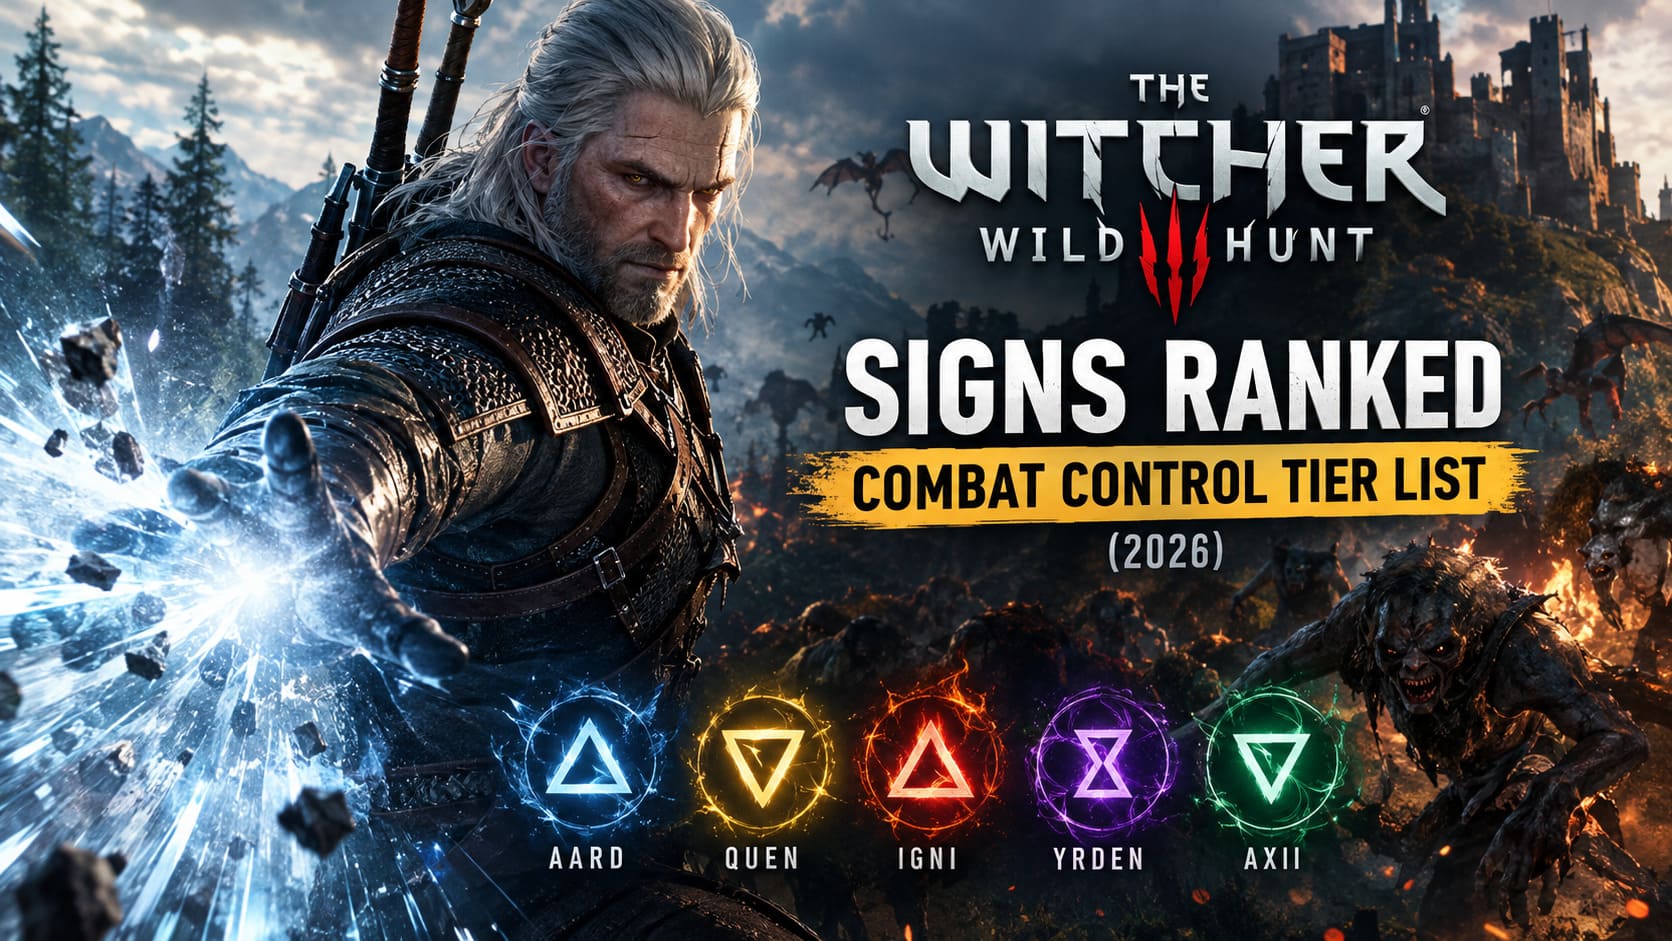
| Rank | Sign | Main Strength | Combat Control |
|---|---|---|---|
| 1 | Aard | Knockdowns, space, executions | Exceptional |
| 2 | Quen | Defense and recovery | Excellent |
| 3 | Igni | Burning and crowd disruption | Excellent |
| 4 | Yrden | Slowing and area denial | Very Good |
| 5 | Axii | Single-target interruption | Situational |
The important thing here is that this isn’t really a damage tier list. A Sign can hit hard and still be mediocre at controlling a battlefield. That’s why some of the results may look strange if you’re used to ranking Signs purely by build damage.
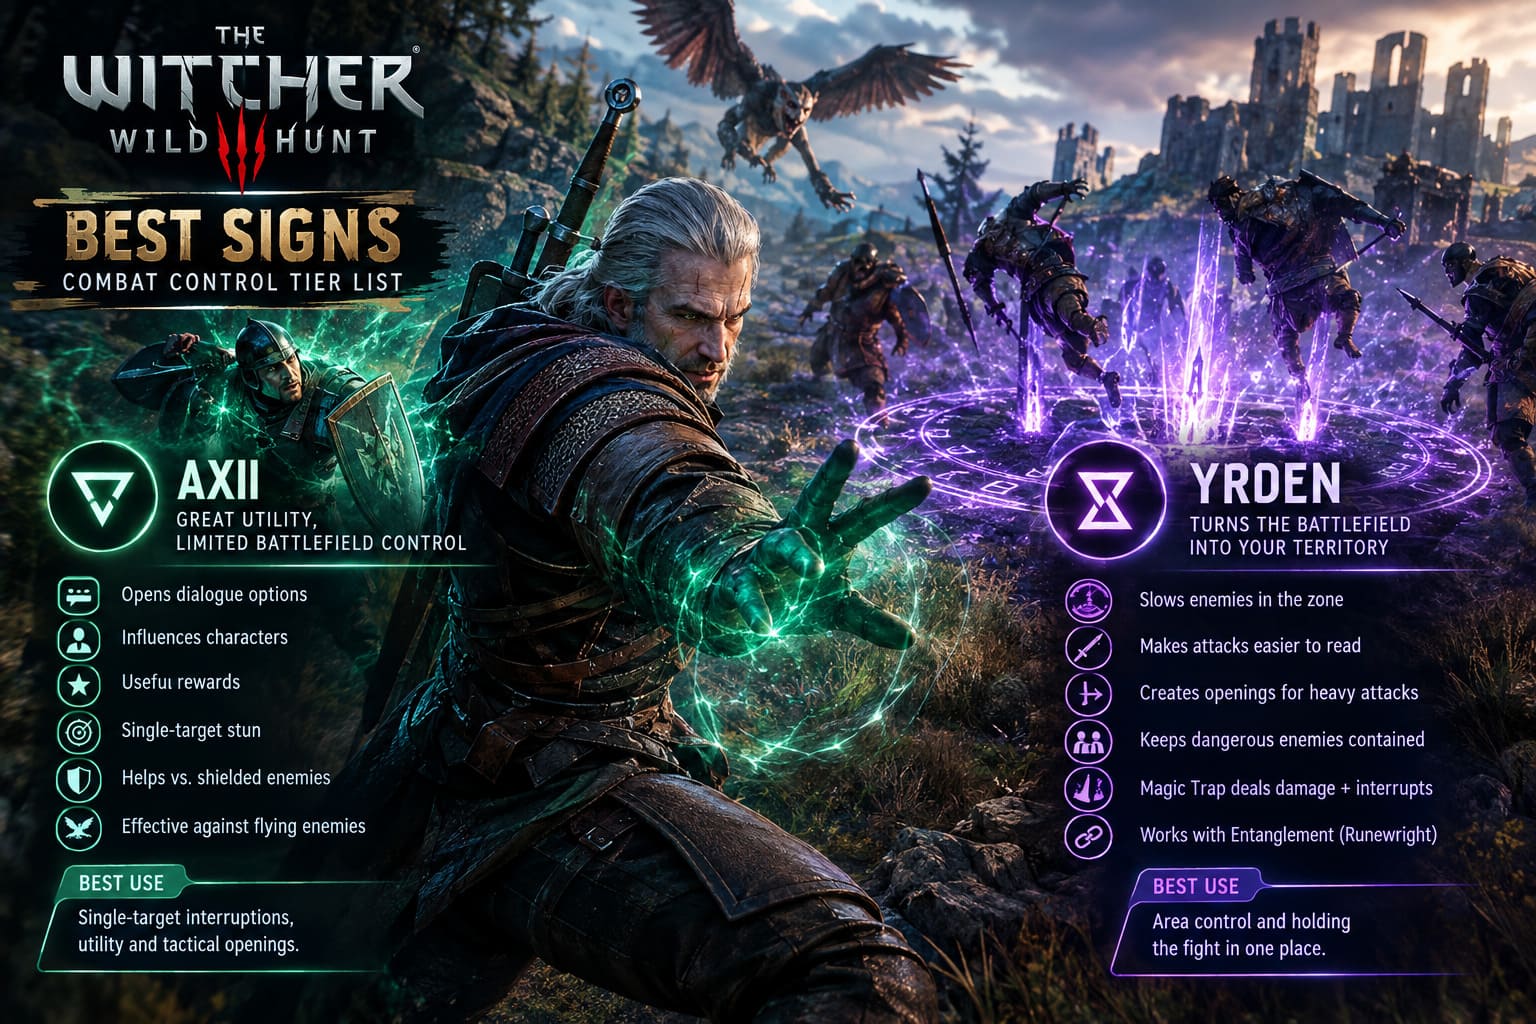
5. Axii — Great Utility, Limited Battlefield Control
I’ll start with Axii, because this is probably the Sign I use most outside combat and one of the ones I rely on least when a fight becomes chaotic.
Axii is fantastic for conversations and certain quest situations. It can open dialogue options, influence characters and provide useful rewards. But when the question becomes “Which Sign gives me the most control over an entire battlefield?”, Axii starts running into problems.
Its standard combat effect is essentially focused on one target. You can stun an enemy and create a perfect opening for a heavy attack. That’s genuinely useful against certain enemies.
A shield-bearing human opponent is a good example. Rather than dancing around his guard, you can simply stop him with Axii and punish the opening.
It can also be handy against annoying flying enemies or monsters whose attacks are difficult to time around. Getting one dangerous target to stop moving for a moment can save a lot of trouble.
The problem is what happens when there are six enemies around you.
Axii doesn’t suddenly become six times more useful.
Puppet sounds better than it usually feels
The alternate Puppet ability is one of those things that looks brilliant when you read the description. Turning an enemy against its friends sounds like perfect crowd control.
In practice, I’ve never found it as reliable as the idea suggests.
The converted enemy isn’t necessarily going to massacre the group for you, and the casting animation can leave Geralt standing in a particularly uncomfortable place. On higher difficulties, the effect also doesn’t always produce the kind of damage swing you’d hope for.
So Axii remains excellent when you need to neutralize one specific problem.
It just isn’t the Sign I want when the entire screen is trying to kill me.
Best use: single-target interruptions, shielded enemies, utility and specific tactical openings.
4. Yrden — The Sign That Turns the Battlefield Into Your Territory
Yrden is probably the biggest surprise for players who haven’t revisited The Witcher 3 in a while.
For years, I mostly thought of Yrden as “the thing I use when a ghost refuses to become hittable.” That’s obviously selling it short.
With the right build, Yrden becomes one of the strongest area-control tools in the game.
The basic Yrden trap creates a zone that slows enemies who enter it. That sounds simple, but slowing enemies in The Witcher 3 is much more valuable than it first appears.
Suddenly, attacks that normally come at you almost simultaneously become readable.
- Dodge incoming attacks.
- Circle around slower enemies.
- Find openings for heavy attacks.
- Reposition before you’re surrounded.
- Keep dangerous enemies inside a controlled area.
And when you combine Yrden with Griffin-focused builds and late-game upgrades, the effect becomes much more dramatic.
Magic Trap gives Yrden another job
The alternate Magic Trap ability makes Yrden feel less passive.
Instead of simply creating a slow zone, you get a magical device that attacks enemies entering its range. The important part isn’t just the damage. The real value is interruption.
Flying enemies can be knocked out of the air, incoming threats can be disrupted and fast attackers can have their momentum broken.
Then there is the Runewright interaction.
With the Entanglement enchantment, Magic Trap can create additional Yrden effects when its projectiles connect. With the right setup, the battlefield can start looking like Geralt has covered the floor in magical speed bumps.
That’s incredibly strong.
The weakness is obvious, though: Yrden wants enemies to come to you.
If the fight constantly moves across a huge area, or you’re fighting something that teleports and dashes around, those carefully placed traps lose value.
Yrden is brilliant when you control where the fight happens.
It is less impressive when the fight refuses to stay where you put it.
3. Igni — Fire, Panic and a Surprisingly Good Crowd-Control Tool
Igni is the Sign I would recommend to anyone who wants their magic to feel immediately useful.
There is something wonderfully simple about pointing your hand at a group of enemies and setting half of them on fire.
But the real strength of Igni isn’t raw fire damage. It’s what burning does to enemy behavior.
When an enemy catches fire, it can stop attacking and enter a panic animation. For those few seconds, you’ve effectively removed that enemy from the fight.
And that’s what makes Igni so good for combat control.
You don’t necessarily need to kill the enemy immediately. You just need to stop it from being a problem while you deal with something else.
Imagine a group fight where one enemy is attacking from the front while another is trying to flank you. Burning one of them can buy enough time to deal with the other.
That’s battlefield control.
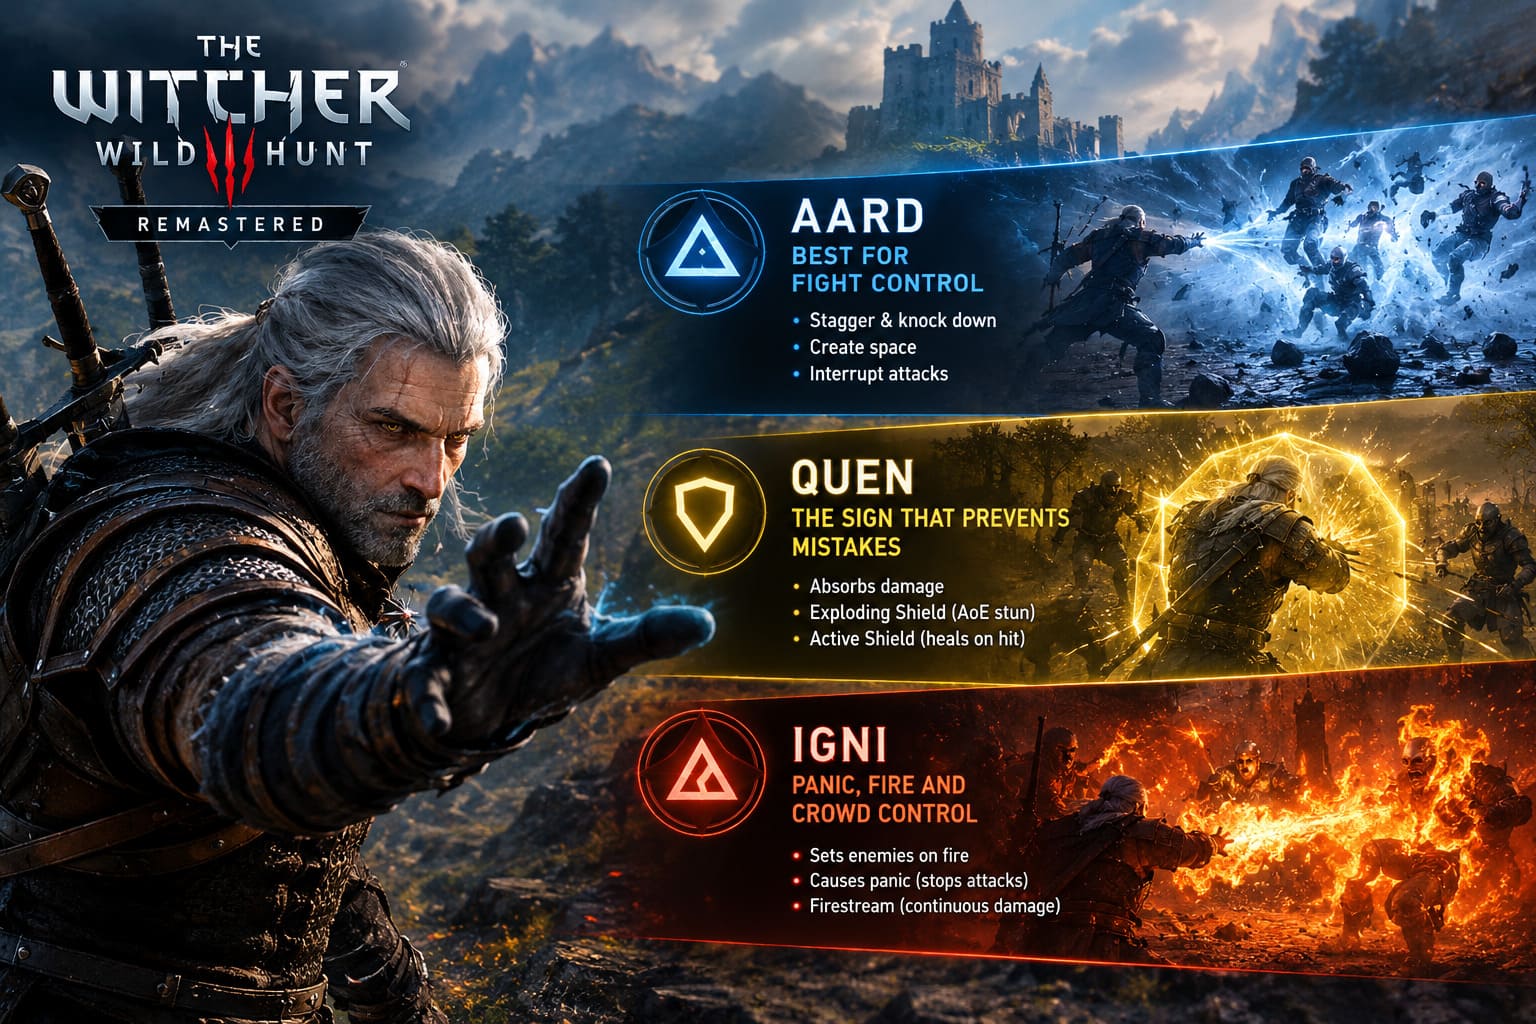
Firestream changes the role completely
The alternate Firestream ability is much more focused.
Instead of a quick cone of fire, Geralt channels a continuous stream toward a target. Against enemies vulnerable to fire, this can be brutal.
It is especially useful when you’re trying to pressure heavily protected targets or maintain constant damage without relying entirely on sword attacks.
The combination of burning-focused skills and the Pyromaniac ability can push Igni’s status application very high against enemies that aren’t resistant to fire.
And that’s the big problem.
Igni has hard counters.
Some powerful enemies simply don’t care about burning. Higher Vampires, Golems, Elementals and certain major encounters can take away the exact effect that makes Igni so valuable.
When burning works, Igni can feel unfair.
When an enemy is immune, you’re suddenly holding a very different Sign.
That’s why I put it below Quen and Aard.
2. Quen — The Sign That Lets You Make Mistakes
If Aard is about controlling enemies, Quen is about controlling your own mistakes.
And on Death March, that distinction matters.
Quen gives Geralt a protective shield capable of absorbing incoming damage. That alone makes it one of the most dependable Signs in the entire game.
We’ve all had that moment where an enemy attack arrives half a second earlier than expected.
Normally, that’s a reload.
With Quen, it’s often just:
“Okay. That happened. Back to work.”
That is an enormous advantage.
Exploding Shield adds another layer
The upgraded Exploding Shield turns a broken Quen barrier into an offensive tool.
When the shield breaks, nearby enemies can be knocked back and stunned, creating exactly the kind of breathing room you need when several enemies have closed the distance.
That means Quen isn’t purely defensive.
It can reset the fight.
Active Shield is where things get really interesting
The alternate Active Shield changes the entire relationship between Geralt and incoming damage.
Instead of simply absorbing attacks, Geralt can maintain a shield that converts successful enemy hits into Vitality recovery.
Against fast attackers, this can be extremely useful.
You aren’t simply surviving the enemy’s attack pattern. You’re using it.
That’s why Quen sits at number two for me.
It doesn’t necessarily destroy the battlefield, but it makes Geralt much harder to push out of his rhythm. You can take risks, stay aggressive and recover from mistakes that would otherwise end the fight.
And in a difficult encounter, maintaining momentum is a form of control.
1. Aard — The Best Sign for Controlling a Fight
This is where I land after comparing all five Signs.
Aard is the best overall combat-control Sign.
Not because it has the highest damage.
Not because it makes Geralt immortal.
It wins because it answers the most problems at once.
Aard gives Geralt something extremely valuable in The Witcher 3: space.
The basic blast can stagger enemies, break certain defenses and knock lighter opponents to the ground. And once an enemy is down, Geralt can often turn that opening into a devastating finishing attack.
That means one Aard cast can accomplish several things at once:
- Interrupt an attack.
- Create distance.
- Knock an enemy down.
- Open a finishing opportunity.
- Remove one opponent from the immediate fight.
That’s an absurd amount of utility from one button.
Aard Sweep fixes the “I’m surrounded” problem
The alternate Aard Sweep is one of those abilities that becomes more valuable the worse the situation gets.
Surrounded by enemies?
Cornered?
Getting attacked from multiple directions?
Aard Sweep gives Geralt an area-of-effect push that can create immediate breathing room.
And that’s something I value more than another small increase to sword damage.
You don’t need to win the fight instantly.
Sometimes you just need three seconds where nobody is standing directly behind you.
Aard gives you that.
The Witcher 3 Remastered Best Decoctions and Potions Tier List: Alchemy Guide
Piercing Cold Is Where Aard Gets Ridiculous
Late-game builds push Aard even further with the Piercing Cold mutation.
The mutation adds a freezing component to Aard, giving the Sign a chance to freeze enemies or significantly slow them.
The really nasty part comes when freezing and knockdown effects combine.
An enemy that is knocked down and frozen can be shattered, resulting in an instant kill.
At that point, Aard stops being merely a defensive tool.
It becomes a way to actively erase threats from the battlefield.
That’s why I keep coming back to it when talking about The Witcher 3 Signs ranking.
Yrden controls an area.
Igni controls enemy behavior.
Quen controls incoming damage.
Axii controls individual targets.
Aard controls the actual shape of the fight.
The Witcher 3 Remastered PC Performance Issues: Complete Optimization Guide and Fixes (2026)
My Final Witcher 3 Sign Tier List
After looking at each Sign specifically through the lens of combat control, this is where I end up:
| Tier | Sign | Why It Belongs Here |
|---|---|---|
| S | Aard | Knockdowns, space creation, interruptions, executions and Piercing Cold |
| A | Quen | Reliable protection, recovery and emergency crowd disruption |
| A | Igni | Burning provides excellent crowd control when enemies are vulnerable |
| B | Yrden | Exceptional zone control, but depends heavily on positioning |
| C | Axii | Excellent against individual targets but weak for large groups |
That doesn’t mean you should ignore the lower-ranked Signs.
Quite the opposite.
One of the reasons The Witcher 3 combat remains so enjoyable is that there isn’t really one Sign you should blindly spam in every situation.
Aard is my favorite for controlling chaos, but Quen can save a run when everything goes wrong. Yrden becomes fantastic against the right enemies. Igni can completely change a group fight when burning works. Axii has moments where its single-target control is exactly what you need.
That’s the real trick with Signs.
The best Geralt isn’t the one who memorizes a single button.
He’s the one who looks at the battlefield, recognizes what is about to go wrong, and picks the Sign that prevents it.
And after all these years, Aard is still the one I trust when the fight has already gone completely off the rails.