The Last Disease Z Crafting Guide: Ultimate Weapons Workbench Strategies for 2026
There are plenty of survival games where the crafting bench is basically a glorified menu. You walk up to it, press a button, wait a few seconds, and suddenly you have a better rifle. The Last Disease Z takes a much more demanding approach. Here, the weapons workbench is one of those systems that starts simple but gradually becomes the center of your entire survival strategy.
After playing a lot of survival games, I always notice when a crafting system actually changes the way you play rather than simply giving you another progression bar to fill. The Last Disease Z gets surprisingly close to that sweet spot. You have to think about ammunition, repairs, electricity, storage, character skills, and even where the workbench is placed inside your base. Ignore any one of those things and the game has a nasty habit of reminding you why preparation matters.
The Last Disease Z Low FPS Fix: How to Boost Performance and Fix Stuttering (2026 Guide)
Why the Weapons Workbench Matters So Much
Early in The Last Disease Z, you can survive with basic melee weapons and whatever firearms you manage to find while scavenging. That changes quickly once you start entering more dangerous areas. Infected enemies become harder to control, bandits begin carrying serious firepower, and wasting ammunition becomes a much bigger problem than it initially appears.
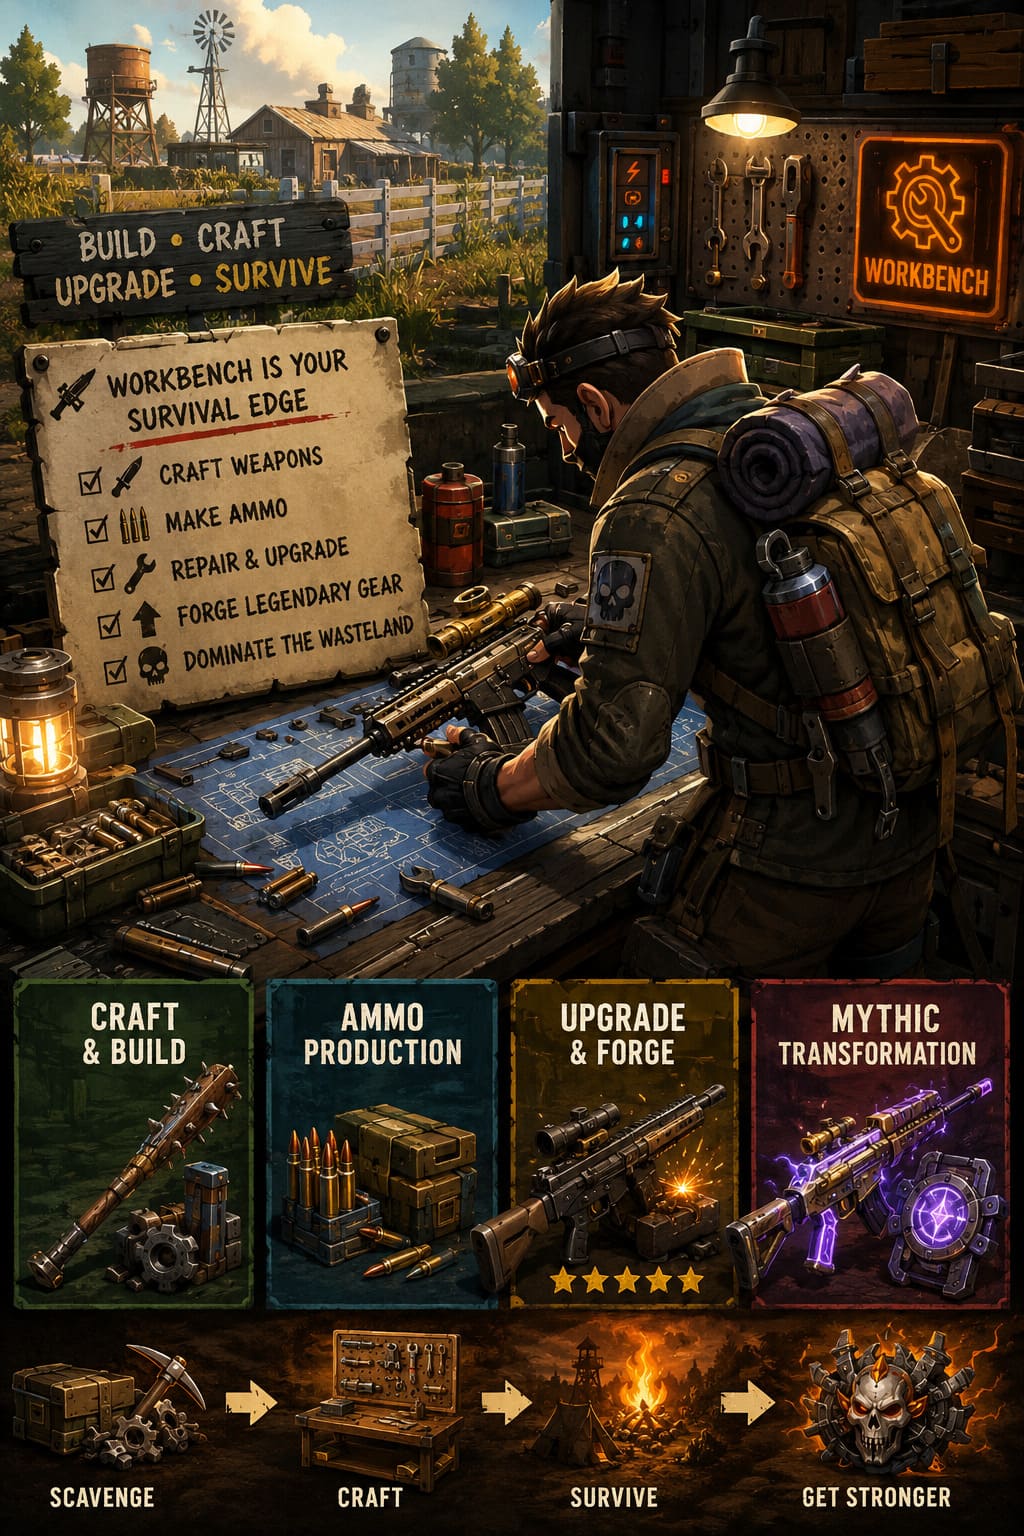
This is where the weapons workbench becomes essential. It is used for melee weapon assembly, ammunition production, firearm repairs, and advanced weapon upgrades. It is not simply another crafting station that you build because the game tells you to. Your access to reliable weapons directly affects how far you can travel, which locations you can raid, and whether you can defend your settlement when things inevitably go wrong.
There is also an interesting limitation in co-op: the workbench has a single-character workspace. Only one player can actively use it at a time. At first that can feel restrictive, especially when three or four people are standing around waiting for their turn, but I actually think it works reasonably well. It forces the group to decide who should handle production instead of turning the base into a chaotic assembly line.
| Workbench Function | Why It Matters |
|---|---|
| Melee Crafting | Provides quiet weapons for early exploration and stealth |
| Ammunition Production | Keeps firearms usable during longer expeditions |
| Firearm Repairs | Prevents valuable weapons from becoming useless due to durability |
| Weapon Forging | Improves high-tier firearms and increases combat effectiveness |
| Mythic Transformation | Creates the most powerful late-game weapon variants |
How to Unlock the Weapons Workbench
You will not have the advanced weapons workbench waiting for you when you establish your first shelter. The early progression is deliberately slower. Your first priority should be constructing the basic tool bench, which gives you access to the fundamental materials and construction options required for further development.
The more advanced weapons workbench requires specialized blueprints. These can be discovered while exploring important locations such as hospitals, military checkpoints, industrial facilities, and abandoned production areas. In my experience with survival games, this is exactly the kind of progression that works better when you don’t try to force it. Explore naturally, loot everything that looks remotely useful, and keep an eye out for schematic-related items instead of blindly sprinting across the map looking for one specific location.
Once the blueprint is available, the next headache is gathering the construction materials. Expect to need quality planks, iron brackets, mechanical scrap, electrical wiring, and other industrial components. It is tempting to spend everything on expanding the base early, but that can leave you stuck with a fancy shelter and terrible equipment.
What to Loot Before Building It
If you know that the weapons workbench is your next major goal, start treating industrial loot as a separate category. Mechanical parts and wiring are especially valuable because they tend to disappear quickly when you are simultaneously upgrading your base.
- Mechanical scrap — save it for weapon-related crafting whenever possible.
- Electrical wiring — important for the workbench and your growing power network.
- Iron components — useful for both weapons and structural upgrades.
- Quality planks — commonly needed during station construction.
- Gun-related components — keep broken weapon parts instead of treating them as junk.
One small habit makes a surprisingly big difference: create a dedicated storage container near the workbench. I have made this mistake in enough survival games to know how annoying it is to discover that the scrap you thought you had was accidentally used for something completely unrelated. Separating building materials from weapon components keeps your crafting economy much easier to manage.
Early Game: Don’t Ignore Melee Weapons
Once the workbench is operational, you might immediately want to start manufacturing firearms. That is understandable, but I would not completely abandon melee weapons. Spiked bats, reinforced blades, scrap machetes, and primitive bows remain useful when you are trying to conserve ammunition or quietly clear residential areas.
The real problem comes when human enemies start carrying automatic weapons. A melee weapon can be perfectly effective against an isolated infected enemy, but charging a fortified bandit position with a homemade club is another story entirely. The Last Disease Z does a good job of making that distinction obvious.
As you loot damaged gun frames and old weapon components, your workbench gradually becomes much more important. Basic pipe firearms and low-tier pistols can give you a reliable ranged option without forcing you to burn through the best ammunition in your inventory. Just remember that crafting a gun is only half the problem. You also need the resources to keep it running.
Ammunition and Repairs Can Drain Your Resources
One of the easiest mistakes is assuming that finding a firearm means you have solved your combat problem. You haven’t. Ammunition production and weapon maintenance can consume a substantial amount of valuable material, including gunpowder, lead scraps, shell casings, and mechanical components.
This is why I recommend deciding what your main weapon category is before you start producing ammunition in bulk. Carrying several different firearm types sounds flexible, but it also spreads your resources across multiple ammunition pools. A focused loadout is usually much easier to maintain, especially during longer expeditions away from your base.
Late Game: Forging Your Best Weapons
This is where the weapons workbench stops feeling like a survival necessity and starts becoming a genuine end-game progression system. Advanced rifles, shotguns, and sniper rifles can be pushed through five forging levels. Each level increases the weapon’s overall effectiveness, but the resource requirement climbs sharply.
| Forging Level | Forging Stones | Basic Stat Increase |
|---|---|---|
| Level 1 | 30 | 10% |
| Level 2 | 50 | 30% |
| Level 3 | 100 | 50% |
| Level 4 | 200 | 75% |
| Level 5 | 300 | 100% |
The jump from Level 3 onward is where things get expensive. You are no longer casually upgrading a weapon between scavenging trips. You are committing a serious chunk of your economy to one particular firearm. Personally, I would rather fully invest in a weapon I know I enjoy using than spread Forging Stones across several mediocre guns.
How Mythic Transformation Works
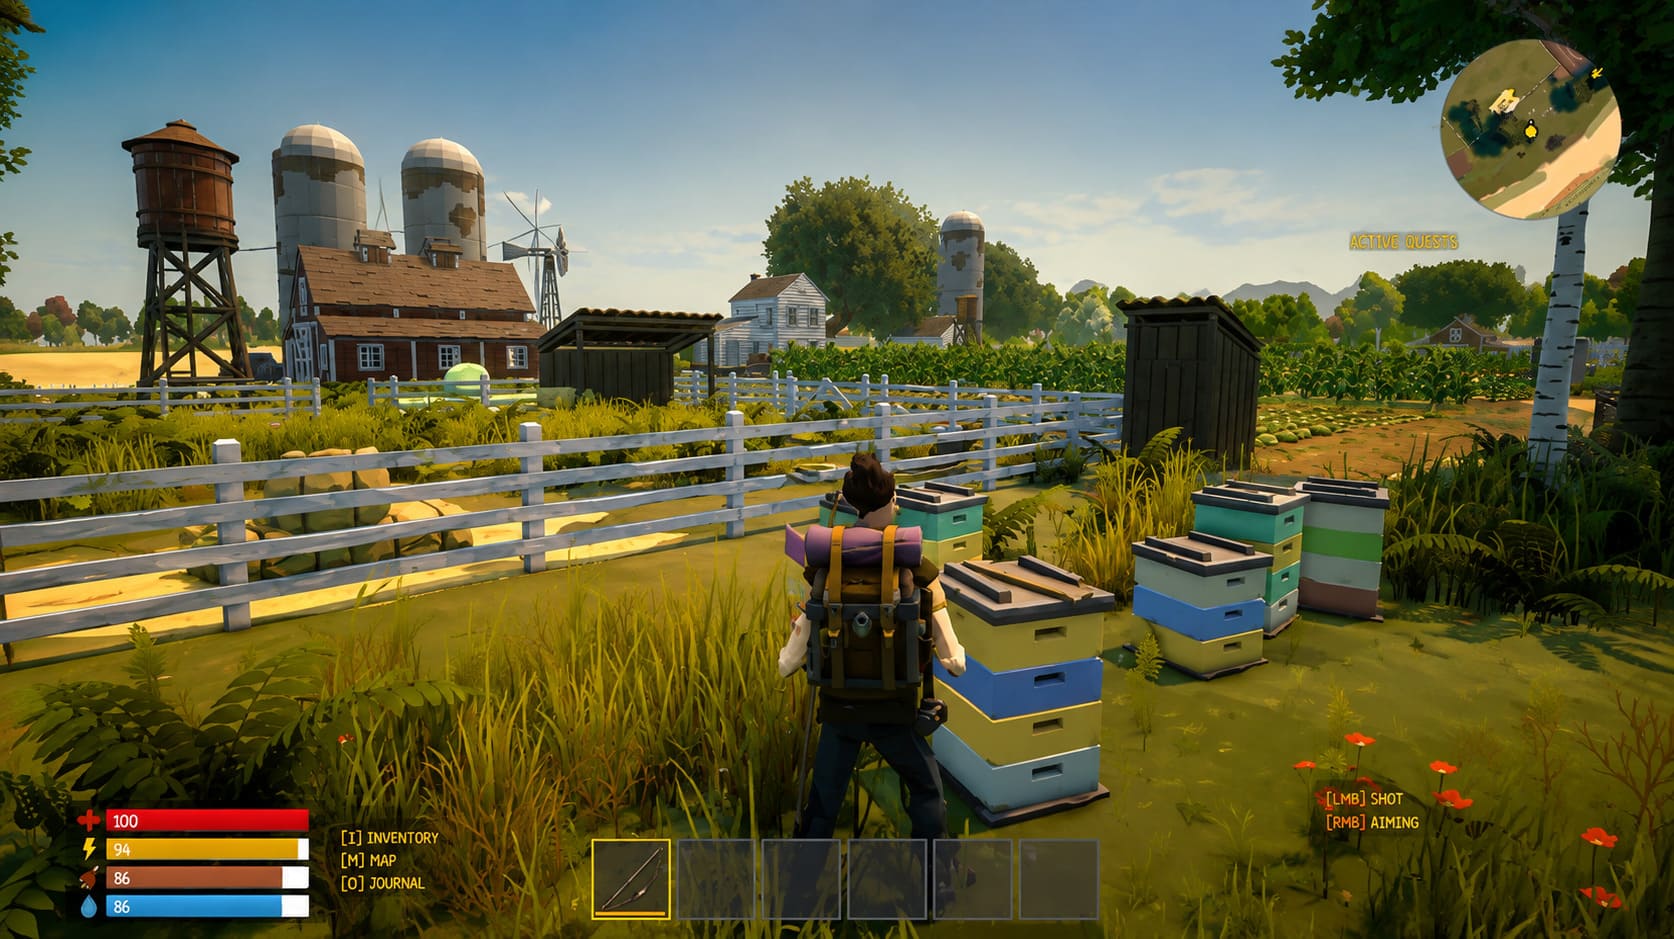
Reaching Forging Level 5 is not the end. It unlocks the Mythic Transformation stage, which requires another 300 Forging Stones plus 50 Pulse Modules. The latter are considerably harder to obtain because they are associated with high-contamination areas and heavily defended bandit locations.
That requirement changes the way you approach the map. You cannot simply sit inside your base and farm your way into the best weapon tier. Eventually, you have to take the risk and visit dangerous areas where the best materials are found. This creates a nice progression loop: improve your equipment, use that equipment to reach more dangerous zones, collect better resources, then return home and make your arsenal even stronger.
A Mythic weapon can completely change how a character handles late-game encounters. For solo players in particular, having one fully developed firearm gives you considerably more room for mistakes when large infected groups or armed enemies start closing in.
Weapons Workbench Placement Problems and Fixes
Not everything about the workbench system is perfectly smooth. The free-form building system can occasionally cause interaction problems, especially when the bench is positioned too close to walls, storage objects, or other structures. One of the more frustrating situations is seeing the workbench sitting exactly where you want it while the interaction prompt refuses to appear.
If that happens, don’t immediately destroy the station. Open the base editing or decoration mode and pick the workbench up. Move away from the original placement point, then try positioning it again with a little extra empty space around it.
Crouching while adjusting the placement can also help. I would avoid pushing the workbench directly against walls or other objects. A small amount of breathing room may look less efficient, but it is far better than having a perfectly organized base where one of your most important crafting stations suddenly becomes unusable.
Best Weapons Workbench Strategy for Solo and Co-op Players
Solo players should prioritize efficiency because every resource and crafting decision belongs to one character. I would focus on one dependable primary weapon, maintain a quiet melee option for low-risk encounters, and avoid spending rare materials on weapons that you rarely use.
Co-op groups have a different advantage: specialization. Assign the character with the strongest engineering or crafting-related traits to manage the workbench whenever possible. Since only one character can use the station at once, having a dedicated technician prevents unnecessary swapping and gives the group a clear production role.
- Keep your power network protected. A powerful workbench is not very useful if your base infrastructure is constantly failing.
- Upgrade durability before chasing maximum damage. A weapon that survives longer is often more valuable than one with slightly higher damage.
- Track your inventory weight. Mining and industrial scavenging runs can fill your character surprisingly fast.
- Save rare forging resources. Do not spend them casually on weapons you plan to replace.
My Take on the Weapons Workbench
What I like most about The Last Disease Z’s crafting system is that the workbench actually connects several parts of the game. Scavenging gives you components, components let you maintain weapons, better weapons let you enter dangerous areas, and those areas provide the materials needed for further upgrades. That is a much more satisfying gameplay loop than simply unlocking another crafting tier because the story told you to.
The system can definitely be demanding. The resource costs become brutal in the late game, and the single-user workbench limitation can be annoying when playing with a full squad. Still, I would take these inconveniences over a crafting system that becomes irrelevant after the first few hours.
If you are serious about surviving The Last Disease Z, treat the weapons workbench as the heart of your base rather than another crafting station. Get the blueprint, secure the necessary components, organize your storage, maintain a reliable ammunition supply, and then start investing in a weapon that fits the way you actually play. Once Forging and Mythic Transformation enter the picture, that preparation starts paying off in a very noticeable way.
The wasteland is not going to get any friendlier. Your arsenal simply needs to get better.