Tears Of Metal Best Combo Strings Guide: Crowd Control Combat Meta
Tears of Metal is exactly the kind of game that makes you feel like a legendary warrior for about thirty seconds before reminding you that one bad decision can get you completely buried under an army of enemies. Paper Cult’s chaotic hack-and-slash roguelike has quickly become one of the most entertaining indie releases of 2026 for players who enjoy huge battles, brutal melee combat, and the constant pressure of fighting against overwhelming odds.
At first glance, the combat looks simple. You swing your weapon, dodge attacks, use heavy strikes, and keep moving. But after spending more time in the game’s battlefields, it becomes obvious that Tears of Metal is not really about randomly pressing attack buttons. The best players are constantly thinking about spacing, enemy positioning, attack arcs, stagger windows, and how to turn one successful hit into a chain reaction that controls an entire group.
That is where combo strings become incredibly important.
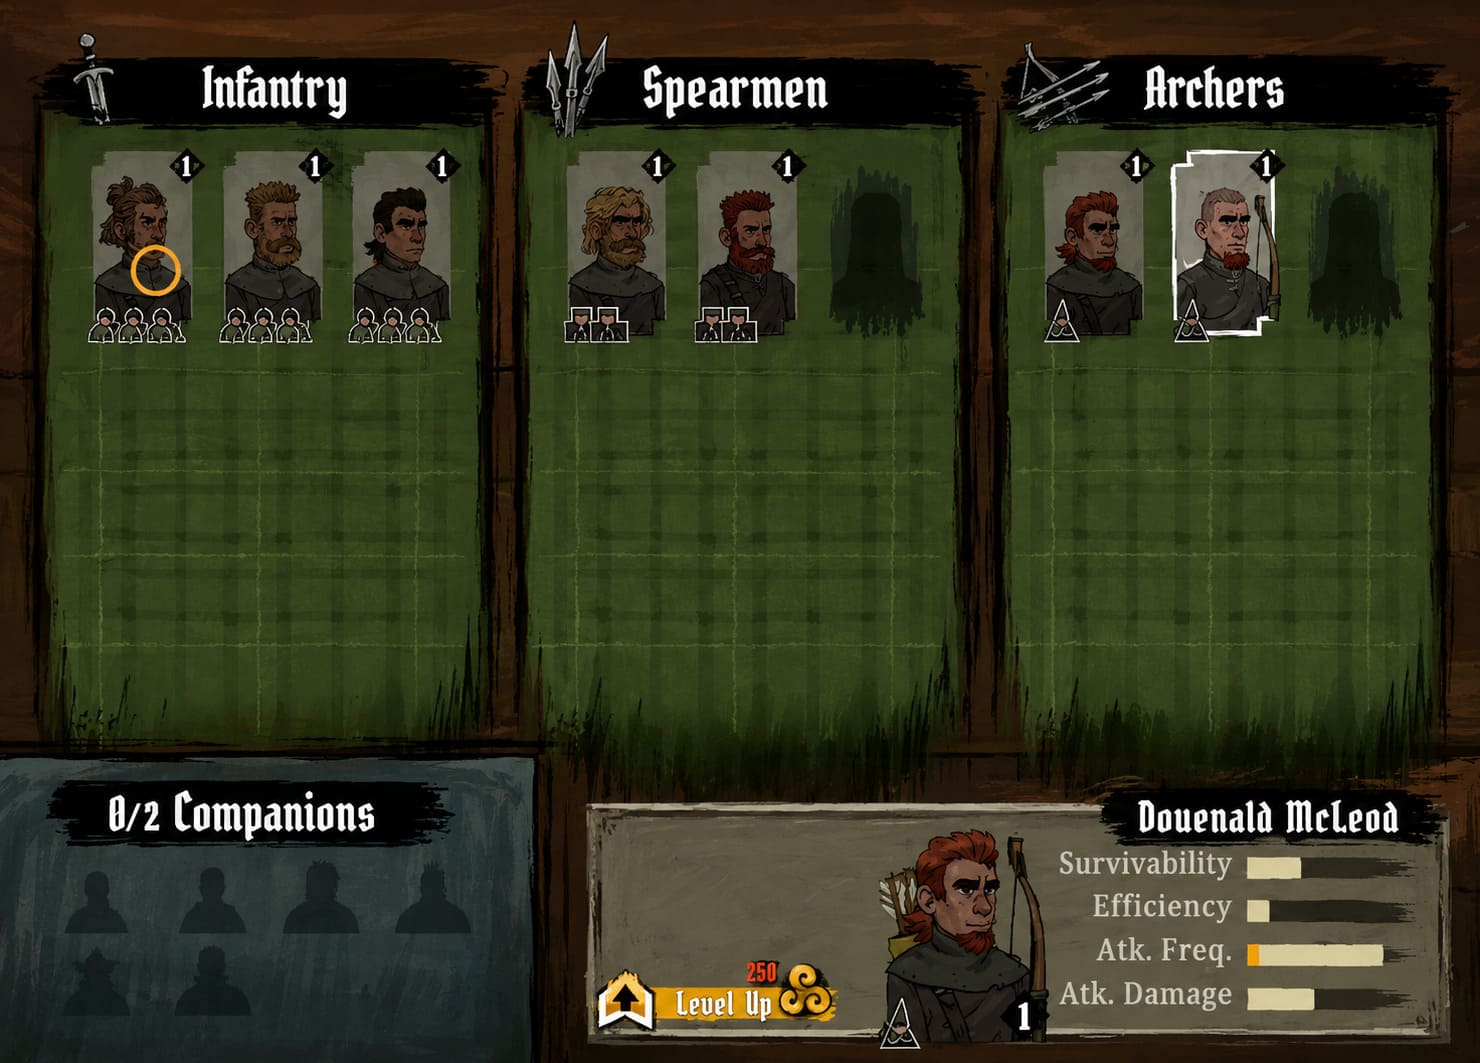
When dozens of enemies surround your Scottish warriors, basic attacks are rarely enough. You need to interrupt attacks, break formations, push enemies away, launch dangerous targets into the air, and create enough space to survive the next few seconds. In my experience, the difference between a clean, controlled fight and complete battlefield chaos usually comes down to one thing: how effectively you combine Light and Heavy attacks into a proper crowd control rotation.
This guide focuses on the best crowd control combo strings in Tears of Metal, along with positioning advice, upgrade recommendations, and practical tips for using these attacks in both solo runs and four-player co-op.
Why Combo Strings Matter So Much in Tears of Metal
Before discussing specific attack sequences, it is worth understanding what makes the combat system work. Most warriors use a combination of fast Light Attacks, slower but more powerful Heavy Attacks, and a Utility Action such as a dodge, dash, or class-specific ability.
Light attacks are usually your fastest way to maintain pressure. They help you stay mobile, interrupt weaker enemies, and build momentum. Heavy attacks are much more important when you are dealing with large groups because their attack arcs generally cover more space and produce stronger crowd control effects.
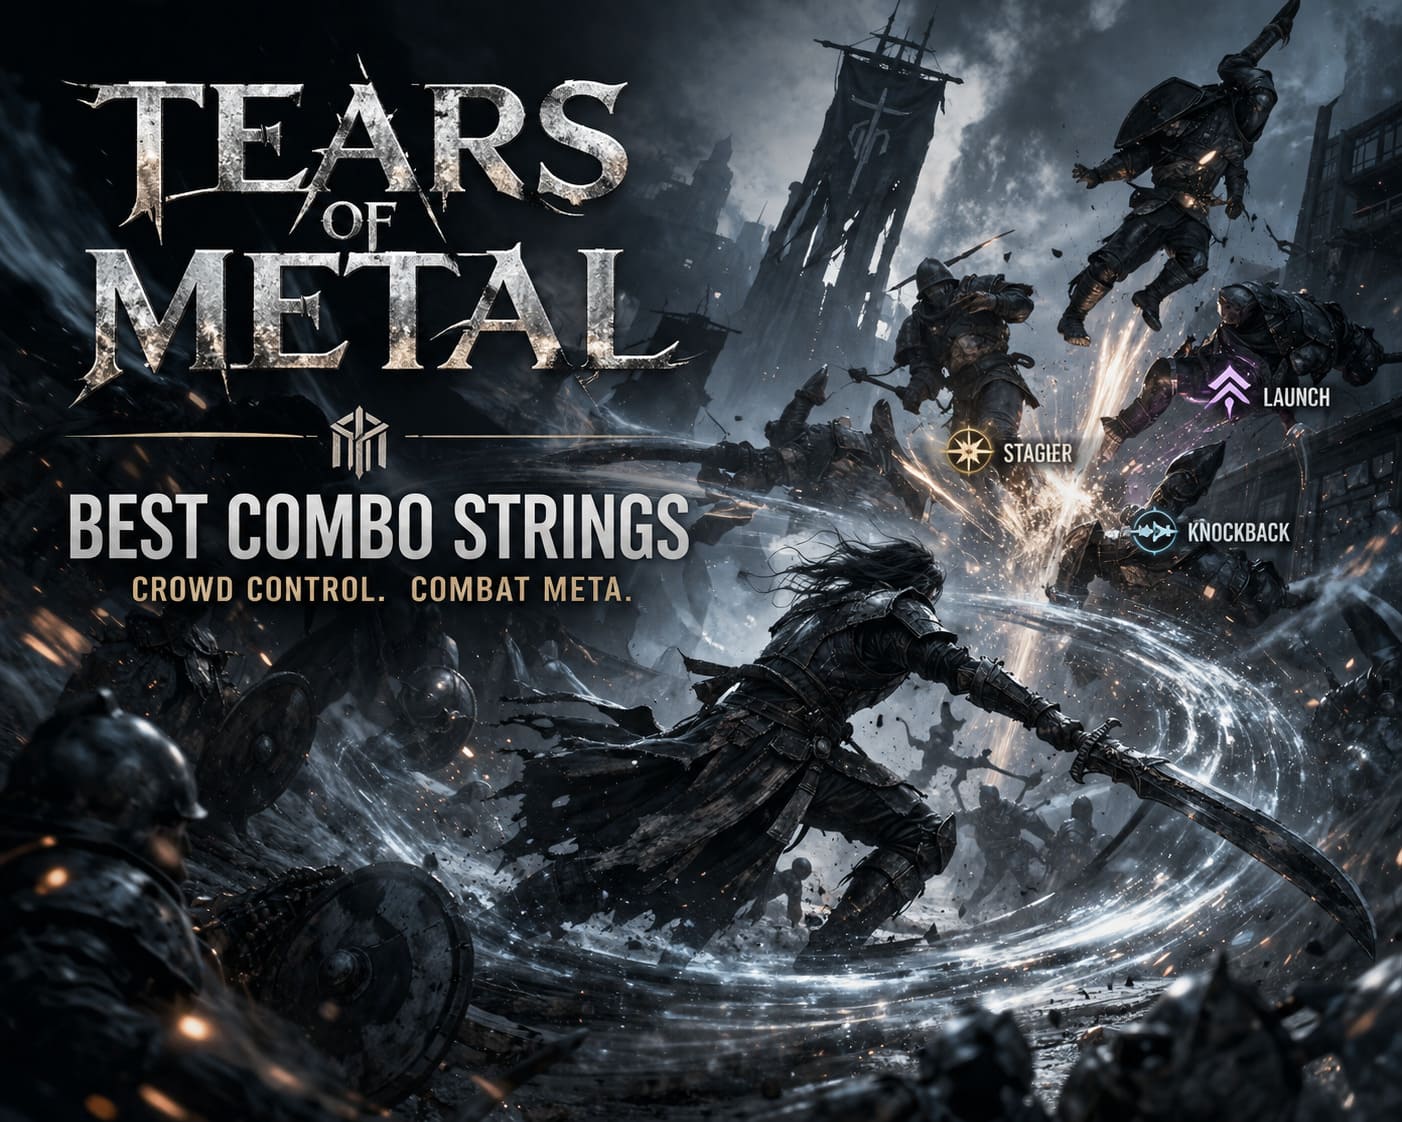
There are three effects that matter most when you are trying to control a large group:
- Stagger interrupts an enemy’s attack and gives you a valuable opening.
- Knockback creates breathing room and prevents enemies from completely surrounding you.
- Launch removes enemies from the ground, temporarily taking them out of the fight and opening the door for aerial follow-ups.
The important thing is that these effects work together. A good combo does not simply deal damage. It changes the position of the enemy army. You might stagger the front line, knock back the soldiers on your sides, and launch a stronger target before finishing with a large area attack.
That is why I personally prefer thinking about combos in Tears of Metal as battlefield tools rather than traditional fighting game combos. Damage matters, but controlling where the enemy is standing often matters even more.
The Best Crowd Control Combos in Tears of Metal
| Combo String | Best Use | Main Crowd Control Effect |
|---|---|---|
| Light, Light, Heavy, Heavy | Being surrounded | Wide knockback and area clearing |
| Light, Heavy, Heavy, Light | Shielded enemies and mixed groups | Guard break, launch, and slam |
| Heavy, Light, Light, Heavy | Breaking enemy formations | Forward breach and lateral push |
| Heavy, Heavy, Light, Heavy | Elite targets and dense groups | Air juggling and massive ground impact |
1. Wide Sweeper Circle — Light, Light, Heavy, Heavy
If I had to choose one combo to learn first, this would probably be it. The Light, Light, Heavy, Heavy sequence is incredibly reliable when you are surrounded or when the enemy formation is beginning to collapse around you.
The opening Light Attacks quickly deal with enemies directly in front of you and help establish the rhythm of the combo. The first Heavy Attack then expands your coverage, catching enemies that are beginning to approach from the sides. The final Heavy Attack is the real payoff, creating a powerful sweeping attack that can knock down weaker enemies across a much wider area.
This combo is perfect for creating a temporary safety zone around your character. That is especially important in Tears of Metal, because being trapped in the middle of a horde is often more dangerous than taking a few hits from a powerful elite enemy.
Best situation: You are surrounded, your stamina is still healthy, and you need immediate space.
My tip: Do not wait until your character is already being hit from every direction. Start this string as the enemy circle begins to close. The final Heavy Attack is much more valuable when it prevents the surround instead of simply helping you escape it.
2. Vanguard Launch and Slam — Light, Heavy, Heavy, Light
This is one of the best options when your group contains shielded enemies, vanguard units, or tougher targets that refuse to be pushed around by basic attacks.
The first Light Attack gives you a quick opening. You then immediately transition into a Heavy Attack designed to put serious pressure on the target’s guard. Once the enemy’s defensive posture is compromised, the second Heavy Attack can send the target upward and potentially catch nearby enemies in the same effect.
The final Light input completes the sequence with a powerful downward impact. The result is a combination that does more than simply defeat one enemy. The launch removes the main target from the battlefield for a moment, while the landing impact can stagger nearby soldiers.
This is particularly useful against mixed formations where one dangerous enemy is protected by a group of weaker units. Instead of trying to fight everyone at ground level, you can remove the most troublesome target from the equation and disrupt the surrounding group at the same time.
Best situation: Shielded units, vanguards, or a dangerous target standing in the middle of a dense group.
My tip: Avoid wasting the launch on a basic enemy unless you desperately need the space. The combo becomes much more valuable when you use it to temporarily remove an elite target while your squad deals with the surrounding infantry.
3. Charging Breach Line — Heavy, Light, Light, Heavy
Not every battle begins with you being surrounded. Sometimes the enemy is positioned in a huge defensive formation, and you need to get through the front line before the fight turns into a messy collision.
The Heavy, Light, Light, Heavy combo is excellent for that situation.
The opening Heavy Attack creates forward momentum and allows you to break into the enemy line. The two Light Attacks that follow maintain pressure and keep your character moving through the formation instead of stopping after the first hit.
The final Heavy Attack then pushes enemies away from the center, often splitting a large formation into separate groups. That may not sound as flashy as launching twenty soldiers into the air, but it can be extremely effective in actual gameplay.
Once the enemy group is divided, your allies have a much easier time dealing with the remaining targets. In co-op, this combo is especially useful because it creates natural openings for teammates to attack from the sides.
Best situation: Large enemy formations, narrow entrances, and the beginning of a new encounter.
My tip: Think of this as a formation-breaking combo rather than a damage combo. Your goal is to split the enemy army and create a better battlefield for everyone else.
4. Aerial Cyclone Juggle — Heavy, Heavy, Light, Heavy
This is probably the most satisfying combo on the list. It is also the one that feels the most like a classic action game juggle sequence.
The two opening Heavy Attacks focus on vertical control, lifting enemies off the ground and keeping them away from the rest of the battlefield. The Light Attack allows you to maintain the pressure while the target is airborne, and the final Heavy Attack brings everything back down with a powerful impact.
The obvious advantage is that airborne enemies cannot immediately continue attacking your squad. Against elite enemies, this can buy you valuable time. Against groups, the final ground impact can deal significant area damage to enemies standing underneath the falling targets.
There is also a psychological advantage to this combo: it simply feels great. When a large enemy gets launched, followed by several smaller enemies, and then the entire group is smashed back into the ground, this is exactly the kind of chaotic combat spectacle that makes Tears of Metal so enjoyable.
Best situation: Elite enemies surrounded by supporting infantry.
My tip: Use this combo when you have enough room to complete the sequence. If you are already trapped against terrain, the Wide Sweeper Circle is usually the safer choice.
The Best Upgrades for Crowd Control Builds
Learning the right combo strings is only half of the process. The roguelike progression system can dramatically change how effective your attacks become, and some upgrades are much better for crowd control than others.
Frost and Shock Infusions
Frost is one of the most useful options for players who want additional control. Slowing enemies after a large sweeping attack makes it much harder for them to immediately surround you again.
Shock, on the other hand, is excellent when enemies are packed closely together. A successful attack can spread additional damage and disruption through multiple targets, turning one Heavy Attack into a much larger crowd control event.
If your build is focused entirely on clearing hordes, these elemental effects are usually more valuable than a small increase to single-target damage.
Impact Radius and Shockwave Upgrades
Anything that increases the effective radius of your Heavy Attacks deserves serious consideration. The bigger your attack area becomes, the more value you get from every combo finisher.
This is particularly powerful with the Wide Sweeper Circle and Vanguard Launch and Slam. A larger impact radius means you can stagger enemies that are not even directly in front of your character, including ranged units and support enemies that would otherwise remain untouched.
Health and Stamina Siphoning
One of my favorite ideas for a crowd control build is combining wide attacks with resource recovery. If a single Heavy Attack hits ten or more enemies, perks that restore health or stamina based on successful hits can become extremely powerful.
Instead of retreating after every major encounter, you can sometimes recover resources by continuing to attack. This creates a very aggressive playstyle where your character becomes stronger the more enemies are nearby.
Of course, this can become dangerous if your attacks fail to connect. The strategy works best when you are confident in your positioning and know when to disengage.
Positioning Is More Important Than Button Mashing
The best combo in the world will not save you if you use it in the wrong place.
Whenever possible, use the environment to your advantage. Narrow bridges, entrances, walls, and other natural choke points can turn a chaotic battlefield into a controlled encounter. When enemies are forced into a tight area, your sweeping Heavy Attacks become significantly more efficient.
On open ground, enemies can attack from every direction. In a choke point, you can often force them into the exact attack arc you want.
However, do not become too comfortable. Ranged enemies and bosses can punish players who stand still for too long. Crowd control should always be combined with movement, dodging, and awareness of what is happening outside your immediate attack range.
Tears of Metal Combat Abilities Tier List (2026): Best Emblems & Skills Ranked
How to Use Crowd Control in Co-Op
In four-player co-op, a dedicated crowd control player can make an enormous difference.
Instead of everyone attacking the same target, one player can focus on keeping smaller enemies disrupted while the rest of the team concentrates on elite enemies or bosses. Wide sweeping combos can prevent the battlefield from becoming overwhelmed, while launch-based attacks can temporarily remove dangerous targets from the fight.
A simple team structure can work extremely well:
- Crowd Control: Keeps infantry staggered, knocked back, or airborne.
- Single-Target DPS: Focuses on elite enemies and bosses.
- Ranged Support: Deals damage from safer positions.
- Flexible Fighter: Helps wherever the battlefield begins to collapse.
The most important thing is communication. If one player launches an enemy while another player is preparing a ground attack, the timing can create devastating opportunities. The same applies to Shock and Frost effects, which can make follow-up attacks much safer.
Tears of Metal Combat Guide: Beginner Tips and Strategies for Paper Cult’s Roguelike
Final Thoughts: The Best Combo Is the One That Controls the Fight
Tears of Metal rewards aggression, but it does not reward mindless aggression. The more time I spend thinking about the combat system, the more obvious it becomes that crowd control is the real foundation of survival.
The Light, Light, Heavy, Heavy combo is the safest option when you need to clear space. Light, Heavy, Heavy, Light is excellent for tougher targets and shielded enemies. Heavy, Light, Light, Heavy is perfect for breaking formations, while Heavy, Heavy, Light, Heavy provides the most satisfying aerial control.
Combine those strings with Frost or Shock effects, increased impact radius, and resource-sustaining perks, and your warrior can become an absolute nightmare for enemy armies.
But the biggest lesson is simple: do not treat combos as fixed button sequences that you blindly repeat. Learn what each string does to enemy positioning. Know when you need space, when you need to break a formation, and when you need to temporarily remove an elite target from the fight.
Once you start using combos to control the battlefield instead of simply chasing damage numbers, the combat in Tears of Metal becomes much more satisfying. You stop reacting to the horde and start dictating the flow of the battle.
And honestly, that is when the game feels at its best: surrounded by an impossible number of enemies, swinging through the chaos, and somehow turning what should have been a desperate retreat into a perfectly controlled massacre.