Tears of Metal Base Building Guide: How to Expand Your Settlement Fast
When people first jump into Tears of Metal, it’s easy to think the entire experience is about charging into hundreds of enemies, swinging oversized weapons, and surviving one chaotic battlefield after another. That’s definitely a huge part of the fun, but after dozens of hours playing, one thing becomes painfully obvious: your biggest power spike doesn’t actually happen on the battlefield.
It happens back at home.
Your settlement is far more than a decorative village sitting between missions. It’s the beating heart of your progression. Every successful expedition, every chest opened, every rare crafting material collected eventually feeds back into your growing fortress. The stronger your village becomes, the stronger every future run feels.
Unlike many roguelites that rely almost entirely on random upgrades during each run, Tears of Metal gives players meaningful long-term progression through settlement expansion. Build wisely, and every failed expedition still pushes you closer to becoming an unstoppable force.
If you’re looking for the smartest upgrade path and want to avoid wasting valuable resources early, this guide covers everything you need to know.
Why Your Settlement Matters More Than You Think
One mistake I see many new players make is treating village upgrades as something to worry about later.
That’s backwards.
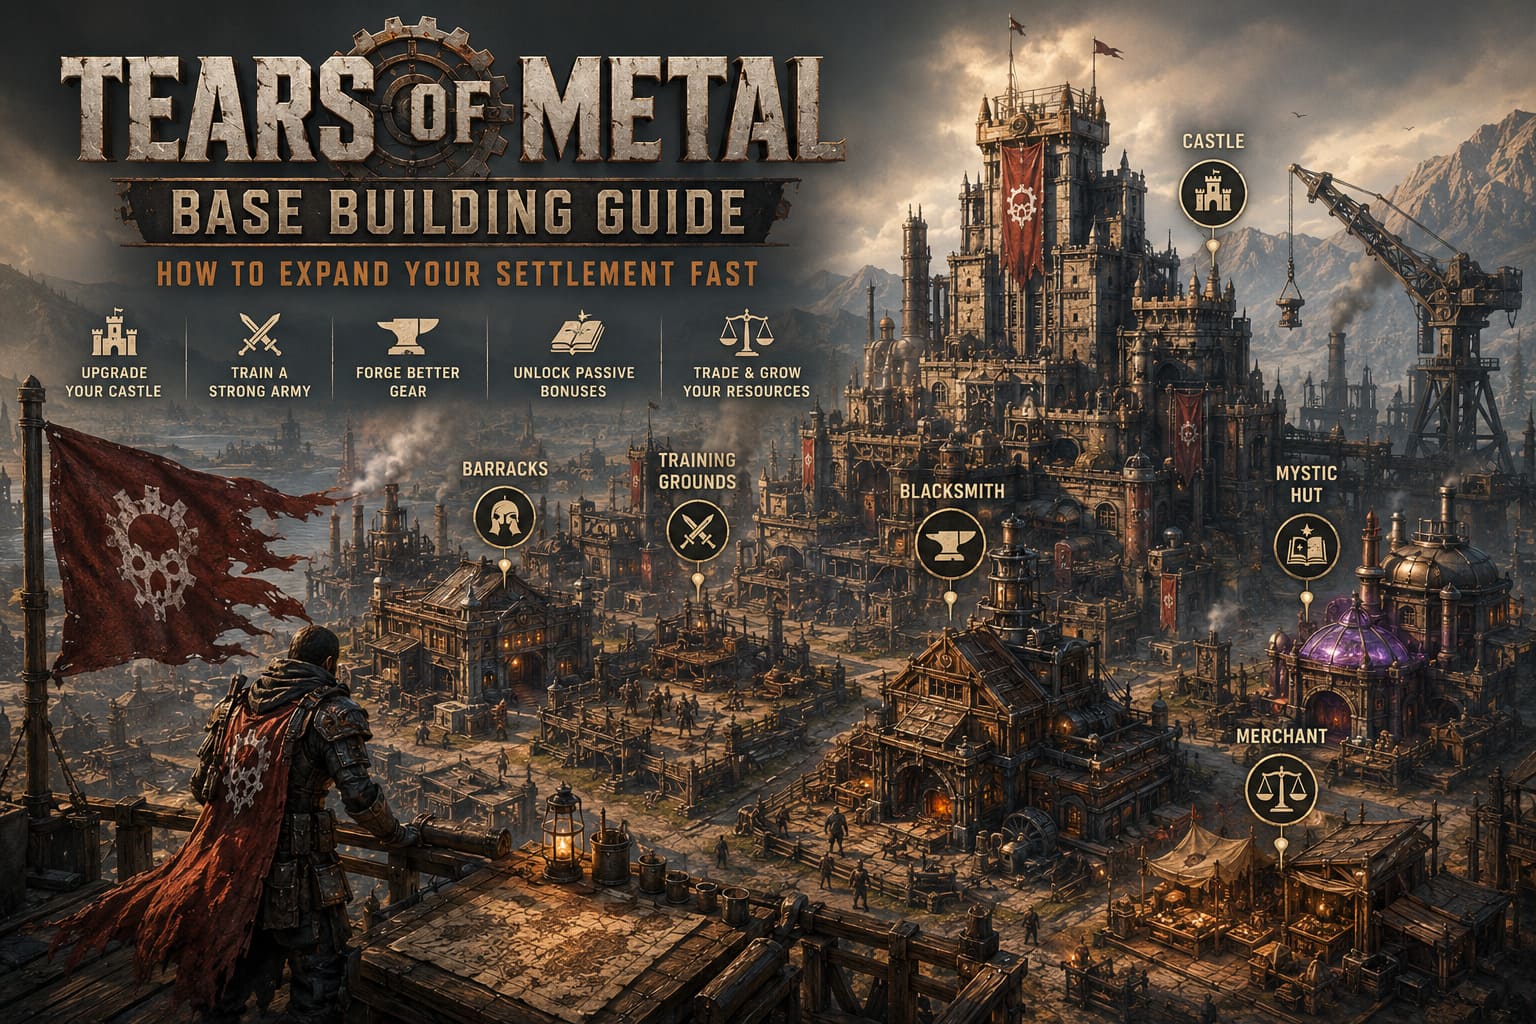
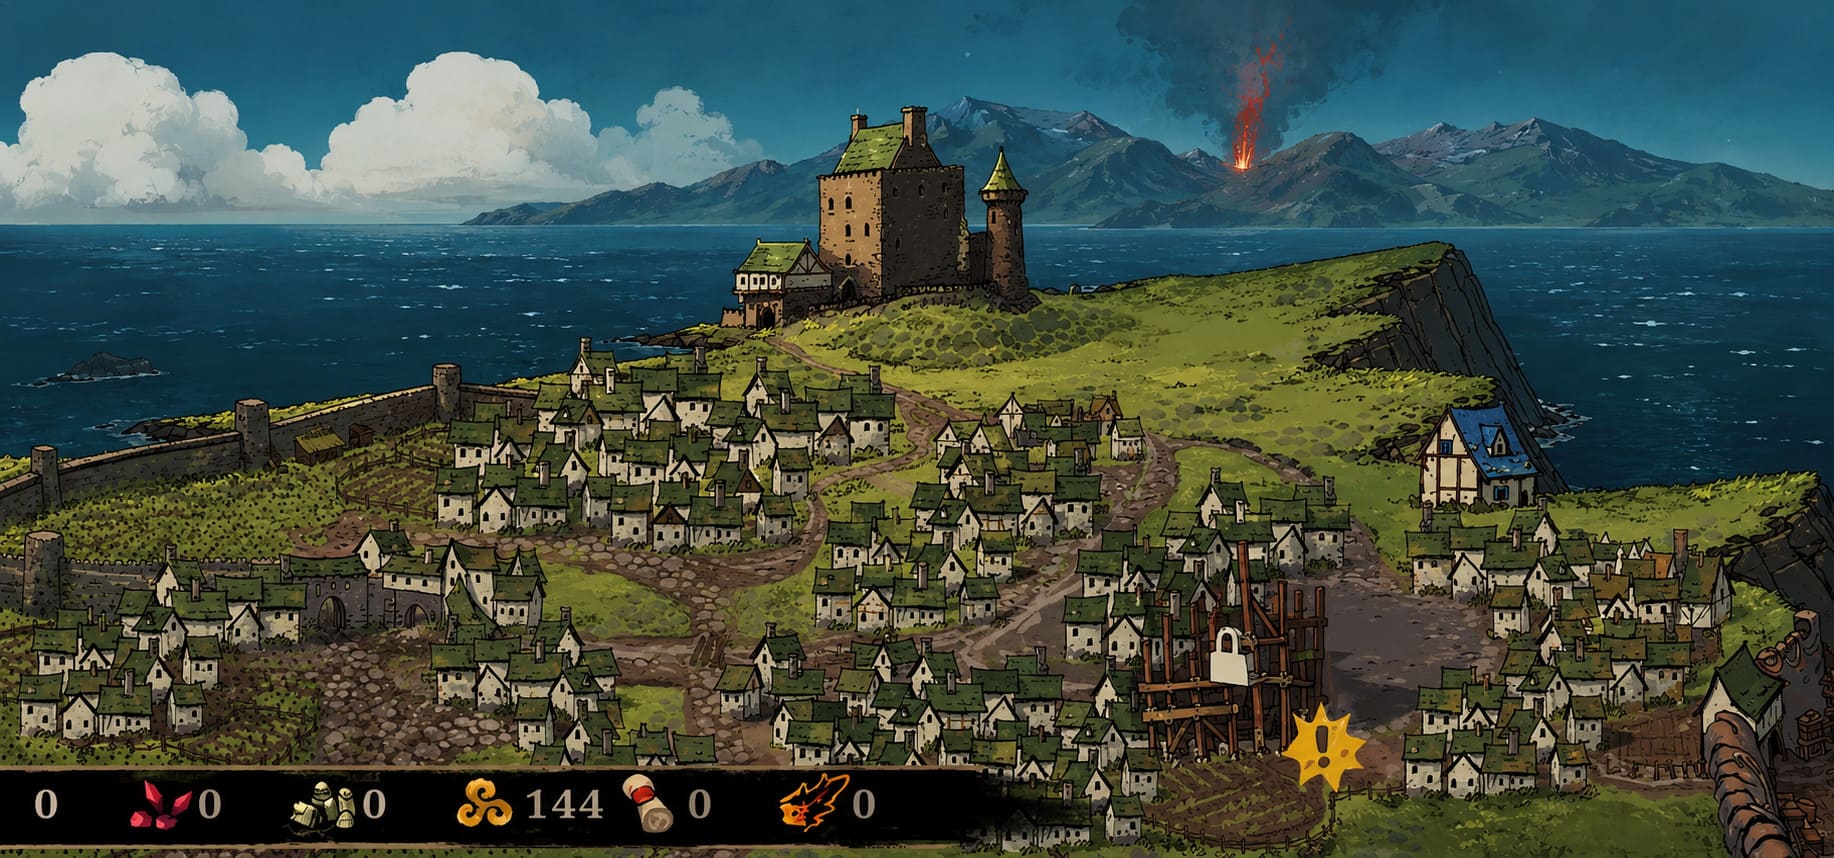
Your settlement determines nearly every permanent improvement you’ll unlock throughout the game. While your hero grows stronger during a run through temporary bonuses and powerful emblem combinations, the village is responsible for the upgrades that never disappear.
Every completed expedition brings home valuable resources that can be invested into permanent infrastructure. Those investments unlock:
- New playable heroes
- Permanent combat bonuses
- Additional emblem capacity
- Army improvements
- Better crafting opportunities
- Passive character upgrades
- Improved resource economy
Instead of rebuilding your character from scratch after every failed attempt, your settlement ensures each run starts from a stronger foundation than the last.
That progression loop is incredibly satisfying because every mission feels worthwhile—even unsuccessful ones usually return valuable materials.
Understanding the Settlement Progression Loop
The overall gameplay loop is surprisingly addictive.
You head out on a campaign mission, fight through massive enemy waves, complete optional objectives, gather resources, defeat elite encounters, and eventually return home with everything you’ve collected.
Back at the village, those materials become permanent upgrades.
The cycle looks something like this:
| Stage | What You Do | Long-Term Reward |
|---|---|---|
| Expedition | Fight through enemy armies | Earn crafting materials and gold |
| Exploration | Complete side objectives | Find blueprints and rare resources |
| Return Home | Invest collected materials | Upgrade settlement buildings |
| Expansion | Unlock permanent bonuses | Become stronger for future runs |
The beauty of this design is that progression never feels wasted.
Even if a difficult mission ends in disaster, you’ll often return with enough resources to improve your village, making the next attempt noticeably easier.
That’s exactly what great roguelite progression should feel like.
Castle: The Center of Every Upgrade
Every settlement needs a heart, and in Tears of Metal, that’s the Castle.
Think of it as your command center.
Many of the game’s most important progression systems are tied directly to Castle upgrades. Increasing its level expands your overall progression while unlocking stronger emblem combinations and additional customization opportunities.
One of the biggest reasons to prioritize the Castle is emblem capacity.
Emblems dramatically change how combat feels. Instead of simply increasing numbers, they create powerful synergies that can completely transform your abilities.
More emblem slots mean:
- More passive bonuses
- Stronger offensive combinations
- Better defensive options
- Greater build flexibility
Once you start stacking multiple emblem effects together, combat becomes dramatically more explosive.
If you enjoy experimenting with different builds, the Castle quickly becomes one of your highest priorities.
Training Grounds: Your Army Is Stronger Than You Realize
The biggest surprise during my first several hours was discovering just how valuable companion soldiers become.
At first, they’re little more than distractions for enemy mobs.
Later?
They’re absolute lifesavers.
The Training Grounds improve every member of your battalion through permanent upgrades earned with campaign resources.
As these upgrades accumulate, your soldiers begin surviving longer, dealing considerably more damage, and keeping pressure off your main character during overwhelming fights.
The benefits include:
- Increased troop survivability
- Better offensive capabilities
- Improved battlefield support
- Stronger AI performance
- Greater crowd control
Since enemies love overwhelming players with sheer numbers, having durable companions creates breathing room that often determines whether a run succeeds or ends early.
If I had to recommend only one building to prioritize first, it would easily be the Training Grounds.
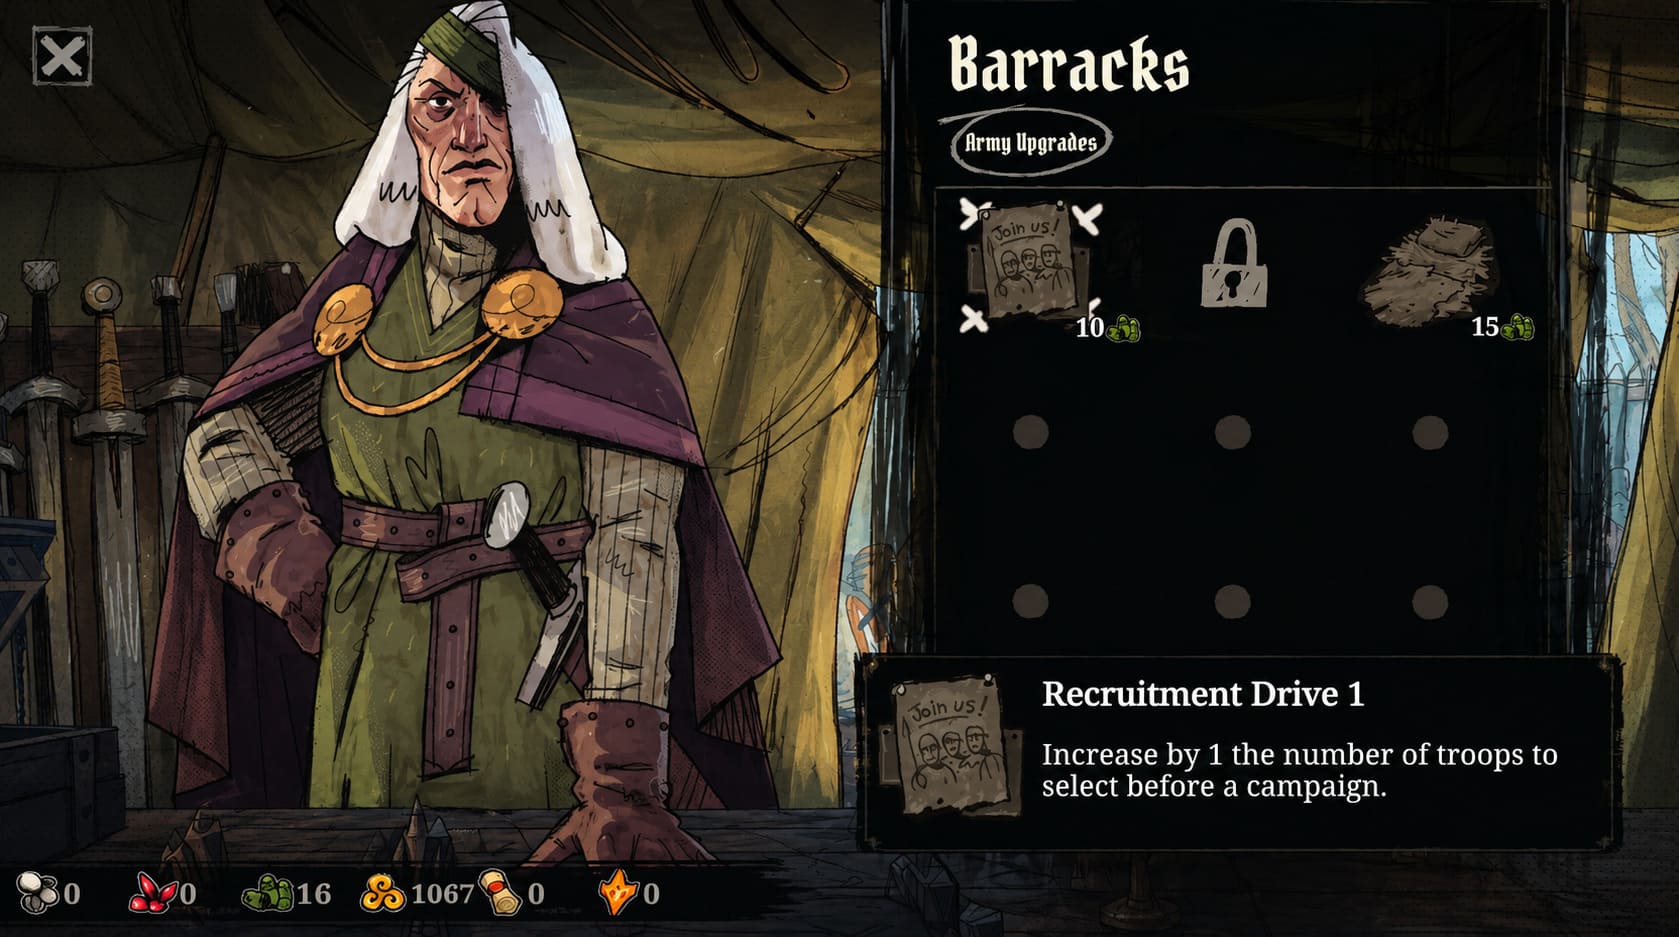
Barracks: Bigger Armies Win Longer Battles
Closely connected to the Training Grounds are the Barracks.
Improving the Barracks increases both the size and overall quality of your army.
Instead of relying solely on basic recruits, upgraded Barracks eventually unlock tougher unit types capable of absorbing enormous punishment while specialized damage dealers help clear enemy formations.
Higher-tier soldiers can include:
- Heavy shield infantry
- Elite melee fighters
- Aggressive assault units
- Durable frontline defenders
Large battles become significantly more manageable once your upgraded troops begin pulling enemy attention away from your hero.
Never underestimate how valuable additional bodies become during high-difficulty encounters.
Blacksmith: Every Swing Hits Harder
The Blacksmith controls nearly everything related to equipment progression.
Weapons don’t simply become stronger through random drops.
Instead, you’ll continually invest resources into improving your existing arsenal while unlocking stronger gear as the campaign progresses.
Expect to spend materials upgrading:
- Weapons
- Equipment quality
- Combat stats
- Charm effectiveness
- Overall damage output
Every investment here increases your baseline combat power before the mission even begins.
Critical hit improvements, stronger attack values, and defensive upgrades all combine to make future expeditions noticeably easier.
If enemies suddenly start feeling like damage sponges, it’s usually a sign that your Blacksmith has fallen behind.
Mystic Hut: Passive Bonuses That Never Stop Helping
The Mystic Hut focuses less on raw damage and more on improving your overall survivability.
Many players overlook passive upgrades because they aren’t flashy.
That’s a mistake.
Some of the strongest long-term improvements come from passive bonuses that quietly boost every single expedition.
Common research upgrades include:
- Faster stamina recovery
- Increased health regeneration
- Improved rare drop rates
- Better resource acquisition
- Enhanced survivability
Small percentage bonuses may not look impressive individually, but after dozens of upgrades they completely reshape the difficulty curve.
You’ll notice the difference without even realizing why.
Merchant Area: Turning Extra Resources Into Progress
No matter how carefully you play, eventually you’ll collect materials you simply don’t need.
That’s where the Merchant becomes incredibly valuable.
Instead of letting surplus resources gather dust in your inventory, you can exchange them for currencies or crafting components currently limiting your progression.
As the marketplace expands, its rotating inventory becomes far more useful, offering opportunities to purchase missing upgrade materials without relying entirely on random mission rewards.
This provides an important safety net whenever luck refuses to cooperate.
Best Upgrade Order for Faster Progress
Trying to upgrade everything equally sounds reasonable.
It isn’t.
Splitting resources across every building dramatically slows overall progression.
Instead, focus on a clear priority system.
| Priority | Building | Why It Matters |
|---|---|---|
| 1 | Training Grounds | Stronger soldiers dramatically increase survival. |
| 2 | Castle | Unlock more emblem slots and permanent progression. |
| 3 | Barracks | Expand army size and recruit stronger units. |
| 4 | Blacksmith | Improve overall combat effectiveness. |
| 5 | Mystic Hut | Build long-term passive bonuses. |
| 6 | Merchant | Fill resource gaps through trading. |
Resource Farming Tips That Actually Save Time
One lesson every experienced player learns eventually is that rushing directly toward mission objectives usually isn’t optimal.
Most maps hide additional rewards behind optional encounters, exploration paths, and defensive objectives.
If you’re serious about settlement progression, these habits make a huge difference:
- Explore every corner of the map. Hidden caches frequently contain crafting materials or blueprints that speed up village expansion.
- Complete optional objectives. Many side encounters reward considerably more resources than simply rushing the main objective.
- Protect extraction events. Successful defense missions often multiply your post-run rewards.
- Collect everything. Even materials that seem useless now may become essential later.
- Play co-op whenever possible. Four coordinated players can secure multiple resource nodes simultaneously, dramatically increasing overall efficiency.
Cooperative play is especially rewarding because teams naturally split responsibilities while maintaining momentum across the battlefield.
Tears of Metal Character Unlock Guide: How to Get All Heroes in Paper Cult’s Roguelike
Don’t Ignore Permanent Progression
One of the smartest design decisions in Tears of Metal is making every successful upgrade feel meaningful.
Unlike games where base-building becomes little more than cosmetic decoration, nearly every investment here has direct gameplay consequences.
Your attacks become stronger.
Your companions become tougher.
Your passive bonuses stack higher.
Your emblem combinations become more creative.
Eventually, missions that once felt nearly impossible transform into satisfying victories because your settlement has quietly evolved into a powerhouse behind the scenes.
That’s exactly why experienced players spend almost as much time planning upgrades as they do mastering combat mechanics.
Tears of Metal Ember Farming Guide: How to Get Embers Fast (2026 Strategy)
Final Thoughts
While the massive medieval battles are the main attraction, the real secret to mastering Tears of Metal lies in smart settlement management. Every expedition should be viewed as an investment rather than a simple loot run. Prioritize the Training Grounds to strengthen your battalion, expand the Castle to unlock powerful emblem synergies, and steadily improve your Blacksmith and Mystic Hut so every future campaign starts with a stronger foundation.
If you consistently reinvest your resources instead of spreading them too thin, your settlement will snowball in power. Before long, your once-humble Scottish village will become the backbone of an elite war machine capable of crushing even the toughest enemy hordes the island can throw at you.