Shards of Order Unlock Secret Characters Guide: Full Walkthrough & Requirements
If there’s one thing I genuinely appreciate about Shards of Order, it’s that the game doesn’t hand everything to you. Too many modern RPGs mark every collectible and companion with giant quest icons, leaving almost nothing to discover on your own. Awaken Realms went in the opposite direction. Some of the strongest companions are tucked away behind choices that seem insignificant at first, environmental puzzles, and battles that punish careless deckbuilding.
After spending plenty of time experimenting with different runs, I realized that unlocking these characters isn’t simply about checking boxes. Each one encourages you to learn another layer of the game’s combat system, especially how the initiative timeline and the Law mechanics work together.
If you’re hoping to expand your roster without missing important story content, this guide walks through every hidden recruit currently available and explains what actually matters during each encounter.
Understanding How Secret Characters Work
Before chasing hidden companions, it’s important to understand that Shards of Order ties almost every major decision to its world systems.

Unlike traditional RPGs, your choices don’t just affect dialogue. Restoring different Laws changes how parts of the world behave, which enemies appear, and even whether certain NPCs are willing to trust your party.
Some companions won’t even reveal themselves unless you’ve progressed through specific story branches or activated the right world conditions.
Another mechanic many players underestimate is equipment.
Weapons and armor aren’t simply stat upgrades. Every piece of gear contributes new cards to your shared combat deck, meaning your equipment choices directly influence every battle.
A balanced deck is almost always more valuable than chasing higher armor values.
Hidden Companion Overview
| Secret Character | Region | Main Requirement | Reward |
|---|---|---|---|
| The Alchemist | Purged Village | Rescue the Herbalist during the execution event | Healing-focused deck and support abilities |
| Forgotten Law Warden | Underground Vault | Solve the ancient Law puzzle and defeat the guardian | Powerful defensive cards and new deck options |
| Outcast Ranger | Decaying Peaks | Reach the hidden canyon and survive the ambush | High-damage initiative manipulation build |
The Alchemist – Your First Secret Recruit
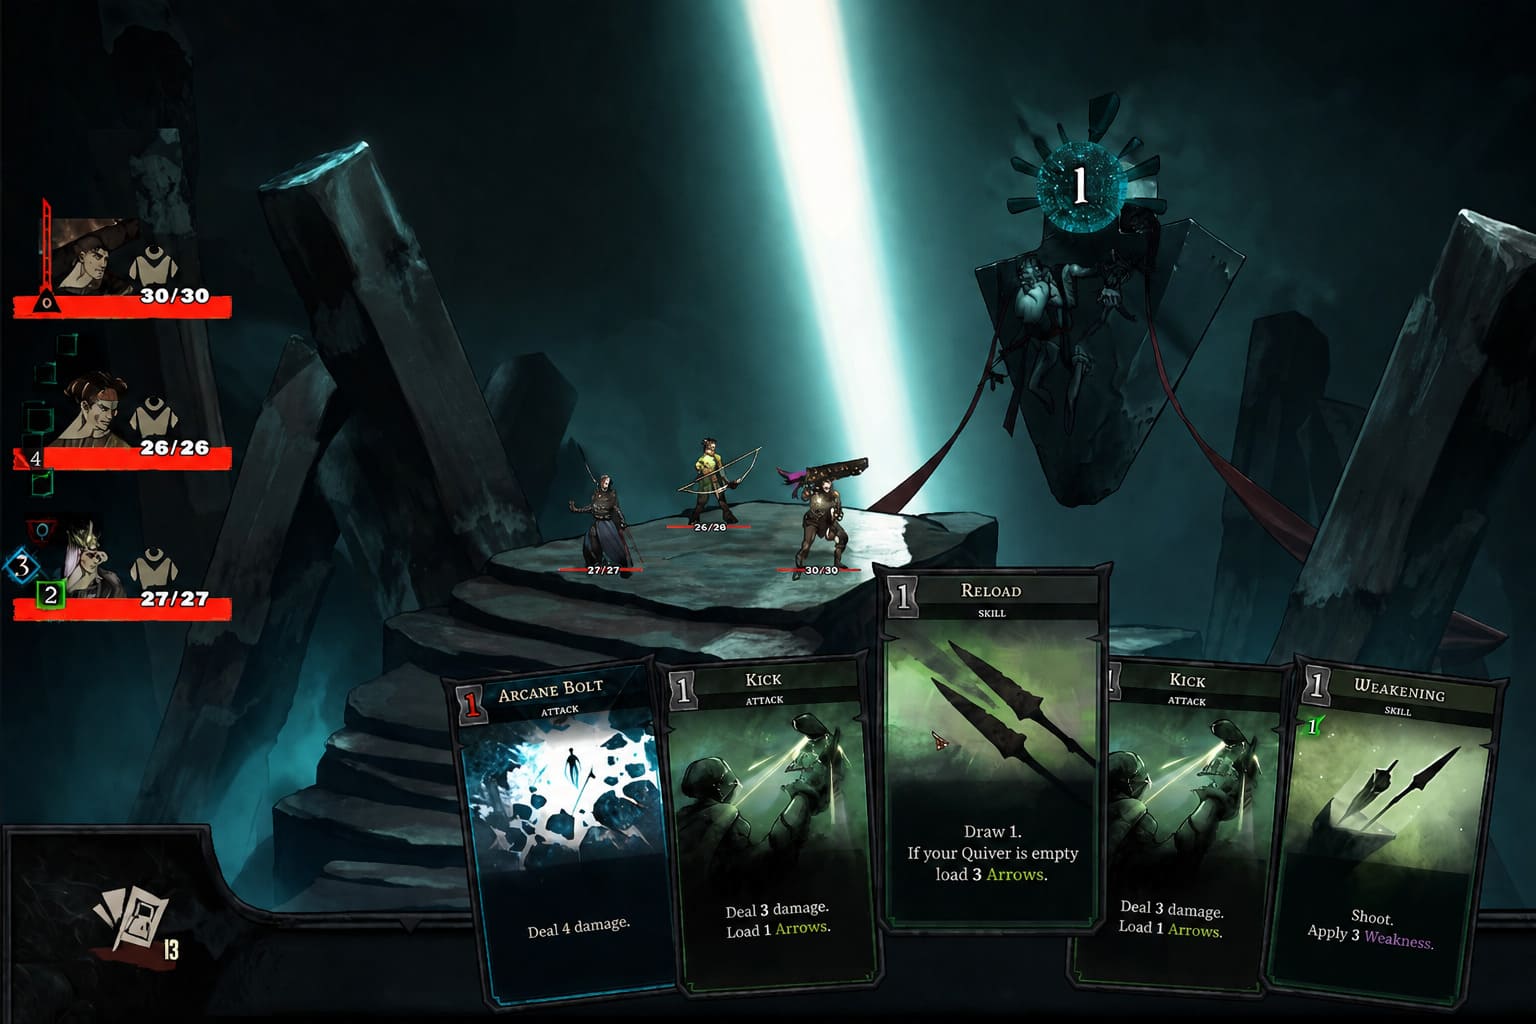
This is the easiest hidden companion to miss because the game presents the situation as a moral decision instead of an obvious recruitment quest.
While exploring the Purged Village, you’ll eventually witness an execution scene involving two civilians.
At first glance, either decision appears acceptable.
It isn’t.
If you’re aiming for the hidden companion, save the Herbalist instead of the Miller.
That single choice completely changes the encounter.
Winning the Rescue Battle
The following fight introduces one of the game’s first serious time-management challenges.
The Herbalist remains tied to a burning stake while enemies continue advancing through their action timeline.
Instead of focusing entirely on dealing damage, your goal should be controlling enemy turns.
- Delay enemy actions whenever possible.
- Stun priority targets before they act.
- Remove ranged enemies first.
- Avoid unnecessary card cycling.
The faster the timeline reaches the enemies, the faster the Herbalist dies.
If she doesn’t survive, the recruitment opportunity disappears for the remainder of your current run.
Recruiting the Alchemist
After clearing the battlefield, speak with the rescued Herbalist.
You’ll face a narrative skill check based on your party’s combined attributes.
Pass it, and she’ll relocate to your camp, unlocking an entirely new support-oriented card pool along with one of the more interesting personal storylines in the game.
Finding the Forgotten Law Warden
The second hidden recruit requires much more exploration.
Unlike the first companion, nothing points you toward this quest.
You’ll need to search nearly every corner of the underground region.
Step One: Collect Every Lore Note
Throughout the dungeon you’ll discover several optional pathways containing old knight journals.
Three particular notes matter.
They’re easy to overlook because they resemble ordinary lore collectibles, but together they provide the clues needed for the next puzzle.
Don’t rush through this area.
Explore everything.
Step Two: Open the Ancient Vault
Near the northern section of the dungeon you’ll discover an enormous sealed stone vault.
Interacting with it activates a puzzle centered around the game’s Law symbolism.
The solution isn’t random.
Everything needed is hidden inside the journals collected earlier.
Players who skipped exploration usually end up guessing here—and that rarely works.
Step Three: Defeat the Guardian
Opening the vault doesn’t reward you immediately.
Instead, you’ll face the Unlawful Abomination, one of the tougher optional encounters in the early game.
Its biggest strength isn’t raw damage.
It’s deck disruption.
The boss constantly inserts curse cards into your draw pile, making your strategy less reliable as the fight drags on.
- Remove summoned enemies quickly.
- Prioritize card draw consistency.
- Avoid overloading your deck with expensive abilities.
- Keep defensive options available every rotation.
Step Four: Claim the Ancient Armor
After the battle, search beyond the boss arena instead of immediately leaving.
You’ll find a powerful set of ancient armor.
Equipping this gear activates the Law Warden’s recruitment sequence, effectively merging the guardian’s abilities into your available roster.
The reward is impressive.
You’ll gain numerous defensive cards and significantly more deckbuilding flexibility for future runs.
Unlocking the Outcast Ranger
Personally, this became my favorite hidden companion.
Not necessarily because they’re the strongest, but because their playstyle completely changes how aggressive combat feels.
Finding them requires reaching one of the least obvious areas in the game.
Ignore the Main Route
When exploring the snowy Decaying Peaks, most players naturally continue toward the main objective.
Don’t.
Instead, head toward the far-left cliff route.
Using environmental wind fans, descend into an isolated canyon hidden beneath the primary path.
It’s surprisingly easy to miss if you’re moving too quickly.
Increase Your Collection Range
Eventually you’ll discover an important object sitting across a large gap.
Interacting with it isn’t possible unless you’ve invested in collection range upgrades.
Alternatively, certain shop items purchased with the region’s rare pink currency can temporarily extend your reach.
Many players assume the interaction is bugged when they’re actually missing this requirement.
Survive the Elite Ambush
Triggering the hidden object immediately starts an elite encounter.
Unlike previous battles, these enemies actively accelerate their own turns, making the initiative timeline move frighteningly fast.
The safest strategy is surprisingly simple:
- Eliminate enemy leaders first.
- Interrupt acceleration skills.
- Save burst damage for dangerous combos.
- Don’t waste timeline control on weaker enemies.
Winning quickly matters much more than playing safely.
Complete the Alliance
Once combat ends, the mysterious Ranger finally appears.
Choose to share your recovered Laws during the dialogue sequence.
Do that, and they’ll permanently join your roster.
This companion specializes in offensive tempo, rewarding players who enjoy manipulating initiative rather than building heavy defenses.
Tips That Made My Runs Much Easier
After experimenting with different builds, a few lessons became obvious.
- Build around card synergy, not equipment rarity. Some blue-quality weapons produce stronger decks than legendary gear because of the tactical cards they add.
- Never enter difficult fights without timeline control. Even one delay card can completely change a difficult encounter.
- Don’t ignore Law combinations. If a boss feels overwhelming, changing your active Laws may reduce its effectiveness far more than upgrading your equipment.
- Explore every side path. Nearly every hidden reward in Shards of Order sits somewhere the main story never forces you to visit.
Shards of Order Lore Explained: The Complete Main Story and Ending Breakdown
Is Unlocking Every Companion Worth It?
Absolutely.
Even if you’re not interested in completing every achievement, the hidden companions add far more than additional party members.
They introduce:
- Completely new card archetypes.
- Additional dialogue and story scenes.
- Unique combat strategies.
- Fresh deckbuilding possibilities.
- Stronger replay value.
More importantly, each recruitment quest teaches something about the game’s mechanics.
The Herbalist encourages timeline control.
The Law Warden rewards careful exploration and puzzle solving.
The Outcast Ranger pushes players toward aggressive tempo management.
Together they almost feel like an extended tutorial for mastering the deeper systems hidden beneath the main campaign.
Shards of Order Roadmap 2026: Post-Launch DLC, New Laws, and Future Content Explained
Final Thoughts
One reason I’ve enjoyed Shards of Order more than many recent tactical RPGs is that it actually trusts the player to discover things naturally. Hidden companions aren’t marked with glowing icons or obvious side quests. You earn them by paying attention, exploring forgotten corners of the map, and understanding how the game’s unique systems interact.
If you’re planning multiple playthroughs, I’d strongly recommend recruiting every secret companion at least once. Besides expanding your tactical options, they make the world feel far richer, revealing stories and mechanics that many players will probably never see during a standard run.
For a game built around experimentation and strategic deckbuilding, that’s exactly the kind of hidden content I hope more RPGs start embracing.