Lijiang Tower Night Market Guide: Tips for Surviving the Modernized Control Map
If there’s one map in Overwatch 2 that never fails to get my adrenaline going, it’s Night Market on Lijiang Tower. I’ve played this map more times than I can count, and no matter how many matches I queue into, it still manages to surprise me.
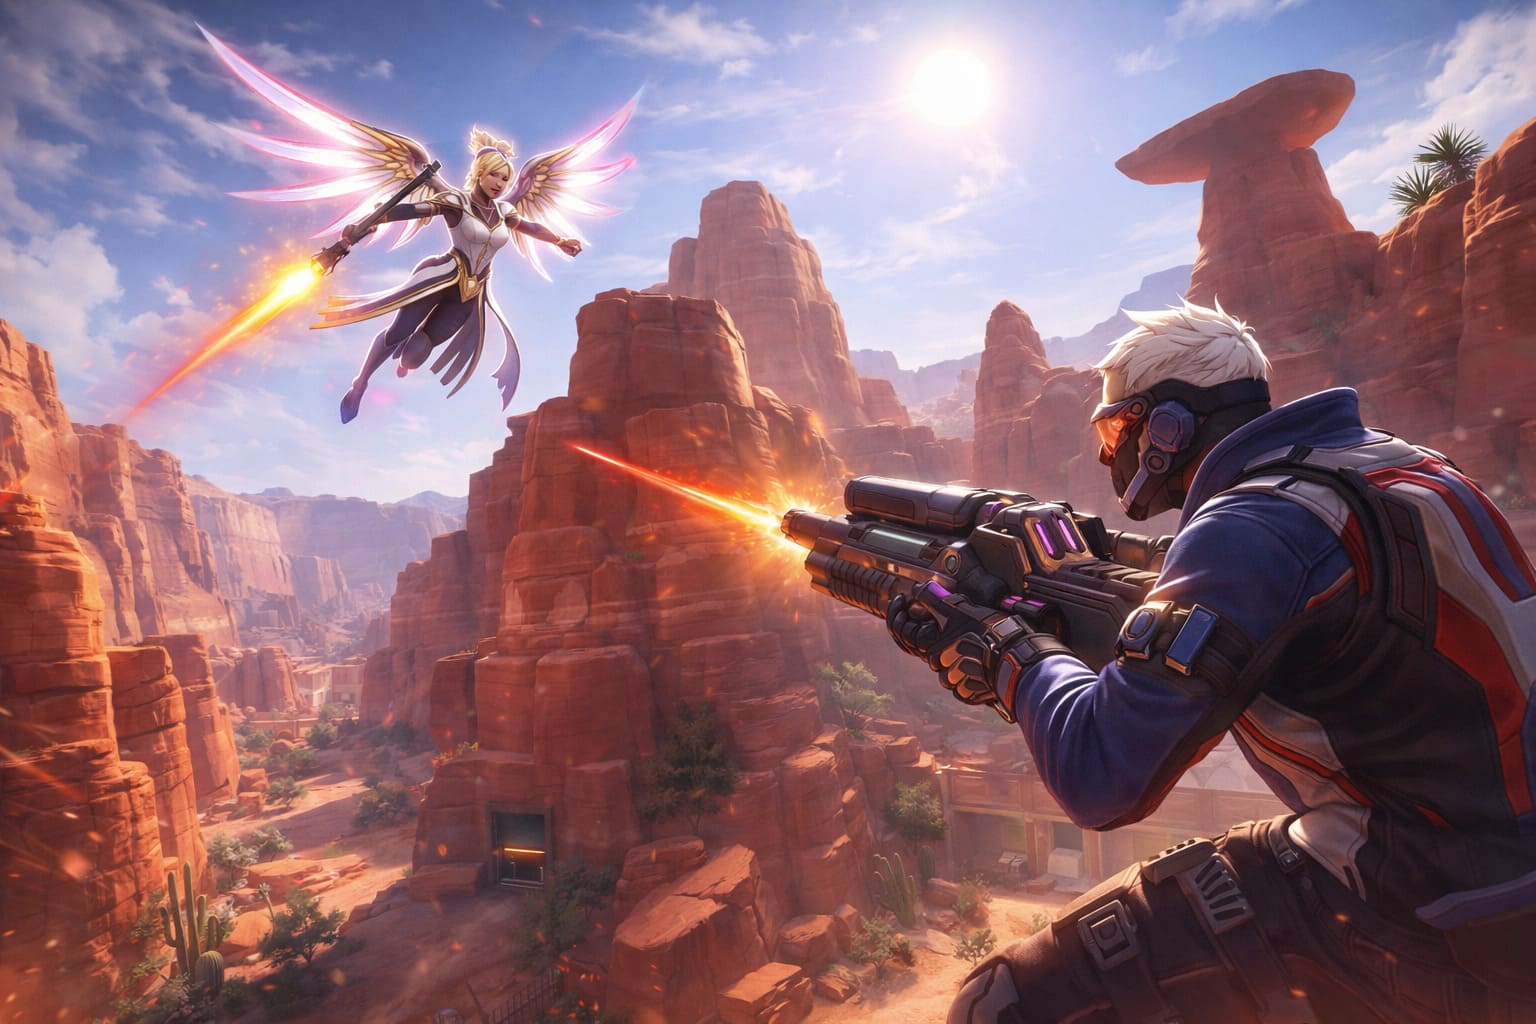
It’s chaotic, unforgiving, and incredibly rewarding if you understand how it works. This isn’t just another Control map — it’s a place where positioning, awareness, and a little bit of creativity can completely flip the outcome of a fight.
In this guide, I’m going to break down Night Market from the perspective of someone who genuinely enjoys experimenting with different heroes and strategies.
Whether you’re grinding ranked or just playing for fun, mastering this map will absolutely improve your overall gameplay.
Temtem: Pioneers Real-Time Combat Explained – Why It Changes Everything
Understanding the Night Market Layout
At first glance, Night Market looks simple — a central building with a control point inside. But the more you play, the more you realize how dangerous and layered it actually is. The objective sits inside a tight indoor space, surrounded by open edges that can send you straight back to spawn if you’re not careful.
Key areas you need to remember:
- Main Entrance: The most obvious path to the point — and also the most contested.
- Side Routes (Coast): Risky but powerful flanking paths.
- Windows: Small openings that can turn into unexpected entry points.
The map’s design encourages close-range combat, but it also punishes players who lose awareness of their surroundings. One wrong step near the edge, and you’re gone.
Why This Map Feels So Intense
What makes Night Market stand out is how quickly fights escalate. There’s very little downtime — engagements happen fast, and they’re usually messy. You don’t get the luxury of long-range poke battles here. Instead, it’s all about quick decisions, tight positioning, and team coordination.
Another thing I’ve noticed is how often matches are decided by momentum. Win the first fight, and you’re already at a huge advantage.
Best Hero Picks for Night Market
Over time, I’ve developed a kind of “go-to” pool of heroes for this map. Some picks just feel naturally stronger because of the tight spaces and environmental hazards.
Tanks that shine:
- Reinhardt: Honestly, this map feels built for him. His shield controls space, and his hammer dominates in close quarters.
- Winston: Great for diving the backline and causing chaos, especially near edges.
- D.Va: Flexible and dangerous — her boosters can turn positioning mistakes into instant eliminations.
DPS picks that work consistently:
- Junkrat: Probably one of the most annoying heroes to face here. His spam damage fills the room constantly.
- Pharah: If left unchecked, she can completely control the pace of the game.
- Mei: Her wall alone can win fights by splitting teams apart.
Supports that make a difference:
- Lucio: In my opinion, almost mandatory. Speed boost and boops are just too valuable.
- Moira: Her orbs are insanely effective in enclosed spaces.
- Kiriko: High utility and clutch saves with her abilities.
Quick Hero Effectiveness Table
| Role | Top Picks | Why They Work |
|---|---|---|
| Tank | Reinhardt, Winston, D.Va | Strong in close combat and environmental control |
| DPS | Junkrat, Pharah, Mei | High damage output in tight spaces |
| Support | Lucio, Moira, Kiriko | Mobility, sustain, and utility |
Pro Strategies That Actually Work
After dozens of matches, I’ve noticed patterns that consistently lead to wins. These aren’t just theoretical tips — they’re things that genuinely make a difference in real games.
1. Respect the Edges
This might sound obvious, but it’s the number one mistake I see players make. The map is full of environmental kill opportunities. If the enemy team has heroes like Lucio or Pharah, staying near windows or exits is basically asking to get eliminated instantly.
2. First Fight = Huge Advantage
The opening fight often sets the tone for the entire round. Because rotations are relatively slow, the team that captures the point early can establish strong positioning and force the enemy into difficult engagements.
3. Don’t Sit on the Point
This is something I had to learn the hard way. Just because you captured the objective doesn’t mean you should stay there. Holding the choke near the main entrance gives your team control and forces enemies into predictable paths.
4. Use Movement Creatively
Night Market rewards players who think outside the box. Window entries, unexpected flanks, and aggressive repositioning can completely catch opponents off guard.
Health Pack Awareness
Health packs are surprisingly important here, especially for flankers and aggressive players.
- Mega Health Pack: Located outside on an elevated platform.
- Small Health Packs: Found near stalls and behind structures.
Knowing where these are can save your life — and sometimes win you a duel you shouldn’t have survived.
Advanced Tricks and Hidden Opportunities
Once you get comfortable with the basics, there’s a whole new layer of depth to explore.
Window Entries
Some heroes can use movement abilities or clever positioning to enter through windows instead of doors. It’s risky, but when it works, it can completely disrupt the enemy team.
High Ground Usage
There’s a balcony overlooking the point that offers a strong vantage position. The downside is that it takes time to reach, so it’s not always practical mid-fight.
Environmental Mind Games
One of my favorite tactics is baiting enemies toward edges. Even experienced players can panic under pressure, and that’s when you capitalize.
Final Thoughts
Night Market is one of those maps that rewards both mechanical skill and game sense. It’s not just about aiming better — it’s about understanding space, timing, and how to use the environment to your advantage.
Personally, I love how unpredictable it feels. Every match plays out a little differently, and there’s always room to improve. Whether you’re pulling off clutch boops, holding the choke perfectly, or just surviving chaotic fights, this map delivers some of the most memorable moments in Overwatch 2.
If you take anything away from this guide, let it be this: stay aware, play smart, and don’t underestimate how powerful positioning can be.