Onimusha: Way of the Sword Steam Deck Best Settings Guide: Maximize Performance & Battery Life
Onimusha: Way of the Sword is exactly the kind of game that makes you want to throw a handheld into your backpack and disappear for an entire weekend. Capcom’s return to its dark samurai series brings back the brutal swordplay, supernatural enemies, and atmospheric Japanese settings, but with modern AAA presentation powered by the RE Engine.
On a desktop or current-gen console, that combination is hardly surprising. On a Steam Deck, though? That is where things get interesting.
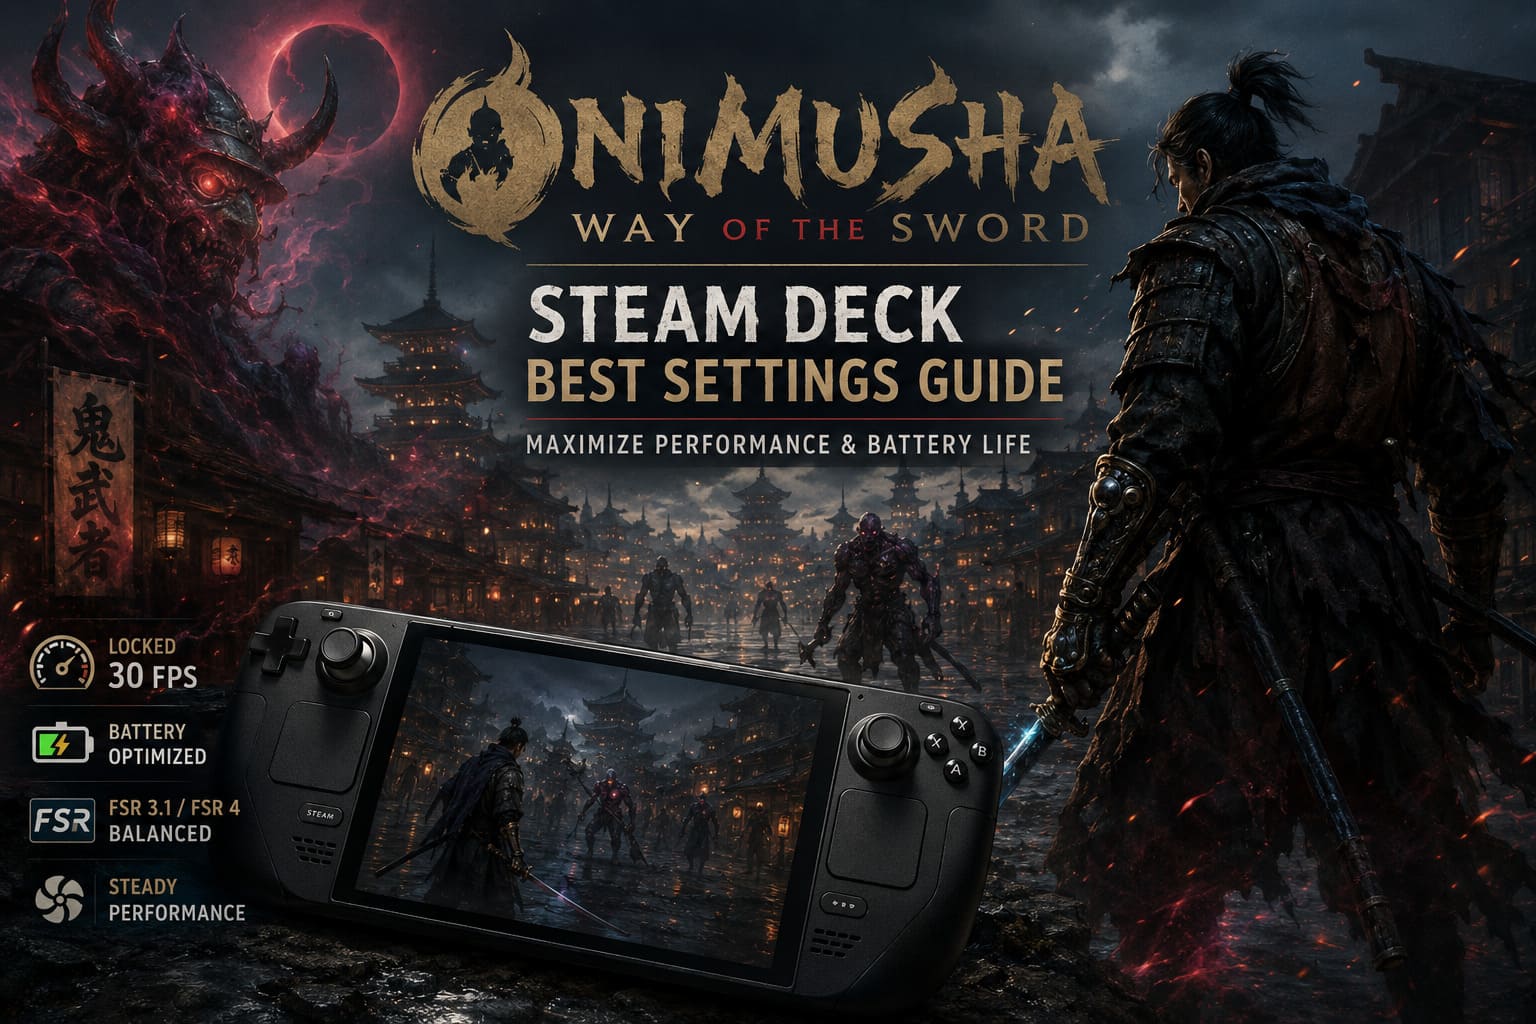
The Steam Deck can run Onimusha: Way of the Sword, but getting the best experience isn’t simply a matter of dropping every option to Low and calling it a day. The game has some surprisingly demanding areas, particularly its larger urban environments, and the difference between a stable 30 FPS configuration and a setup that constantly hammers the hardware is immediately noticeable.
And for this particular game, I strongly recommend prioritizing frame-time consistency over peak FPS. Onimusha’s combat is built around timing, deflections, dodges, and those satisfying Issen counters. A wildly fluctuating 40 FPS feels considerably worse than a properly paced 30 FPS.
After going through the game’s major performance-heavy settings, this is the Steam Deck configuration I’d start with.
Steam Deck Performance: What You Should Actually Expect
The first thing to understand is that Onimusha: Way of the Sword doesn’t stress the Steam Deck in exactly the same way everywhere.
Smaller interiors, dungeon sections, enclosed combat arenas, and boss encounters can perform surprisingly well. With a sensible configuration, these areas can have enough GPU headroom that the Deck feels like it is barely breaking a sweat.
The larger Eastern Kyoto hub is another story.
Once you have numerous NPCs, more complex geometry, environmental effects, foliage, and Malice-related effects all being processed simultaneously, the CPU becomes a much bigger factor. This is where an aggressive graphics configuration can fall apart.
That makes chasing an unlocked 45 or 60 FPS target a bad idea.
You might see excellent numbers in a quiet room and think you’ve nailed the setup, only for the game to stumble badly when you enter a busy section of Kyoto. Personally, I’d rather have a locked 30 FPS from the beginning than constantly watch the performance counter jump between 25, 38, and 45 FPS.
For a reaction-heavy samurai game, consistency wins.
Recommended Performance Target
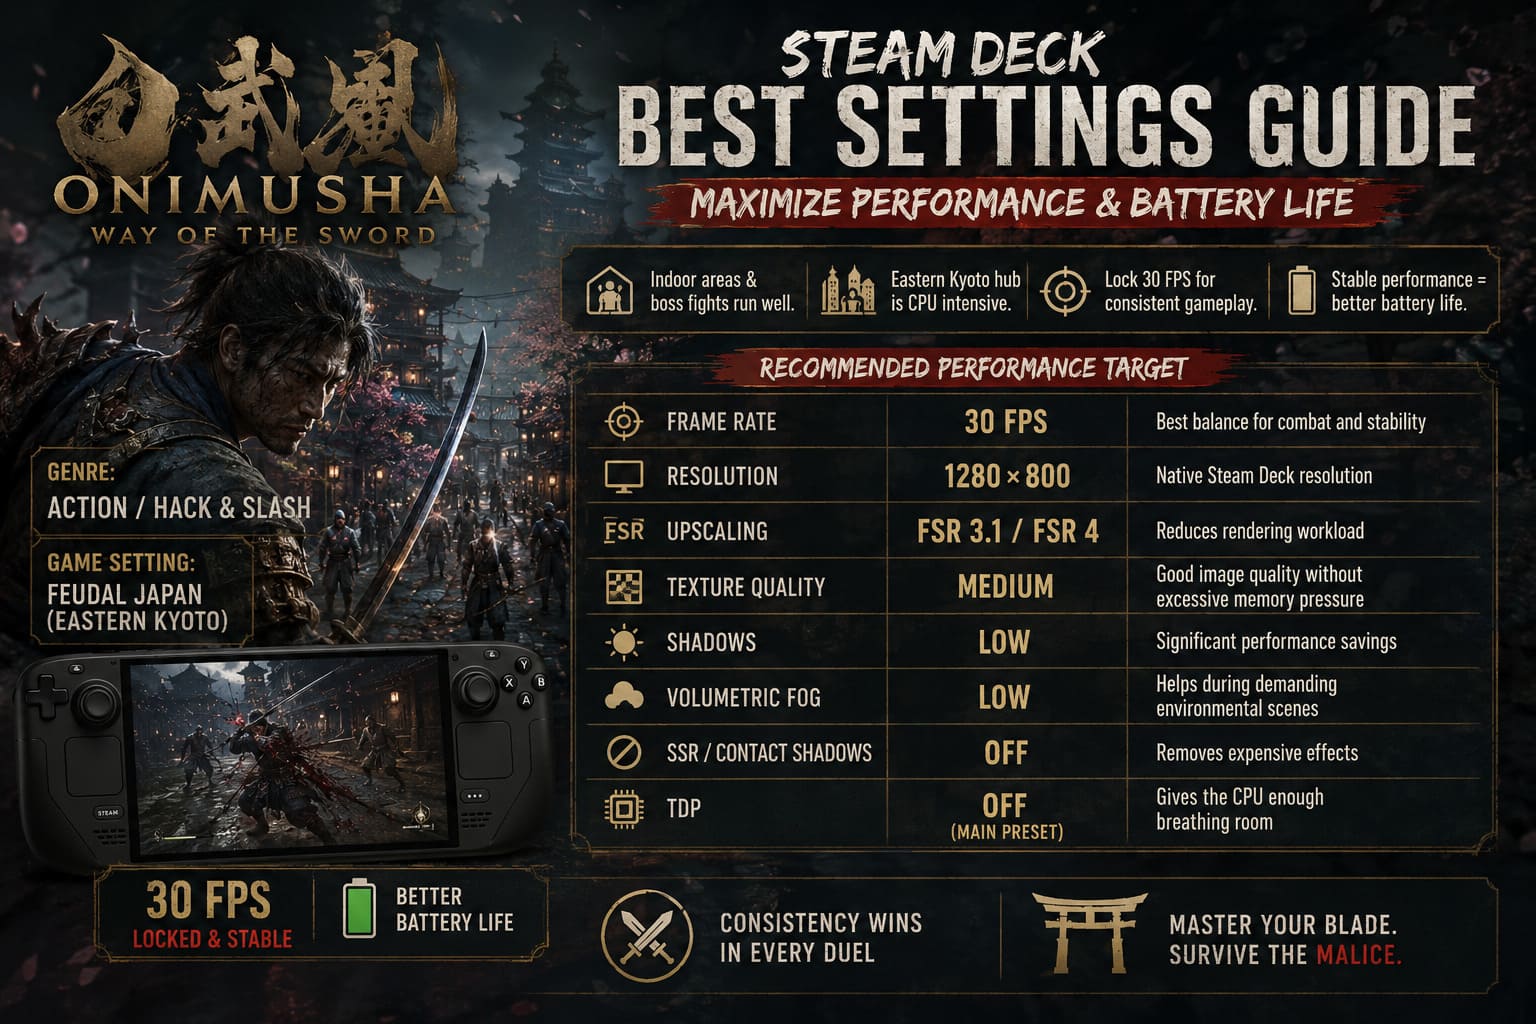
| Area | Recommended Target | Why |
|---|---|---|
| Frame Rate | 30 FPS | Best balance for combat and stability |
| Resolution | 1280×800 | Native Steam Deck resolution |
| Upscaling | FSR 3.1 / FSR 4 | Reduces rendering workload |
| Texture Quality | Medium | Good image quality without excessive memory pressure |
| Shadows | Low | Significant performance savings |
| Volumetric Fog | Low | Helps during demanding environmental scenes |
| SSR / Contact Shadows | Off | Removes expensive effects |
| TDP | Off for main preset | Gives the CPU enough breathing room |
My Recommended Steam Deck Preset: Locked 30 FPS
If you only want one configuration and don’t want to spend an evening obsessing over individual sliders, use this one.
The goal isn’t to make Onimusha look like a PS5 game running on a tiny screen. That’s unrealistic. The goal is to preserve the game’s atmosphere while removing the settings that provide a questionable visual improvement for a disproportionately large performance cost.
Steam Deck Quick Access Settings
- Frame Rate Limit: 30 FPS
- Refresh Rate: 60Hz on Steam Deck LCD / 90Hz on Steam Deck OLED
- TDP Limit: Off
- Scaling Filter: Linear
I recommend leaving the TDP limit disabled for the main profile. The Steam Deck has a finite power budget, and the CPU needs access to that budget when you’re moving through busy areas.
The OLED model has a higher refresh-rate display, but that doesn’t mean you should automatically target 45 or 60 FPS. The display can run at 90Hz while the game remains locked at 30 FPS.
That’s perfectly fine.
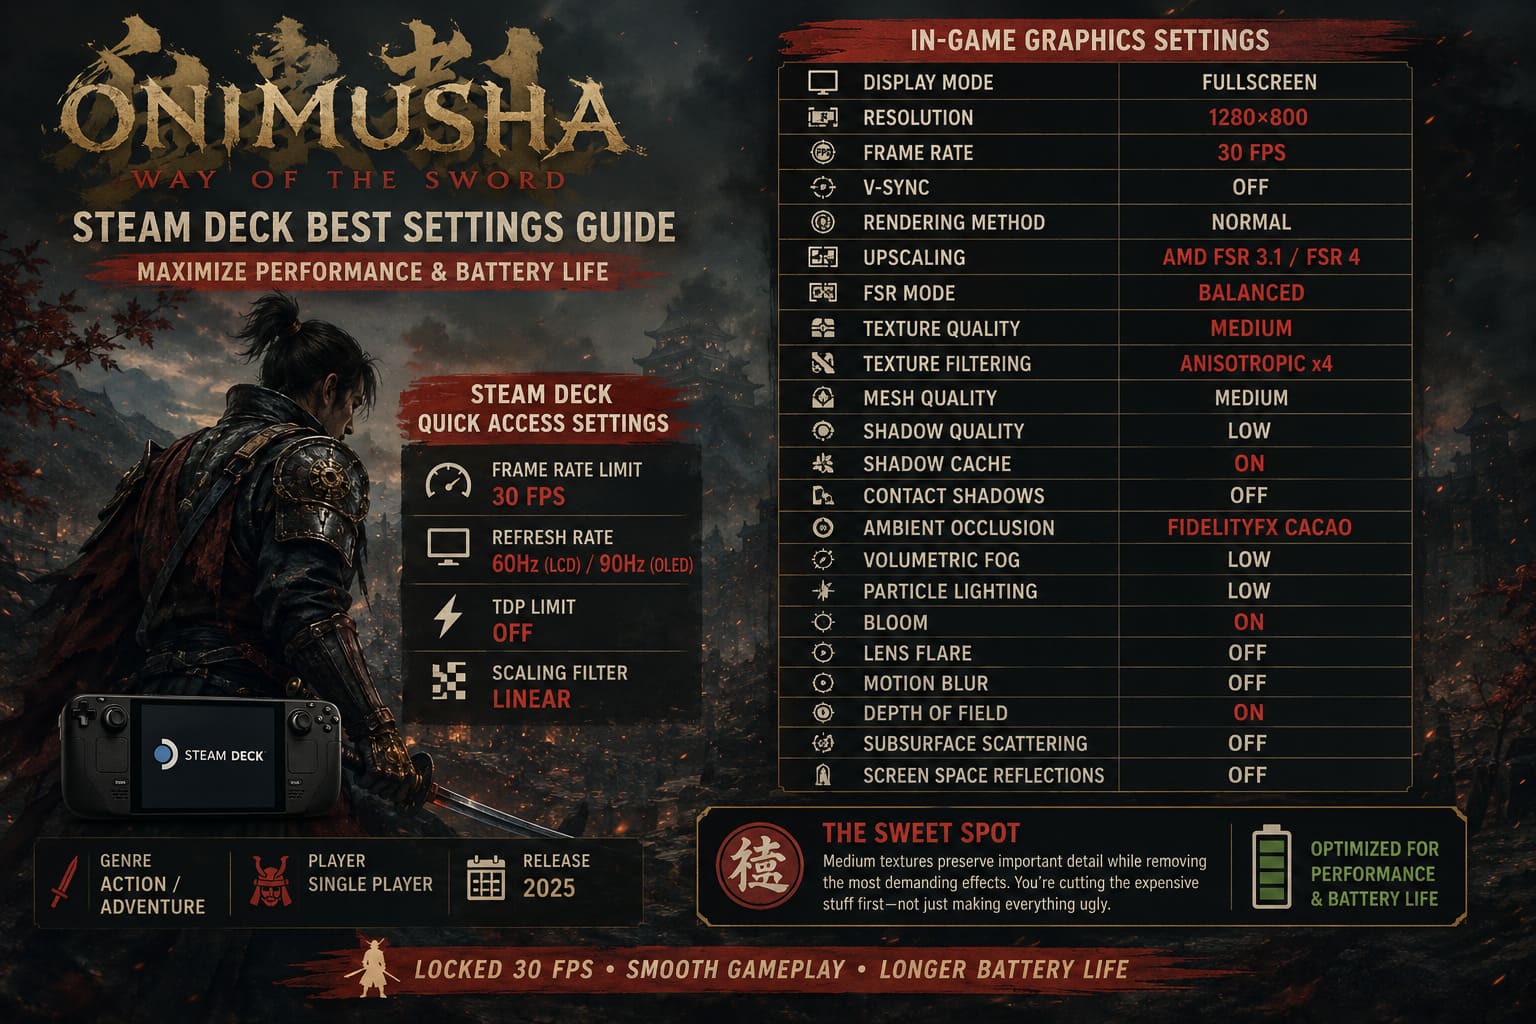
In-Game Graphics Settings
| Setting | Best Steam Deck Value |
|---|---|
| Display Mode | Fullscreen |
| Resolution | 1280×800 |
| Frame Rate | 30 FPS |
| V-Sync | Off |
| Rendering Method | Normal |
| Upscaling | AMD FSR 3.1 / FSR 4 |
| FSR Mode | Balanced |
| Texture Quality | Medium |
| Texture Filtering | Anisotropic x4 |
| Mesh Quality | Medium |
| Shadow Quality | Low |
| Shadow Cache | On |
| Contact Shadows | Off |
| Ambient Occlusion | FidelityFX CACAO |
| Volumetric Fog | Low |
| Particle Lighting | Low |
| Bloom | On |
| Lens Flare | Off |
| Motion Blur | Off |
| Depth of Field | On |
| Subsurface Scattering | Off |
| Screen Space Reflections | Off |
This is the setup I’d personally use for a normal playthrough.
Medium textures are the sweet spot. Musashi’s armor, clothing, weapons, architecture, and environmental surfaces retain considerably more detail than they do on Low, while the rest of the configuration removes the effects that are much harder on the hardware.
The important part is that you’re not simply making everything ugly to achieve 30 FPS.
You’re cutting the expensive stuff first.
Why FSR Matters So Much on Steam Deck
The Steam Deck’s integrated RDNA 2 GPU has to share the system’s memory resources, so rendering a modern AAA game at native resolution with expensive effects enabled can quickly become a problem.
This is where AMD FSR becomes extremely useful.
Rather than asking the GPU to render every frame at the full internal resolution, the game can render at a lower internal resolution and reconstruct the final image.
On the Steam Deck’s relatively small display, this works particularly well.
You may notice some shimmer around thin objects such as roof tiles, branches, wires, or foliage, but the trade-off is absolutely worth it. I’d take a little temporal shimmer over a combat encounter suddenly dropping into the mid-20s.
For the main preset, FSR Balanced is the setting I’d choose.
If you’re particularly sensitive to image softness, Balanced also gives you a much nicer presentation than immediately jumping to Performance mode.
Don’t Skip Shader Compilation
There is one piece of advice here that sounds boring but can make a massive difference: let the shader compilation process finish.
Modern games can exhibit nasty traversal and combat stutters when shaders haven’t been properly prepared.
In Onimusha, that can be especially annoying because some of the worst moments to experience a hitch are precisely when the game throws a bunch of Genma, particles, magical effects, and environmental effects onto the screen.
If you launch the game for the first time and there’s a shader compilation process, let it finish.
Don’t interrupt it just because you want to get into the game immediately.
Five minutes of patience is much better than spending the next hour wondering why every major encounter feels like the Deck is choking.
The Most Important Setting: Shadow Cache
If there is one option in this entire guide that I would strongly recommend leaving enabled, it’s Shadow Cache.
Keep it On.
The reason is straightforward: caching allows the game to reuse previously processed shadow information rather than constantly rebuilding expensive shadow-related work.
That becomes particularly useful when you’re moving through environments containing lots of structures, foliage, and other static elements.
Turning this option off might sound harmless when you’re looking through the settings menu, but performance problems don’t always appear immediately. Traversal stutter can become much more noticeable once you’re sprinting through larger areas.
So, for Steam Deck:
Shadow Cache = ON.
No reason to get clever with this one.
Volumetric Fog Is a Performance Trap
The Malice fog is one of the game’s coolest visual touches.
It’s also one of the first things I’d sacrifice when performance starts collapsing.
High-quality volumetric effects can be surprisingly expensive on a low-power handheld GPU. On a game like Onimusha, where fog and atmospheric effects can cover large sections of the environment, increasing volumetric quality can quickly consume your available GPU headroom.
I’d leave Volumetric Fog at Low.
The funny thing is that the difference isn’t nearly as dramatic as the performance hit suggests.
On a seven-inch Steam Deck display, the atmospheric mood is still there. Kyoto still looks dark, supernatural, and suitably cursed. You aren’t suddenly playing a PS2 game because fog is set to Low.
If you need additional performance, this is one of the first sliders I’d touch.
Texture Quality: Don’t Max It Out
The Steam Deck uses a unified memory architecture, meaning the CPU and GPU share the available system memory.
That’s important when you’re dealing with a visually demanding AAA game.
It can be tempting to push textures to High because texture quality often has less impact on raw FPS than shadows, lighting, or volumetric effects. But memory pressure can create other problems, including streaming issues and stutter.
That’s why Medium textures are the safest recommendation for the main preset.
You still get attractive character models and environmental surfaces without asking the hardware to maintain unnecessarily heavy texture assets.
If you’re building a battery-focused configuration, dropping to Low makes sense. For everyday play, though, I’d absolutely keep Medium.
Ambient Occlusion: Keep the Depth
You can disable Ambient Occlusion for a small performance improvement, but I wouldn’t do it on the main preset.
Onimusha’s environments benefit heavily from subtle contact shading. It helps objects feel grounded and prevents scenes from looking strangely flat.
FidelityFX CACAO is a good compromise.
It provides additional environmental depth without being anywhere near as expensive as some of the game’s more demanding visual effects.
If you’re desperate for every last frame or watt-hour, turn it off. Otherwise, keep it enabled.
Best Steam Deck Battery-Saving Settings
Sometimes you’re not sitting next to a charger.
Maybe you’re on a train, in a hotel, on a flight, or simply trying to squeeze another chapter out of the battery before heading home. That’s when I’d switch to the aggressive battery profile.
The idea here is simple: reduce GPU power consumption while making enough room for the CPU to keep busy areas from completely collapsing.
Steam Deck Battery Profile
Quick Access Menu:
- Frame Rate: 30 FPS
- Refresh Rate: 60Hz / 90Hz
- TDP Limit: 10–11W
- GPU Clock: 1200 MHz manual limit
In-Game:
- Resolution: 1280×800
- Upscaling: AMD FSR 3.1 / FSR 4
- FSR Mode: Performance
- Textures: Low
- Texture Filtering: Anisotropic x2
- Mesh Quality: Low
- Shadows: Lowest
- Shadow Cache: On
- Contact Shadows: Off
- Ambient Occlusion: Off
- Volumetric Fog: Lowest
- Particle Lighting: Lowest
- Bloom: Off
- Lens Flare: Off
- Motion Blur: Off
- Depth of Field: Off
- Subsurface Scattering: Off
- Screen Space Reflections: Off
This profile is considerably more aggressive.
You will notice the visual compromises, especially with distant geometry, foliage, shadows, and fine environmental detail. But that’s the point.
When battery life is the priority, I don’t care if Musashi’s distant surroundings look slightly softer. I care about getting another hour of actual gameplay.
How Much Battery Life Can You Expect?
Battery life will obviously depend on brightness, game version, SteamOS behavior, background processes, frame-time behavior, and the exact hardware configuration.
With the aggressive profile, the expected target is roughly 2.5+ hours on the LCD Steam Deck, while an OLED model can potentially approach 3.5–4 hours under favorable conditions.
Treat those figures as targets rather than guarantees.
The OLED Deck has a larger battery and improved efficiency, which gives it a meaningful advantage during longer sessions.
Still, I wouldn’t obsess over hitting a specific number. If reducing TDP to 10W causes noticeable instability in the busiest areas, move up to 11W. A slightly shorter battery session is preferable to turning Kyoto into a slideshow.
What Settings Should You Change First?
If your game isn’t holding 30 FPS, don’t randomly throw every setting to Low.
Work through the expensive options in this order:
- Volumetric Fog → Low
- Shadows → Low
- Contact Shadows → Off
- Screen Space Reflections → Off
- Particle Lighting → Low
- Ambient Occlusion → Off if necessary
- FSR Balanced → Performance
- Textures → Low only as a last major visual compromise
This approach preserves the visual identity of the game far better than blindly selecting the lowest preset.
And that’s really the secret to making demanding games enjoyable on Steam Deck: know which settings actually matter.
How to Fix Controller Input Lag and Delay in Onimusha: Way of the Sword on Steam
LCD vs OLED Steam Deck: Which Settings Should You Use?
There isn’t a completely different graphics configuration required for the OLED model.
The underlying performance characteristics are similar enough that the same 30 FPS philosophy applies.
The OLED version simply gives you more flexibility with battery life and its display characteristics.
| Feature | Steam Deck LCD | Steam Deck OLED |
|---|---|---|
| Recommended FPS | 30 FPS | 30 FPS |
| Refresh Rate | 60Hz | 90Hz |
| Main Preset | Balanced | Balanced |
| Battery Preset | 10–11W | 10–11W |
| FSR | Balanced | Balanced |
| Texture Quality | Medium | Medium |
| Target Experience | Stable | Stable + longer sessions |
If you’re buying a Steam Deck specifically for demanding modern releases, the OLED is obviously the more attractive package overall. But don’t expect it to magically transform a CPU-heavy area into a 60 FPS playground.
The hardware still has limits.
Onimusha Way of the Sword Weapon Tier List: Best Weapons and Upgrade Guide (2026)
Final Verdict: 30 FPS Is the Sweet Spot
Onimusha: Way of the Sword is much better suited to a carefully tuned 30 FPS Steam Deck experience than an unstable high-FPS configuration.
That’s not a criticism.
In fact, I think it works surprisingly well.
Once you lock the frame rate, enable FSR, keep textures around Medium, disable the expensive shadow and reflection effects, and leave Shadow Cache enabled, the game retains much of its visual personality without constantly reminding you that you’re playing a demanding AAA title on handheld hardware.
The most important thing is that combat remains consistent.
And that’s what matters most.
Onimusha lives or dies on timing. A perfectly timed Issen counter feels incredible when the game responds predictably. A frame-time spike right as a Genma attack lands is the exact opposite of fun.
So my recommendation is simple: 1280×800, 30 FPS, FSR Balanced, Medium textures, Low shadows, Low volumetric fog, Shadow Cache On, and the expensive post-processing effects disabled.
For longer trips, switch to the battery preset with 10–11W TDP and FSR Performance.
You lose some visual sharpness, sure. But you gain something much more valuable on a handheld: more time with Musashi’s sword in your hands.