How to Tame Wild Temtem in Pioneers: Downbelow Capture Guide
If you’ve spent enough time in Temtem, you already know that taming isn’t just a mechanic—it’s the heartbeat of the entire experience.
But nothing really prepares you for the moment you step into the Highbelow (yeah, most of us still call it Downbelow out of habit).
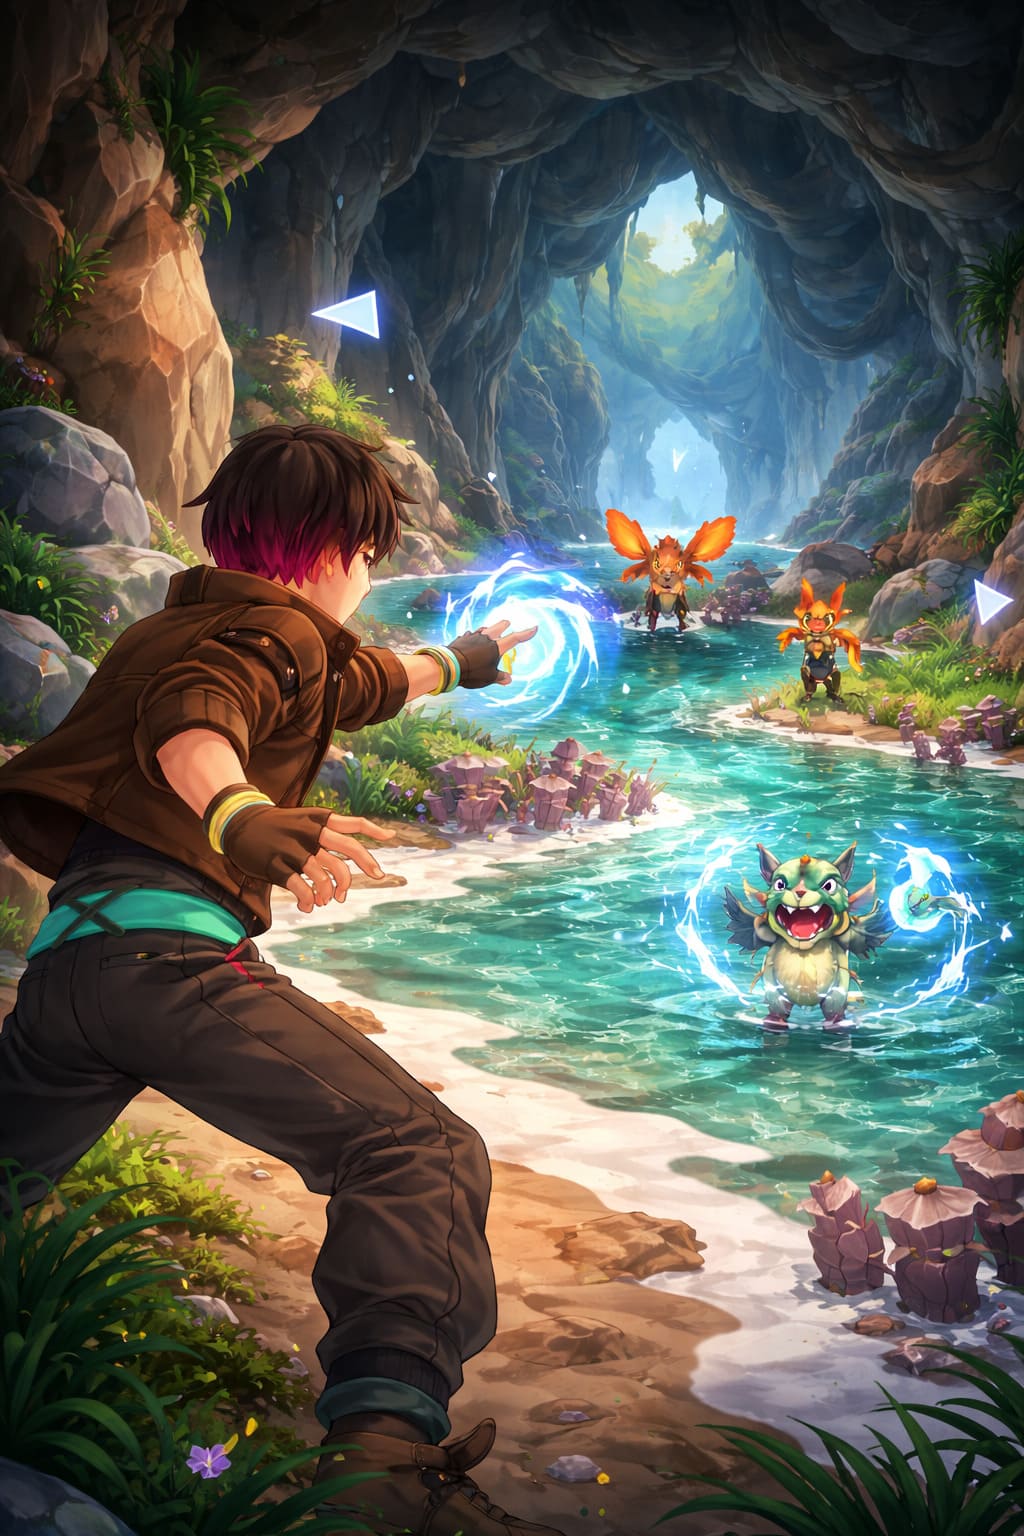
This place feels different. It’s not just another zone—it’s where the game quietly checks whether you’ve actually learned how to play well.
After spending hours exploring it myself, failing a bunch of captures, and tweaking my team more times than I’d like to admit, I’ve put together a grounded, no-nonsense guide to help you tame effectively here—without wasting your sanity (or your TemCards).
How to Survive the Fog in Don’t Starve Elsewhere: Best Base Locations & Gear
What Makes the Highbelow So Different?
At first glance, the Highbelow doesn’t scream “taming hotspot.” It’s mysterious, a bit confusing, and honestly kind of intimidating. But once you get the hang of it, you realize it’s one of the most rewarding areas in the game.
Here’s the deal:
- It’s accessed through Sacred Lake in Cipanku
- You’ll deal with 12 shrines, each tied to a Temtem type
- It’s closely tied to endgame progression and Mythical Lairs
- Encounters here are high level and less forgiving
What I personally love about this area is that it forces you to slow down. You can’t just spam TemCards and hope for the best—you need intention behind every move.
Taming Mechanics (Why Your Usual Strategy Might Fail Here)
The taming system itself doesn’t change—but the stakes do.
How Capture Actually Works
| Factor | Why It Matters | My Take |
|---|---|---|
| HP Level | Lower HP = higher capture chance | Always push into red, but carefully |
| Status Effects | Sleep/Freeze boost success massively | Sleep is your best friend here |
| TemCard Quality | Better cards = better odds | Don’t cheap out in Highbelow |
If I had to summarize it simply: If the Temtem isn’t weakened AND controlled, you’re gambling.
Gear That Actually Makes a Difference
There are tons of items in Temtem, but only a few truly matter when you’re deep in the Highbelow.
- Four-Leaf Clover — This one is huge. Just having it equipped gives you a noticeable edge. I never go without it.
- TemCard+ / TemCard++ — Regular cards? Forget it for tougher encounters. I learned this the hard way after burning through 20+ basic cards on one target.
- Healing Support Temtem — Something like a healer in your squad saves you from constantly backtracking.
Rare Temtem Hunting (Why This Area Is Worth It)
One of the coolest things about the Highbelow isn’t just the challenge—it’s what it unlocks access to.
You’re no longer stuck with early-game limitations. You can actually hunt down Temtem that used to feel out of reach.
- Crystle — Previously limited, now farmable with effort
- Houchic — A fan favorite with strong utility
- Smazee — Worth grabbing if you skipped it early
What I like here is that it rewards patience. You can get what you want—but not by rushing.
My Personal Strategy (What Actually Works)
After trial and error, here’s what consistently works for me:
- Build a Dedicated Catching Team — Don’t rely on your battle squad. You need specialists with sleep effects, low-damage control, and utility skills.
- Control Stamina — One of the biggest frustrations is watching a rare Temtem knock itself out through overexertion. Applying Sleep early solves this problem.
- Be Patient With Captures — Sometimes it takes many TemCards. That doesn’t mean you’re doing it wrong. The Highbelow is designed to test persistence.
- Minimize Backtracking — Use healing items, bring support Temtem, and plan your route carefully between shrines.
Shrines: More Than Just Obstacles
The 12 shrines aren’t just there for decoration—they’re essential to progressing deeper into the Highbelow.
Each shrine requires you to show a Temtem of a specific type.
| Shrine Type | What You Need To Do |
|---|---|
| Water | Bring any Water-type Temtem |
| Fire | Match the required type |
| Digital | Often overlooked—plan ahead |
| Crystal | Useful if you already caught one |
Pro tip: Always keep a balanced squad. Nothing kills momentum like realizing you’re missing one type.
The Hidden Value: FreeTem Rewards
A lot of players ignore this, but it’s actually one of the best long-term benefits.
Every Temtem you catch can be released, turned in for rewards, and converted into steady income.
I personally use Highbelow runs as both farming sessions and profit runs. It’s a nice bonus that makes every capture feel worthwhile—even the “failures.”
From One Player to Another
The Highbelow isn’t easy—and that’s exactly why it’s so satisfying.
It forces you to think more, prepare better, and respect the mechanics. And honestly, that’s when Temtem feels at its best.
If you go in expecting quick wins, you’ll probably get frustrated. But if you treat it like a strategic challenge, it becomes one of the most rewarding parts of the game.
Quick Summary
- Always weaken and apply status before throwing cards
- Use better TemCards—don’t rely on basics
- Bring a dedicated catching team
- Plan for shrine requirements
- Stay patient—this area is meant to test you
Unlocking the Highbelow: A Gamer’s Guide to Conquering the 12 Shrine Puzzle in Temtem
There’s something uniquely satisfying about late-game challenges that don’t just test your combat strength, but also your awareness, preparation, and sense of exploration. The Highbelow in Temtem is exactly that kind of experience. It’s not just another dungeon — it feels like a carefully designed puzzle box, where progress depends on understanding the game’s core systems and using them creatively.
If you’ve made it this far, you’re probably already deep into the game. And honestly, this is where Temtem starts to shine the most.
Let’s break down what makes the Highbelow shrine system so engaging — and how to handle it like a seasoned tamer.
What Makes the Highbelow Special?
At first glance, the objective sounds simple: activate 12 shrines, each tied to a specific Temtem type. But the twist is what makes it memorable.
You’re not just battling your way through — instead, the game asks you to prove your understanding of types. Each shrine requires you to present a Temtem of the correct type, almost like showing a key to unlock a door.
This design choice does something clever: it encourages players to diversify their roster, rewards collectors and explorers, and breaks the monotony of constant battling.
It’s a refreshing change of pace, especially if you’ve been grinding levels for hours.

All 12 Shrine Requirements (Quick Overview)
Here’s a clean breakdown of what you’ll need as you explore the Highbelow:
| Shrine Type | Requirement | Location Hint |
|---|---|---|
| Digital | Show a Digital Temtem | Near the entrance |
| Neutral | Show a Neutral Temtem | After crossing a bridge |
| Crystal | Show a Crystal Temtem | Top-left after dropping ledges |
| Toxic | Show a Toxic Temtem | Down a cliffside |
| Wind | Show a Wind Temtem | Bottom-right area |
| Mental | Show a Mental Temtem | Across a pond |
| Earth | Show an Earth Temtem | Near Mental shrine |
| Electric | Show an Electric Temtem | North of Earth/Mental |
| Water | Show a Water Temtem | Northwest of Electric |
| Nature | Show a Nature Temtem | Slightly north of Water |
| Melee | Show a Melee Temtem | Bodoto area |
| Fire | Show a Fire Temtem | Final shrine |
What I personally liked here is how the layout subtly guides your progression. You don’t just randomly stumble across shrines — there’s a natural flow that makes exploration feel intentional.
A More Strategic Layer Than It Seems
At first, you might think that you just need one of each type and that it will be easy, but if you didn’t prepare in advance, this section can quickly turn into a backtracking nightmare.
My honest advice is to build a balanced squad before entering, include dual-type Temtem whenever possible, and avoid relying on storage swaps unless absolutely necessary.
Dual-type Temtem are especially valuable because they give you flexibility. A single Temtem can cover multiple shrine requirements, which saves both time and mental energy.
Shrine Battles vs. Highbelow Altars
Here’s where things get more intense. While the Highbelow shrines mostly require type presentation, the traditional world shrines follow stricter combat rules.
First, there is the mono-type rule, meaning every Temtem in your squad must match the shrine’s type. Second, dual-type Temtem count toward both categories, giving you a strong tactical advantage. Finally, you should expect high-level enemies in the range of 70 to 100, making this true endgame content.
This creates a completely different mindset. Instead of just building a strong team, you’re building a thematically restricted one, which can actually be more challenging.
Real Talk: Difficulty and Preparation
This part of the game can feel punishing if you’re underprepared. While brute-forcing your way through with revives and items is technically possible, it often leads to frustration and wasted time.
A better approach is to train Temtem with solid SVs, focus on type synergy and coverage, and bring at least one reliable damage dealer per type category.
This is one of those moments where the game rewards players who truly engage with its systems instead of rushing through.
Best Strategies for Efficient Leveling
Many players revisit shrines not just for completion, but for high-level grinding. This is where understanding matchups becomes essential.
At the Melee shrine, using Mental or Digital moves will deal double damage, making battles much faster. At the Digital shrine, Water, Electric, or Earth moves are the most effective options. At the Earth shrine, Water, Nature, or Melee attacks will help you clear waves efficiently.
This transforms grinding into a more tactical and rewarding experience rather than a repetitive chore.
Why This Design Works So Well
The Highbelow successfully combines exploration, puzzle-solving, team-building, and strategic combat without feeling repetitive.
It challenges players while still respecting their time, and it stands out as one of the moments where Temtem truly differentiates itself from other games in the genre.
Final Thoughts
The Highbelow shrine system may seem simple at first, but it offers surprising depth in execution. Going in prepared makes the experience smooth and rewarding, while lack of preparation can lead to unnecessary backtracking.
As a player, the key lessons are to build flexible teams, make use of dual-type Temtem, and treat exploration as part of the puzzle rather than a distraction.
Most importantly, take your time and enjoy the process, because this is exactly the kind of content that makes Temtem so engaging in the long run.