Honeycomb: The World Beyond Beginner’s Guide – Tips, Tricks, and Bioengineering Strategies for Sota7
Honeycomb: The World Beyond immediately gives you a different feeling from most survival games. You are not dropped onto an alien planet simply to punch trees, craft a bigger weapon, and slowly turn your shelter into a fortress. You are here to study the ecosystem, manipulate genetics, grow useful organisms, and figure out how this strange world can help save Earth.
And honestly, that scientific angle is one of the things I like most about the game.
Sota7 is beautiful, but it is also the kind of place where wandering around without a plan can waste a surprising amount of time. During the first few hours, it is tempting to grab every resource you see and sprint toward whatever interesting object appears in the distance. I strongly recommend resisting that temptation.
If you approach the opening like an actual field scientist rather than a typical survival-game hoarder, the experience becomes much smoother.
This Honeycomb: The World Beyond beginner’s guide covers the things I consider most important when starting out, from using the Analyzer and AR system to finding safe food, building your first laboratory, experimenting with plants, and preparing for longer expeditions across Sota7.
What Makes Honeycomb Different From Other Survival Games?
The first thing worth understanding is that progression in Honeycomb is heavily connected to research.
You are playing as Hennessy O’Quinn, a bioengineer whose mission is tied to finding a potential solution for Earth’s environmental and survival crisis. That premise isn’t just background story. It directly influences how you play.
Instead of constantly asking:
“What weapon should I craft next?”
you will often be asking:
“What can I learn from this organism?”
That change in mindset is important.
Your Analyzer, genetic research, plants, laboratory equipment, and experimentation systems are all connected. The more you understand Sota7’s ecosystem, the more options you unlock.
For me, that’s where Honeycomb starts to feel genuinely interesting. The planet itself becomes your progression tree.
Your First Priority: Learn the AR System
One of the easiest mistakes is ignoring the game’s augmented-reality tools because you want to start exploring immediately.
Don’t.
The AR HUD is one of your most useful pieces of equipment during the early game. Toggling AR mode with T gives you additional information about the environment and makes important objects much easier to recognize.
It becomes especially useful when you’re:
- Exploring an unfamiliar area
- Looking for biological or mineral resources
- Inspecting potential building locations
- Planning structures around your base
- Searching for unusual specimens
I recommend using AR mode frequently during your first several hours. You will eventually become familiar with the environment and rely on it less, but early on it can prevent you from walking past something important.
It also makes construction much easier because you can get a better idea of where structures can be placed and how they interact with the surrounding environment.
The Analyzer Is Basically Your Best Friend
If there is one piece of advice I would give to every new player, it is simple:
Scan first. Collect second.
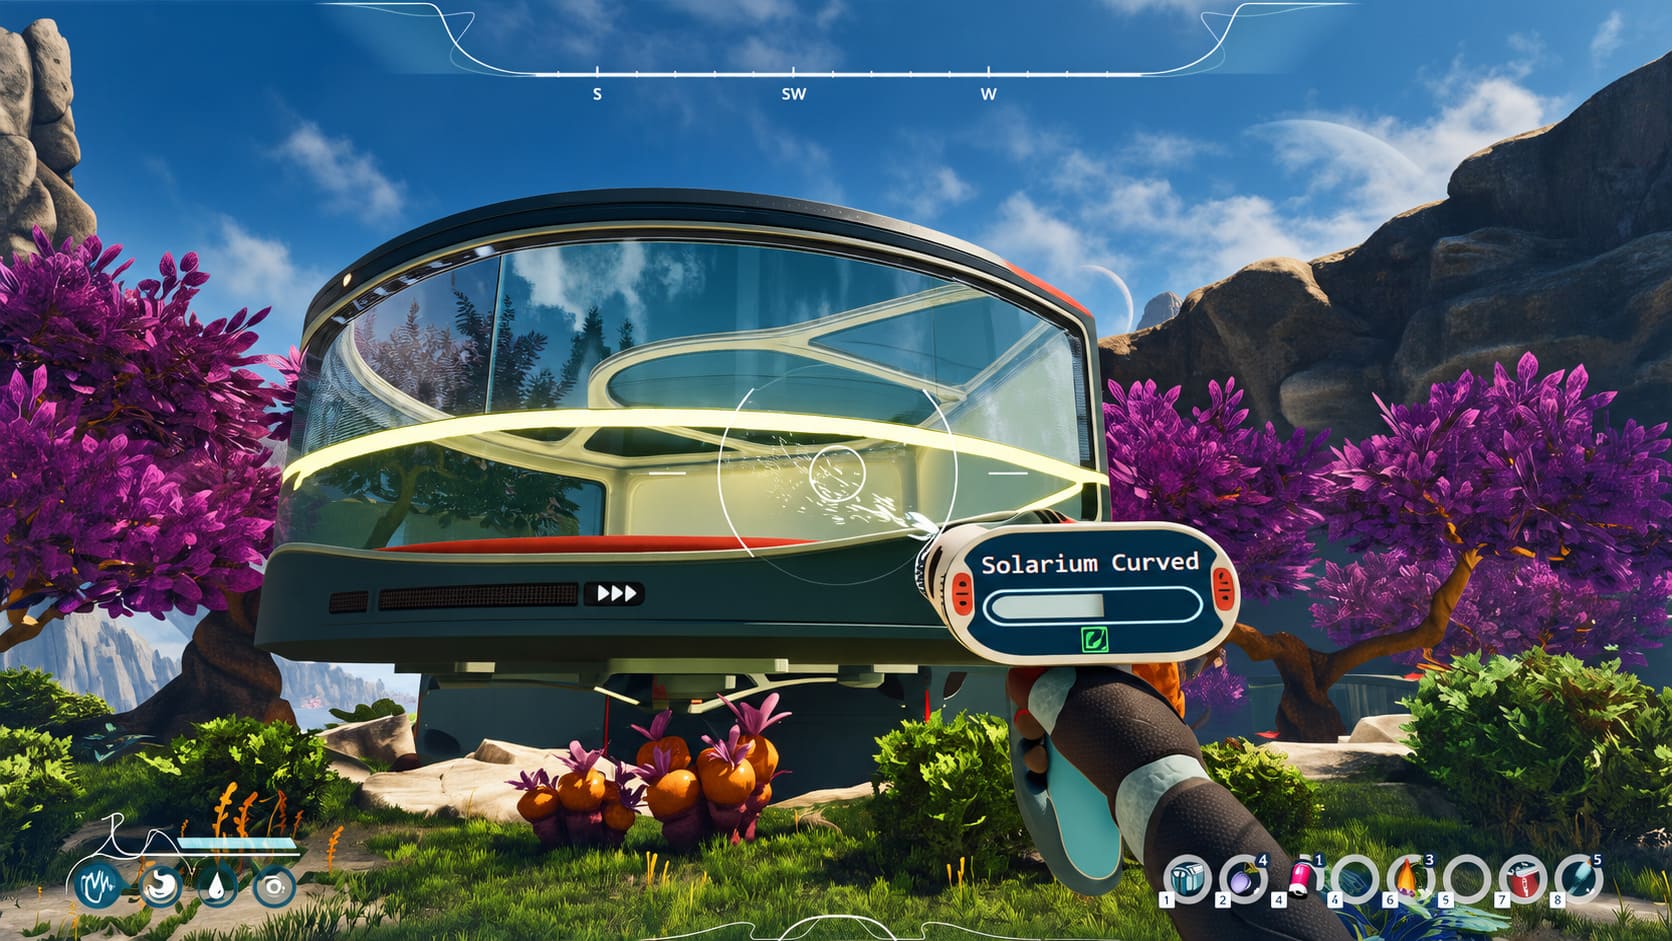
The Analyzer is not just another tool for identifying random objects. It is central to the game’s scientific progression.
When you encounter an unfamiliar plant, creature, or resource, take a moment to analyze it before harvesting or consuming it.
This can provide information about the specimen and, more importantly, contribute to your understanding of Sota7’s biological systems.
| Tool | Main Purpose | Why It Matters Early |
|---|---|---|
| AR HUD | Environmental information | Helps identify resources and construction points |
| Analyzer | Scanning specimens | Important for research and safe resource gathering |
| Lab Equipment | Biological experimentation | Enables more advanced progression |
| Storage | Organizing materials | Prevents genetic samples from becoming a mess |
| Hoverboard | Faster exploration | Makes longer trips much more manageable |
Personally, I would rather spend a few seconds scanning something than discover later that I should have recorded or studied it.
Don’t Drink Whatever Water You Find
This is one of those survival-game habits that can get you into trouble.
In many survival games, seeing a river immediately means free hydration. Sota7 doesn’t necessarily work that way.
Early in the game, I would avoid treating untreated surface water as a safe source of hydration. Alien ecosystems are not exactly famous for following Earth’s health regulations.
Instead, focus on safe edible plants and fruits that provide hydration while you work toward better water-processing technology.
That makes early exploration much less stressful.
My Early Survival Rule
Before leaving your starting area, try to have:
- A reliable source of food
- Several hydration options
- Basic crafting materials
- Your Analyzer ready
- Enough inventory space for new specimens
It sounds obvious, but survival games have a habit of making you regret ignoring the boring preparation stuff.
Gather the Boring Resources Early
Sticks, fiber, stones, and other basic materials may not look exciting compared with strange alien organisms, but you will burn through them surprisingly quickly.
During your first exploration trips, pick up basic resources whenever they’re conveniently available.
You don’t need to strip the entire planet clean. Just maintain a healthy supply for crafting and construction.
The reason is simple: you don’t want your scientific research interrupted because you’re missing a handful of basic building materials.
That is particularly frustrating when you’re already carrying something rare and don’t want to abandon your expedition.
Bioengineering Is Where Honeycomb Gets Really Interesting
This is probably my favorite part of the game’s overall design.
Honeycomb doesn’t simply ask you to find increasingly powerful equipment. It encourages you to understand biological characteristics and combine them into useful results.
Two plants may have completely different strengths. One might grow quickly, while another might produce a valuable resource but take much longer to mature.
Instead of accepting those limitations, you can experiment.
And this is where I think players should experiment rather than constantly searching for a single optimal recipe online.
Part of the fun is discovering what Sota7 can actually produce.
Understanding Allogamy
Allogamy essentially revolves around cross-pollination between different plants.
The basic idea is straightforward: collect genetic information from different specimens, bring your findings back to your research facilities, and experiment with combinations.
The interesting part is figuring out which characteristics can complement one another.
Imagine finding:
- A plant with excellent growth speed
- Another with a valuable material yield
- A third with useful environmental resistance
Your goal isn’t necessarily to find one “perfect” plant. It’s about discovering combinations that are useful for your particular needs.
And this is where I think players should experiment rather than constantly searching for a single optimal recipe online.
Part of the fun is discovering what Sota7 can actually produce.
Grafting: Don’t Ignore This Mechanic
Grafting offers another way to manipulate plant characteristics.
The basic concept is familiar from real-world horticulture: a portion of one plant is attached to another, allowing characteristics from different plants to work together.
In gameplay terms, this can become extremely useful when you find a rare organism with desirable properties but an inconvenient growth cycle.
Instead of waiting forever for it to produce something useful, experimentation with grafting can potentially create a more efficient production setup.
The important thing here is to test different combinations and keep notes.
You don’t have to remember every genetic combination in your head.
Keep a Genetic Journal
This sounds like unnecessary organization when you’re just starting, but it becomes increasingly valuable as your experiments become more complicated.
Whenever you discover an interesting result, make a mental note—or better yet, maintain your own external notes—about:
- Growth characteristics
- Resource production
- Useful traits
- Failed combinations
- Unusual mutations
- Successful grafts
- Valuable genetic properties
Failed experiments aren’t necessarily useless.
A strange hybrid that looks disappointing at first may still contain a trait that becomes useful later.
I would never immediately throw away every failed genetic experiment.
That is one of the easiest ways to accidentally lose something potentially valuable.
Building Your First Base: Think Like a Scientist
Your first base doesn’t need to be enormous.
In fact, I think building a giant structure too early is one of the easiest ways to waste time.
What matters more is location and organization.
Look for relatively flat terrain that gives you convenient access to multiple environmental zones. A location close to the borders between different biomes can be particularly useful because you won’t have to travel enormous distances whenever you need different types of specimens.
A good early laboratory should be practical rather than pretty.
At first, I would prioritize:
- Reliable power
- Research and synthesis equipment
- Growing areas
- Storage
- Room for future expansion
Once the core infrastructure works, then you can worry about making the place look impressive.
Use Planning Mode
If you enjoy building everything manually, you can absolutely do that.
But if you’re more interested in exploration and bioengineering, Planning Mode can save you a lot of unnecessary construction work.
The ability to plan larger structures before committing resources is particularly useful when you’re designing a laboratory.
Think ahead about where your equipment will go.
You don’t want to build a tiny laboratory and then discover that your new research machines have nowhere to fit.
Leave some space for expansion.
Don’t Build Your Base in the Middle of Nowhere
A beautiful location isn’t automatically a practical one.
I’ve made this mistake in plenty of survival games: finding a gorgeous view and deciding that this is obviously where my base belongs.
Then reality hits.
Suddenly every resource run takes forever.
For Honeycomb, I would prioritize accessibility over scenery.
Ideally, your main base should provide relatively convenient access to several types of environments. Being near biome transitions can dramatically reduce the amount of unnecessary travel.
Your future self will thank you.
Recon Drones Make Exploration Smarter
Once your technology allows it, reconnaissance tools become extremely useful.
Instead of blindly walking into an unfamiliar region, use a Recon Drone to gather information first.
This is particularly helpful when you’re approaching:
- Dangerous areas
- Unknown caves
- New biomes
- Resource-rich locations
- Areas with aggressive wildlife
The biggest advantage isn’t simply safety. It’s efficiency.
Knowing what’s ahead means you can prepare the correct equipment and inventory before committing to the trip.
The Hoverboard Changes Everything
The Hoverboard is one of those upgrades that can completely change how exploration feels.
Before you have efficient transportation, long-distance travel can become a serious time sink. Once you have a faster way to move around, suddenly previously inconvenient areas become much more accessible.
It can also be useful for navigating difficult terrain and crossing areas that would otherwise slow you down considerably.
My advice is simple:
Once the Hoverboard becomes realistically accessible through your progression, consider making it a priority.
And don’t forget to keep it charged.
There is nothing worse than getting deep into an expedition and discovering your transportation is almost dead.
My 10 Beginner Tips for Sota7
If you don’t want to remember the entire guide, these are the lessons I’d keep in mind.
1. Scan Before Harvesting
The Analyzer exists for a reason. Make scanning unfamiliar specimens a habit.
2. Use AR During Exploration
The AR overlay can help you notice resources and environmental information that would otherwise be easy to miss.
3. Treat Untreated Water Carefully
Don’t assume every river or stream is safe simply because it looks clean.
4. Keep Useful Failed Hybrids
An unsuccessful experiment isn’t automatically worthless. Genetic traits may become valuable later.
5. Build Near Biome Boundaries
Access to different environments is more valuable than having the prettiest possible base location.
6. Keep Your Seed Storage Organized
Separate specimens by useful characteristics. A little organization now can save a lot of frustration later.
7. Don’t Ignore Wildlife Behavior
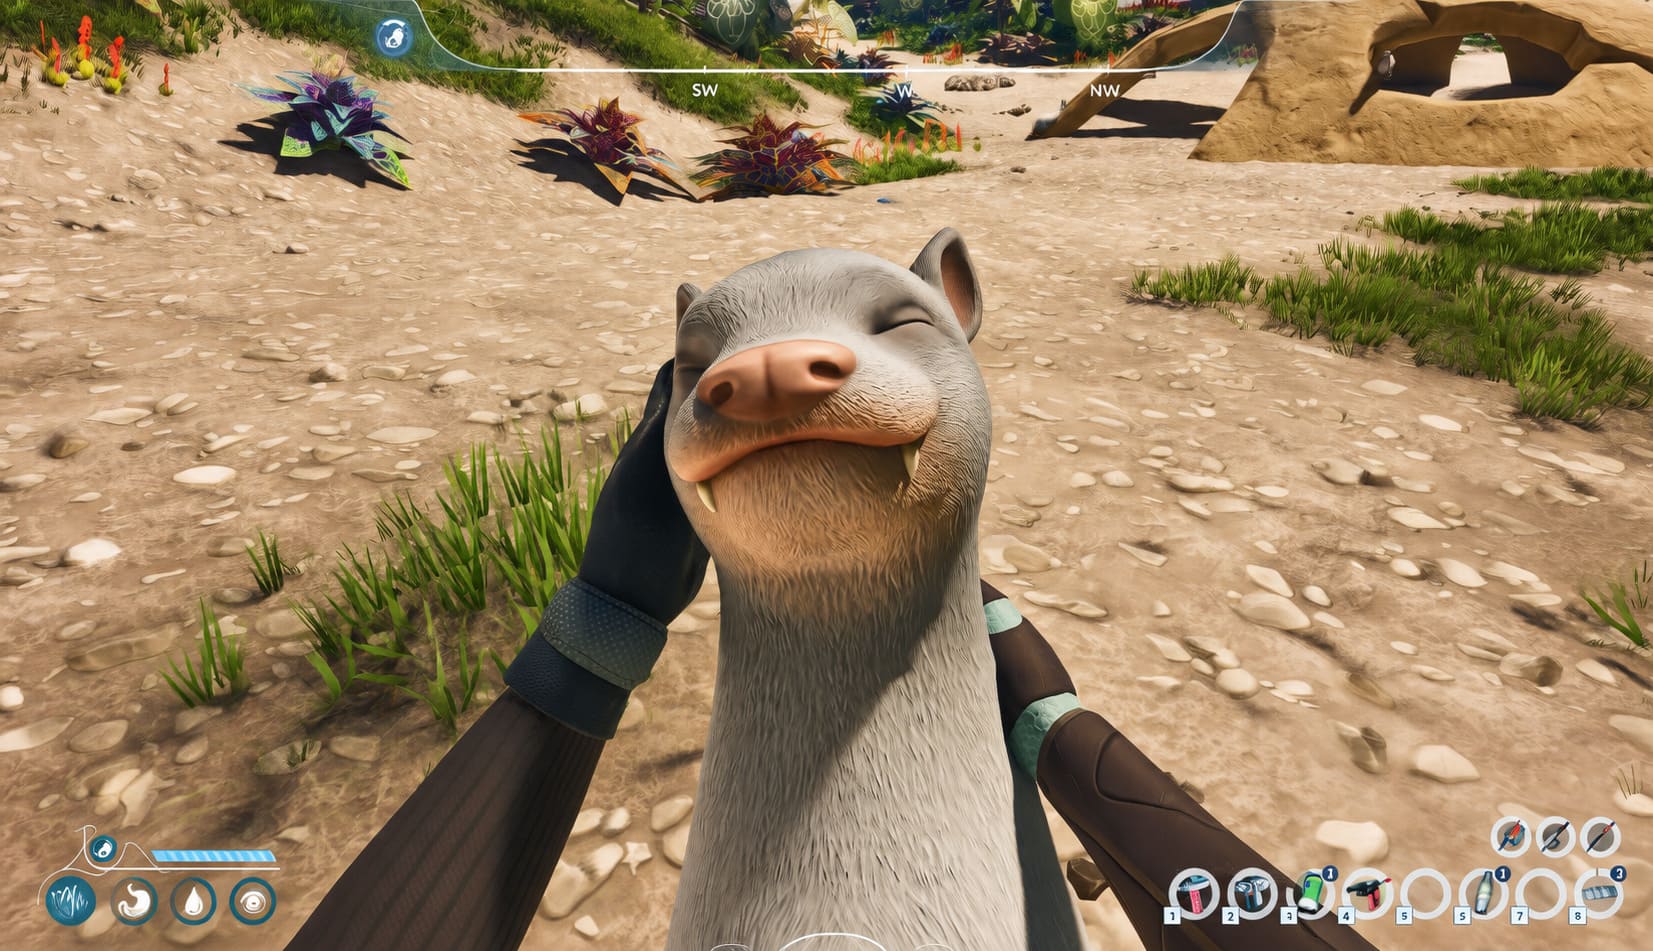
Not every creature needs to be treated as an enemy. Watching how local wildlife behaves can tell you a lot about the environment.
8. Establish Small Outposts
When traveling far from your primary laboratory, a small secondary shelter can save enormous amounts of travel time.
9. Experiment With Grafting
Don’t automatically wait for rare plants to grow naturally. Look for ways to make useful biological traits more efficient.
10. Plan Your Power Consumption
As your laboratory expands, energy management becomes increasingly important. Make sure your production systems have enough power to operate consistently.
Honeycomb The World Beyond System Requirements: Download Size and PC Storage Guide
A Simple First-Week Strategy
If you’re wondering what I would actually do during the opening stretch, my progression would look something like this:
Day 1: Learn the AR system, scan everything interesting, collect basic resources, establish safe food and hydration sources, and create a basic shelter.
Day 2–3: Start expanding the base, establish storage, improve your research infrastructure, and begin experimenting with biological specimens.
Day 3–5: Explore further from your starting location and begin looking for different biomes and unusual genetic traits.
Day 5–7: Start creating a more organized laboratory, establish useful outposts, and work toward better transportation and advanced bioengineering.
The exact pace will obviously vary, but I think this approach strikes a good balance between survival, exploration, and scientific progression.
Final Thoughts: Slow Down and Study Sota7
The biggest mistake you can make in Honeycomb: The World Beyond is treating it like a conventional survival game.
You don’t need to sprint across the map collecting everything immediately.
You don’t need to build a gigantic fortress during your first evening.
And you definitely shouldn’t ignore the biological systems that make the game different from its competitors.
Sota7 rewards curiosity.
Take time to scan unfamiliar lifeforms. Experiment with plants. Keep track of useful traits. Build your laboratory around your actual workflow. Explore new biomes when you have enough supplies to make the journey worthwhile.
For me, that’s where Honeycomb becomes much more than another survival sandbox. The most satisfying moments aren’t necessarily when you craft a new piece of equipment—they’re when an experiment finally works, a previously useless organism suddenly becomes valuable, or you realize that a strange biological trait you’ve been carrying around is exactly what your laboratory needs.
If you approach the game with that mindset, the early hours become much more enjoyable.
Study first, experiment often, and let Sota7 teach you how it works. That’s probably the best beginner strategy I can give you.