Caledon University Fire Mystery: All Life is Strange: Reunion Puzzle Solutions
Ever since Life is Strange: Double Exposure shook the community with its shocking timeline splits and Safi’s bizarre powers, fans have been obsessively piecing together clues about what’s next.
And now, Life is Strange: Reunion promises to turn up the heat—literally—on one of the franchise’s most tantalizing mysteries: the Caledon University fire.
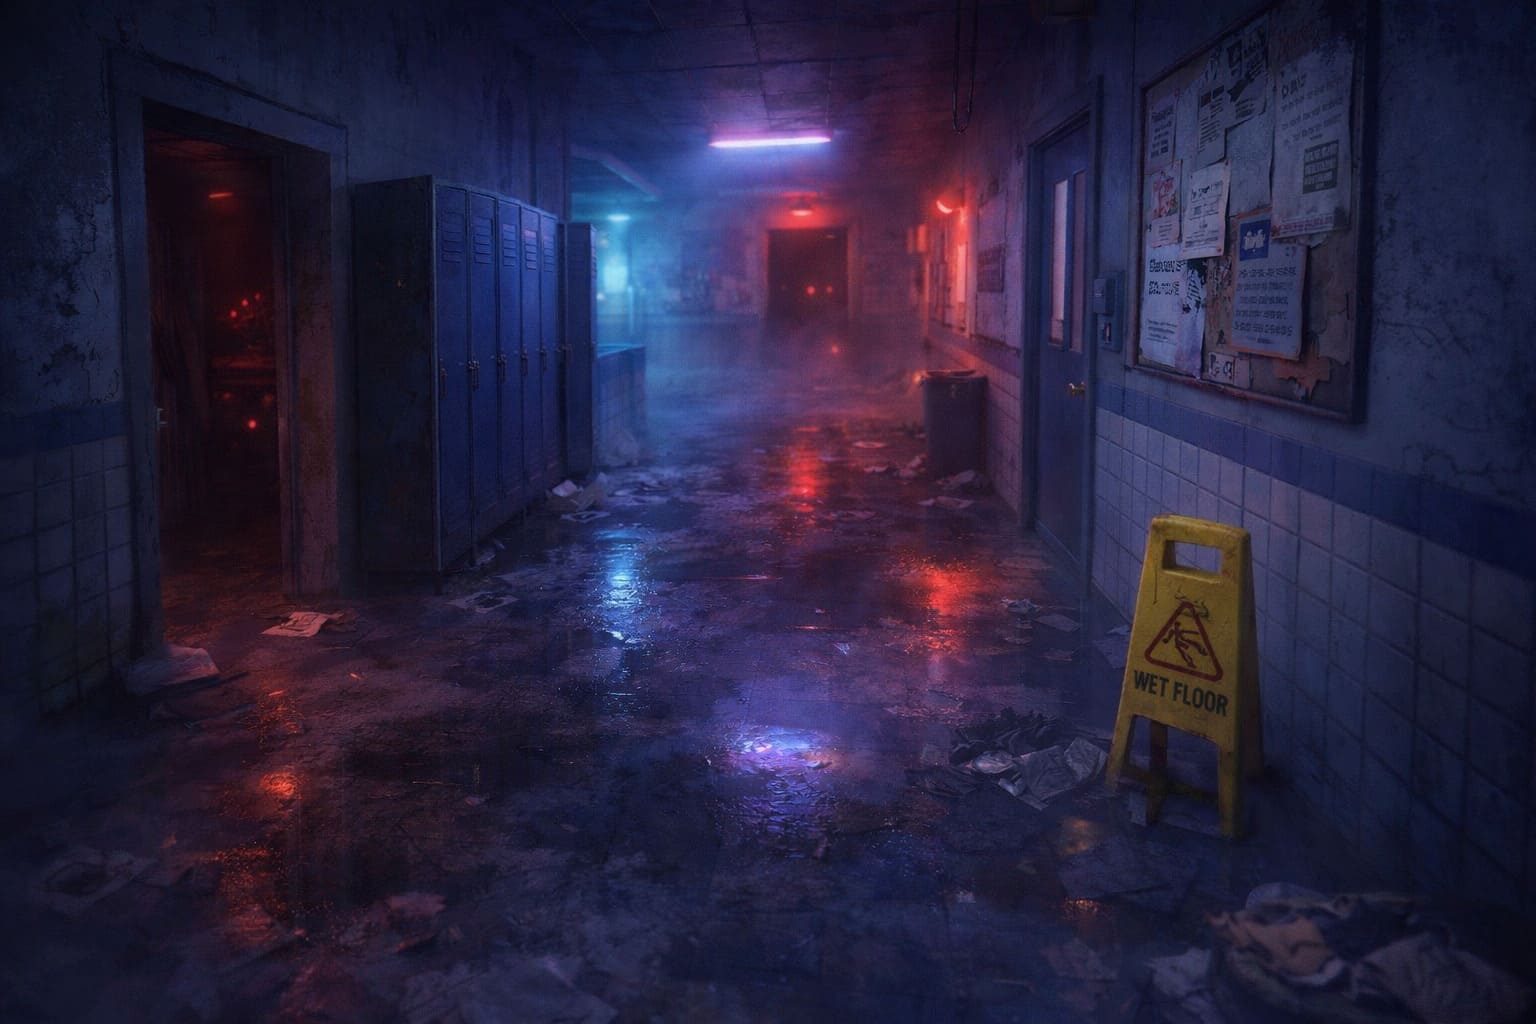
As someone who has followed the series since the original Arcadia Bay saga, I can confidently say this fire isn’t just a dramatic plot point—it’s a perfect storm of timelines, supernatural chaos, and emotional stakes that fans like me love to theorize about.
Here’s a deep dive into what we know, the leading fan theories, and my personal take on how this mystery shapes the Reunion narrative.
All High on Life 2 – Gatlian Guns: A Complete List and Best Upgrades Guide
The Core Mystery: What Happened at Caledon University?
At the center of Reunion is a catastrophic blaze that engulfs Caledon University. Unlike previous Life is Strange disasters, this one is not just symbolic—it physically threatens the world Max and Chloe have been trying to protect.
Key facts that set the stage:
- Merged Timelines: Max’s attempt to combine realities to save Safi at the end of Double Exposure may have destabilized the very fabric of Caledon University.
- Chloe Returns: Depending on your choices, Chloe Price is back, but she suffers from “timeline sickness,” experiencing visions of her death in alternate realities.
- Cosmic Course Correction?: Some fans speculate the fire is the universe’s way of “fixing” the merged timeline by targeting its focal point: the campus itself.
Top Theories: Who—or What—Set the Fire?
Here’s where things get juicy. Reddit threads and YouTube deep-dives have offered some wild but plausible theories. I’ve broken them down with my personal commentary:
| Theory | The Premise | Why It Matters |
|---|---|---|
| Maya Okada Revenge | Maya’s work was stolen in a plagiarism scandal, and she may have returned (or her spirit may have) to burn the university. | Echoes Rachel Amber vibes—restless spirits, unresolved vengeance. Adds emotional depth beyond just a “villain.” |
| Safi’s Powers Out of Control | Safi, a “Shifter,” may have triggered the fire accidentally while manipulating realities. | Fits the franchise’s supernatural logic; chaos from powers spiraling is classic Life is Strange. |
| The Caledon Conspiracy | University officials or a new antagonist may be covering up darker secrets tied to photography and student disappearances. | Evokes Jefferson-era horror, suggesting there’s more than meets the eye behind the fire. |
Honestly, I’m personally leaning toward a mix of Safi’s powers and a lingering supernatural influence. The game has always thrived when disaster isn’t purely human—there’s something hauntingly poetic about the universe “correcting” itself.
Chloe Price: The Timeline Game-Changer
The return of Chloe is easily the most emotional hook of Reunion. But it’s not just fan service—her presence fundamentally changes the narrative.
- Timeline Merge Mechanics: The game explains Chloe’s return through the merging of the “Sacrifice Chloe” and “Sacrifice Arcadia Bay” timelines. In other words, she exists in a reality that shouldn’t technically exist.
- Fire Foreshadowing: Chloe’s recurring nightmares aren’t just trauma—they might be early warnings about the fire. Fans theorize she’s uniquely attuned to temporal disturbances and could help Max stabilize the “third timeline.”
From a gameplay perspective, this adds an exciting layer of tension. You’re not just saving people—you’re saving a reality itself.
Fan Communities: Reddit vs. YouTube
The theory crafting is almost as entertaining as the game itself:
- Reddit: Gamers obsess over Maya Okada’s backstory and timeline mechanics. Posts are incredibly detailed, with fans drawing charts and flow diagrams of merged realities.
- YouTube: Creators like SenorFootLess and Firewalk89 explore Safi’s God complex, emphasizing how her powers could unintentionally ignite the campus. Their cinematic breakdowns make you feel like you’re part of a detective team.
It’s fascinating to see how different platforms highlight different aspects: Reddit dives deep into lore mechanics, while YouTube thrives on spectacle and suspense.
Gear Up Like a True Max Caulfield Fan
If you’re diving into Reunion, having the right setup makes a surprising difference:
- Consoles: PS5 or Xbox Series X for smooth, cinematic visuals.
- Gaming Laptops: Razer Blade 16 or ASUS ROG Zephyrus for spotting hidden clues in ultra HD.
- Photography Props: Polaroid Now+ or Fujifilm Instax Mini 12 to capture your own “Max moments.”
This isn’t just aesthetic—it helps immerse yourself in the detective side of Life is Strange.
Mastering Caledon Campus Puzzles in Life is Strange: Double Exposure
If you’re diving into Life is Strange: Double Exposure, you already know that Caledon University isn’t just about attending lectures—it’s a labyrinth of secrets, mysterious societies, and brain-teasing puzzles. As a longtime fan of narrative-driven games, I can tell you that the Caledon campus feels alive. Every corridor, every statue, and every locked cabinet is a puzzle begging to be solved. Whether you’re chasing Abraxas Society secrets or simply trying to get Gwen her book, you’re in for a treat.
Here’s a practical, step-by-step guide to tackling the most memorable puzzles on Caledon’s campus—crafted with a mix of strategy and my personal take on why these puzzles are so fun.
1. The Abraxas Society Puzzle Box – Chapter 1
The first puzzle you encounter is a clever way to ease players into Caledon’s mysterious atmosphere. It’s not just about manipulating objects—it’s about observation and collaboration.
Steps to Solve:
- Founder Statue – Rotate the cube until Max notices the Founder Statue. The statue is missing a small item, and this is your first visual clue.
- Wax Seal – Spin to the side featuring a bird surrounded by flames. Interact with it, and Reggie steps in with his lighter to melt the wax. A tiny bird token pops out.
- Completing the Statue – Return to the Founder Statue and place the bird token on its shoulder. This unlocks the next layer of the puzzle box, rewarding you with a satisfying “click” and a sense of progress.
Why it works: This puzzle blends visual storytelling with interactive problem-solving. You’re not just pressing buttons—you’re actively uncovering history hidden in the environment.
2. Abraxas Constellation & Symbol Dials – Chapter 2
Things get trickier in Chapter 2. Now, logic meets astronomy, and your understanding of symbolic alignment comes into play.
The Constellation Pegs (Libra)
- Four adjustable pegs await your manipulation. Your goal is to match the “scales” of Libra, representing the Abraxas virtue of Justice.
- Pro Tip: There’s a star chart near Max’s bedroom that serves as your visual hint. Don’t skip this step, it’s like cheating—but in a fun, in-game way.
The Symbol Dials (Scepter & Shield)
- After aligning the constellation, you get a dial. Place it on the Abraxas logo side.
- Rotate the dials so the figure holds the Scepter in the left hand and Shield in the right. This mirrors the “Sense of Justice” guide.
- Reward: An Abraxas Society pin. While it doesn’t dramatically alter the plot, wearing it triggers unique dialogue in the “Living” timeline, which is a subtle, immersive reward I personally loved.
3. Gwen’s Locked Library Cabinet
Sometimes, the best puzzles are small but clever. Gwen’s library cabinet is a perfect example.
The Challenge:
- Standard lock-picking tools won’t work. You need to think outside the box—or hallway, in this case.
The Solution:
- Find the metal spoon nearby in the library or hall.
- Use it to unlock the cabinet and grab the book Gwen needs.
My Take: I love how the game rewards exploration. You feel smart for noticing objects that seem “mundane” at first—like a spoon.
4. Snapping Turtle Bar – Reaching the Cow Skull
This puzzle is a fantastic example of Double Exposure’s timeline mechanics. Some objects are unreachable in one timeline but accessible in another.
Steps to Solve:
- Switch to the Living timeline via the bathroom.
- Locate the stepladder in the bar area.
- Bring the ladder to the bathroom and shift back to the Dead timeline.
- Use the ladder to reach the cow skull.
Why it stands out: The game makes you think spatially across timelines, which is a really fresh twist compared to conventional adventure puzzles. I always enjoy moments like this because they make the world feel layered and alive.
Quick Reference Table – Essential Puzzle Items
| Puzzle | Location | Key Item / Clue | Reward / Result |
|---|---|---|---|
| Puzzle Box Pt. 1 | Courtyard | Bird Token / Founder Statue | Opens Box |
| Constellation Pegs | Max’s House | Libra Star Chart | Grants Dial |
| Abraxas Dials | Max’s House | Scepter (L) / Shield (R) | Abraxas Pin |
| Library Cabinet | FAB / Library | Metal Spoon | Gwen’s Book |
| Cow Skull | Snapping Turtle Bar | Stepladder (Cross-Timeline) | Story Progress |
Bonus Tip: Codes & Environmental Clues
Some puzzles rely less on manipulation and more on observation:
- Basement Door Code: 542
- Derived from subtle wear on keypad numbers—a detail I honestly almost missed on my first playthrough.
Final Thoughts
Caledon Campus is more than just a series of puzzles—it’s a playground for curiosity. The combination of environmental storytelling, cross-timeline mechanics, and symbolic riddles makes Life is Strange: Double Exposure feel truly dynamic. My advice? Take your time, explore, and enjoy the little “aha” moments. Every puzzle solved isn’t just a step forward in the story—it’s a reminder of why we love games that make us think and feel.