Best Riftstorm Trio Team Compositions: Top Weaver Meta Guide for High-Tier Rifts
Riftstorm surprised me more than I expected. I’ve spent years jumping between co-op shooters, ARPGs, extraction games, and roguelites, so I’m usually skeptical whenever a new title promises ‘deep teamwork’ or ‘unlimited build variety.’ Most games end up having one overpowered strategy that everyone copies within a week. Riftstorm feels different. Sure, there are already meta picks, but smart teamwork matters far more than simply choosing the strongest Weaver.
After dozens of runs with different squads, one thing became obvious: a great trio isn’t built around three damage dealers. It’s built around players who understand their roles and support each other. I’ve seen balanced teams clear difficult Rift operations with average gear, while random groups full of glass-cannon builds collapsed before reaching extraction.
If you’re looking for the best Riftstorm trio compositions, these are the teams I believe perform the most consistently, whether you’re farming materials, pushing higher difficulty tiers, or fighting the nastiest bosses the game currently offers.
Ultimate Riftstorm Tank Character Shield Build Guide: How to Become Unkillable
Why Team Composition Matters More Than Individual Skill
One of my favorite things about Riftstorm is that it rewards cooperation instead of ego. Coming from games where everyone races for the highest damage numbers, it was refreshing to play something where simply protecting a teammate can decide an entire mission.
Every Weaver brings unique abilities, movement options, weapon preferences, and utility skills. Once Lythograms begin stacking throughout a run, those differences become even more noticeable.
Instead of asking ‘Which Weaver is strongest?’, the better question is ‘Which three Weavers make each other stronger?’ That’s where successful teams separate themselves from average ones.
The Three Essential Roles
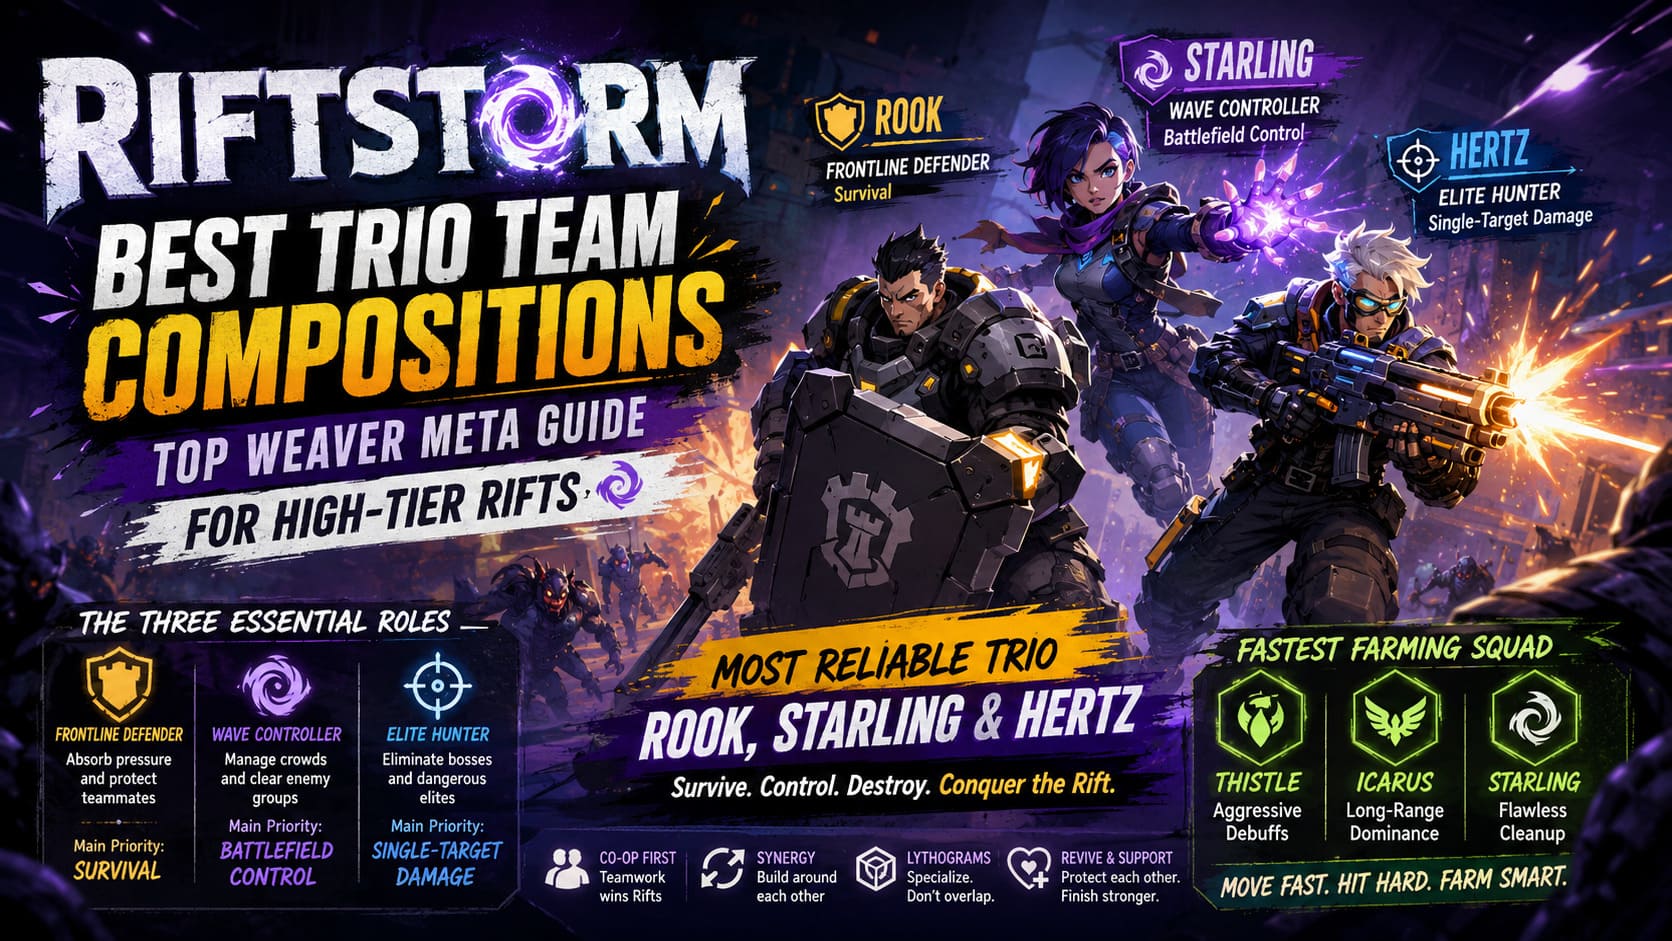
No matter which characters your squad prefers, I think every successful group naturally fills three jobs. Ignoring even one of these roles usually creates problems later, especially once enemies become more aggressive and objectives become harder to defend.
| Role | Primary Responsibility | Main Priority |
|---|---|---|
| Frontline Defender | Absorb pressure and protect teammates | Survival |
| Wave Controller | Manage crowds and clear enemy groups | Battlefield Control |
| Elite Hunter | Eliminate bosses and dangerous elites | Single-Target Damage |
Trying to run three aggressive DPS characters usually looks impressive during the early stages of a mission, but things change quickly once elite enemies begin chaining abilities together. Without someone controlling the battlefield or creating safe space, even high damage numbers won’t save the squad.
The Most Reliable Trio: Rook, Starling & Hertz
If someone completely new to Riftstorm asked me which team they should build first, I’d recommend this lineup without hesitation. Rook, Starling, and Hertz complement each other so naturally that almost every mission feels more manageable.
Rook Becomes the Team’s Foundation
Every successful multiplayer game has someone willing to stand where everyone else doesn’t want to. That’s exactly what Rook does. His toolkit isn’t flashy compared to some of the faster Weavers, but once the pressure starts building, you’ll be thankful he’s there.
Instead of chasing damage numbers, Rook creates breathing room. His durability allows teammates to reload, revive fallen allies, and reposition without constantly worrying about incoming attacks. That’s the kind of value that rarely appears on a scoreboard but wins difficult missions.
Why Rook Works So Well
- Excellent survivability.
- Reliable frontline presence.
- Strong defensive utility.
- Creates safe revive opportunities.
- Controls narrow choke points.
Starling Controls the Entire Battlefield
Starling quickly became one of my favorite Weavers because she always feels useful. She’s fast, flexible, and capable of adapting to almost any situation. Whether your squad is pushing aggressively or holding defensive positions, she always finds ways to contribute.
Whenever Rook gathers enemies together, Starling follows with devastating area damage. She keeps enemy movement under control while constantly repositioning herself to avoid unnecessary damage. It’s a playstyle that rewards awareness rather than reckless aggression.
Hertz Destroys Priority Targets
Bosses, armored elites, and dangerous ranged enemies are exactly why Hertz belongs in this composition. While Rook controls the frontline and Starling handles large enemy groups, Hertz quietly removes the biggest threats before they spiral out of control.
His rapid-fire technology-based arsenal scales extremely well with offensive Lythograms. Once critical bonuses begin stacking, heavy enemies disappear much faster than you’d expect.
Why This Composition Feels So Consistent
The real strength of this trio isn’t raw damage. It’s organization. Every player naturally understands their responsibilities, making difficult encounters feel surprisingly controlled instead of chaotic.
- Rook enters dangerous areas first.
- Starling gathers and controls enemy groups.
- Hertz focuses on elite targets and bosses.
- The squad rotates positions while maintaining formation.
I’ve used this lineup for both progression and endgame activities, and it rarely disappoints. Even when individual mistakes happen, the team’s overall balance makes recovery much easier.
The Fastest Farming Squad
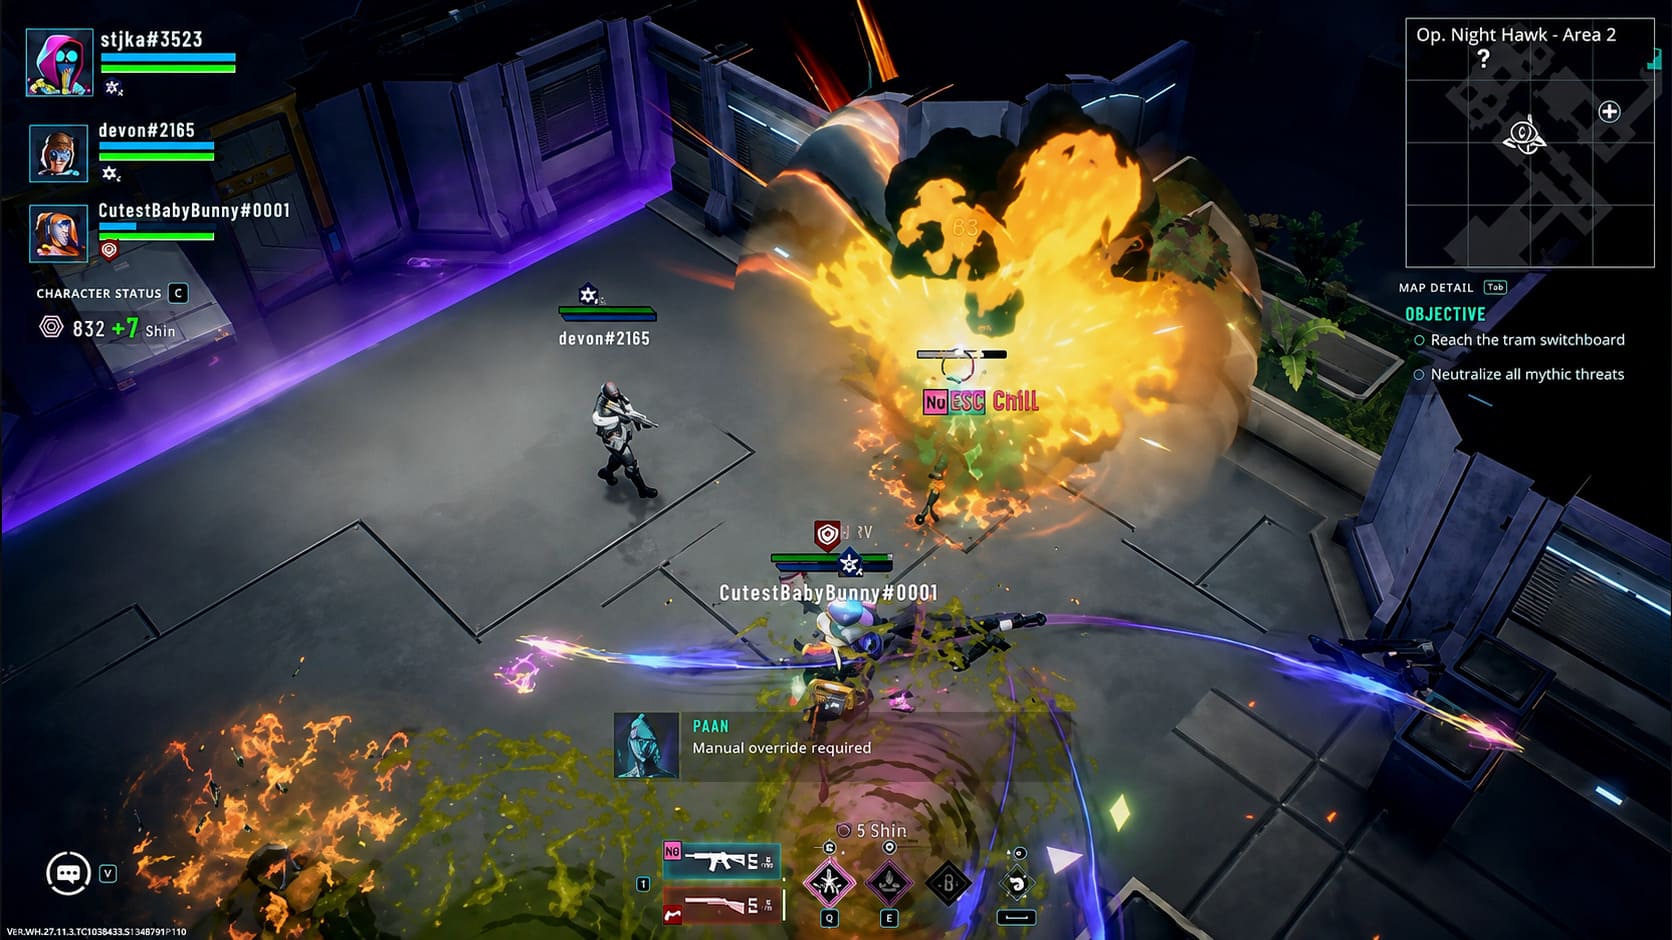
Not every session is about pushing the hardest content. Sometimes the goal is simply collecting resources, crafting materials, or hunting for better weapons. That’s where a faster composition shines.
For efficient farming, I prefer a trio built around constant movement:
- Thistle
- Icarus
- Starling
Thistle Starts Every Fight
Thistle rewards players who enjoy aggressive gameplay. Rather than waiting for enemies to approach, she dives directly into combat and immediately begins applying debuffs that increase incoming damage from every source.
She’s definitely riskier than Rook, but the payoff is enormous when your teammates capitalize on those debuffs quickly.
Icarus Dominates From Long Range
Icarus pairs perfectly with Thistle. While one Weaver creates chaos on the ground, the other rains damage from safer positions. Together they erase enemy groups before they fully surround the team.
The combination feels incredibly smooth during speed farming because rooms rarely last more than a few seconds once both players synchronize their attacks.
Starling Holds Everything Together
Once again, Starling proves how flexible her toolkit really is. Instead of serving as the main damage dealer, she protects the team’s momentum by cleaning up surviving enemies, covering flanks, and helping recover from mistakes before they become dangerous.
Without Starling, this aggressive lineup feels much less stable. With her, the entire squad keeps moving almost nonstop.
How I Build Lythograms
If there’s one mistake I constantly see from new players, it’s everyone choosing identical offensive upgrades. Huge damage numbers look great until nobody has enough survivability to finish the mission.
Instead, divide responsibilities across the squad and let each player specialize in something different.
| Role | Recommended Lythogram Focus |
|---|---|
| Tank | Armor, Health, Regeneration, Damage Reduction |
| AoE Specialist | Explosion Radius, Chain Effects, Cooldown Reduction, Piercing |
| Boss Killer | Critical Chance, Reload Speed, Single-Target Damage |
Specializing like this creates much stronger long-term scaling throughout an entire run. Instead of three similar builds competing for the same strengths, every player fills a unique role that benefits the whole team.
Common Mistakes I Keep Seeing
Even experienced squads make avoidable mistakes that dramatically increase mission difficulty. Most failed runs aren’t caused by impossible enemies—they’re caused by poor teamwork.
- Running three fragile offensive builds.
- Ignoring crowd control abilities.
- Splitting the team across multiple rooms.
- Choosing overlapping Lythogram upgrades.
- Focusing on personal damage instead of teamwork.
The strongest squads constantly communicate, revive each other quickly, and adjust their positioning based on the situation instead of chasing damage statistics.
Does the Meta Really Matter?
Only to a certain extent. Balance patches will eventually shift the strongest characters, introduce new strategies, and encourage different builds. That’s simply how live-service games evolve.
What won’t change is the importance of teamwork. Average builds played by coordinated teammates will consistently outperform perfect meta builds played by three individuals doing their own thing.
That’s one of the biggest reasons I’ve enjoyed Riftstorm so much. It rewards smart decisions, communication, and role awareness instead of encouraging everyone to copy the exact same build.
Final Thoughts
After experimenting with countless Weaver combinations, I still believe Rook, Starling, and Hertz offer the most reliable experience across nearly every type of content. They provide excellent survivability, crowd control, and boss damage without forcing anyone into an uncomfortable playstyle.
If your goal is farming instead of progression, Thistle, Icarus, and Starling remain my personal favorite trio. They’re incredibly fast, aggressive, and surprisingly effective once everyone understands their role within the team.
At the end of the day, Riftstorm isn’t really about finding one overpowered character. It’s about building a squad where every Weaver contributes something meaningful. Once your team starts thinking that way, the toughest Rift operations become much more enjoyable—and much easier to conquer.