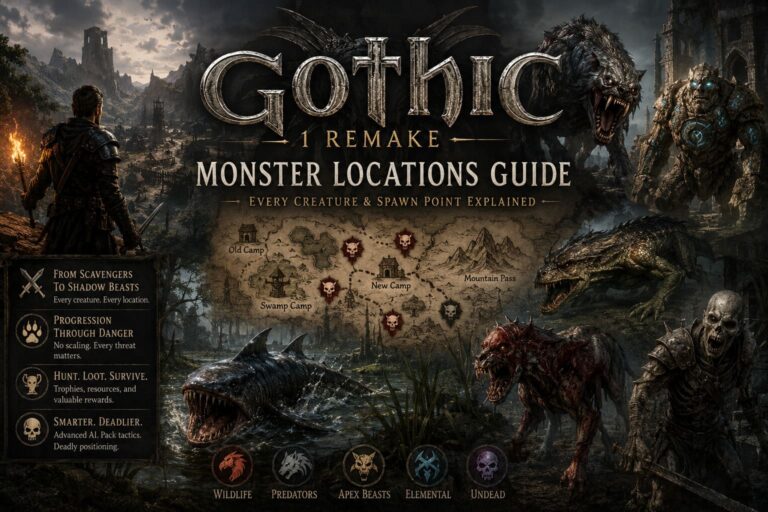
Barony Gnomish Mines Guide: How to Find the Secret Maze and Survive
The Gnomish Mines in Barony are one of those rare dungeon areas that feel like a completely different game layered on top of the main experience. After spending dozens of runs experimenting with builds, I’ve come to see this zone as both a gold mine and a run killer depending on how prepared you are. It looks optional at first, but skipping it often means missing out on early power spikes that can shape your entire playthrough.
What makes the Mines so memorable is the way they force you into controlled chaos. Tight corridors, ambush-heavy layouts, and magic-heavy enemies combine into something that punishes hesitation but rewards knowledge. Once you understand how the system works, it stops being random punishment and becomes a structured challenge you can actually plan around.
Barony Appraisal Guide: How to Level Up Lore and Identify Items Fast
Finding the Hidden Entrance Without Missing Your Chance
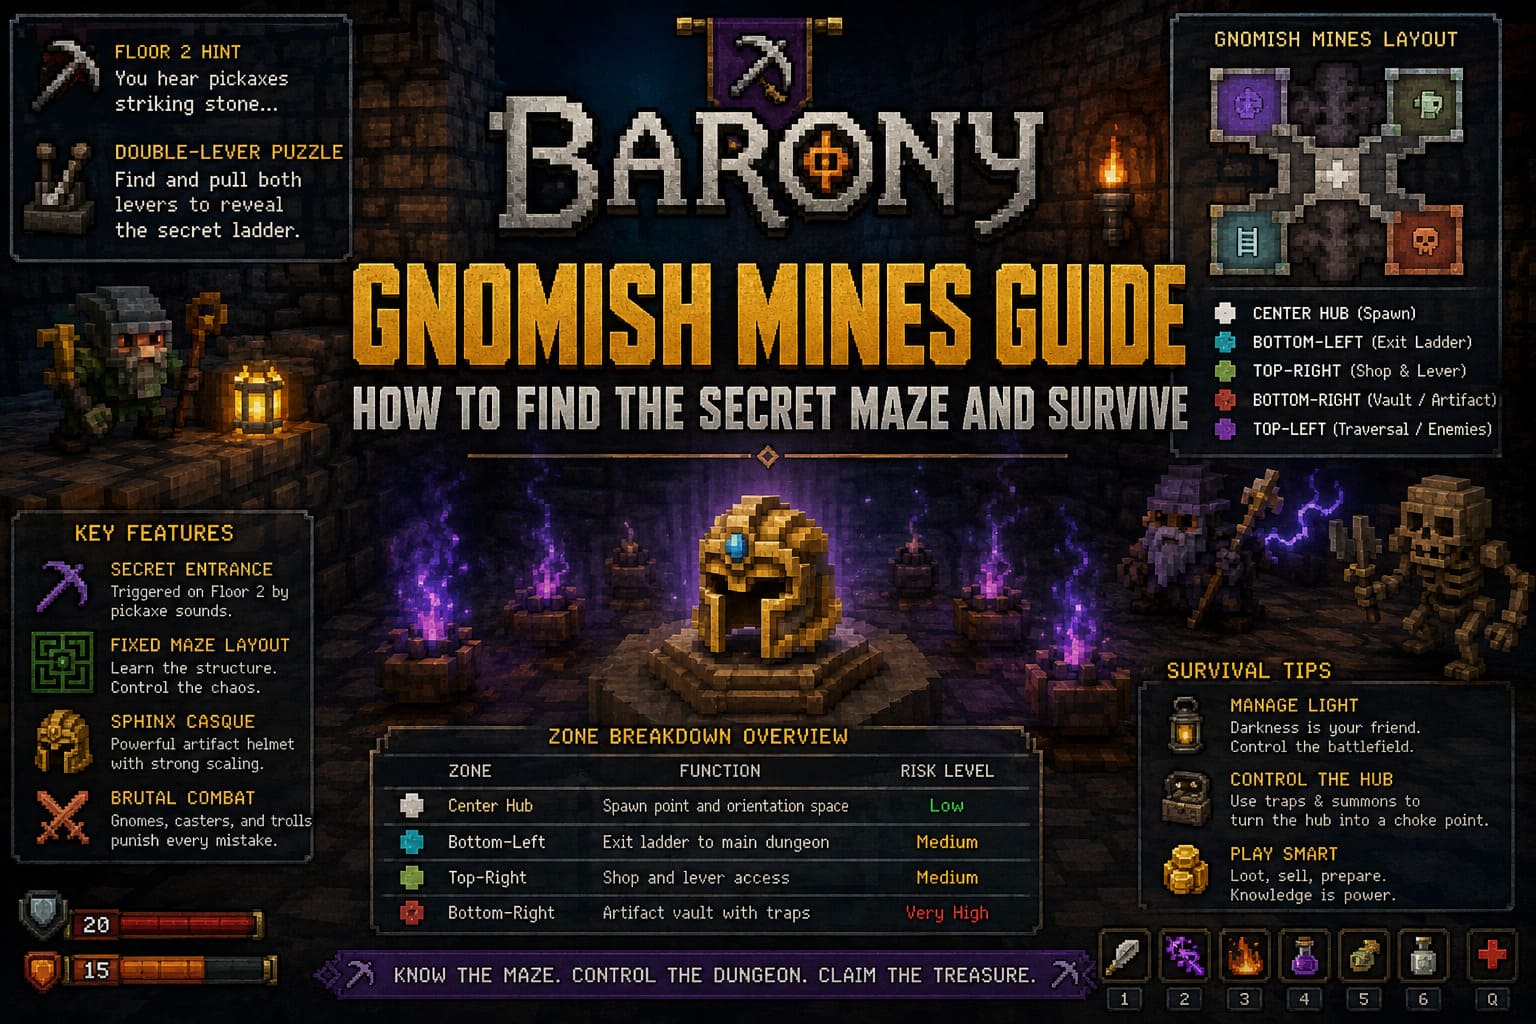
The entrance to the Gnomish Mines does not behave like a normal dungeon transition. It is locked behind a specific trigger on Floor 2, and if you rush ahead, you will completely miss it. The only real hint is audio-based: you’ll hear pickaxes striking stone somewhere within the level. That sound is your signal that the Mines are available in your current run.
To access the entrance, you need to find a double-lever gate puzzle hidden within Floor 2. Two separate levers must be located and activated to unlock the passage leading to the hidden ladder. The problem is that Floor 2 is often partially dark and heavily segmented, meaning it is very easy to miss one of the required rooms. If you descend to Floor 3 without activating it, the opportunity is permanently gone for that run.
Understanding the Fixed Maze Structure
Unlike the procedural floors of Barony, the Gnomish Mines use a fixed layout. This is one of the most important things to learn, because it transforms the zone from a confusing maze into a predictable system. Every run places you in the exact same central spawn room, which acts as your navigation anchor.
The central hub connects to four major directional zones. The bottom-left area leads toward the exit ladder back to the main dungeon. The top-right contains a merchant shop that plays a critical role in resource management. The bottom-right is the heavily trapped vault where the main artifact is located. The top-left section mostly functions as a traversal and enemy movement zone, often becoming a pressure point during fights.
Once you understand this structure, navigation becomes significantly easier. Instead of reacting blindly, you can plan movement routes based on objectives and escape paths. It turns what feels like a maze into a controllable grid of risk zones.
Zone Breakdown Overview
| Zone | Function | Risk Level |
|---|---|---|
| Center Hub | Spawn point and orientation space | Low |
| Bottom-Left | Exit ladder to main dungeon | Medium |
| Top-Right | Shop and lever access | Medium |
| Bottom-Right | Artifact vault with traps | Very High |
How to Secure the Sphinx Casque
The main reward of the Gnomish Mines is the Sphinx Casque, a powerful artifact helmet that can significantly boost both survivability and magic scaling. In most builds, especially intelligence-based ones, it remains relevant far beyond the early game due to its strong stat bonuses and durability scaling.
Reaching the helmet requires accessing the bottom-right vault. The intended method involves navigating to the top-right shop area and locating a hidden lever behind the merchant structure. Activating it opens the sealed gates leading to the vault. However, experienced players often bypass this entirely by using a pickaxe to mine through the dungeon walls directly.
The vault itself is far more dangerous than the entry process. The floor is covered in Magic Pillar Traps that trigger instant explosions if stepped on carelessly. Approaching the pedestal without testing tiles is one of the most common ways runs end abruptly. Careful movement or ranged triggering of traps is essential before attempting to retrieve the helmet.
Combat in the Mines: Why It Feels So Brutal
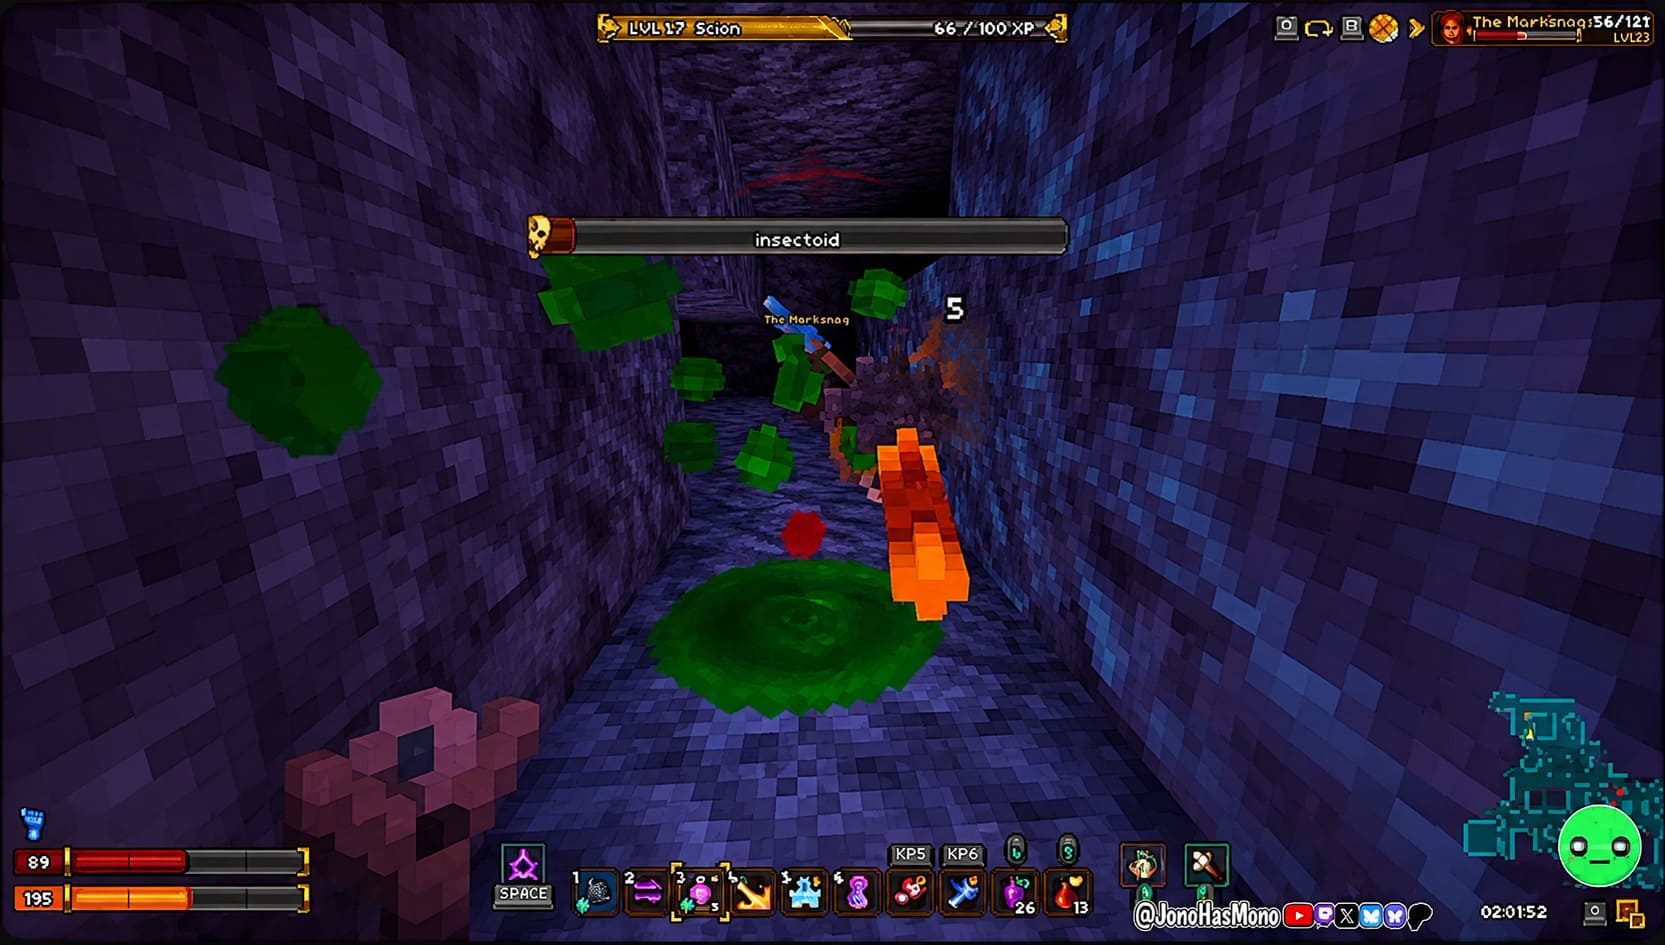
Combat inside the Mines is defined by narrow corridors and constant pressure. The environment limits escape options, which makes positioning more important than raw damage output. Standard melee Gnomes are manageable, but the real threat comes from specialized variants that control space and visibility.
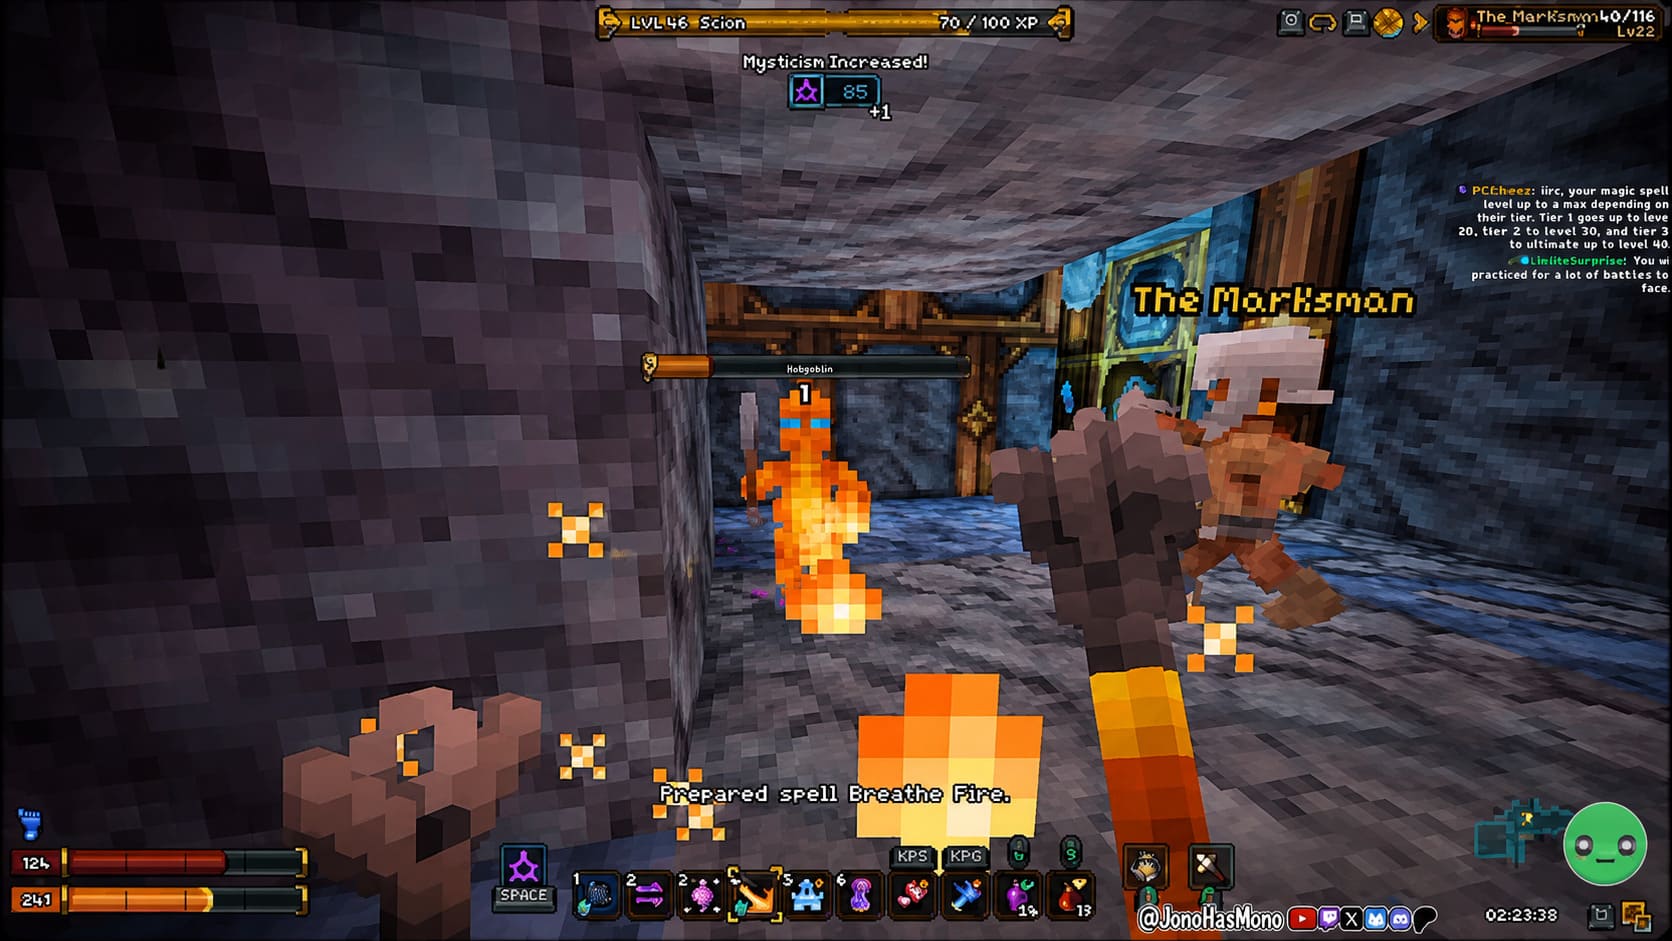
Lightning and fire staff Gnomes are especially dangerous because they can deal massive damage from long range. Without proper cover, they can eliminate low-level characters in seconds. The only reliable counter is using corners and walls to break line of sight before engaging in close combat. Lantern Gnomes add another layer of difficulty by illuminating dark areas and exposing your position to nearby enemies.
Trolls represent the raw physical threat of the zone. Their high health and damage output make them dangerous in confined corridors where escape is limited. Engaging them requires either burst damage or quick repositioning, as prolonged fights almost always end badly in tight spaces.
Veteran Strategies That Actually Work
After multiple runs through Barony, one of the most consistent lessons is that control beats aggression in the Mines. Managing light sources is one of the most overlooked but powerful strategies. Darkness limits enemy vision and reduces ranged pressure, giving you more control over engagements.
Another effective approach is turning the central hub into a defensive choke point. Certain builds can turn it into a kill zone by placing traps or summoning tools near each doorway. This allows enemies to funnel into predictable paths where they can be dealt with safely instead of chasing them through dangerous corridors.
Loot efficiency is also a major factor. Even if you are not using magic, selling staves and high-value drops can fund your entire early game economy. A successful Mines run often does not just improve your gear—it reshapes your entire resource curve for the next several floors.
Final Thoughts
The Gnomish Mines sit in a unique position within Barony. They are optional in structure but highly impactful in practice. The zone rewards players who take the time to understand its layout, enemy behavior, and environmental hazards. Without that knowledge, it feels punishing and chaotic. With it, it becomes a calculated risk that consistently pays off.
Ultimately, the Mines are less about combat skill and more about awareness and decision-making. Once you learn how to read the space, control engagements, and respect the traps, the entire zone transforms from a death trap into one of the most rewarding early-game opportunities available.