How to Fix Neverness to Everness Crashing on Launch on PC (2026 Guide)
When Neverness to Everness finally launched, I couldn’t wait to jump into its supernatural version of Hesperia. The stylish anime visuals, fast-paced combat, open-world exploration, and the unusual mix of urban life with paranormal events immediately caught my attention. Unfortunately, like many PC players, my excitement lasted only a few seconds before the game crashed straight to the desktop.
If you’re dealing with startup crashes, endless shader compilation, black screens, Unreal Engine errors, or the launcher simply refuses to open the game, you’re definitely not the only one. After spending hours testing different solutions and reading through community discussions, I found that most launch problems come down to a handful of common issues.
This guide covers the fixes that consistently work for the majority of players. I recommend following them in order rather than randomly trying everything at once.
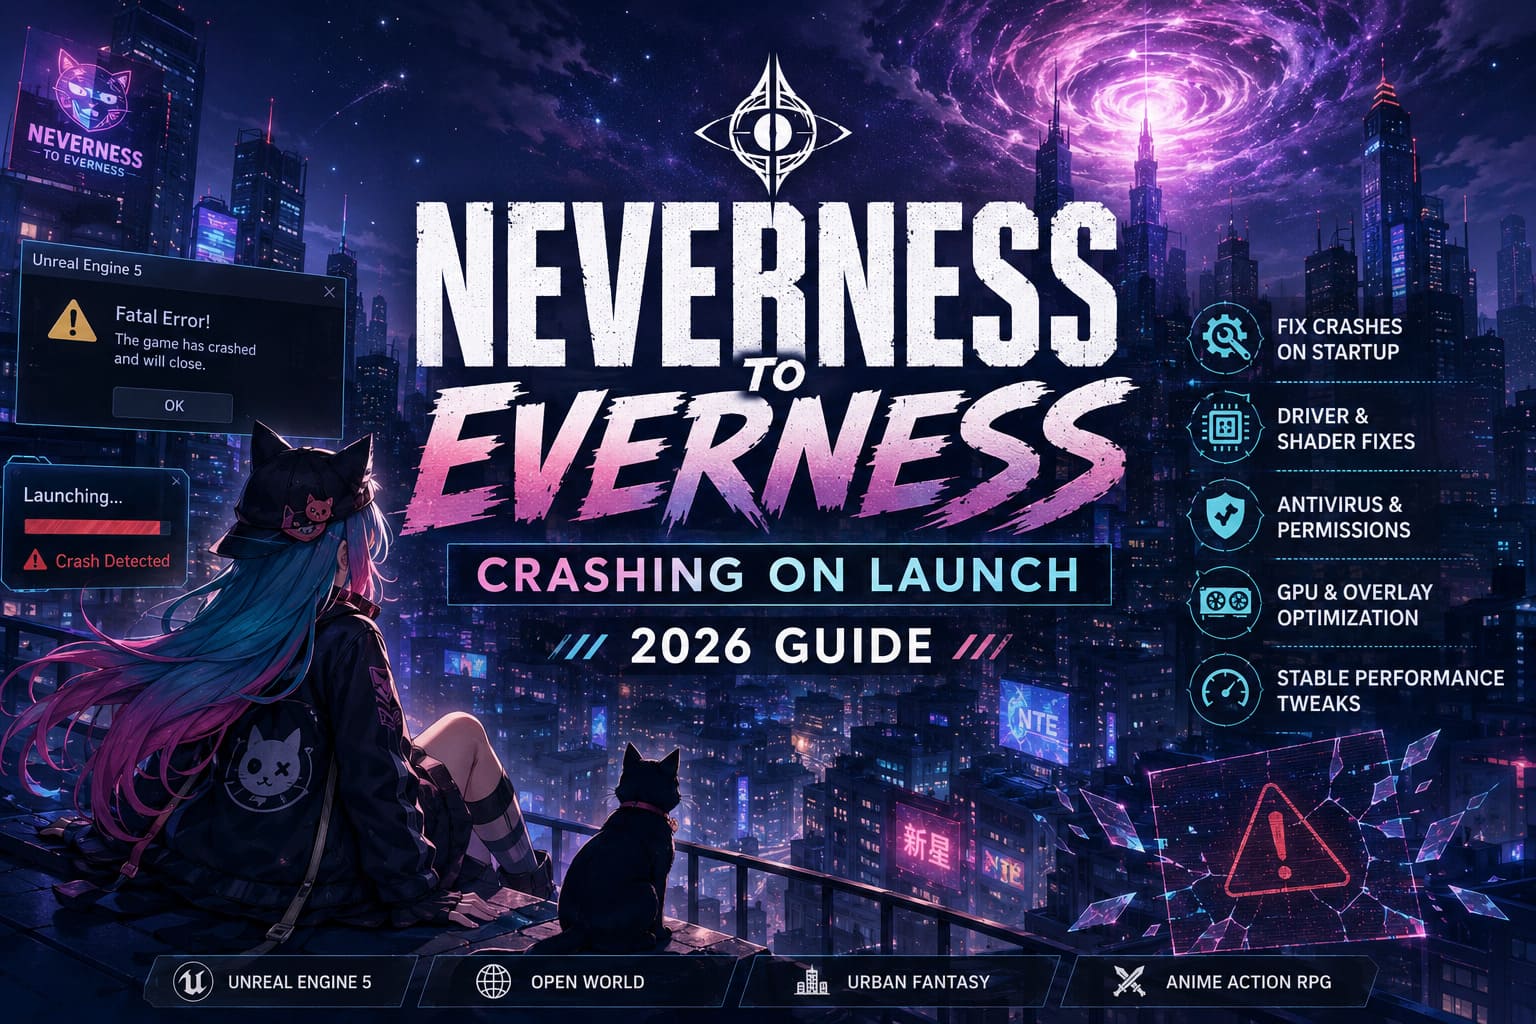
Why Does Neverness to Everness Crash on Startup?
Because the game is built on an advanced version of Unreal Engine 5, it relies heavily on modern drivers, shader compilation, and stable hardware configurations. Even small conflicts can prevent the game from launching properly.
Some of the most common causes include:
- Corrupted game files
- Outdated graphics drivers
- Broken DirectX shader cache
- Antivirus software blocking the executable
- GPU selection problems on laptops
- Overlay software conflicts
- Frame Generation or Ray Tracing bugs
- Old motherboard BIOS on newer Intel processors
The good news is that most of these issues are relatively easy to fix.
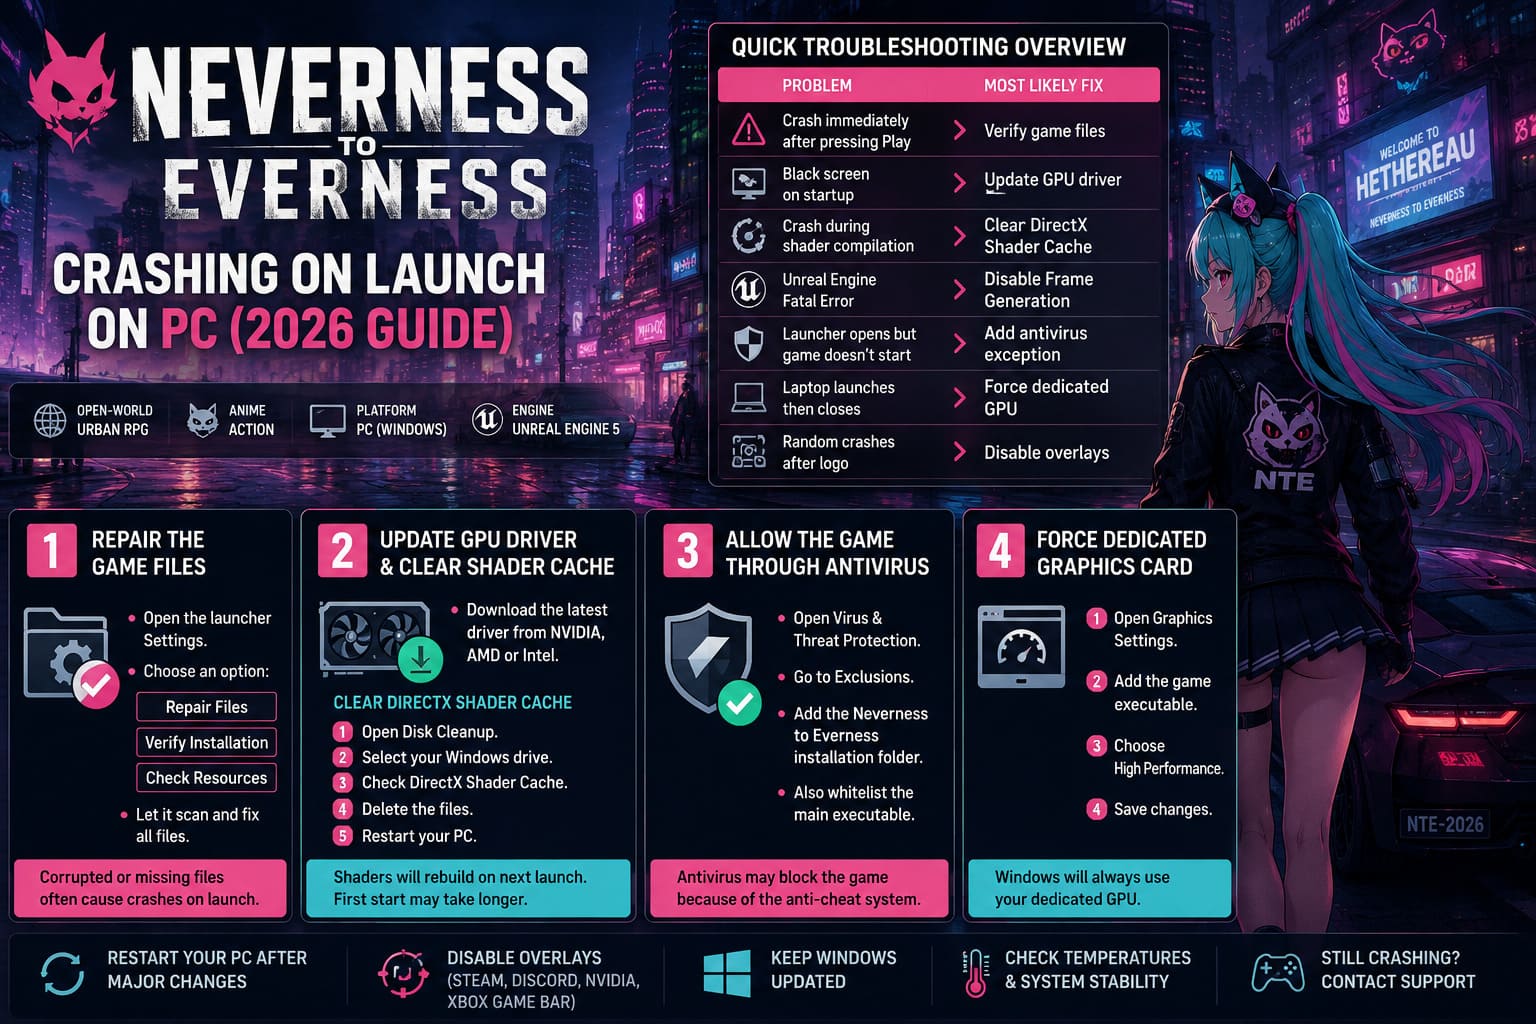
Quick Troubleshooting Overview
| Problem | Most Likely Fix |
|---|---|
| Crash immediately after pressing Play | Verify game files |
| Black screen on startup | Update GPU driver |
| Crash during shader compilation | Clear DirectX Shader Cache |
| Unreal Engine Fatal Error | Disable Frame Generation |
| Launcher opens but game doesn’t | Add antivirus exception |
| Laptop launches then closes | Force dedicated GPU |
| Random crashes after logo | Disable overlays |
1. Repair the Game Files First
Whenever I run into launch issues with a newly released game, this is always my first step.
Large releases often experience interrupted downloads or corrupted update files, especially during launch week.
Open the launcher and look for the Settings menu. Most versions include options such as:
- Repair Files
- Verify Installation
- Check Resources
Let the launcher scan every file before trying anything more complicated.
Even if the game installed successfully, damaged packages can easily trigger crashes before reaching the main menu.
2. Install the Latest Graphics Drivers
This made the biggest difference on my system.
Neverness to Everness uses modern rendering features that simply don’t cooperate with older GPU drivers.
Instead of relying on Windows Update, download the newest driver directly from your graphics card manufacturer.
After installing the latest version, it’s worth doing one extra step that many people skip.
Clear the Shader Cache
Windows stores previously compiled shaders, but these cached files sometimes become incompatible after major driver updates.
To clear them:
- Open Disk Cleanup.
- Select your Windows drive.
- Check DirectX Shader Cache.
- Remove the files.
- Restart your PC.
The first launch afterward may take longer while shaders rebuild, but it often solves repeated startup crashes.
3. Make Sure Antivirus Isn’t Blocking the Game
This surprised me because everything looked normal.
The launcher opened.
The Play button worked.
Then… nothing.
Some antivirus suites mistakenly flag the game’s executable because of its anti-cheat system.
If you’re using Windows Security:
- Open Virus & Threat Protection.
- Go to Exclusions.
- Add your Neverness to Everness installation folder.
- Also whitelist the main executable.
Players using third-party antivirus software should add the entire installation directory instead of simply disabling real-time protection.
Several security programs continue blocking files even after being temporarily turned off.
4. Force Windows to Use Your Dedicated Graphics Card
Gaming laptops are especially affected by this issue.
Windows occasionally launches demanding games using the integrated graphics processor instead of the dedicated GPU.
The result is usually:
- instant crash
- black screen
- Unreal Engine error
- frozen loading screen
To fix it:
- Open Graphics Settings.
- Add the game’s executable.
- Choose High Performance.
- Save the changes.
After restarting the launcher, Windows should always use the correct graphics card.
5. Run the Game as Administrator
It sounds old-fashioned, but permission issues still cause problems in modern PC games.
The launcher needs permission to create configuration files inside AppData and modify temporary cache folders.

Open the executable properties and enable:
- Run as Administrator
- Disable Fullscreen Optimizations
If the game still refuses to launch, testing Windows 8 compatibility mode can also help on some systems.
I wouldn’t recommend leaving compatibility mode enabled permanently unless it actually fixes your issue, but it’s definitely worth trying.
6. Disable Every Overlay Running in the Background
I’ve lost count of how many games have been fixed simply by turning overlays off.
Programs that frequently cause startup issues include:
- Discord
- NVIDIA Overlay
- Steam Overlay
- MSI Afterburner
- RivaTuner Statistics Server
- Xbox Game Bar
Discord deserves special attention.
Besides disabling the in-game overlay, also turn off Hardware Acceleration, since it has been linked to rendering conflicts in several Unreal Engine 5 games.
After closing every unnecessary overlay application, restart your PC before testing the game again.
7. Lower the Graphics Features That Cause Launch Crashes
If you actually reach the main menu before crashing, there’s a good chance one graphical setting is causing instability.
The first feature I’d disable is Frame Generation.
While it’s excellent for increasing frame rates, several RTX users have reported launch instability with it enabled.
Next, disable:
- Ray Tracing
- Ultra texture settings
- Maximum reflections
Reducing VRAM usage often prevents crashes during world loading.
If the game supports launch options, you can also try forcing DirectX 11 instead of DirectX 12.
Although visual quality may be slightly lower, DX11 tends to be much more stable on systems experiencing initialization errors.
8. Update Your Motherboard BIOS (Especially Intel 13th & 14th Gen)
This isn’t a solution everyone needs, but it’s becoming increasingly important.
Older motherboard BIOS versions have caused stability problems in several Unreal Engine 5 titles, particularly on Intel’s newer processors.
Manufacturers have released BIOS updates containing newer CPU microcode designed to improve stability under heavy workloads.
If you’ve noticed crashes not only in Neverness to Everness but also in other demanding UE5 games, updating your BIOS may solve multiple problems at once.
Just be sure to follow your motherboard manufacturer’s instructions carefully before flashing.
9. Perform a Completely Clean Installation
If nothing else works, I usually stop troubleshooting and reinstall the game from scratch.
Sometimes damaged files survive the repair process.
For the cleanest installation:
- Uninstall the game.
- Restart Windows.
- Delete any remaining installation folders.
- Download the latest installer.
- Install the game onto an SSD.
Modern open-world games constantly stream textures and world assets.
Installing them on an older HDD can introduce loading delays that occasionally result in startup timeouts.
Neverness to Everness Mahjong Guide: Tips, Tricks, and Strategies to Win Millions of Fons
Extra Tips That Are Worth Trying
Here are a few additional tweaks that have helped members of the community:
- Close unnecessary background software before launching.
- Remove GPU overclocks temporarily.
- Disable CPU undervolting if you’ve customized BIOS settings.
- Make sure Windows is fully updated.
- Verify you have enough free SSD space for shader compilation.
- Restart your PC after every major change instead of testing continuously.
None of these fixes are guaranteed individually, but together they eliminate many hidden sources of instability.
Neverness to Everness Gacha System Explained: How the No 50/50 Rule and Dice Board Work
Final Thoughts
As polished as Neverness to Everness feels once it’s running, its PC launch hasn’t been completely smooth. That’s fairly common with large Unreal Engine 5 releases, especially those introducing advanced rendering technologies and complex shader systems.
From my own experience, the biggest improvements came from repairing the installation, updating GPU drivers, clearing the DirectX shader cache, and disabling overlays. Those four steps alone solved the launch problems for many players, including myself. If that doesn’t do the trick, checking your antivirus, forcing the dedicated GPU, and reducing demanding graphics features are the next logical moves.
The developers will almost certainly continue releasing stability updates over the coming weeks, so keeping both the game and your drivers up to date is just as important as applying the fixes above.
With a bit of patience and systematic troubleshooting, there’s a very good chance you’ll be exploring Hesperia instead of staring at a crash report. Hopefully, one of these solutions gets you back into the game as quickly as possible.