33 Immortals Glaive of Temperance Guide: Best Builds, Perks, and Spacing Strategies
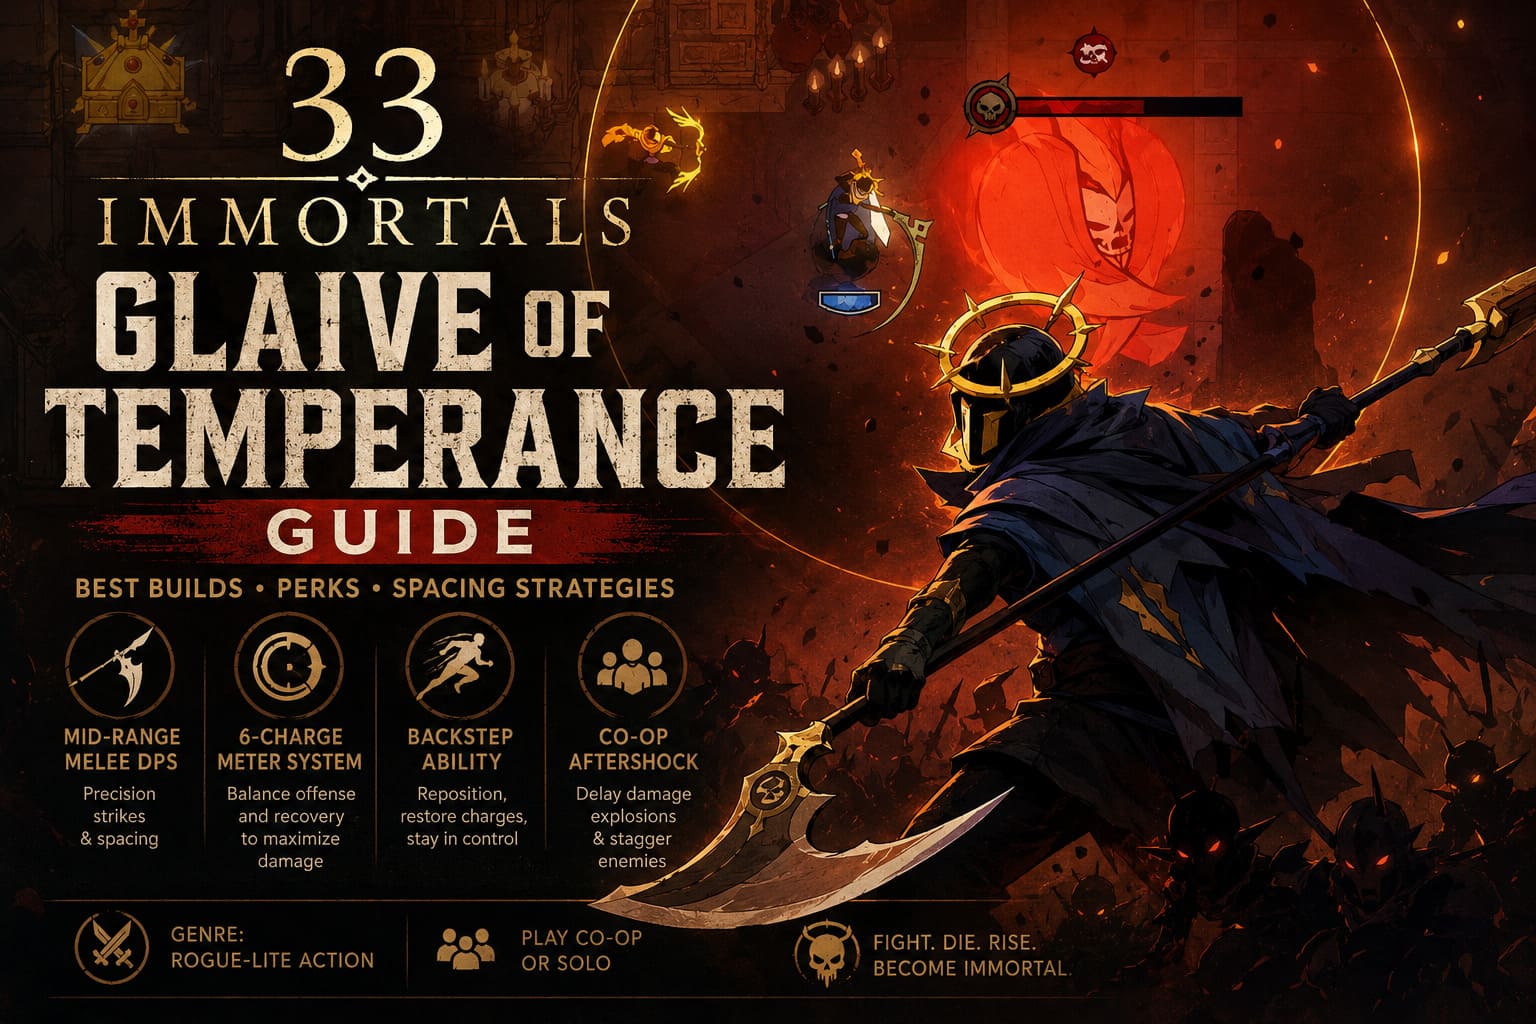
The Glaive of Temperance in 33 Immortals is one of those weapons that immediately feels different from everything else in the roster. It’s not about fast spam attacks or reckless diving into enemy packs. Instead, it forces you into a slower, more intentional rhythm where positioning, timing, and awareness matter just as much as raw damage output.
After spending time with it across multiple runs, I started to appreciate how deliberately it changes your mindset. You stop playing like a typical melee DPS and start thinking more like a duelist who controls space rather than just trading blows.
Copa City vs EA FC 26: Which Game Deserves Your Time and Money in 2026?
What the Glaive of Temperance Actually Is
This weapon is best described as a mid-range melee DPS tool built around precision strikes and controlled pacing. Unlike heavy close-combat weapons that reward aggression, the glaive punishes overextension and sloppy spacing.
It shines when you stay just outside the danger zone—close enough to punish enemies, but far enough to avoid being overwhelmed.
Core Identity
- Mid-range melee weapon focused on precision
- High reward for accurate spacing
- Strong burst damage when played correctly
- Weak performance when spammed or rushed
How to Unlock the Glaive
To unlock the Glaive of Temperance, you need access to the Weapon Shrine in the Dark Woods.
Requirements:
- Cost: 200 Eternal Shards
- Access to Dark Woods hub progression
Once unlocked, it becomes a permanent weapon option and scales further through progression systems tied to your overall account growth.
Core Mechanics Explained
Temperance Meter System
The weapon runs on a 6-charge resource system called the Temperance Meter. Every basic attack consumes one charge, meaning your damage output is directly tied to how carefully you manage this resource.
The important part is not just spending charges—but maintaining a healthy balance.
- Above 3 charges: increased damage and stable performance
- Below 3 charges: noticeable damage drop
- Fully drained: severe performance penalty and weak output
This creates a natural rhythm where you cannot simply attack continuously. You must alternate between offense and recovery.
Dual Hitbox System
One of the most interesting mechanics is the glaive’s dual hitbox design. It fundamentally changes how you position yourself in combat.
- Close hit (blade body): low damage, forgiving but inefficient
- Tip hit (sweet spot): high damage, optimal performance
This means your goal is not just to hit enemies—but to hit them from the correct distance. If you’re too close, your damage drops significantly. If you’re perfectly spaced, your output spikes dramatically.

Backstep Ability – Mobility and Resource Control
Instead of a damaging skill, the glaive uses Backstep, a purely tactical ability that defines its entire flow.
Key functions:
- Grants invincibility during movement
- Repositions you instantly
- Restores Temperance charges
- Can be stored in up to 2 charges
This ability is what keeps the weapon consistent. It turns combat into a loop of controlled engagement and reset rather than constant pressure.
Co-op Ability: Aftershock
In team-based fights, the glaive gains a powerful synergy mechanic called Aftershock. This ability scales with your Empathy stat and transforms your role in group encounters.
Instead of raw burst alone, you gain layered damage and crowd control effects that activate over time.
How Aftershock Works
- Grants charges based on Empathy
- Each attack consumes a charge
- Consumed charges trigger delayed damage explosions
- Applies stagger effects on enemies
In practice, this turns you into a hybrid DPS-support role, especially effective in large fights or coordinated boss phases.
Best Perk Choices
Perk selection has a huge impact on how smooth the glaive feels during runs. The best options usually reinforce patience and reward spacing discipline.
Recommended Perk Types
- Charge-based damage boosts: reward maintaining resource control
- Distance scaling perks: increase damage when properly spaced
- Cooldown reduction: improves Backstep uptime and survivability
Best Relics for Glaive Builds
Relics can significantly amplify your performance if chosen correctly. The goal is to support burst windows and sustain your positioning loop.
| Relic | Effect | Why It Works |
|---|---|---|
| Lover Skull | Flat damage increase | Boosts high-value tip hits |
| Cracked Rosary Beads | Extended co-op duration | Improves Aftershock uptime |
| Burnt Sincture | Defensive protection | Covers spacing mistakes |
Relics to avoid: anything that forces constant aggression or reduces flexibility in movement and spacing control.
Combat Flow Strategy
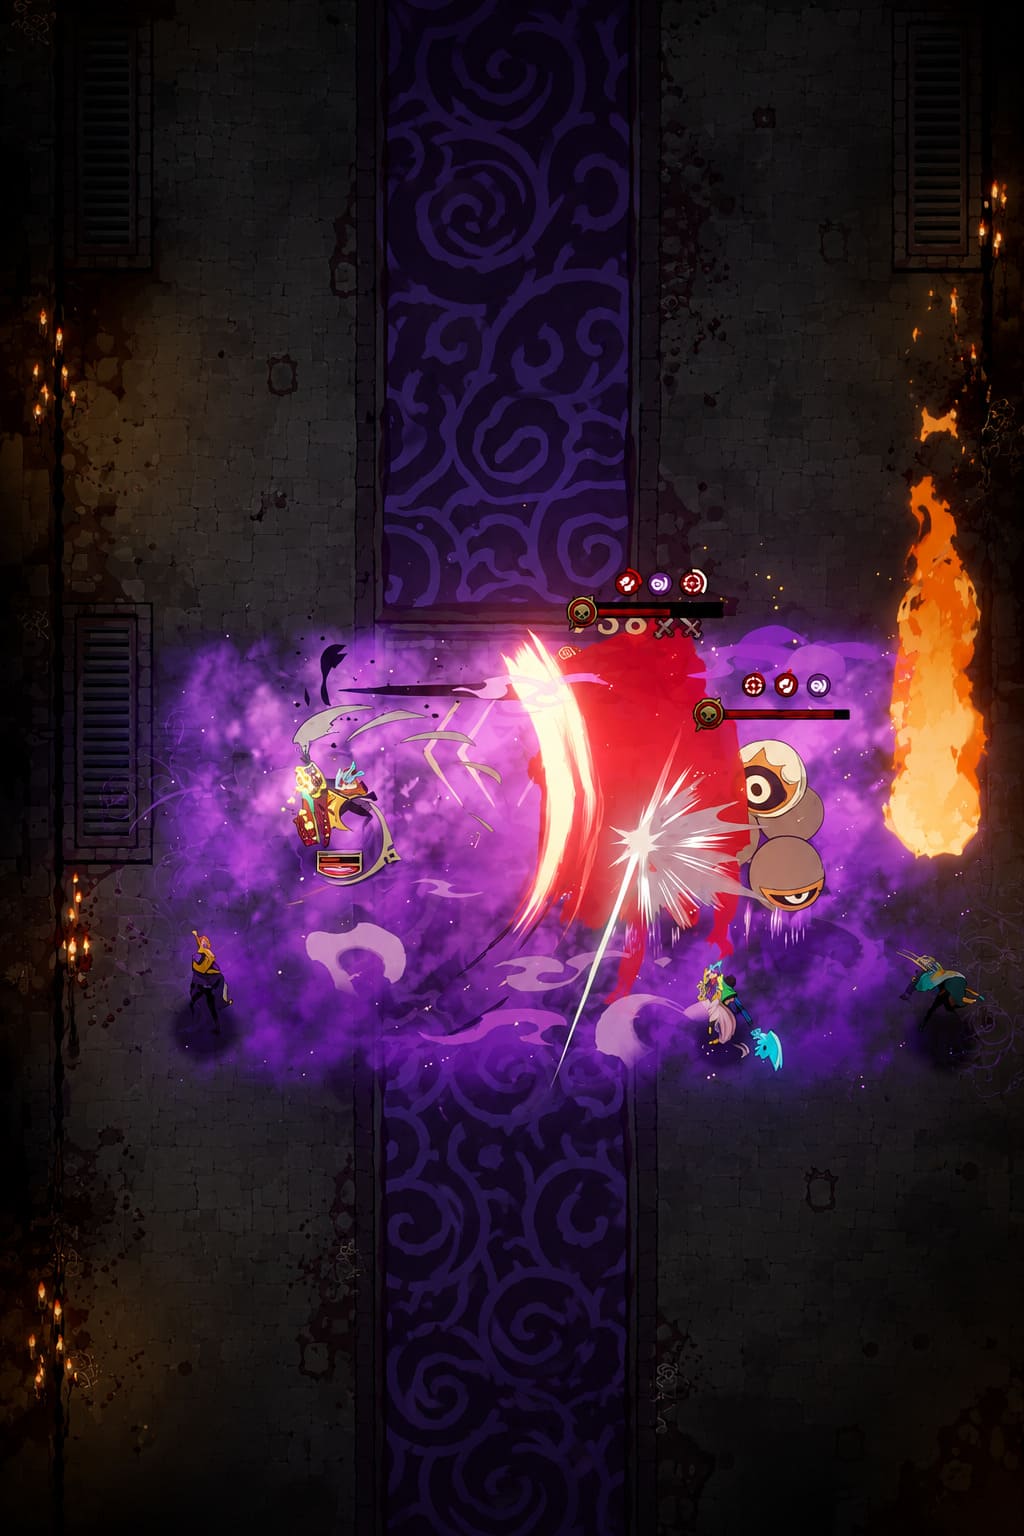
The glaive becomes much more effective once you understand its natural combat loop. It’s not about constant pressure—it’s about structured engagement cycles.
Basic Rotation
- Hold mid-range distance from enemies
- Land 2–3 controlled attacks using tip spacing
- Use Backstep to reset position and restore charges
- Re-enter combat from optimal range
Advanced Situations
- Use Aftershock during boss phases for burst control
- Avoid early engagement without full resource setup
- Let frontline teammates absorb initial pressure
Final Thoughts
The Glaive of Temperance is not designed for chaotic playstyles. It rewards discipline, awareness, and precise execution. At first, it may feel restrictive, but once the rhythm clicks, it becomes one of the most satisfying mid-range weapons in 33 Immortals.
It teaches a different kind of gameplay mindset—one where control matters more than aggression, and timing matters more than speed.
If you enjoy weapons that feel technical but rewarding once mastered, this one is absolutely worth investing time into.