Gothic 1 Remake Scavenger Mount Guide: How to Tame and Ride
When I first heard that Gothic 1 Remake would feature a real mount system, I honestly thought it was just another rumor spreading through gaming forums. After all, one of the defining characteristics of the original Gothic was the endless amount of walking. Veterans of the 2001 classic remember spending hours traveling between camps, hunting grounds, and quest locations before eventually unlocking teleportation magic much later in the adventure.
The remake keeps the brutal atmosphere and freedom that made Gothic legendary, but it also introduces a feature that feels surprisingly natural: the ability to tame and ride a Scavenger.
At first glance, it might sound ridiculous. Scavengers have always been one of the most recognizable creatures in the Gothic universe—aggressive, awkward-looking bird reptiles that usually end up as experience points and loot. But once you unlock your own rideable Scavenger, it’s hard to imagine playing without it.
In this guide, I’ll explain exactly how to obtain the mount, where to find the required NPC, how to gather the materials efficiently, and what limitations you should know before relying on your new feathered companion.
Why the Scavenger Mount Is Worth Unlocking
The Valley of Mines is a dangerous place, but it’s also much larger than many players remember.
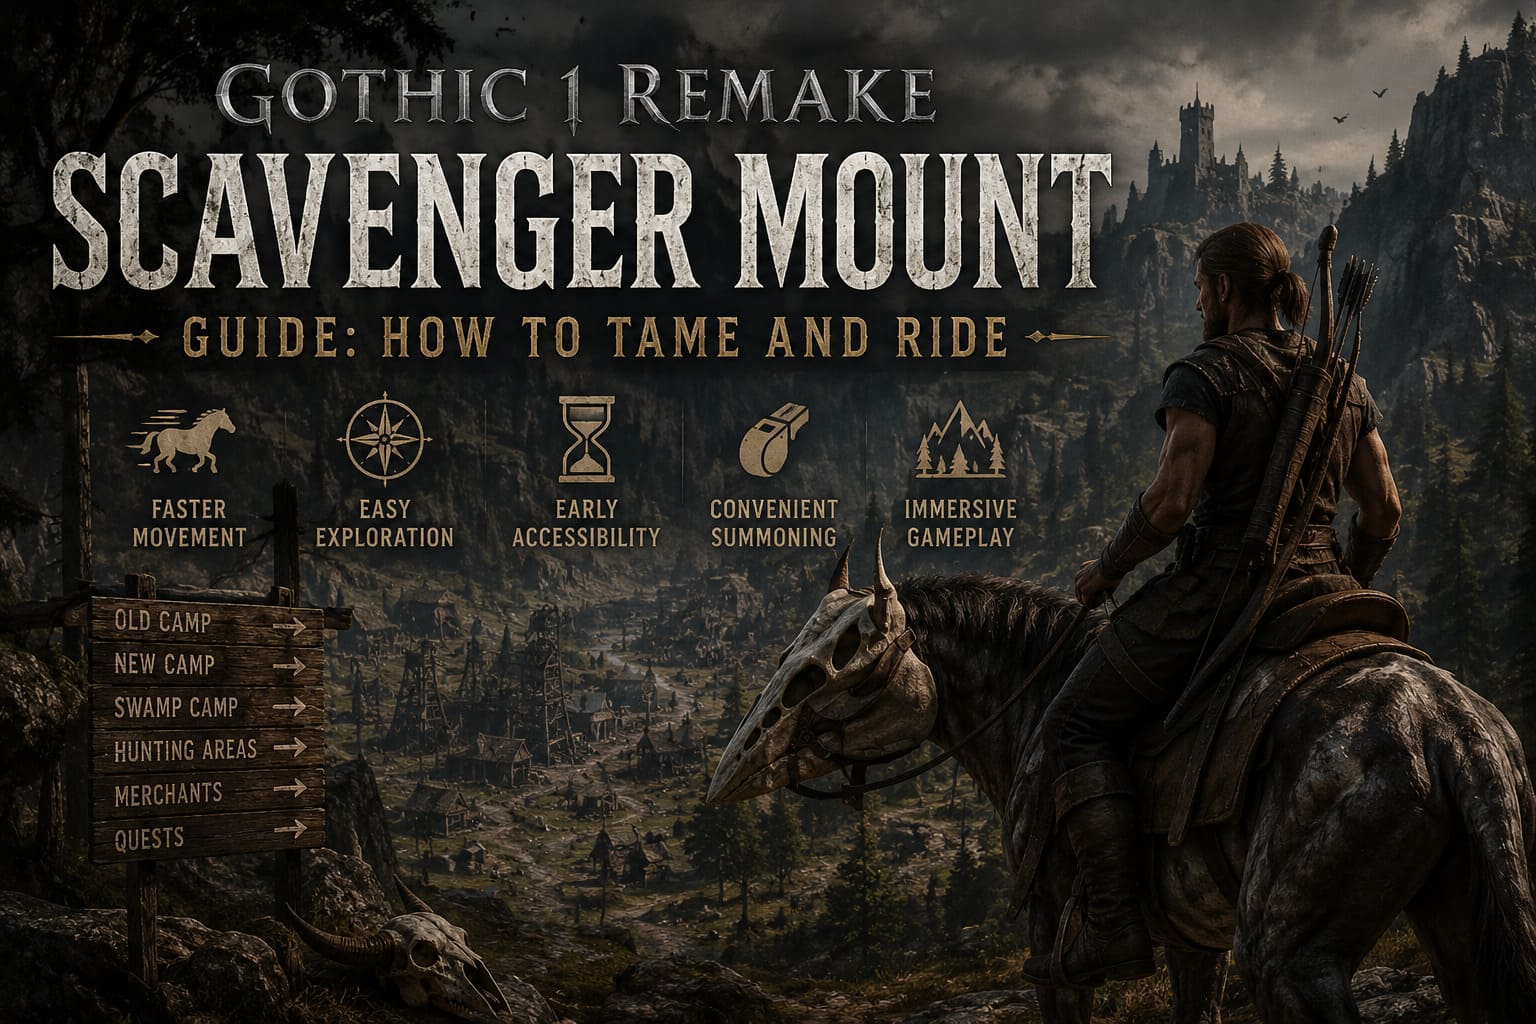
Early in the game you’ll constantly travel between:
- The Old Camp
- The New Camp
- The Swamp Camp
- Hunting areas
- Merchant locations
- Quest destinations
Without a mount, these journeys can become repetitive. The Scavenger dramatically reduces travel time and makes exploration significantly more enjoyable.
Benefits of the Scavenger mount include:
| Feature | Benefit |
|---|---|
| Faster Movement | Reach camps and quest areas quickly |
| Easy Exploration | Cover large sections of the map efficiently |
| Early Accessibility | Available relatively early in Chapter 1 |
| Convenient Summoning | Can be called almost anywhere outdoors |
| Immersive Gameplay | Feels like a natural part of the Gothic world |
Unlike many modern RPG mounts that are simply handed to the player, Gothic makes you earn this privilege.
Finding Cohsel the Beastmaster
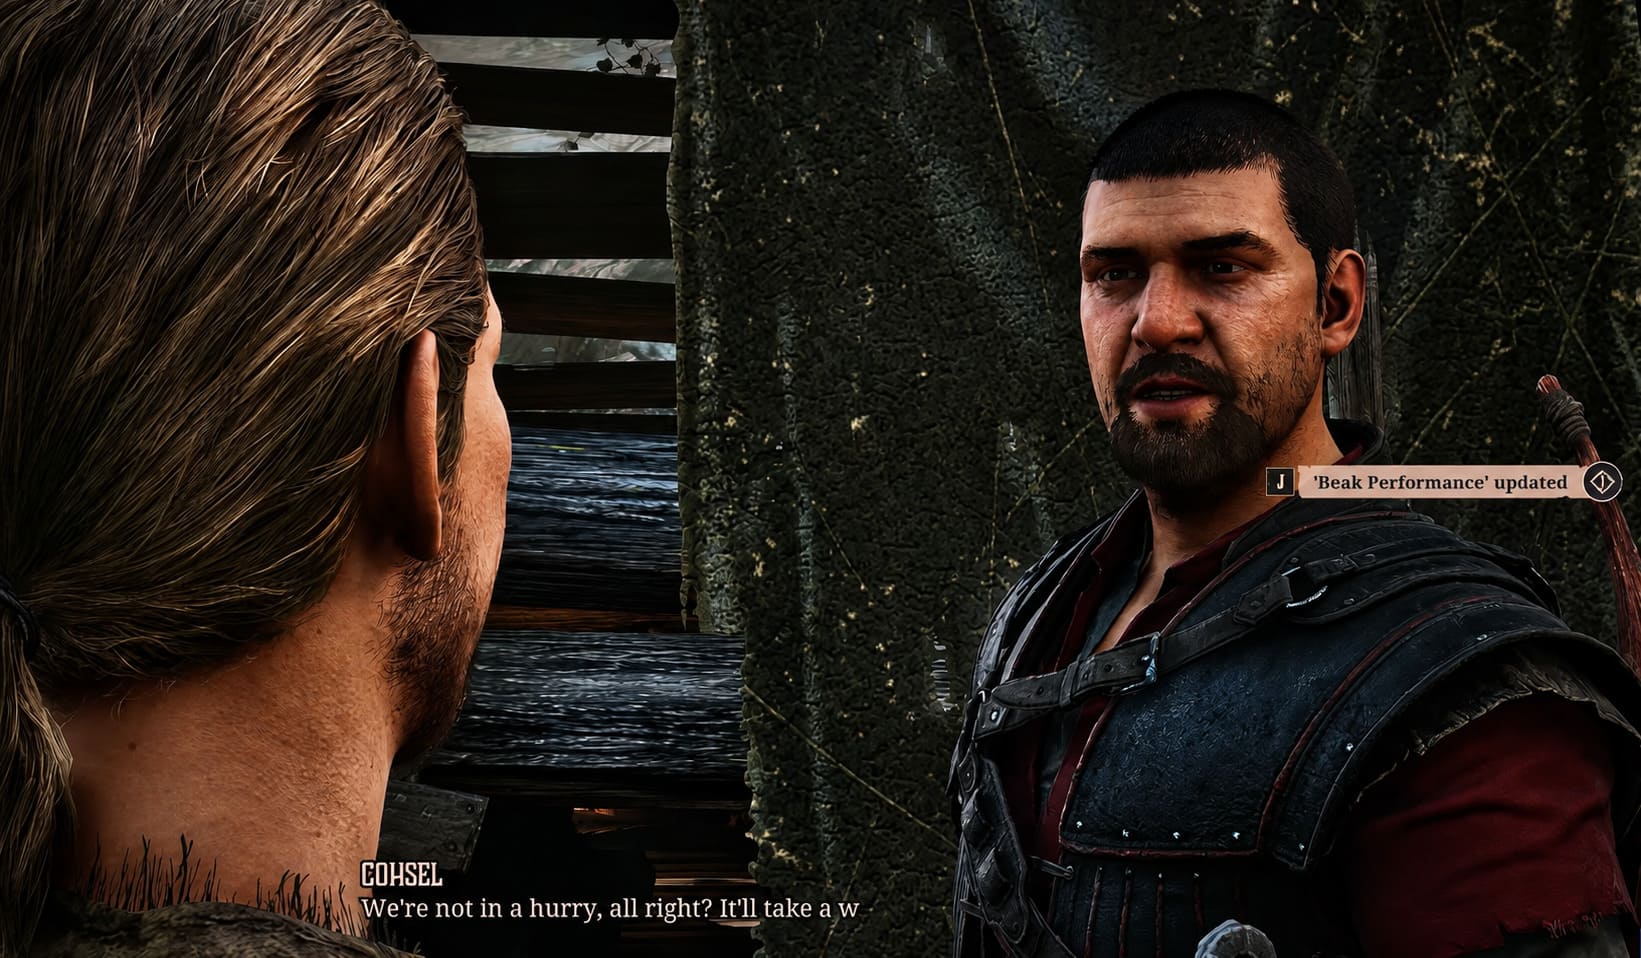
Your journey begins with a mysterious hermit named Cohsel, an experienced animal trainer living far away from civilization.
His shack sits roughly between the Old Camp and the New Camp, hidden along a route that many players may completely overlook during their first playthrough.
How to Reach Cohsel
Follow these directions carefully:
- Leave the Old Camp through the North Gate.
- Turn left and follow the western road.
- Continue until you reach a crossroads marked by a wooden sign.
- Take the path descending into the ravine.
- Pass Cavalorn’s hunting cabin.
- Climb out of the ravine.
- Turn left at the top.
- Look for a small wooden hut nearby.
You’ll immediately know you’re in the right place.
Several trained animals wander around the camp, including a wolf and a saddled Scavenger.
Important Warning
Do not attack any of Cohsel’s animals.
This is one of those classic Gothic situations where a careless action can create long-term consequences. Harming his pets causes Cohsel to become hostile, potentially locking you out of the mount quest entirely.
Starting the “Beak Performance” Quest
Like many NPCs in Gothic, Cohsel doesn’t trust strangers.
Your first conversation won’t get you very far.
Instead, continue asking him about his Scavenger. Keep showing interest and eventually he’ll open up about beast taming.
After several dialogue exchanges, he finally agrees to help you obtain your own mount and begins the quest often referred to as “Beak Performance.”
Of course, nothing comes for free inside the Colony.
Collecting Kingstide for the Taming Whistle
The first task involves gathering a rare aquatic resource called Kingstide.
According to Cohsel, this unusual plant has calming properties that help domesticate wild creatures.
You need:
5x Kingstide
The challenge is that these plants only grow underwater.
Best Early Locations
Under the Large Bridge
One of the easiest locations is beneath the massive wooden bridge encountered during the early stages of the game.
Dive into the river and search the bottom carefully.
You can usually collect:
- 3 Kingstide
- 4 Kingstide
from this area alone.
New Camp Lake
If you still need additional pieces, head toward the New Camp.
The large lake surrounding the rice fields contains several more Kingstide plants hidden beneath the surface.
Harvesting Tips
Because underwater visibility is intentionally limited, keep these points in mind:
- Swim close to the bottom.
- Search rocky areas carefully.
- Look for faintly glowing vegetation.
- Explore slowly rather than rushing.
Once all five pieces are collected, return to Cohsel.
Crafting the Saddle
Handing over the Kingstide only completes the first stage.
Next, Cohsel requests materials for a custom saddle.
You must bring:
| Material | Quantity |
|---|---|
| Wolf Skins | 3 |
| Leather Strips | 2 |
This part can take a little longer, especially for new players.
Getting Wolf Skins
There are two primary methods.
Learn Skinning
Players who enjoy hunting should consider learning the skinning skill.
A hunter named Aidan can teach it.
The training requires:
- 250 Ore Nuggets
- 1 Learning Point
Once learned, wolves become a renewable source of pelts.
Areas around hunting grounds and forest paths provide plenty of opportunities to gather the required skins.
Purchase Them Instead
If you’d rather save time, several merchants sell wolf pelts directly.
This option costs more ore but avoids spending valuable learning points during the early game.
For players focused on combat builds, buying the skins is often the more efficient choice.
Finding Leather Strips
Fortunately, leather strips are much easier to obtain.
You have two options:
Buy Them
Merchants inside the Old Camp regularly stock leather materials.
The process is simple and quick if you have enough ore.
Loot Them for Free
Players who enjoy exploration can find leather strips inside a hidden cave located behind Cavalorn’s cabin.
Be aware that Molerats patrol the area.
Fortunately, it’s often possible to lure them toward nearby NPCs and let them handle the fight.
This classic Gothic trick never gets old.
Waiting for the Saddle to Be Completed
After delivering all required materials, Cohsel begins crafting.
However, he doesn’t finish immediately.
He asks for additional time to prepare both:
- The saddle
- The taming whistle
To progress the quest, roughly a day and a half must pass.
The easiest method is simply sleeping for two consecutive nights.
Beds throughout the Old Camp work perfectly for this purpose.
Once enough time has passed, return to Cohsel.
Receiving Your First Scavenger Mount
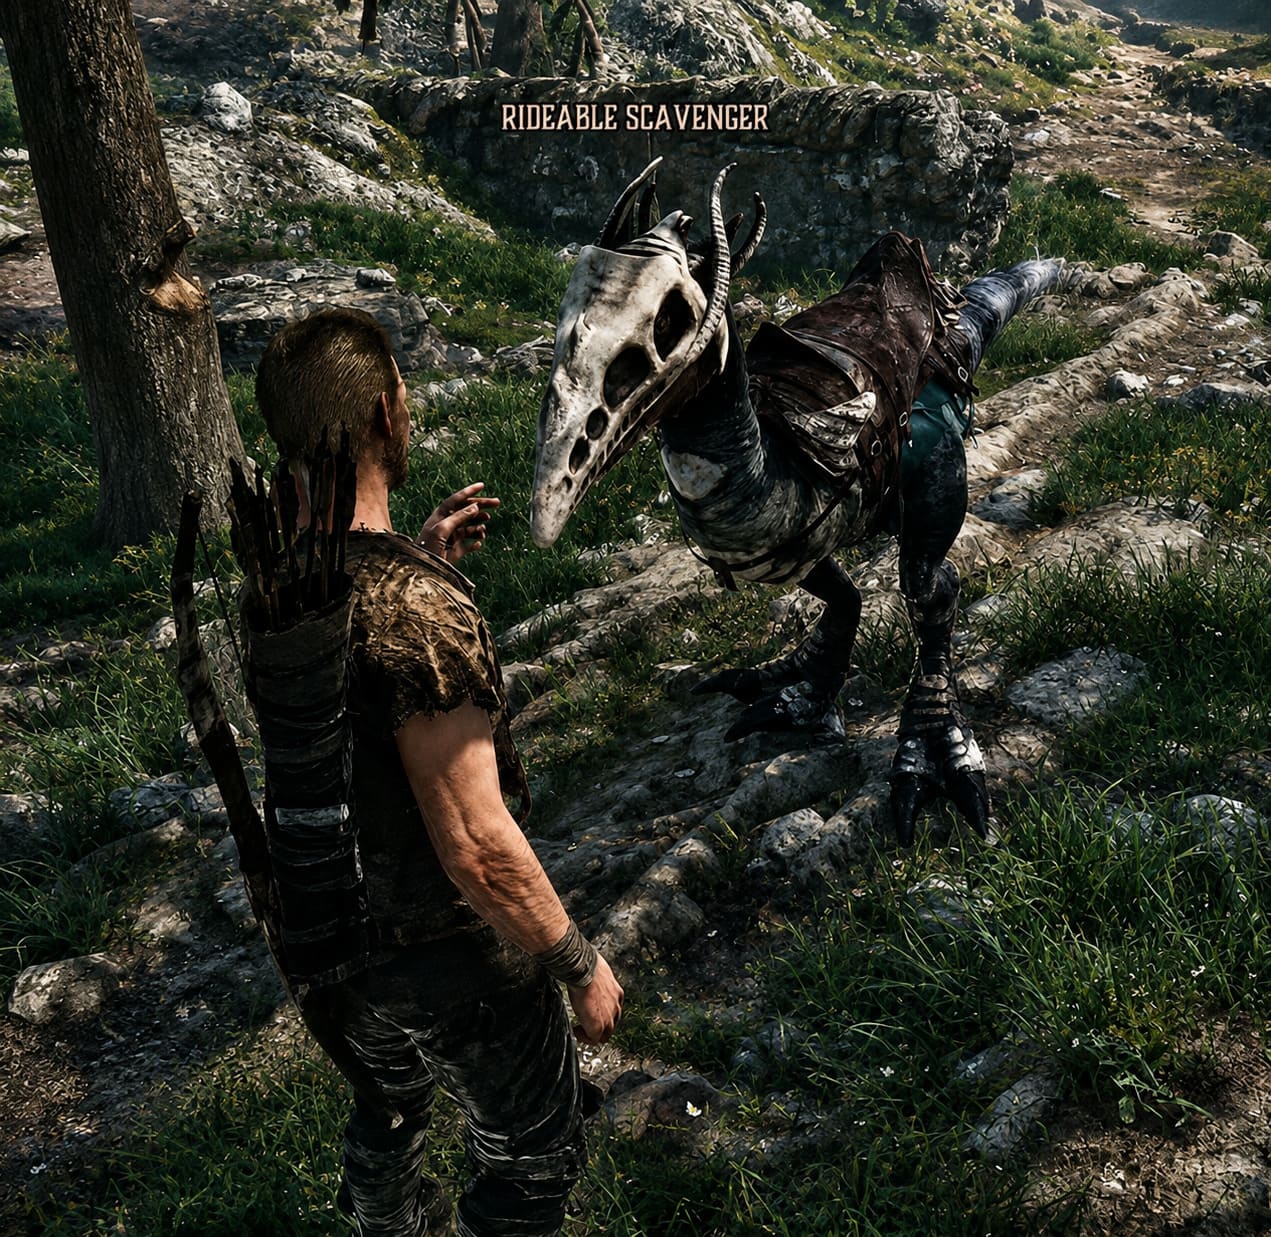
This is where the quest finally pays off.
Cohsel presents you with a unique bone whistle designed specifically for your trained Scavenger.
Equip the whistle to a quick-access slot.
Whenever you’re outside in the wilderness, activating it summons your mount.
Watching your Scavenger sprint out from the bushes for the first time is surprisingly satisfying.
It’s one of those moments that feels completely new while still fitting perfectly within Gothic’s gritty atmosphere.
How Riding Works
The controls are straightforward and easy to learn.
Basic Controls
| Action | Control |
|---|---|
| Move | WASD |
| Sprint | Shift |
| Mount | Action Key |
| Summon | Whistle Quick Slot |
The mount handles naturally and feels responsive even across rough terrain.
The Community’s Favorite Trick
Not long after release, players discovered an entertaining movement exploit.
When sprinting downhill, repeatedly tapping jump allows the Scavenger to preserve much of its momentum.
The result is a hilariously fast traversal method that can launch you across huge portions of the map.
While it’s undeniably fun, there’s one major risk:
Fall damage still exists.
A poorly timed jump can quickly turn your trusted mount into a pile of regrets.
Zenless Zone Zero Norma Signature W-Engine Pull Value & Build Guide (Version 3.0)
Limitations You Should Know
The Scavenger is powerful for transportation, but it isn’t without weaknesses.
Settlements
Large camps restrict mount usage.
You’ll generally need to dismount before entering heavily populated areas.
Caves and Mines
Scavengers dislike enclosed spaces.
Attempting to force them underground causes panic.
This includes:
- Caves
- Dungeons
- Mine shafts
- Underground passages
Crowded Areas
Too many NPCs can make the bird nervous.
The closer you get to heavily guarded locations, the more likely your mount is to bolt.
Combat Situations
This is not a warhorse.
Scavengers are transportation animals first and foremost.
When enemies attack:
- Wolves can scare them.
- Bloodflies can scare them.
- Orcs definitely scare them.
I strongly recommend dismounting before major fights.
Trying to battle while protecting a frightened mount often creates more problems than it solves.
Gothic 1 Remake Xardas Guide: Golem Solutions & Old Tower Secrets
Final Thoughts
Among all the additions introduced in Gothic 1 Remake, the Scavenger mount might be my personal favorite.
What I appreciate most is that it doesn’t feel like a modern feature awkwardly inserted into a classic RPG. Instead, it feels like something that should have existed in the original game all along.
The quest itself encourages exploration, hunting, resource gathering, and interaction with lesser-known NPCs. By the time you finally receive your mount, you’ve already experienced several systems that define the Gothic experience.
If you’re starting a new playthrough, I highly recommend prioritizing this quest during Chapter 1. The time investment is relatively small, but the reward remains useful throughout the entire adventure.
And let’s be honest—riding a giant Scavenger through the Valley of Mines is simply one of the coolest things the remake lets you do.